
 Nederlands
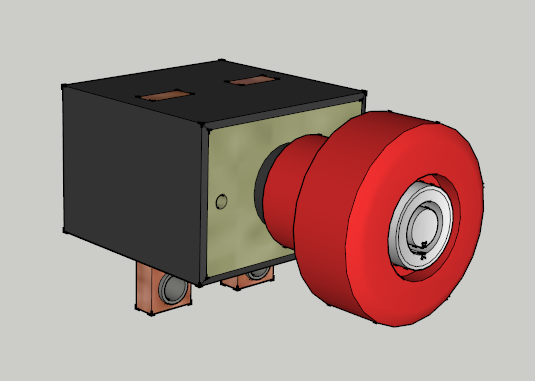
Blog

Posted on 15 April 2013 at 09:59 pm (CET)
Category: Drawings
As long as I have to wait for the motor mount I'll just continue drawing. Starting to enjoy it pretty much.
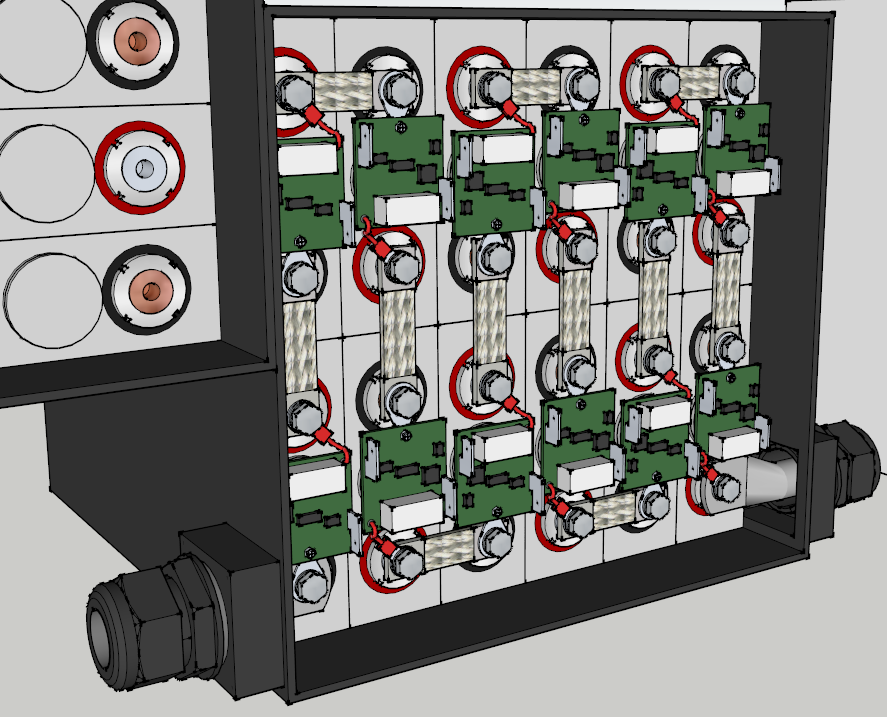
So here's the next part, the emergency switch.
Enclosure for this is also done already. The real one might be a little different though, will have to see how it'll fit where the gas tank used to be. Also want to place the charge plug there so I don't know if there's enough space for both.
This one will be in the middle of the battery pack (after 12 of the 24 batteries) so that there's no more voltage on both the positive and negative after the batterypack when this is pressed. And I'd also have to voltage split (2x 36V instead of 72V). This will be a bit safer again than just placing it on the positive cable of the battery pack like I was first planning to do.
Now to continue with the rest of the battery boxes.
Posted on 13 April 2013 at 10:27 pm (CET)
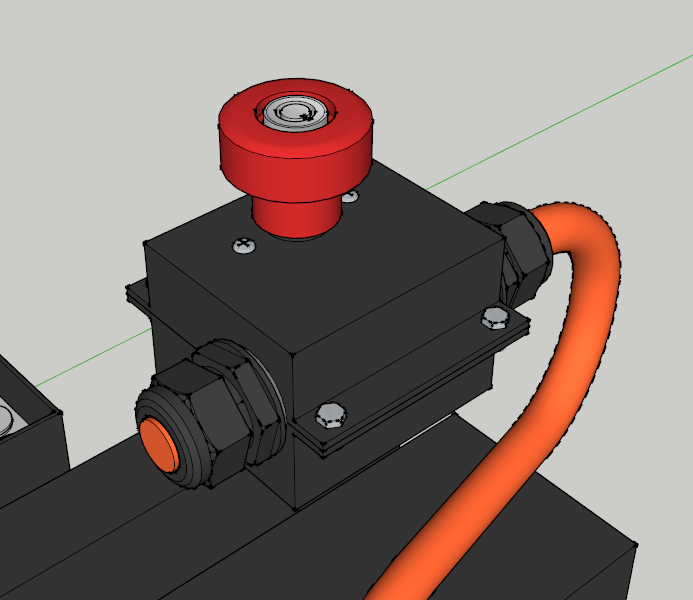
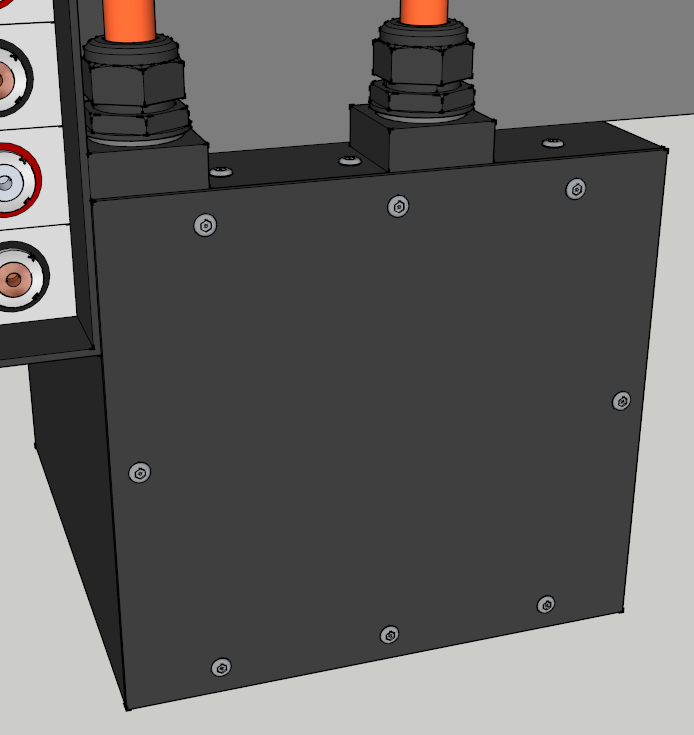
Drawing of the biggest battery box is pretty much done now, still had to modify some things since the location of the cable glands, orange cables and frame of the quad bike didn't work out that well. So it'll probably be more or less like this.
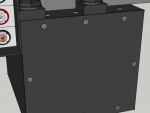
And this is what it'll look like closed. Still needs a warning sticker for high voltage though but on this big battery box I don't just want a basic sticker. Will have to see if I can get something funny made for this when it's all made and done at least.
Pretty nice this 3D drawing, can immediately see if something fits or not before even starting with the real thing.
Think I'll only have a hard time with the other battery boxes since the frame of the quad bike is kind of in the way to be able to pass the cables through the boxes. Will have to wait and see how this will fit.

Posted on 12 April 2013 at 10:08 pm (CET)
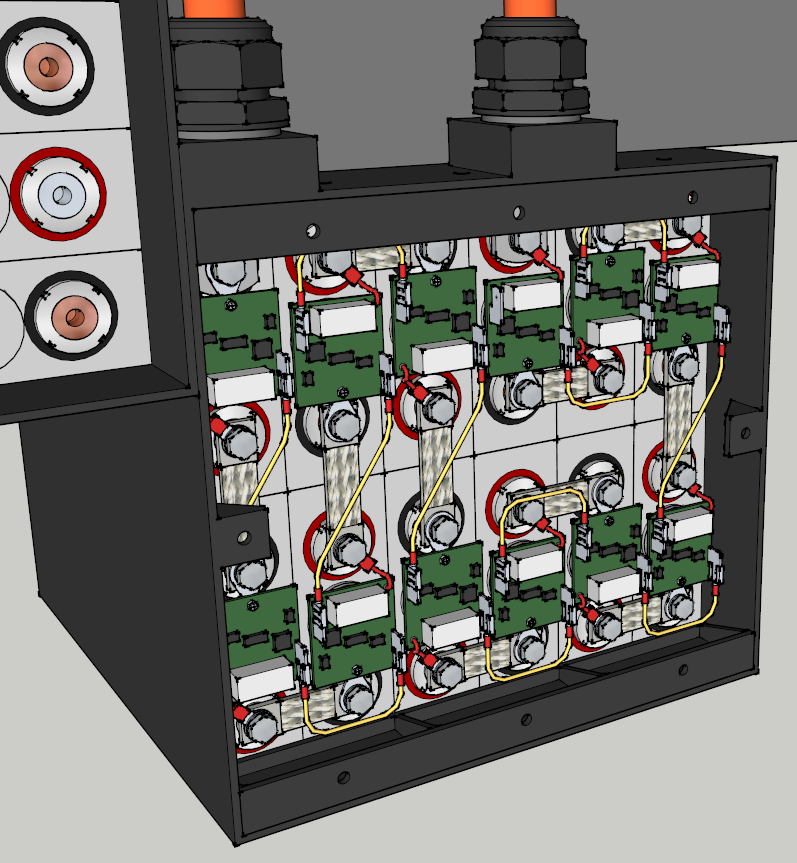
Here's what I had in mind to hold the batteries in place and it's also for attaching the cover. There will be rivet nuts in all of the holes and everything will be fastened from the outside this way.
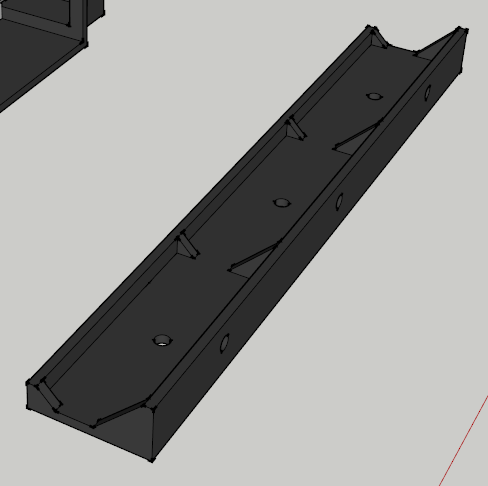
Don't know if the triangular shapes are necessary but it should be sturdier that way.
Here it's in the battery box.
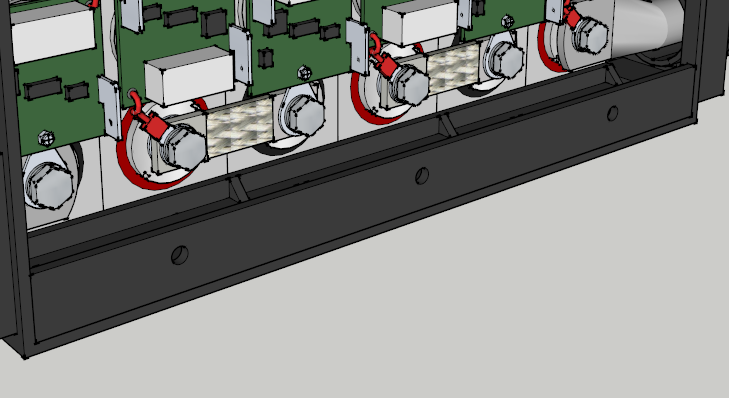
Might have to add something else in the middle of this battery box though since there are 2 rows of batteries in it. The other battery boxes will all have 1 row so it should be easier for those.
Posted on 11 April 2013 at 10:57 pm (CET)
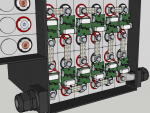
I've continued with the 3D drawing.
I think the only way to secure the batteries is to place an L-profile of the same material as the battery box at the top and bottom and fasten them from the outside with bolts. I want to use rivet nuts with this and seal it with rubber to make it waterproof. No idea how else to do it.
I'm also not really sure yet if the batteries will actually be placed in this position, will have to wait till I receive the batteries. Only then I can see how they'll fit.

Posted on 9 April 2013 at 10:10 pm (CET)
Category: Electric motor, Parts
Posted on 9 April 2013 at 10:10 pm (CET)
Category: Electric motor, Parts
Today I received the aluminium plate. Also a new front sprocket and some new dust caps. I ordered these for the steering rod end, however these are for the ball joints. Again a delivery with the wrong parts. Oh well, I assume this will be solved as well.
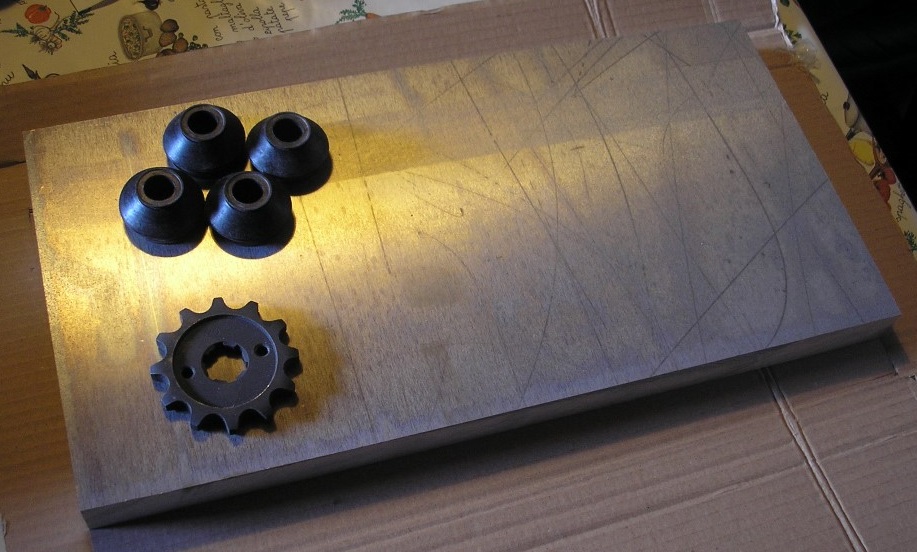
The current steering rod end dust caps are already broken while I haven't even ridden on the quad bike yet. They're not really of great quality.
I already gave the aluminium plate and the steel blocks to my friend, now I have to wait again till they're routed. Could maybe take 2 weeks, hopefully faster. But if it gets done well it's worth the wait.
The front sprocket barely doesn't fit over the motor's axle, the hole will have to be made just a bit bigger. And maybe also remove the threads in the mounting holes, the sprocket will be mounted differently than how it normally is in the Loncin engine anyway so I wouldn't be able to use the thread on the sprocket itself.
