Nederlands
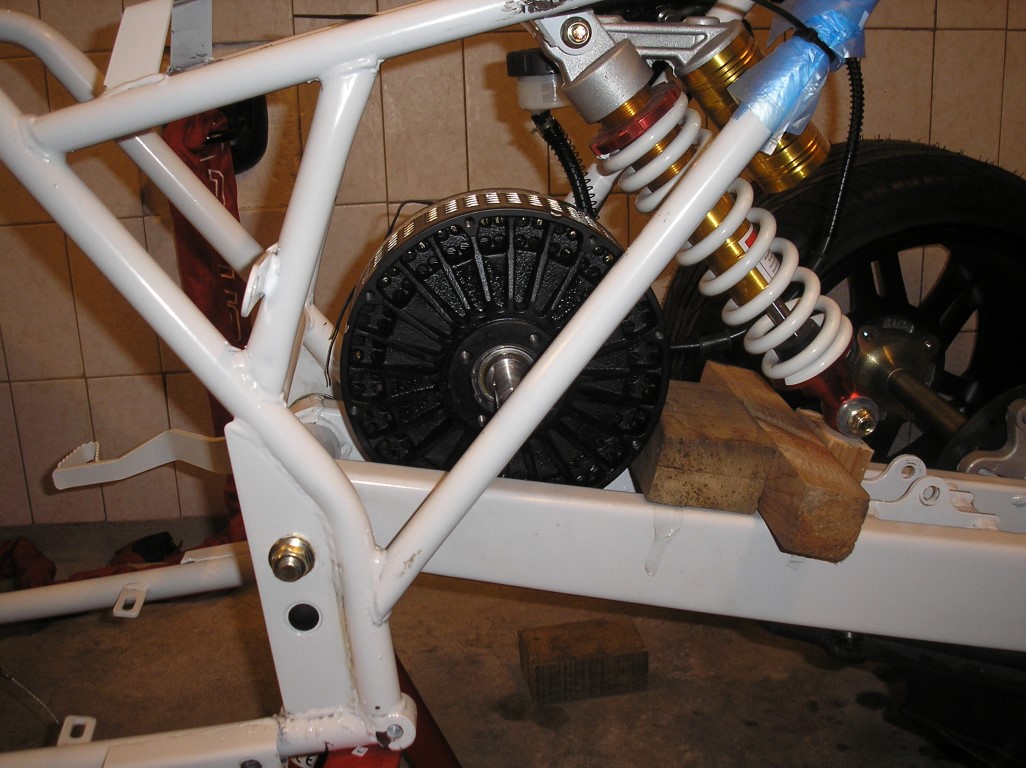
Blog

Posted on 8 March 2013 at 12:14 am (CET)
Category: Electric motor, General
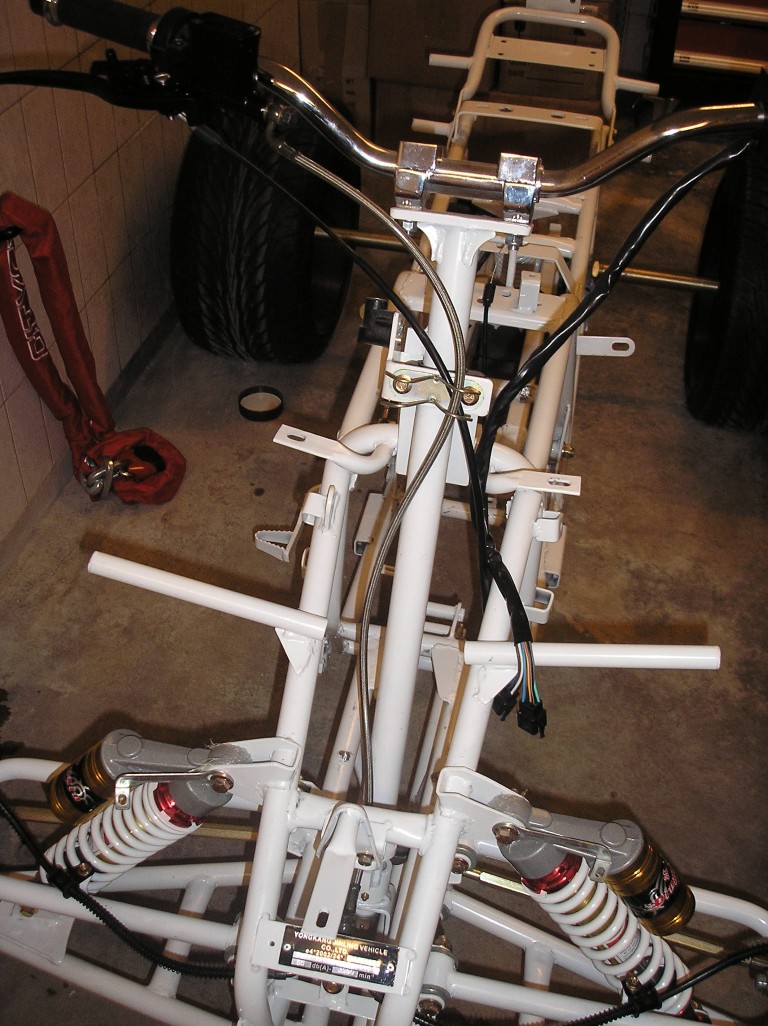
Tonight I detached the rear swing arm partially and fitted the motor. I knew that it would be a close fit but it really only has a few millimeters to spare.
Seen from the side it all fits well, some space left even.
Seen from the rear, not a lot of space but I think it's enough to still be able to mount the sprocket on there. The sprocket will stick out of the axle just a bit to get the chain aligned with the rear sprocket.
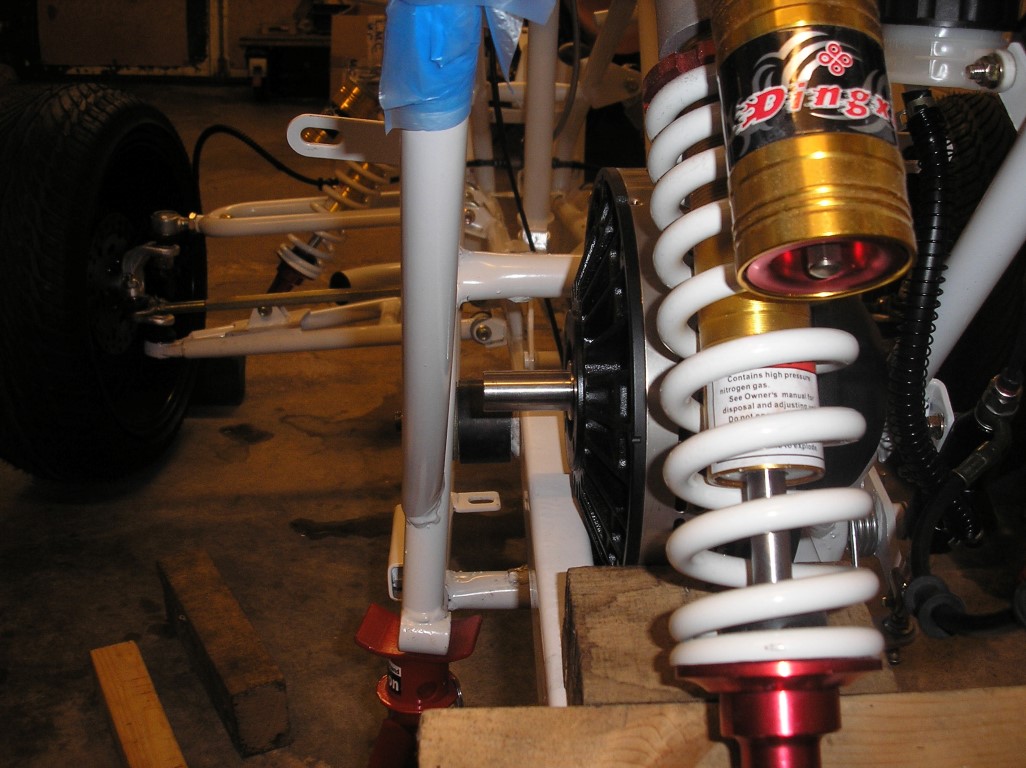
But then on the other side, I think it's 2-3 mm of space there. It's just barely enough as long as there won't be any play in the swingarm.
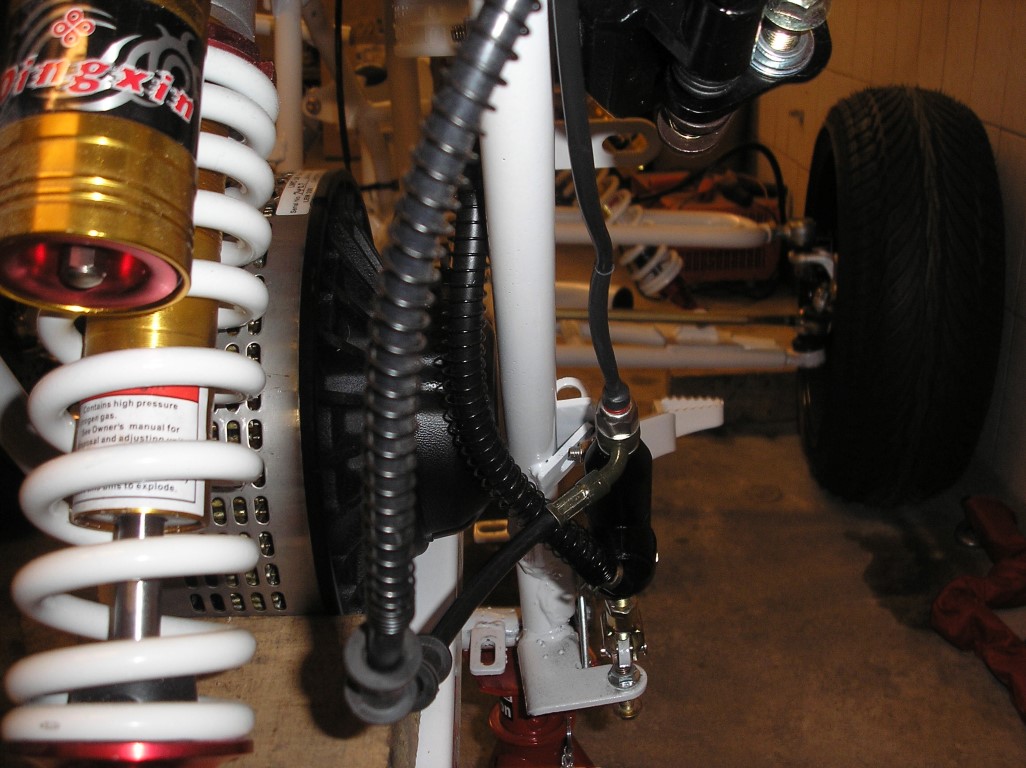
I'm happy that it fits just like I planned. Now I have to get some mounts made.
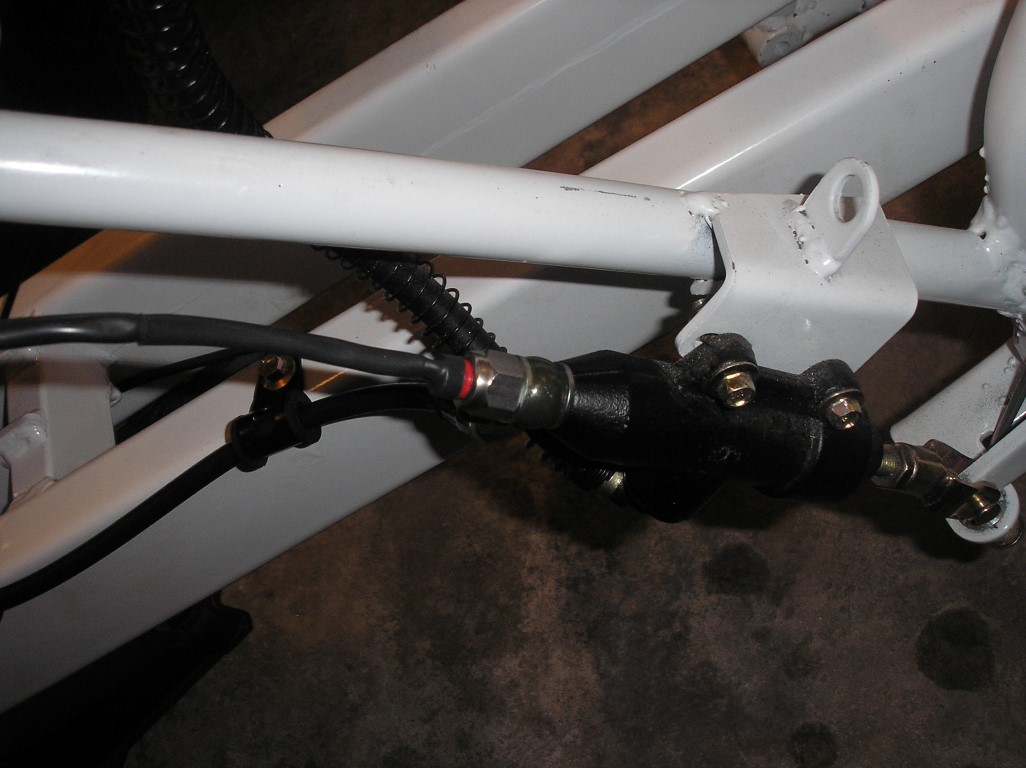
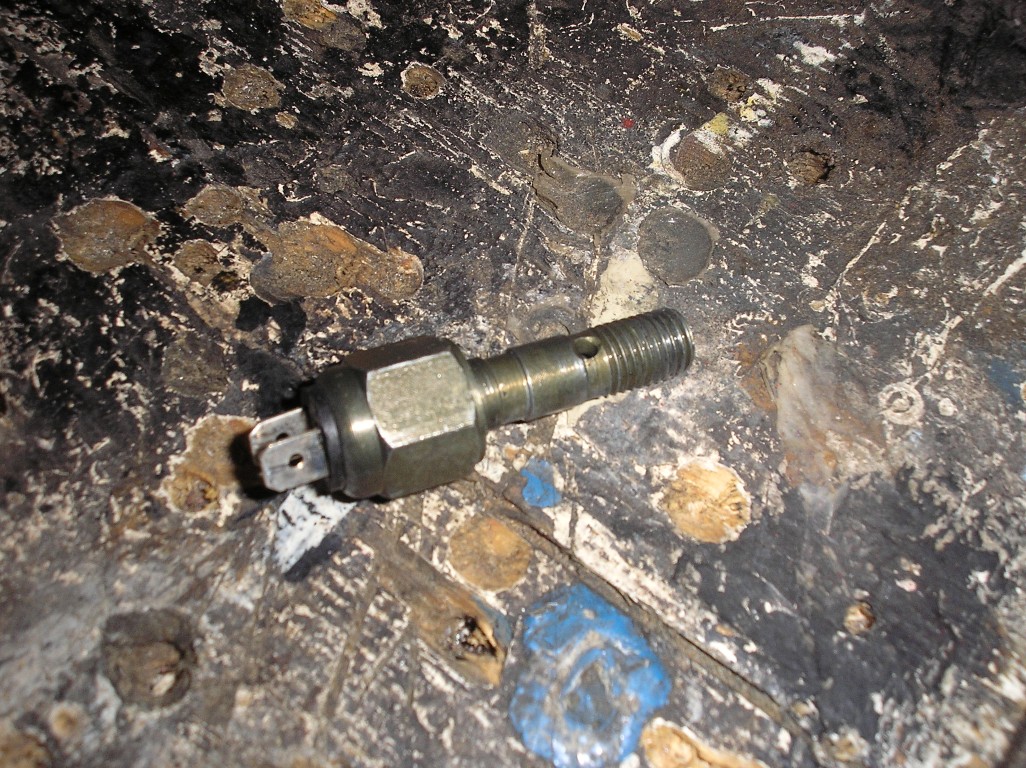
I also still received the new banjo bolt with sensor for the brake lights. So I replaced this one as well.

Posted on 6 March 2013 at 10:07 pm (CET)
Category: Electric motor, Parts
Today I got a package with a total weight of 18kg, what could it be?
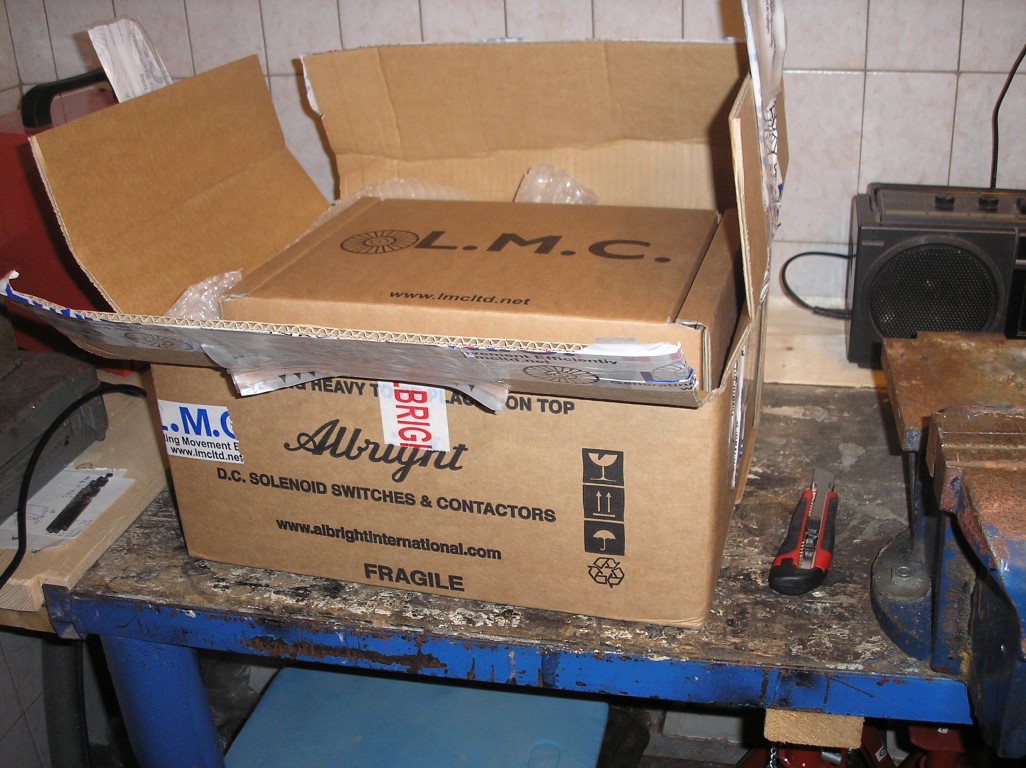
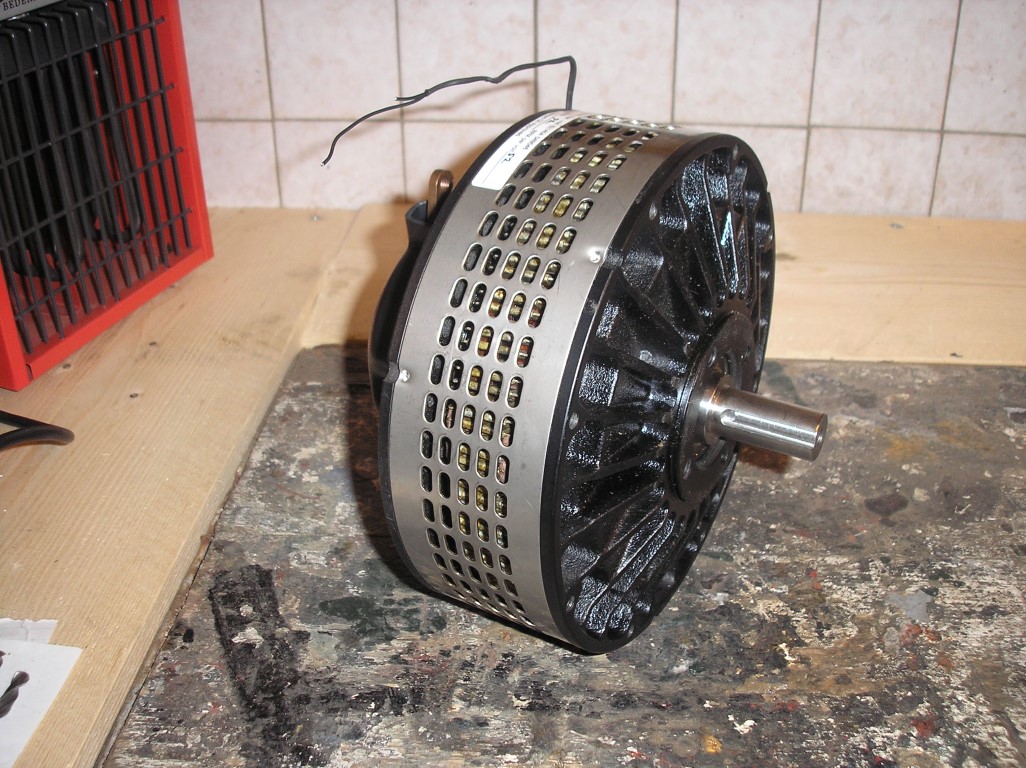
Finally received the motor from LMC Ltd., with some more important parts.
Here's the motor, think it's pretty cool how you can get so much power out of such a small motor. But it's pretty heavy for the size, it weighs 11kg.
And the other parts.
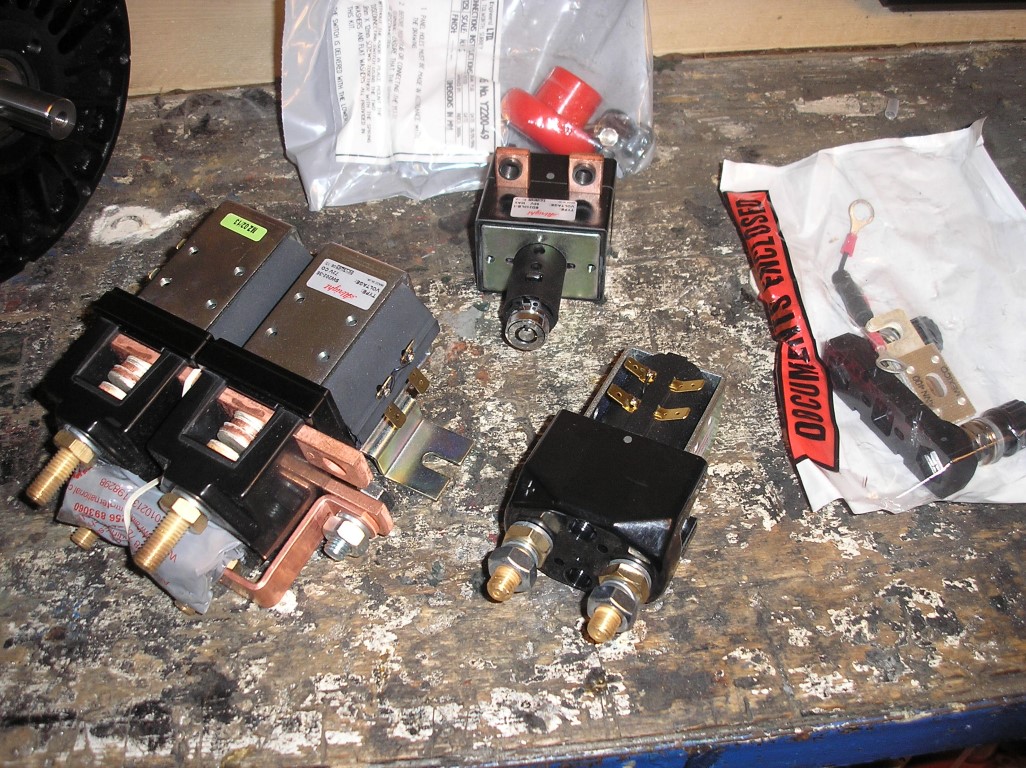
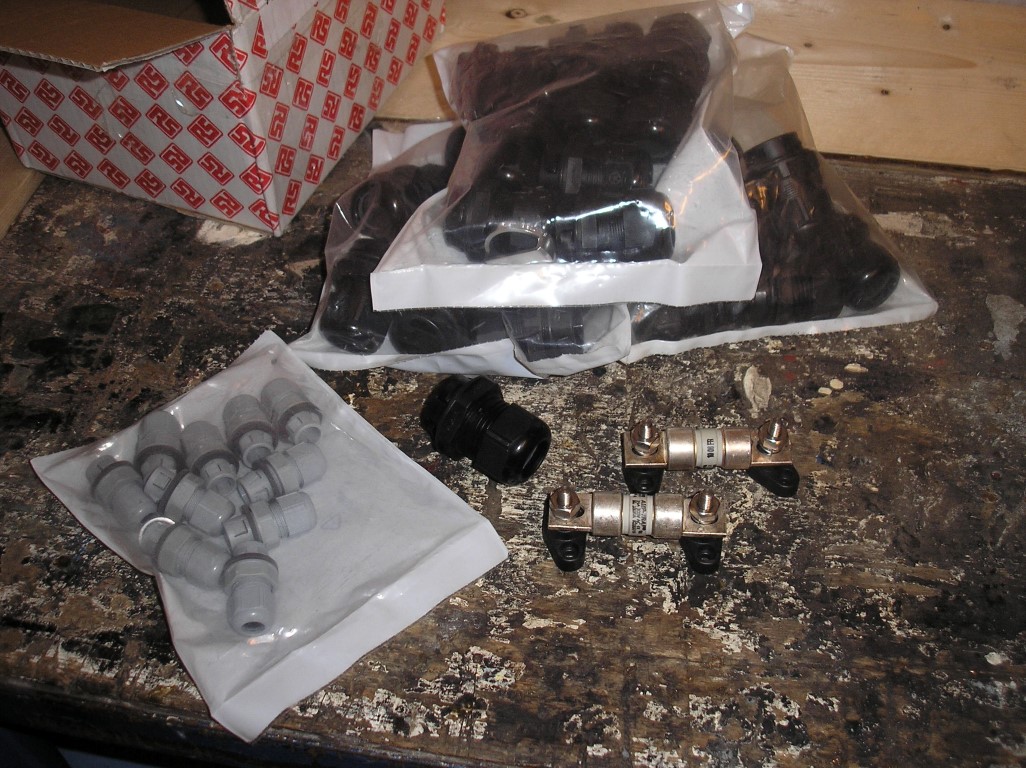
On the left 2 contactors (big relais) to switch positive and negative to the motor, so to be able to drive in reverse. Much bigger than I expected, will have to see where I could best place this.
On top the emergency switch with lock, with a press of the button the 72V towards the controller can be disabled with this. Just in case I can't turn off the controller with 12V (keyswitch/killswitch) if anything goes wrong. Or for safe maintenance. The key is needed to turn it on again.
At the bottom another contactor, this was intended for a different controller at first. The controller I have now already has 2 built in. But to be sure I still kept it in my order. Planning to use this in the middle of the battery pack now so it's a bit safer to work with (36V DC is a lot safer than 72V).
On the right the main fuse with fuse holder. Yet again a problem though, it doesn't fit. The bolts are just a bit too thick, the fuse doesn't fit on it. Comes all the way from England so it'll be hard to send back to get a new one. Will have to see how I'm going to solve this, otherwise I'll just buy a different fuse holder here.
First thing I'll do now is remove the rear swingarm to find out the best way to mount the motor on there (can't get it in without removing since the motor is just a bit too big to fit through the frame). I can only mount the motor on one side so it'll have to be pretty sturdy.
After that I'll have some mounts made for the motor and controller and I can finally start adding things onto the frame and connect all cables. At least up to the batteries since I won't have them yet for another 7 weeks or so.

Posted on 3 March 2013 at 07:35 pm (CET)
Category: General
Posted on 3 March 2013 at 07:35 pm (CET)
Category: General
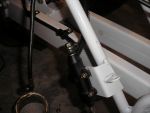
Seeing as the enclosure for the controller is all done now I checked if it would fit in the place where the exhaust silencers once were. There's enough space up to the brake calipers but the brake line is in the way though. I was able to turn this around so it would point down a bit instead of up. On the picture it might seem as if it's very tight but it actually isn't, it's just nicely rounded. Think it's even better than original now, not much movement when the suspension compresses.
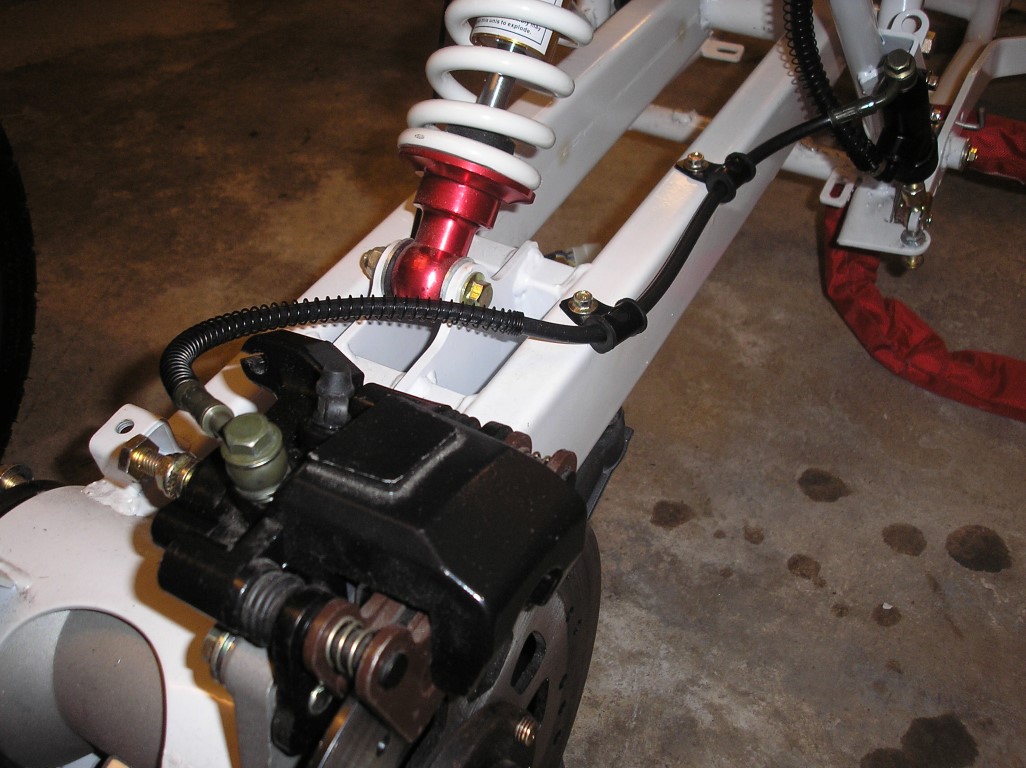
There's enough space now since the brake line is at the same height as the brake caliper.
I also broke down the old brake and clutch lever, cut off the parts for the levers and rounded it off nicely. I only kept the mounts for the mirrors.
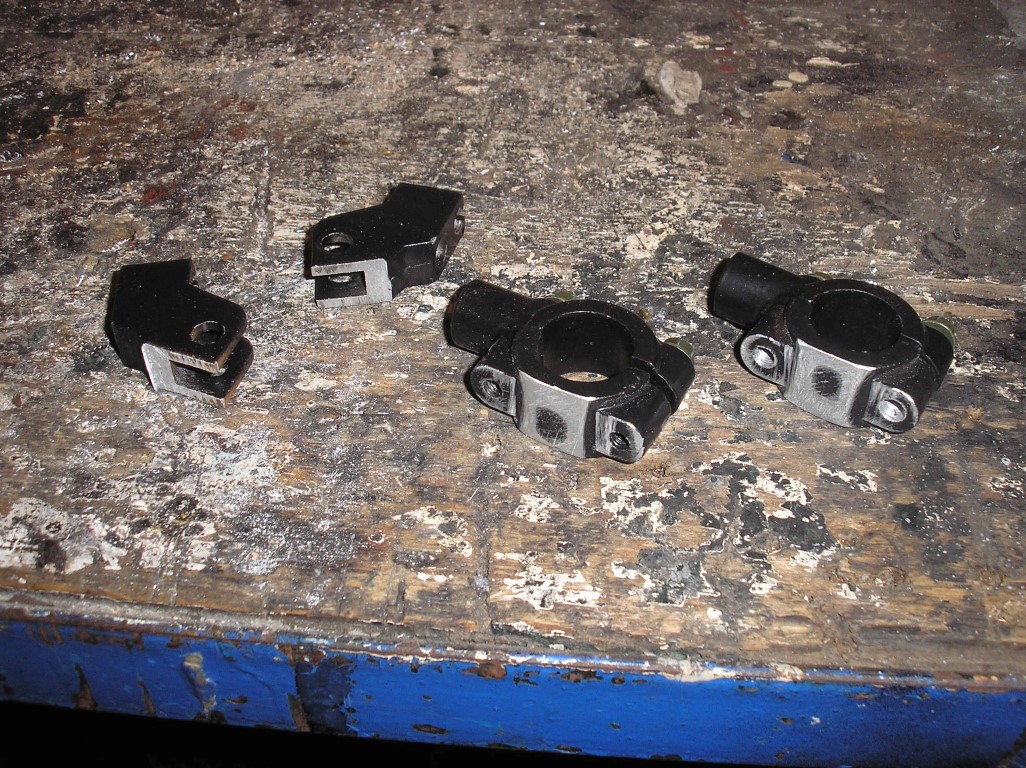
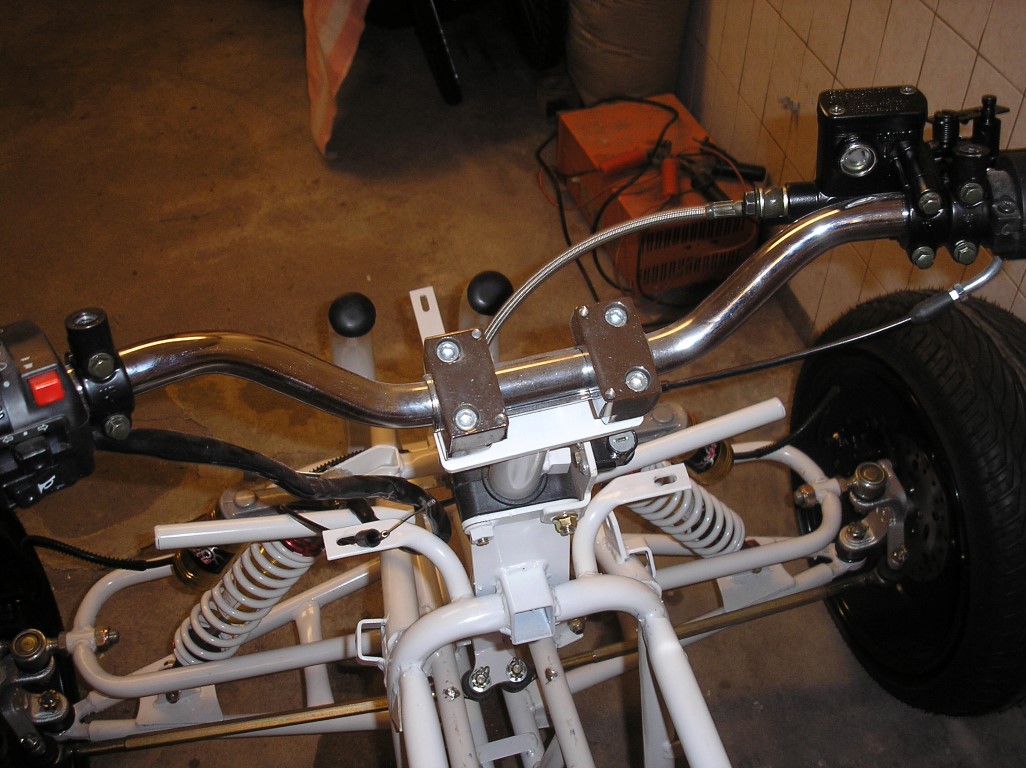
And they still fit well on the handlebar, just have to respray them in black.
Posted on 2 March 2013 at 11:34 pm (CET)
Category: Controller, Parts
Posted on 2 March 2013 at 11:34 pm (CET)
Category: Controller, Parts
Today I received the cable glands from Rebbl. Also still ordered 2 fuses and fuse holders with them for the charger and DC-DC converter.
Only a small mistake again, I asked for black cable glands but I received gray for the little ones. No idea how this happened since the bigger ones are black and they were both in the same package. So I'll have to wait and see again if I can trade these for black ones.
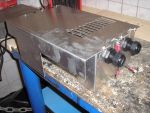
Also started with preparations for the controller enclosure. On the front I shortened it a bit since it was taller than the side parts. Drilled holes to attach everything. Made some cables that will connect to the mesh shield in the orange cables for earthing. Also fitted the cable glands. So this is what it will look like, just have to imagine the orange cables. And there will also be RFI filters on those cables. Then it should be all complete.

Will just still spray the enclosure black, should look at least a bit better then.
Also still have some good news. If all goes well LMC Ltd., where I ordered the motor, should have everything ready for shipping by monday. Might actually get the motor then next week.
The CALB CA60 batteries were also finally ordered, delivery time of approximately 7 weeks now. After that time I should have everything here (if I didn't forget anything) and then I just need to build everything up.
Posted on 24 February 2013 at 12:20 am (CET)
Today I split the braking system. Took me quite some time since I was having a hard time getting all of the brake fluid out of the system with the hose I used for this. But I succeeded, that's what's most important ofcourse.
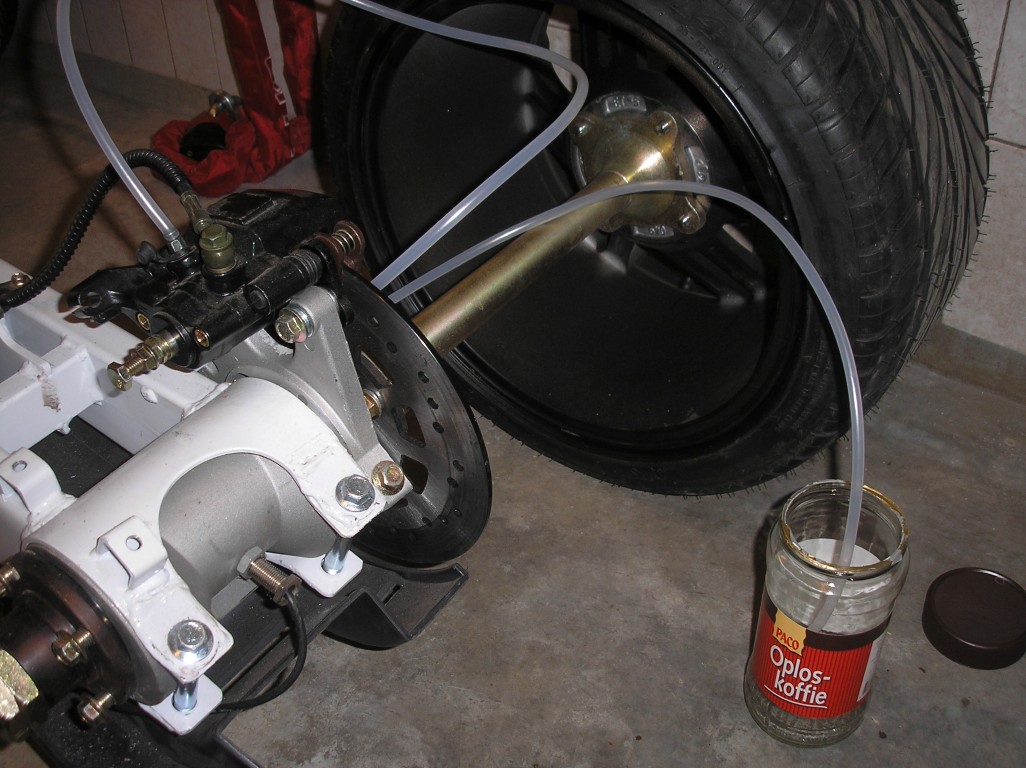

I moved the brake line of the rear brakes to the other side of the swingarm, the electric motor should fit nicely in there now.
Just still have to buy a different banjo bolt with sensor for the brake lights to place on the rear brake pump. Can't reuse the current one as it's for a double brake line. For now I just placed a normal banjo bolt on there.
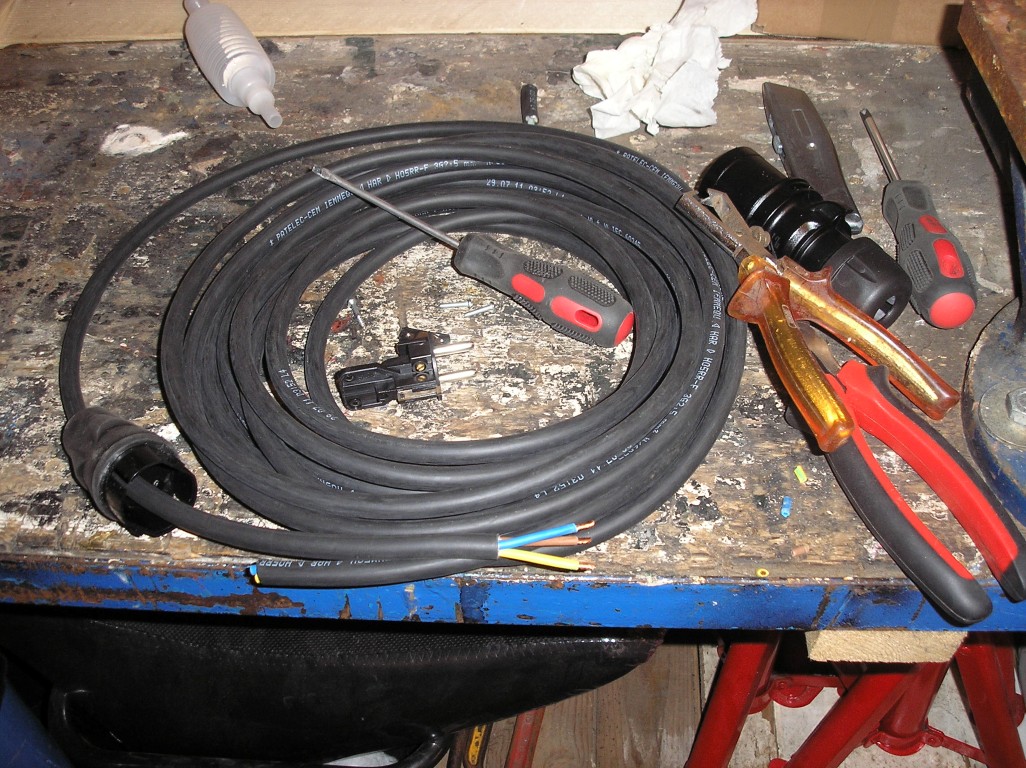
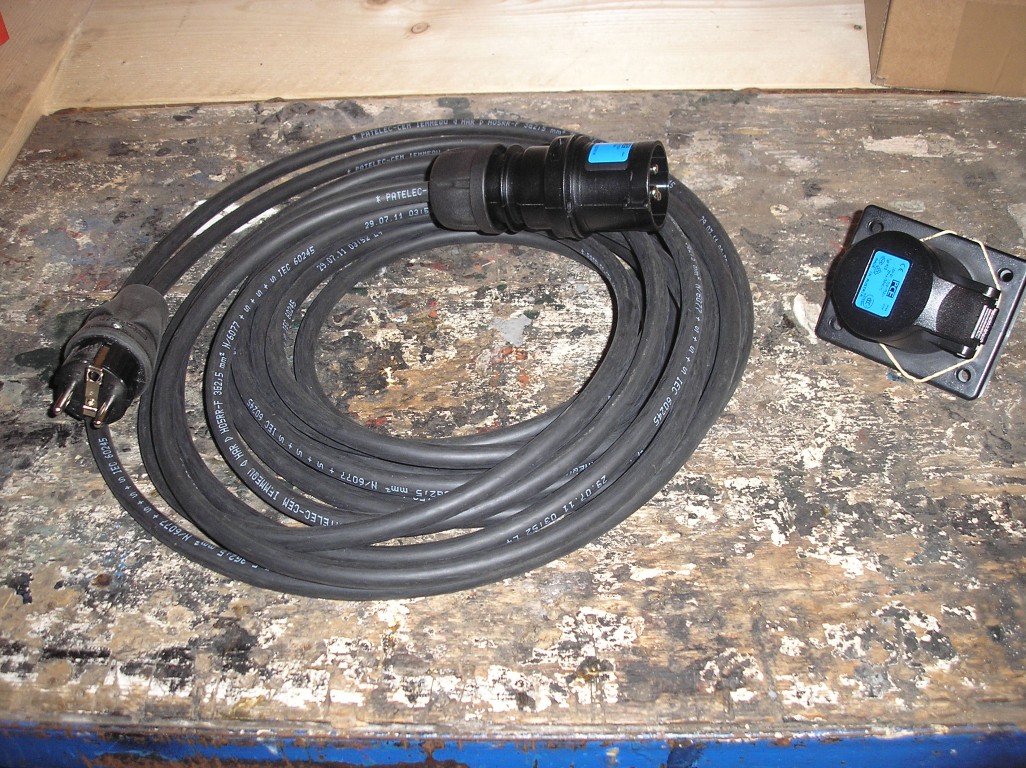
Since I had some time left I also made the charge cable already.