
 Nederlands
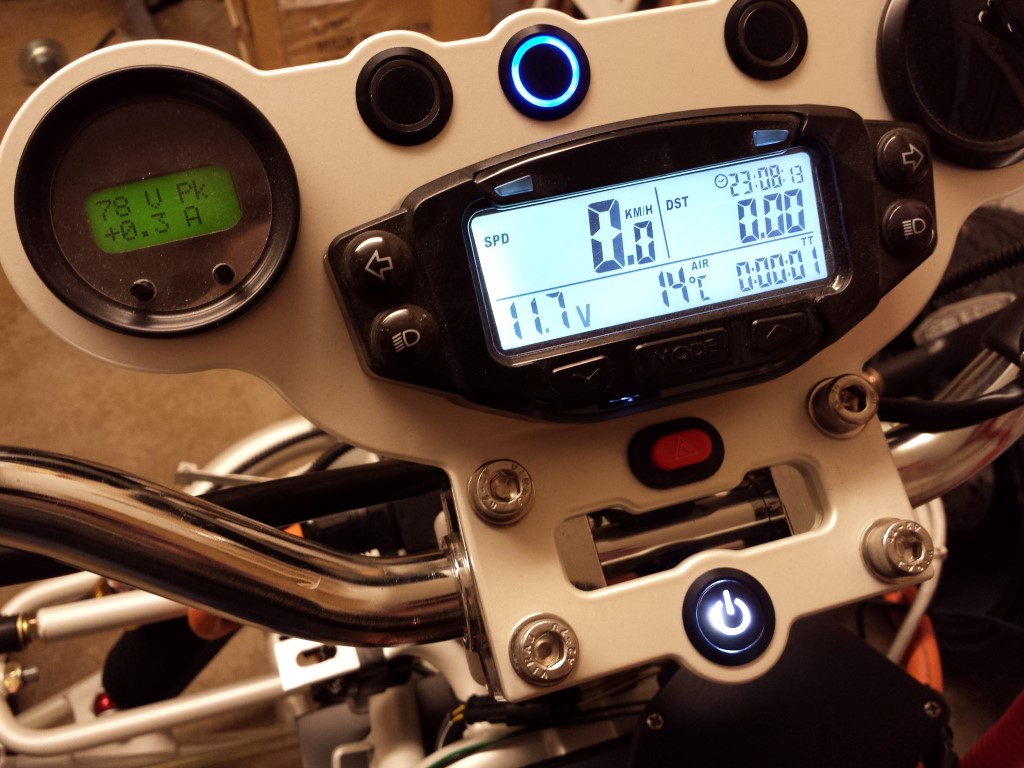
Blog / January 2015

Posted on 13 January 2015 at 01:10 am (CET)
Category: Batteries, Controller
Posted on 13 January 2015 at 01:10 am (CET)
Category: Batteries, Controller
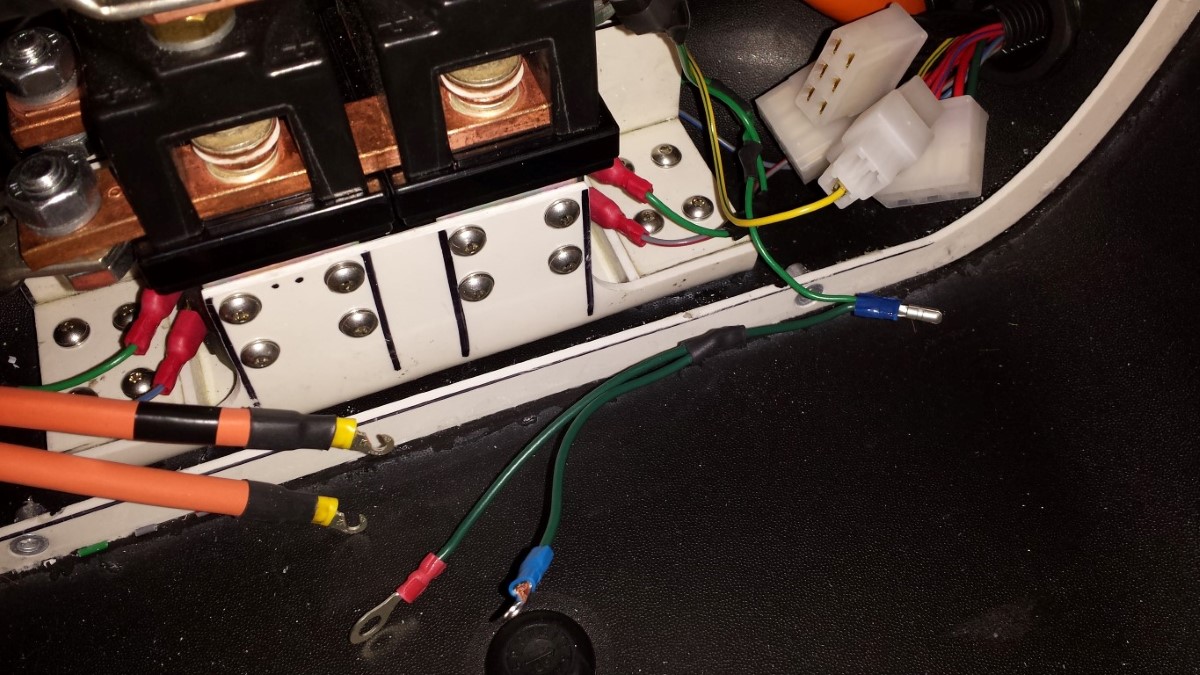
The problem I had yesterday where no power was going to the motor moving forward is already solved. The controller just needed a bit more voltage, the 12V battery was not enough. Today I connected the whole battery pack to the controller and tried again. The motor always gets power now, moving forward and in reverse. For the rest I also had no problems anymore, everything's working perfectly now.
Since there was almost 80V present now I changed the settings of the controller again to see how much power would come from the motor. Tested again with the wheels off the ground and I was very surprised. I only still had 1/8th of the available power but I could already feel really good how strong the motor is. More power I won't test with the wheels off the ground, this will happen during the test ride soon. The coming days I'll be preparing everything for that. So it's going to be very exciting.
Posted on 12 January 2015 at 06:35 pm (CET)
Posted on 12 January 2015 at 06:35 pm (CET)
It's time for another new update.
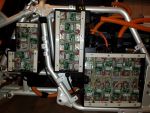
The past few days I've been busy connecting all of the battery cells to eachother. It all went well, for extra safety I already isolated all of the tools with some tape. For the rest you just have to stay very focused.
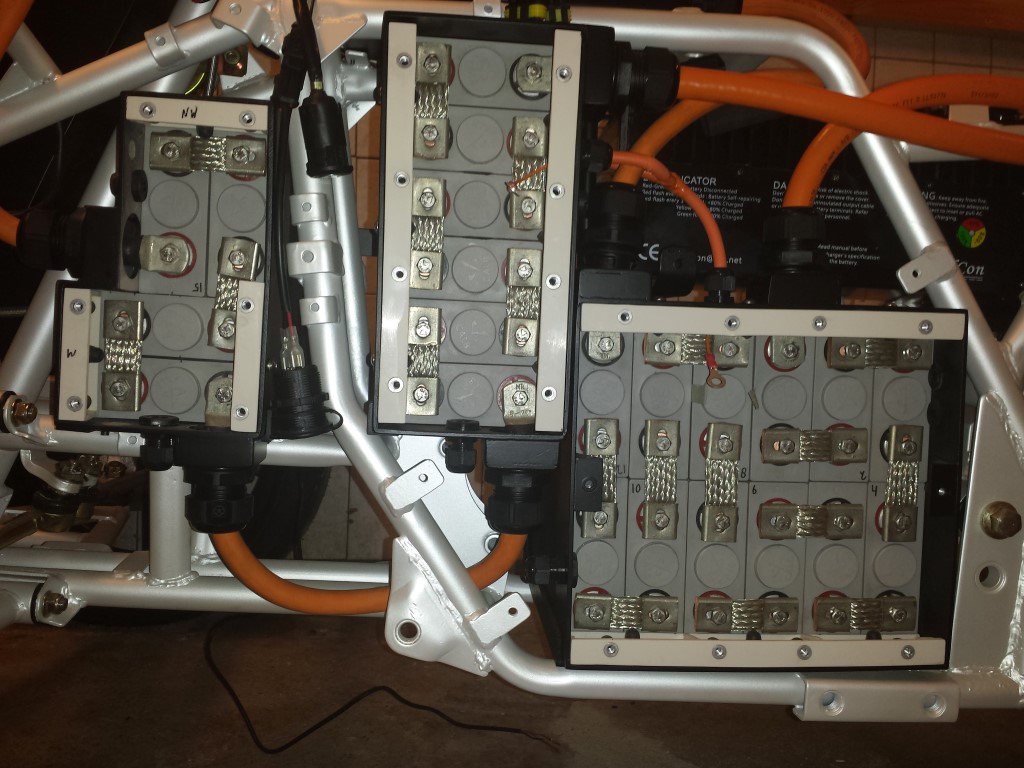
But that's not all yet, I also started on the BMS (Battery Management System).
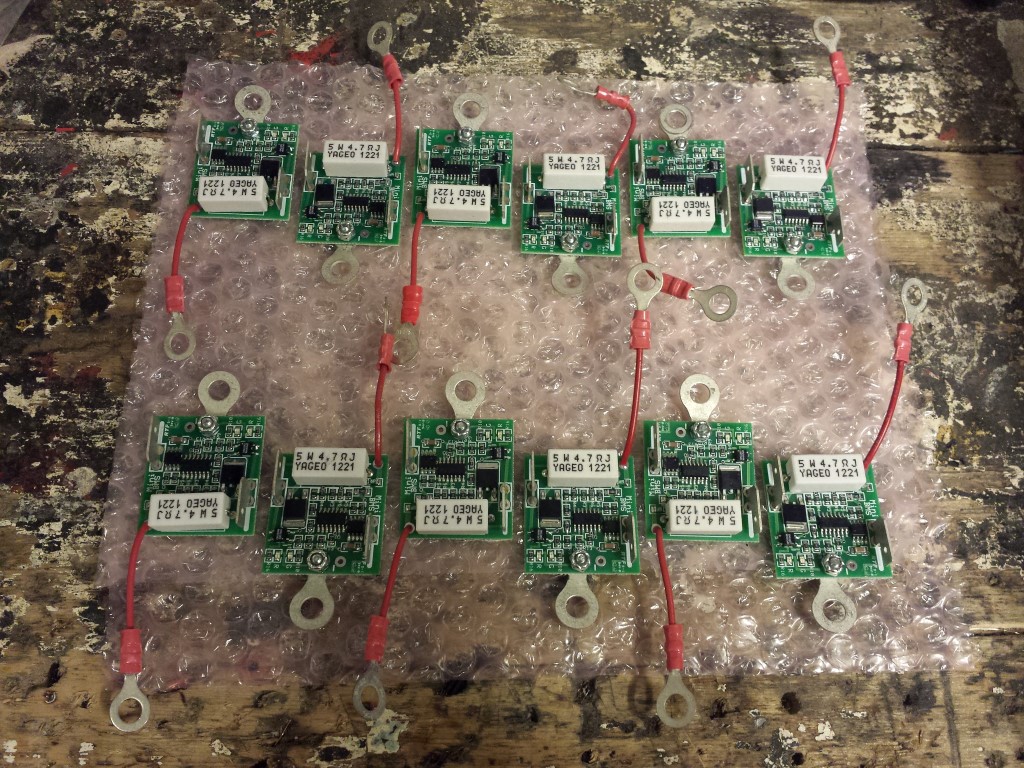
First I made all of the wires exactly to size.
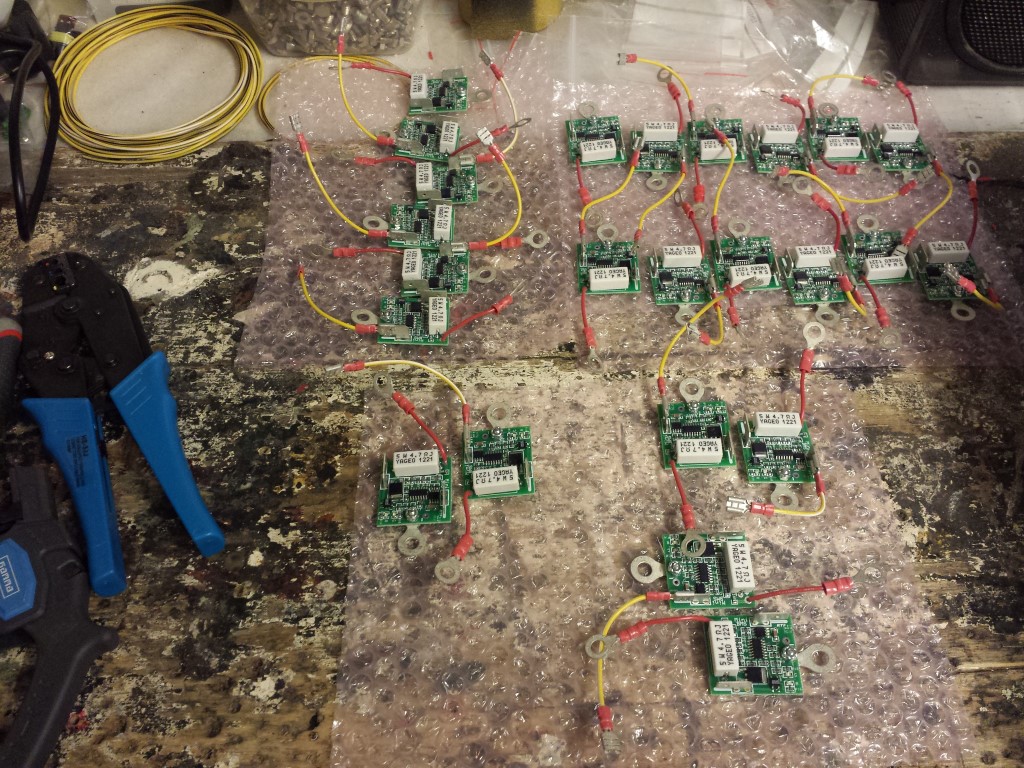
Then I connected them all to the battery cells and to eachother. Thought it'd be a lot of work but it wasn't all that bad. It was the first time something actually took less time than I expected, usually it always takes longer. They're also connected inbetween the battery boxes, this was actually the hardest since at one part I had to push 4 wires through that wire loom. The size I used actually is for only 3 wires. But it all went fine anyway.
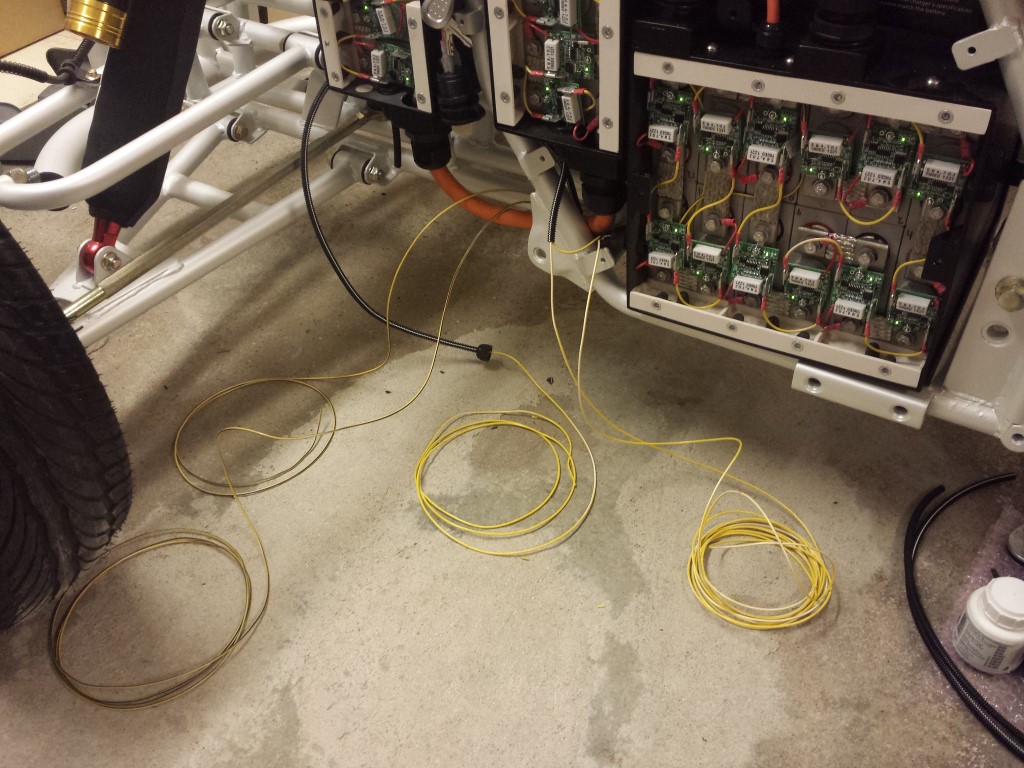
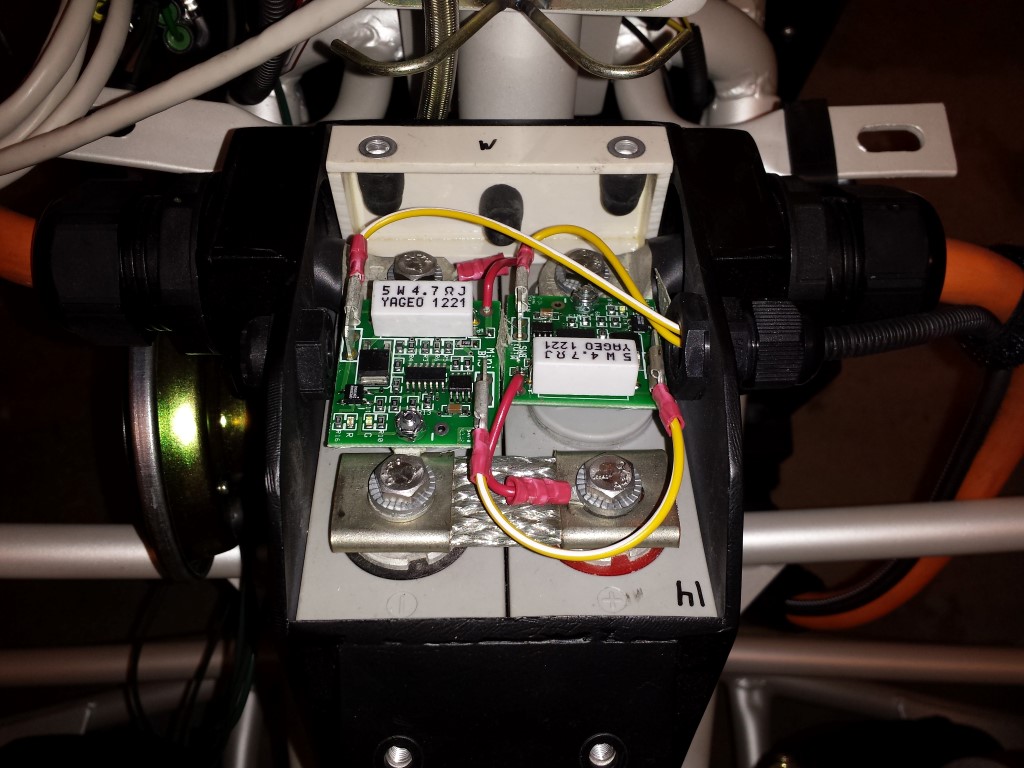
Looks pretty nice too. The green LED's show that they're connected properly and that the battery cell is at the right level.

In the dark it also looks nice with all of those LED's. Just too bad that you won't see any of it anymore once the battery boxes are closed.

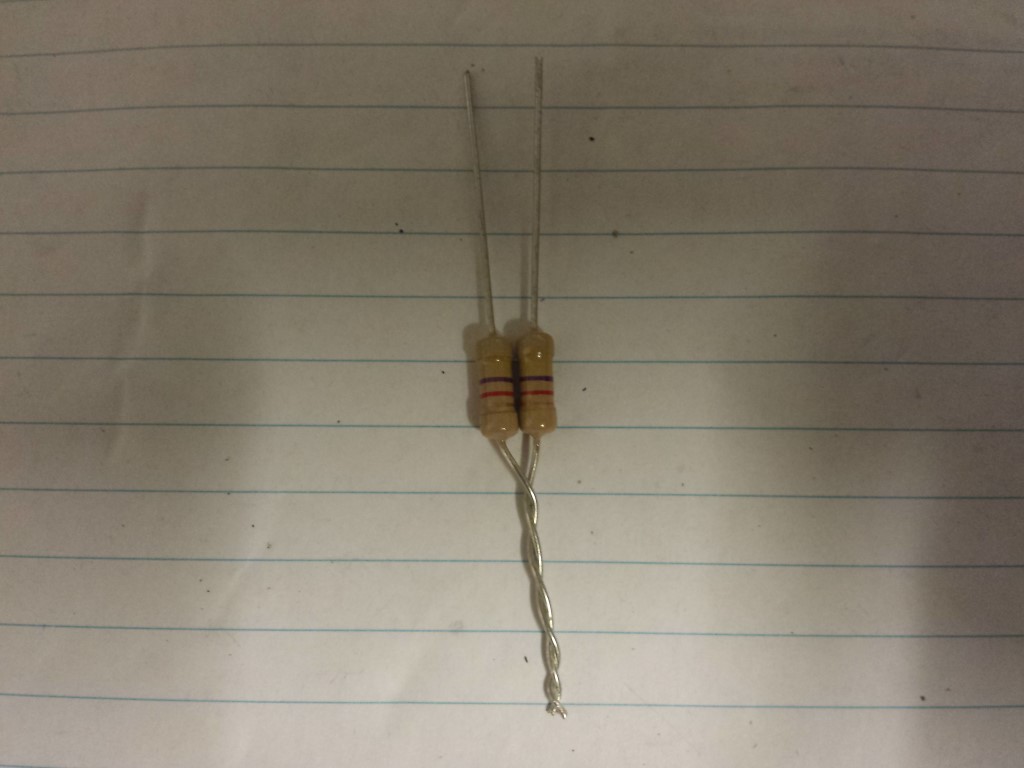
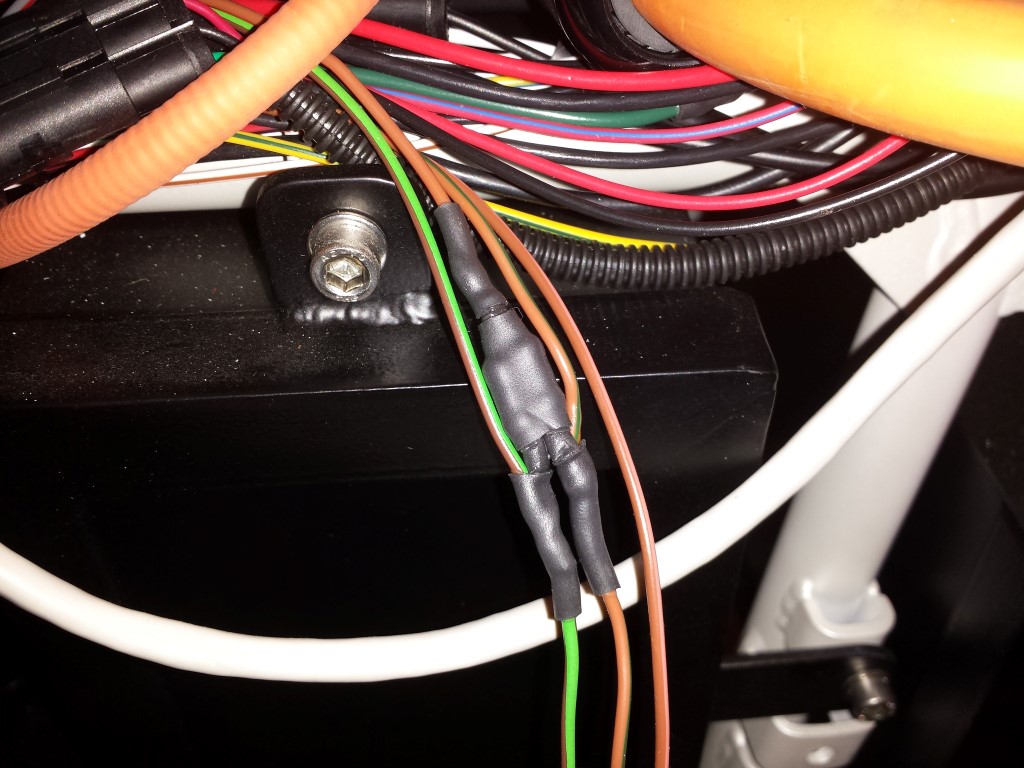
I also connected the throttle now. I used 2 resistors for this and one extra wire, these are again for the BMS. These will make sure that there's not much power available anymore once the battery cells drop below a certain level. This way you won't immediately destroy the battery cells while still being able to get off the road safely.
Also placed all of the fuses to be able to test the 12V system. Meanwhile I've already broken one and replaced it, apparently the contactors needed a little more power.
And I can already say that the 12V system is working perfectly. I just had to make a small modification with a relais, for the rest everything seems to be fine. I just have a weird problem where the controller sometimes doesn't give any power the motor after I let it run in reverse and then forward again. Could be that there's just not enough voltage since everything was connected to a 12V battery. Just have to connect the wires to the controller again and then I can try with almost 80V, see if it works better then.
Posted on 5 January 2015 at 01:43 am (CET)
Category: Wiring (12V), Wiring (HV)
Posted on 5 January 2015 at 01:43 am (CET)
Category: Wiring (12V), Wiring (HV)
First off I'd like to wish all readers a happy new year. Hopefully 2015 will be a very good year for all of you.
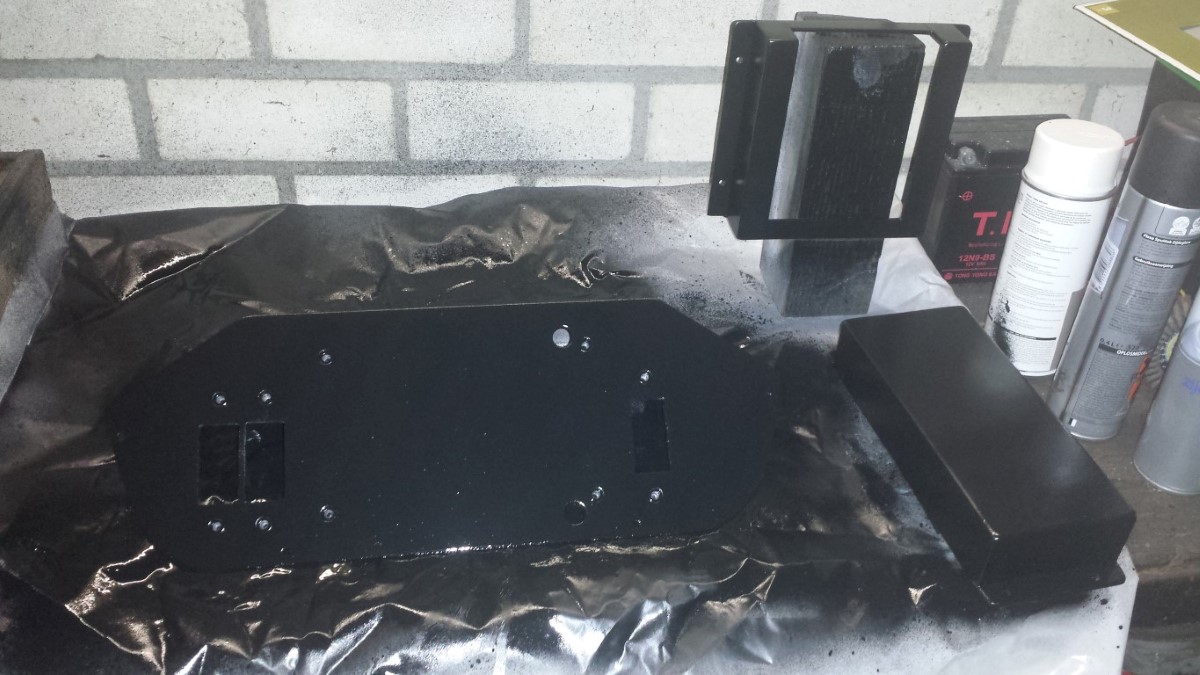
The first update this year and it already starts good. I was able to completely finish the top case this weekend.
The protective covers were all sprayed black. I did this myself and it actually still turned out pretty nice.
I still want to be able to detach the plates so I bought some connectors again for all of the wires. The top case itself is already waterproof so I don't need waterproof connectors for this. First I put all of the contacts on the wires.
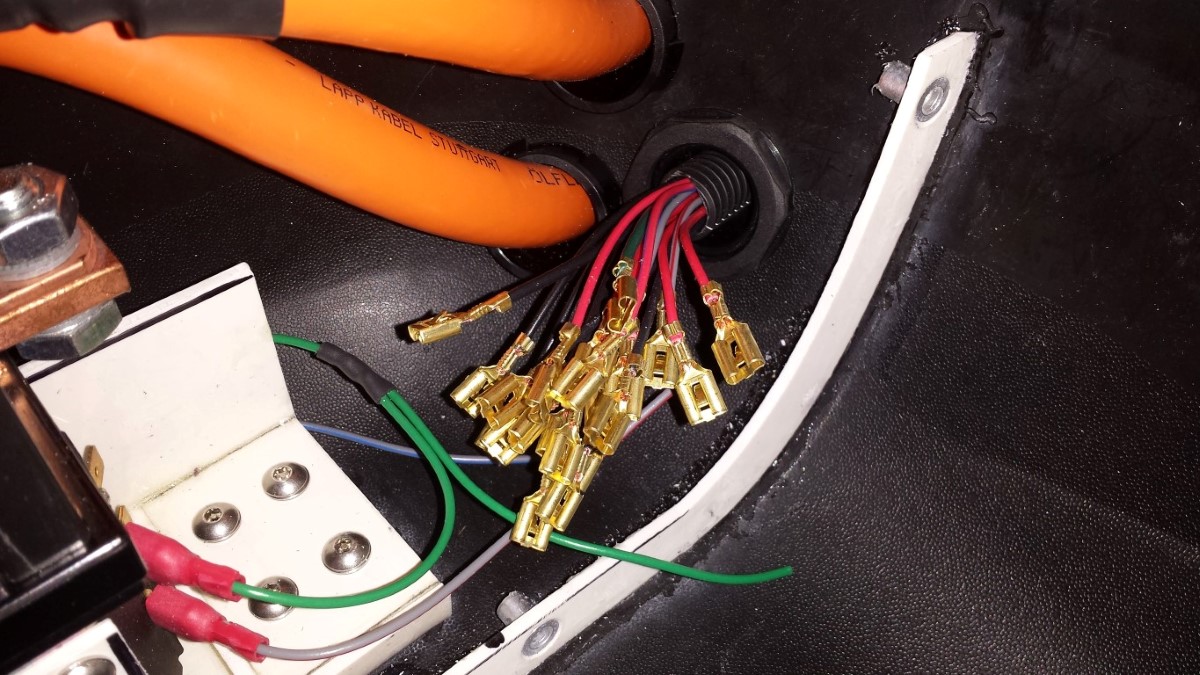
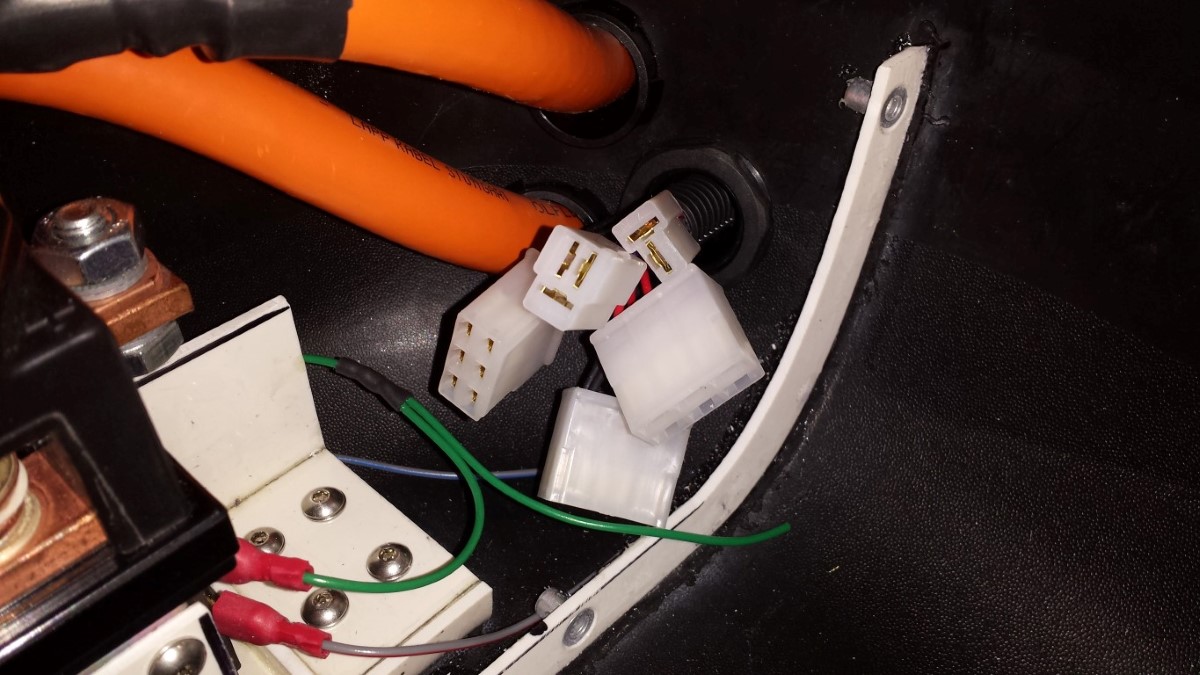
With the connectors on.
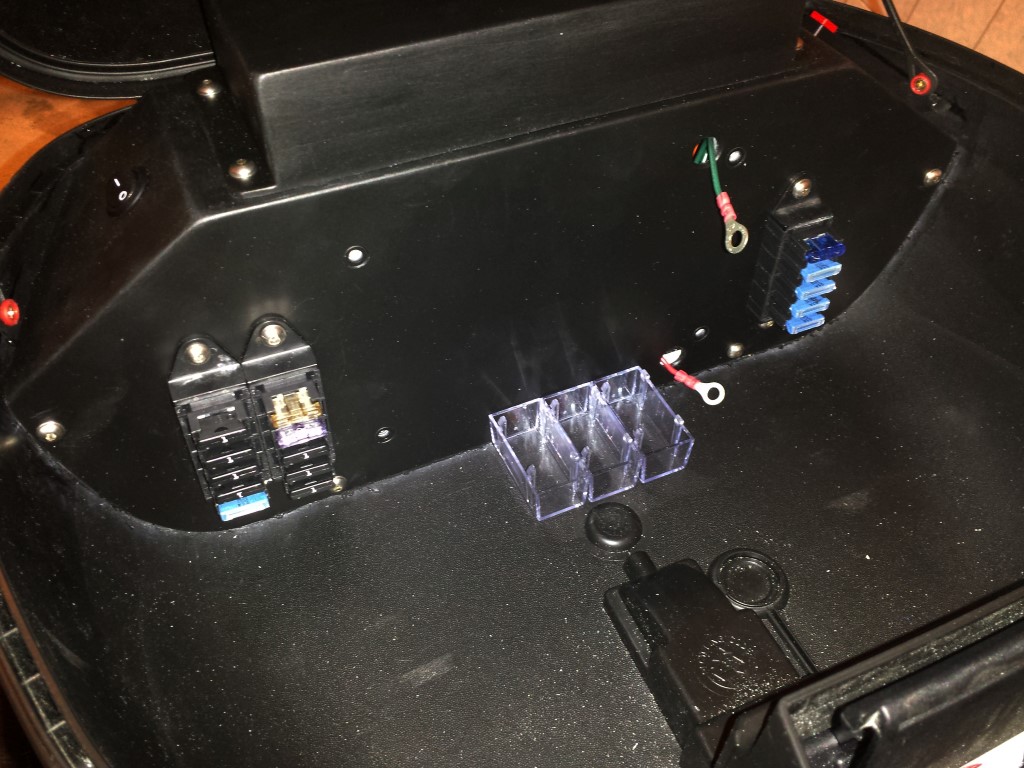
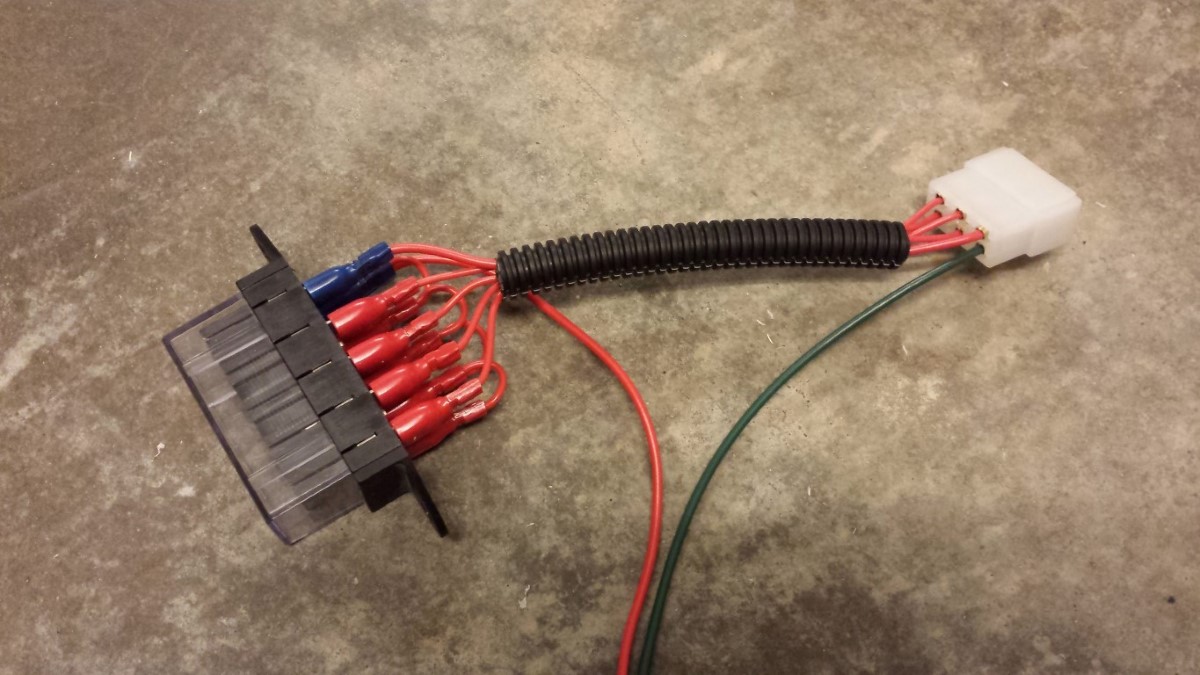
Since I made a complete new wire harness I wanted to add some extra safety. I bought a few fuse boxes which all seperate circuits are fused with. Was a lot of work to connect this all but it'll be very nice when it's in use.
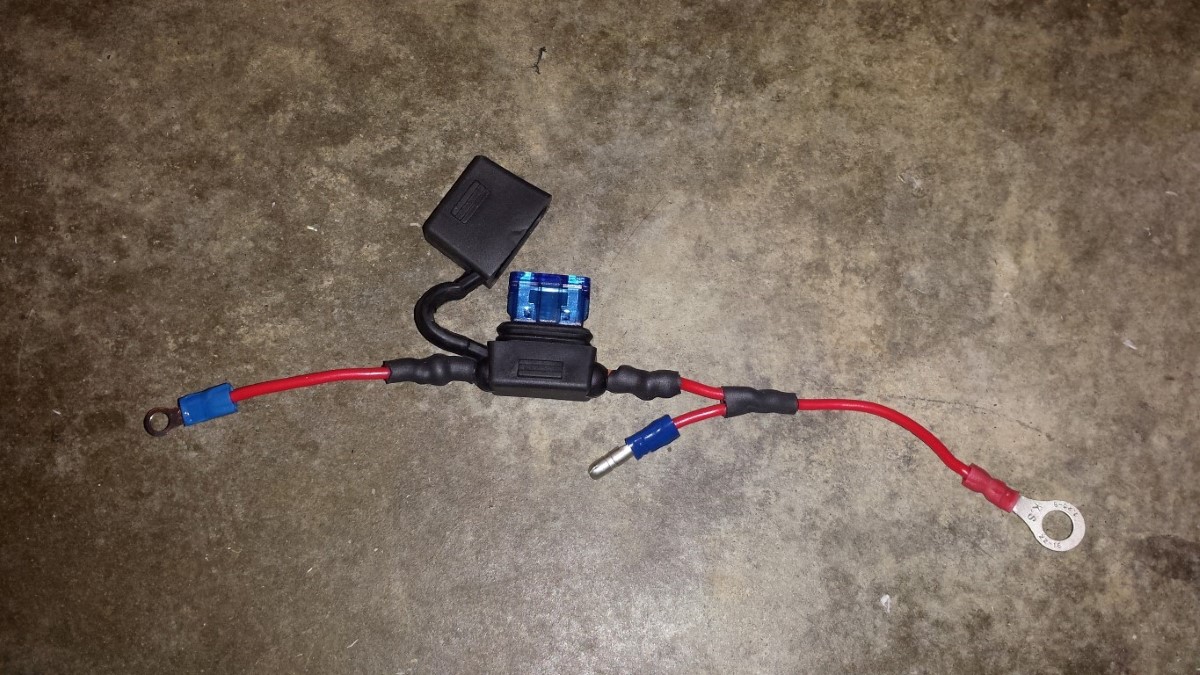
The wires between the DC-DC converter, 12V battery and wire harness were also very fun to make exactly to size. The + wire of the DC-DC converter also has a seperate fuse.
Attached everything to the protective cover. Now you know what all the holes I made in it are actually for.
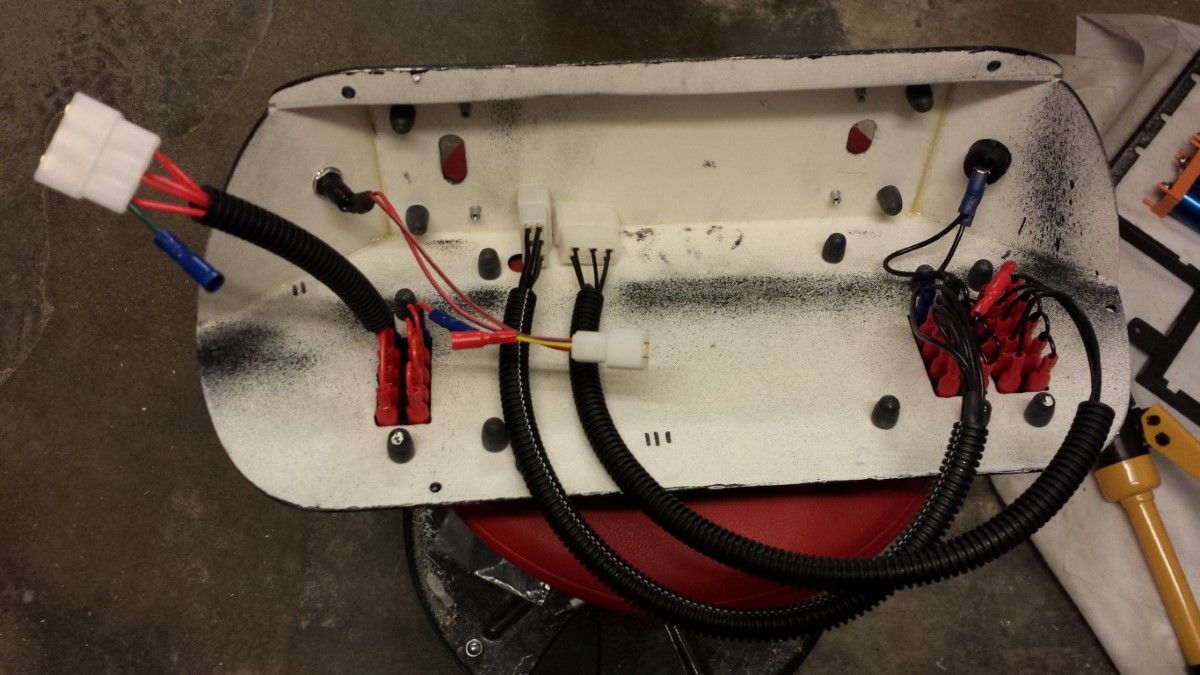
Was quite some work to get everything connected before I could attach the plate but finally it looks very nice now.
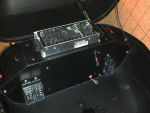
DC-DC converter attached and connected.
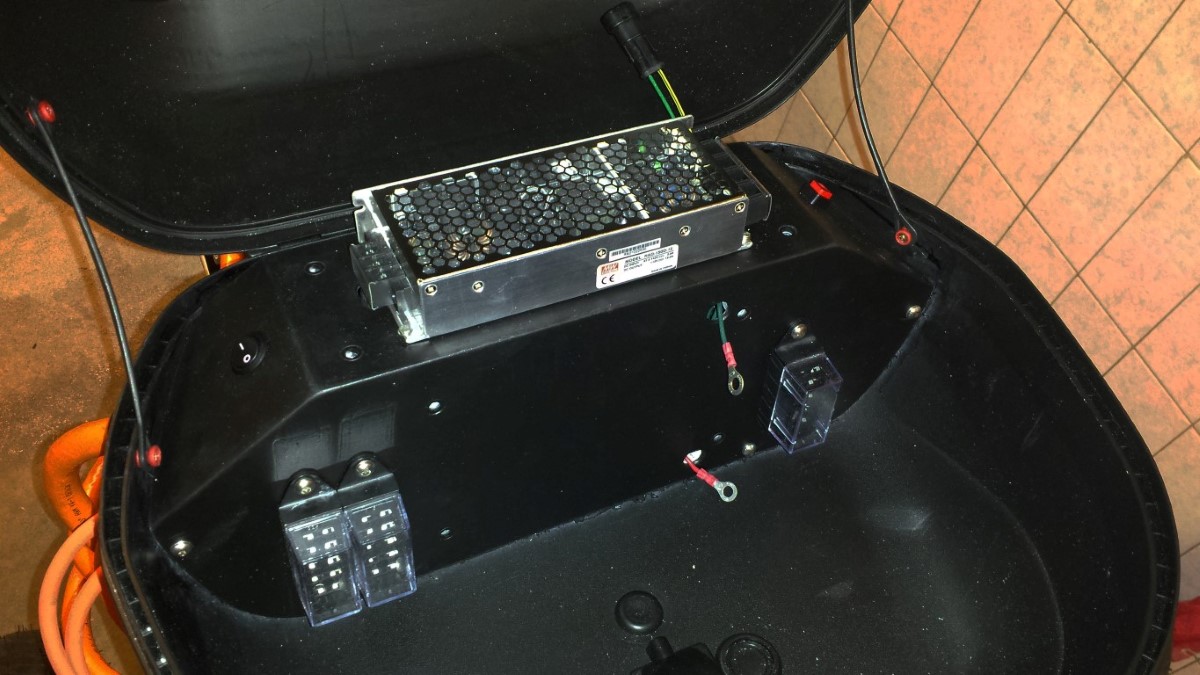
And another protective cover on there.
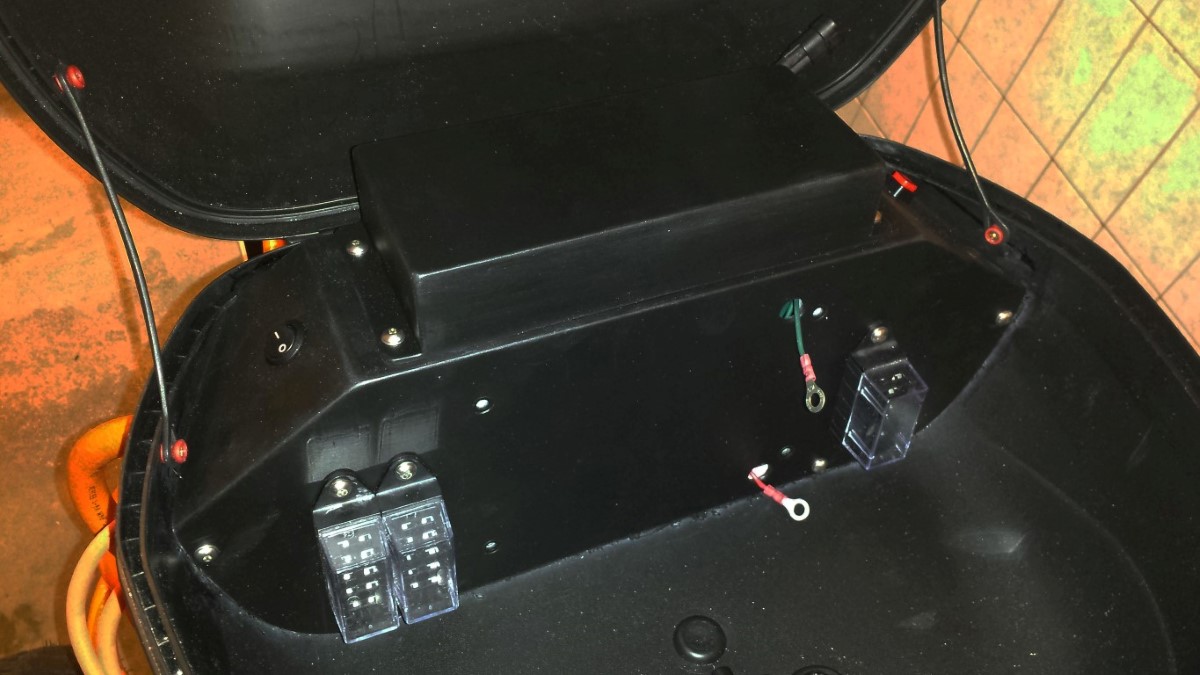
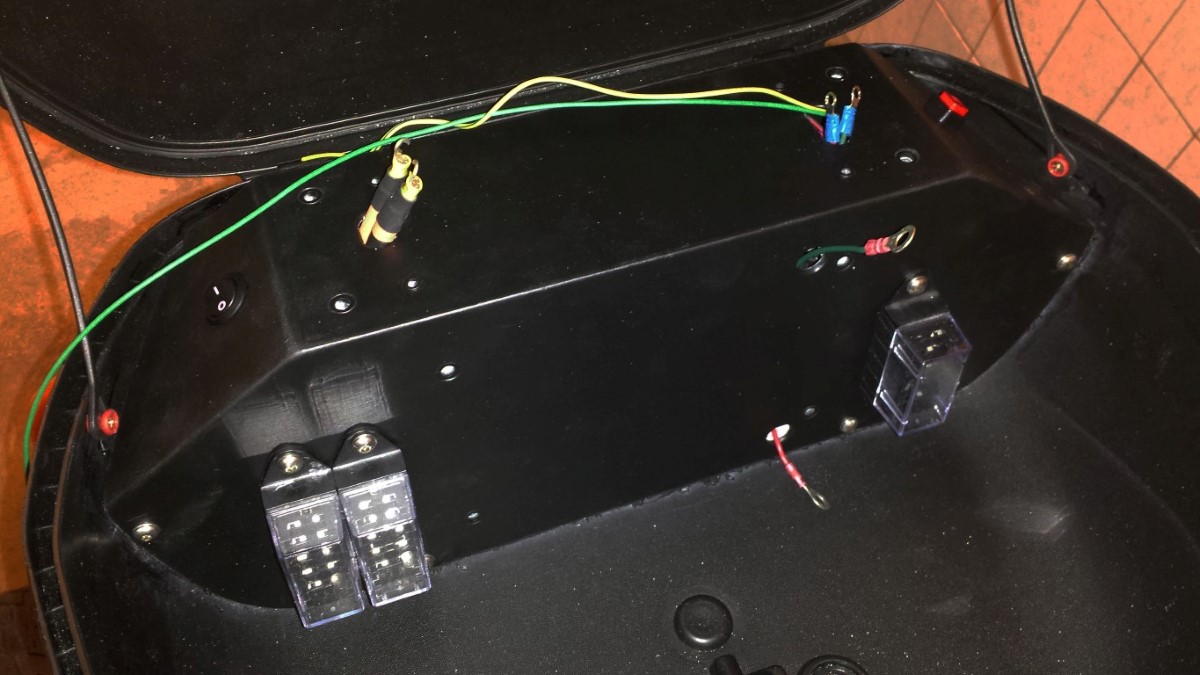
The 12V battery I won't connect for now. I did this for a short moment but then I saw that the DC-DC converter actually draws a little power. So I can only connect it once I have the whole battery pack connected so the DC-DC converter can keep the 12V battery charged. That's what I'll be busy with the coming days. Will be a bit more exciting since I won't be working with 12V anymore but 72V.