
 Nederlands
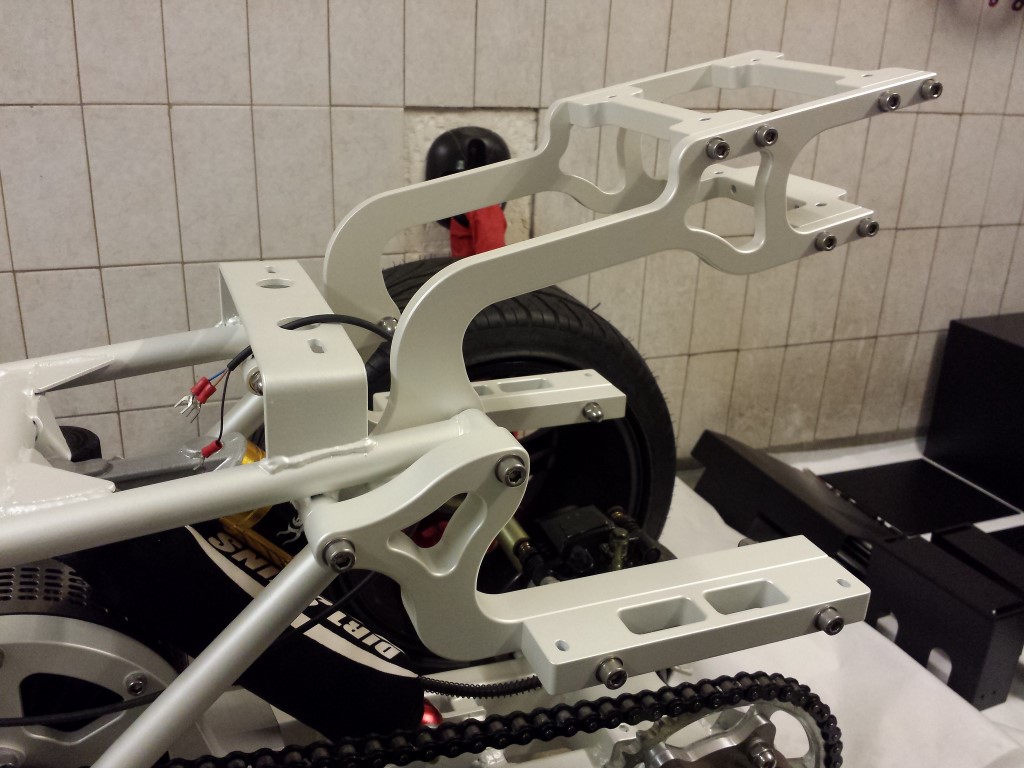
Blog / September 2014
Posted on 29 September 2014 at 11:50 pm (CET)
Posted on 29 September 2014 at 11:50 pm (CET)
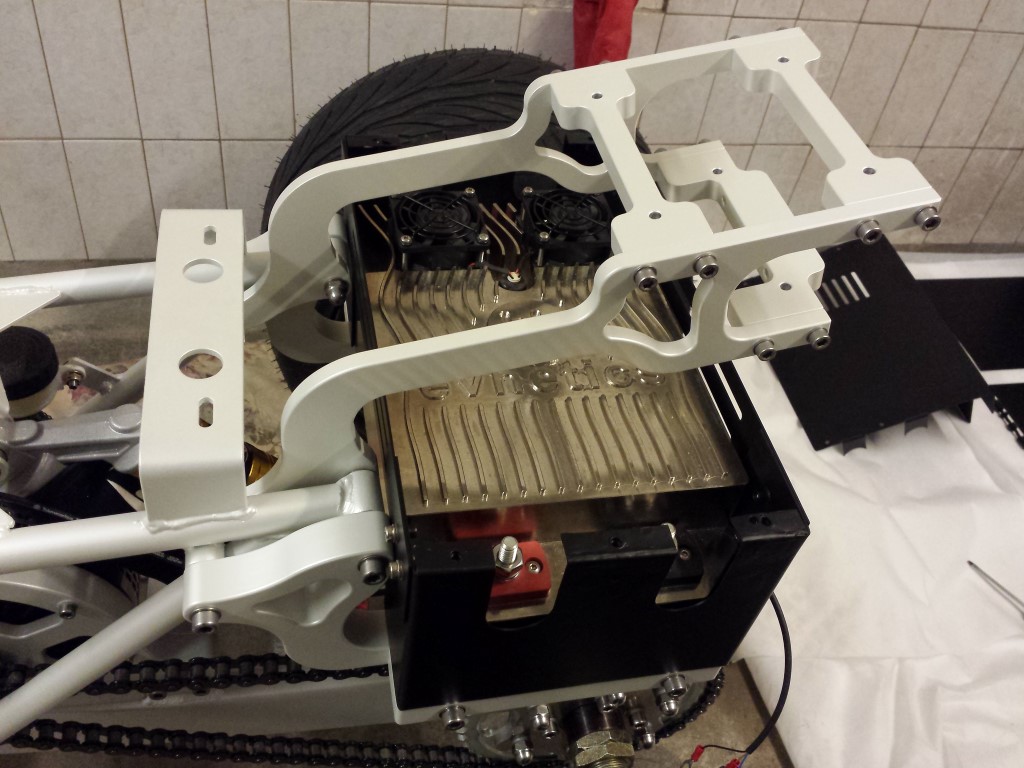
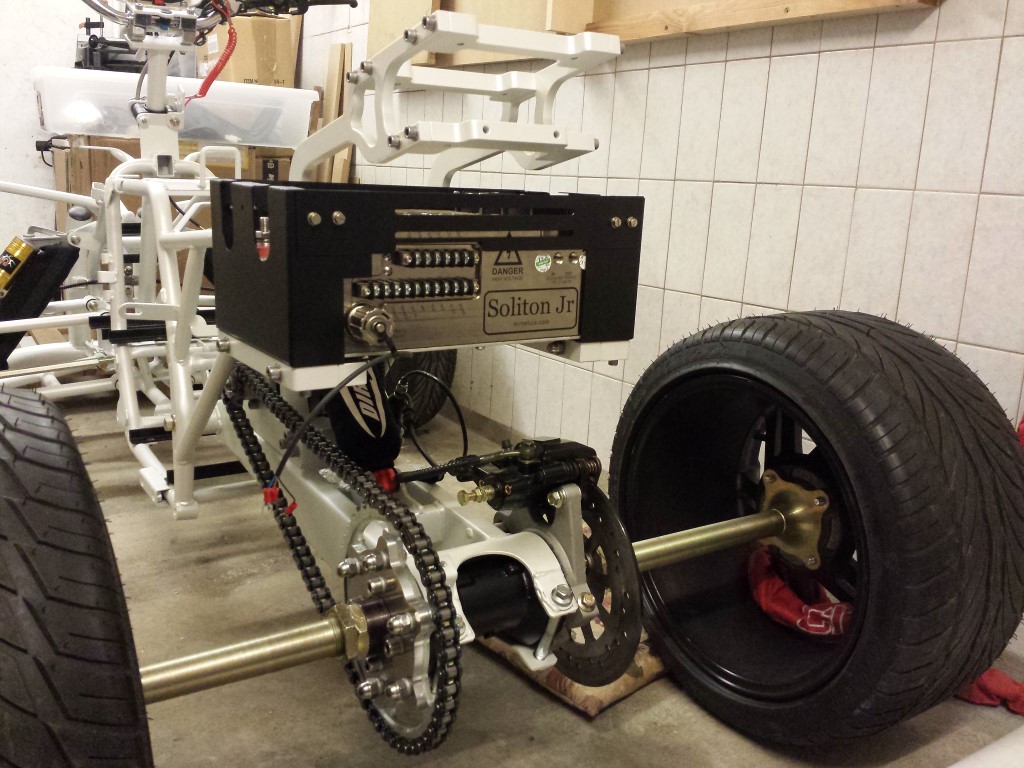
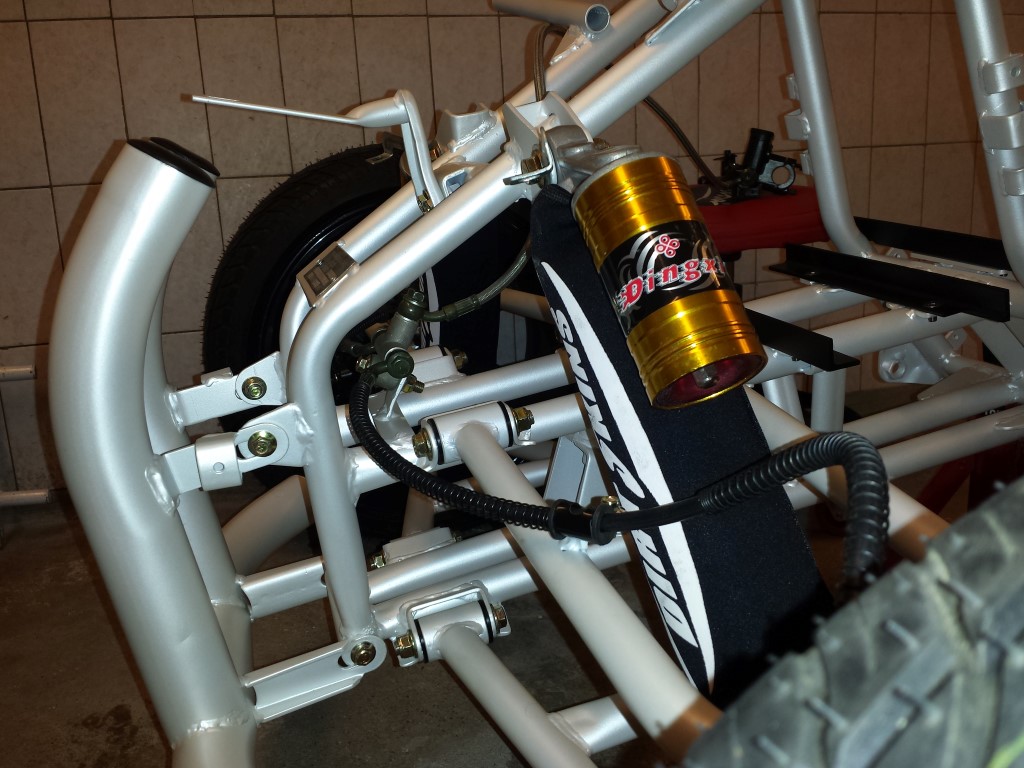
Today the mounts for the controller and top case were placed. I still really like the look of them.
I also put part of the temporary aluminium enclosure around the controller and placed it on the mounts. While it's an ugly enclosure I think it looks much better than before now it's matte black. It still is a shame that the controller itself won't be visible for now though, untill I can make something else for it.
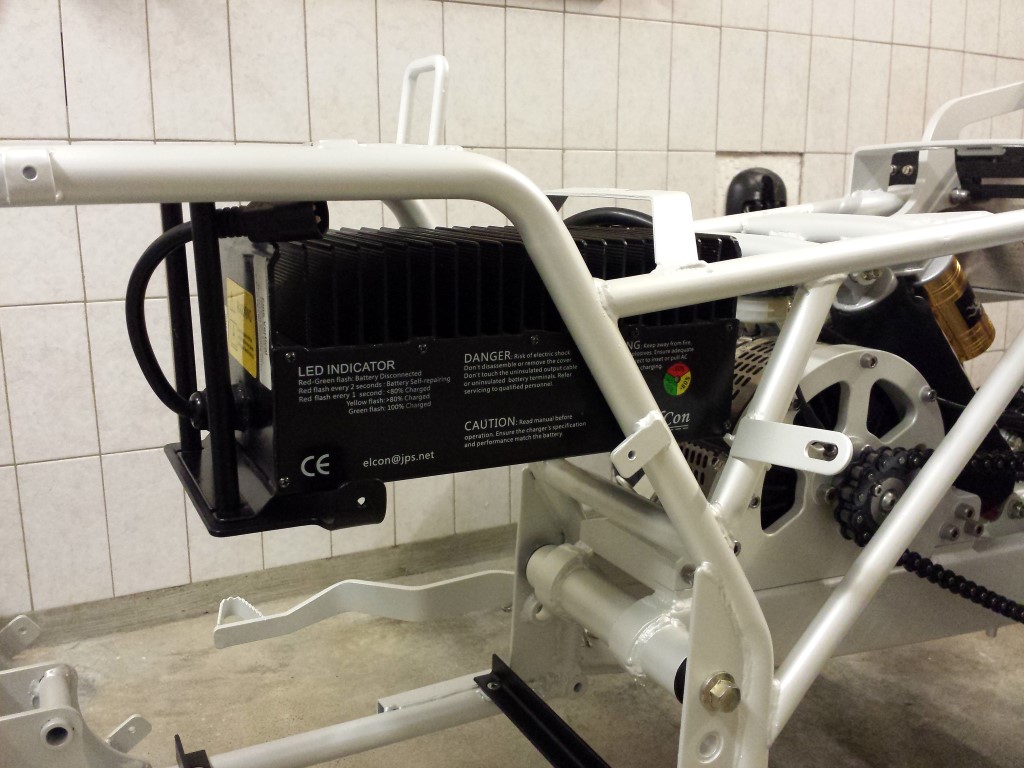
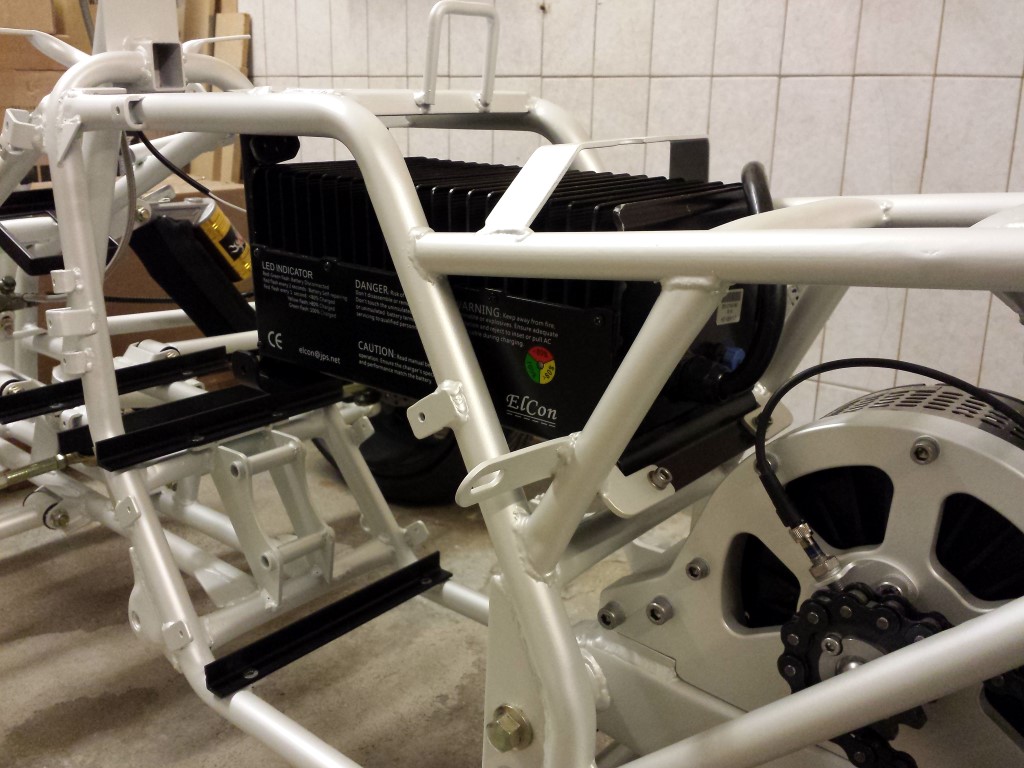
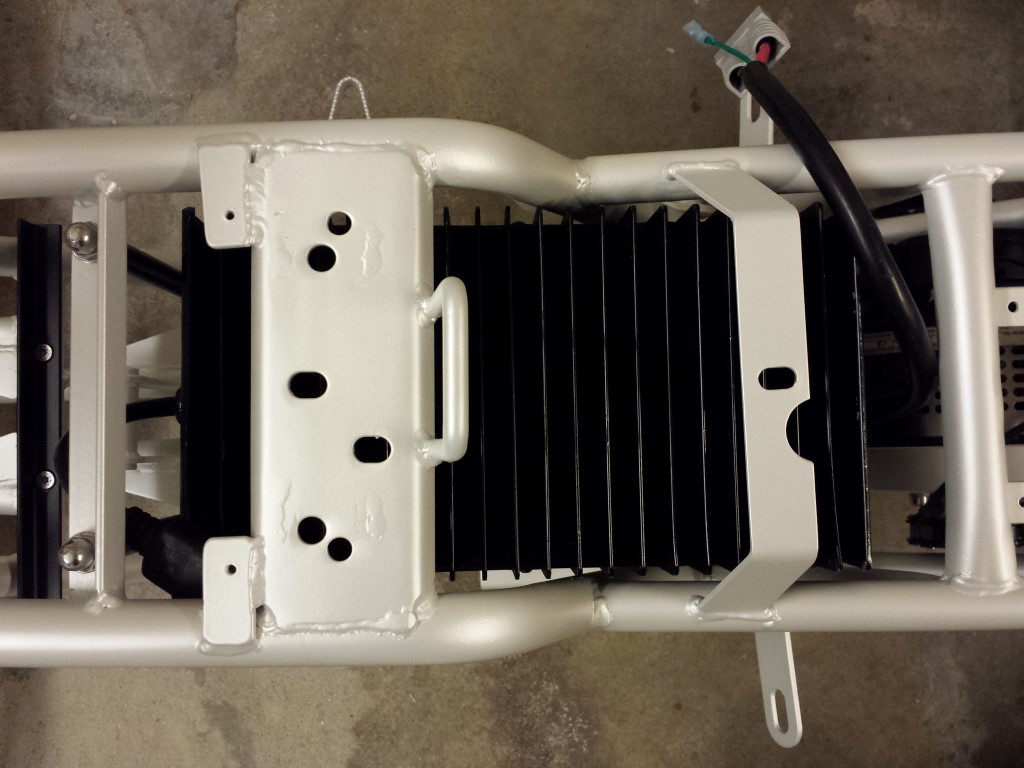
The charger is also attached. This is hanging nicely in there as well now.
I think I'll start with charging the batteries one by one at the same level tomorrow. Meanwhile I can continue filling up the other boxes with components and connecting some wires again.

Posted on 29 September 2014 at 12:09 am (CET)
Category: Electric motor, General
Posted on 29 September 2014 at 12:09 am (CET)
Category: Electric motor, General
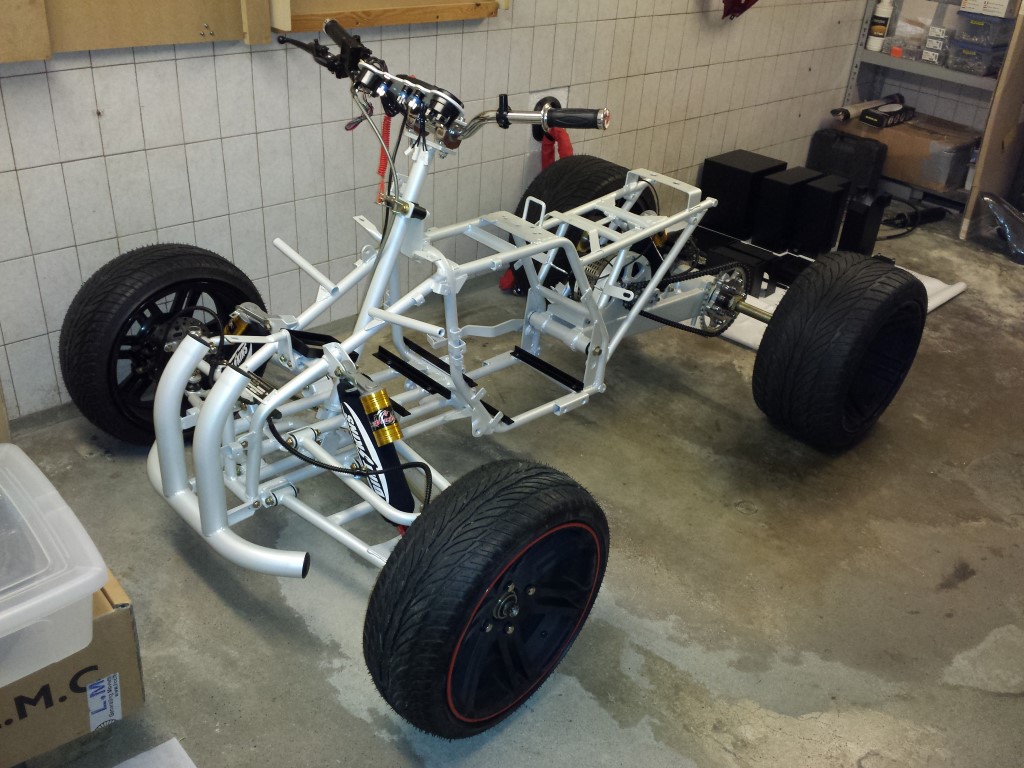
Today was a very productive day. The quad bike is nicely standing on 4 wheels again. This morning I started with attaching the motor to the rear swingarm. I just needed a rubber hammer to get it on there because of the thick layer of paint on the blocks and plate but at least it's firmly on there now.
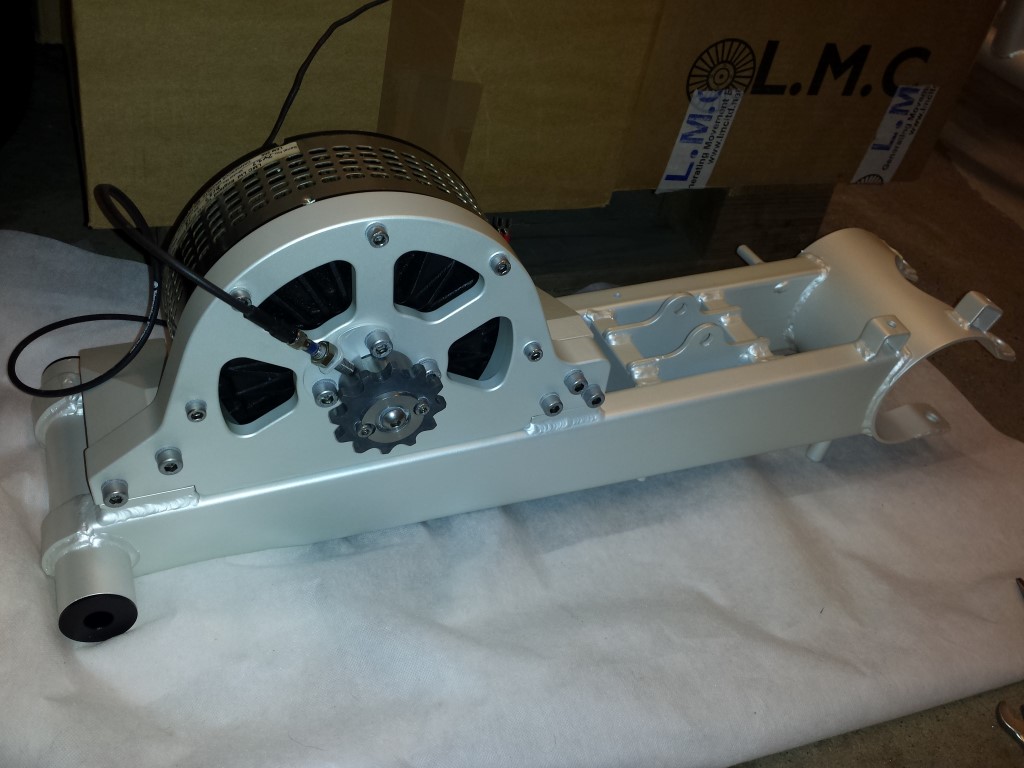
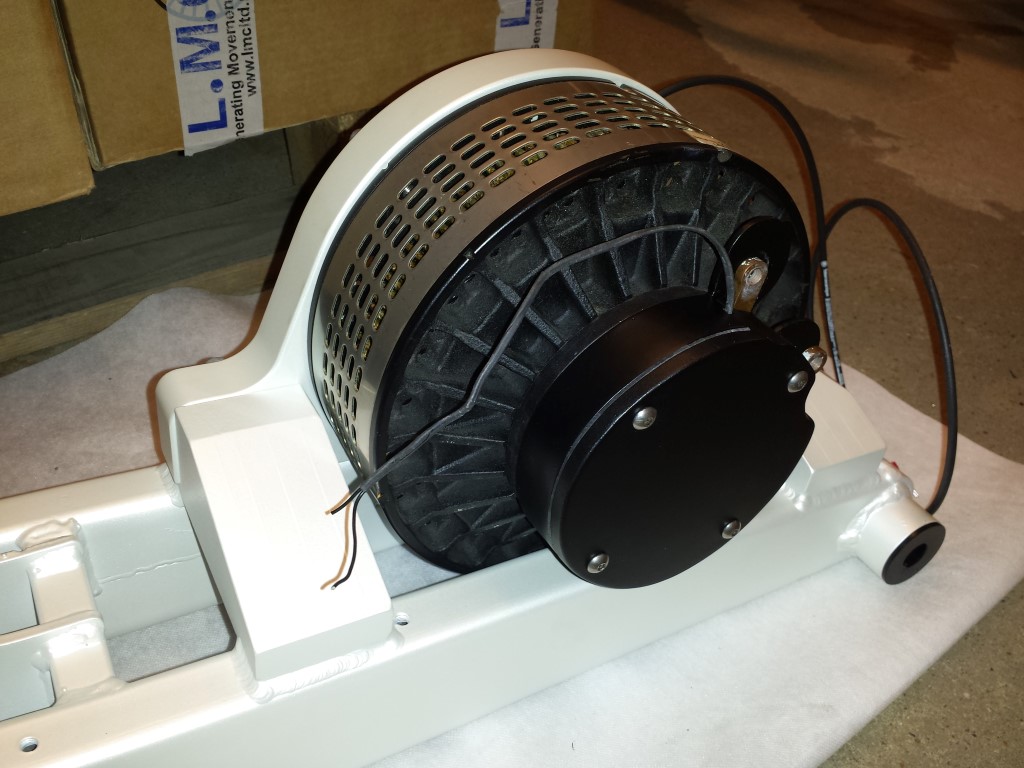
I also placed the new protective cover on it. Definately looks much better than the original.
Then I wanted to place the rear swingarm onto the frame. Wasn't really easy since it weighs about 15 kg in total with the motor on it. With the POM bushings in it it's also just a bit wider so I had to push the mounting points on the frame outward a bit. After that I was able to get it in pretty good with some help of the rubber hammer again and a few extra hands.
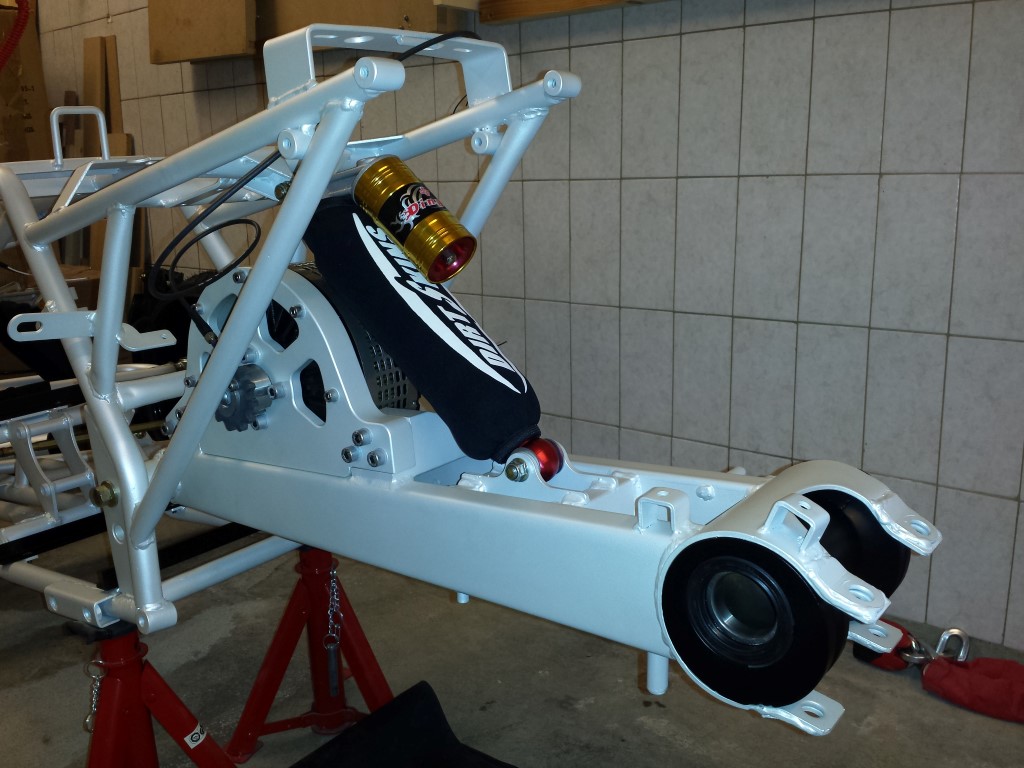
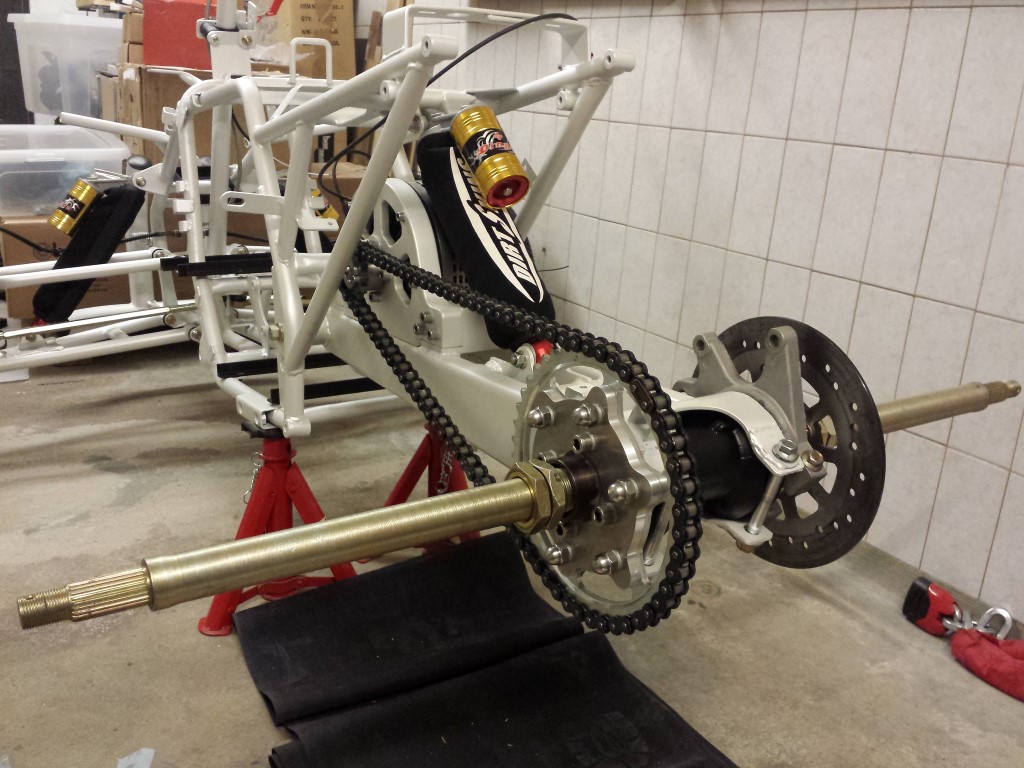
Shock with shock cover attached and the bearing house in the rear swingarm.
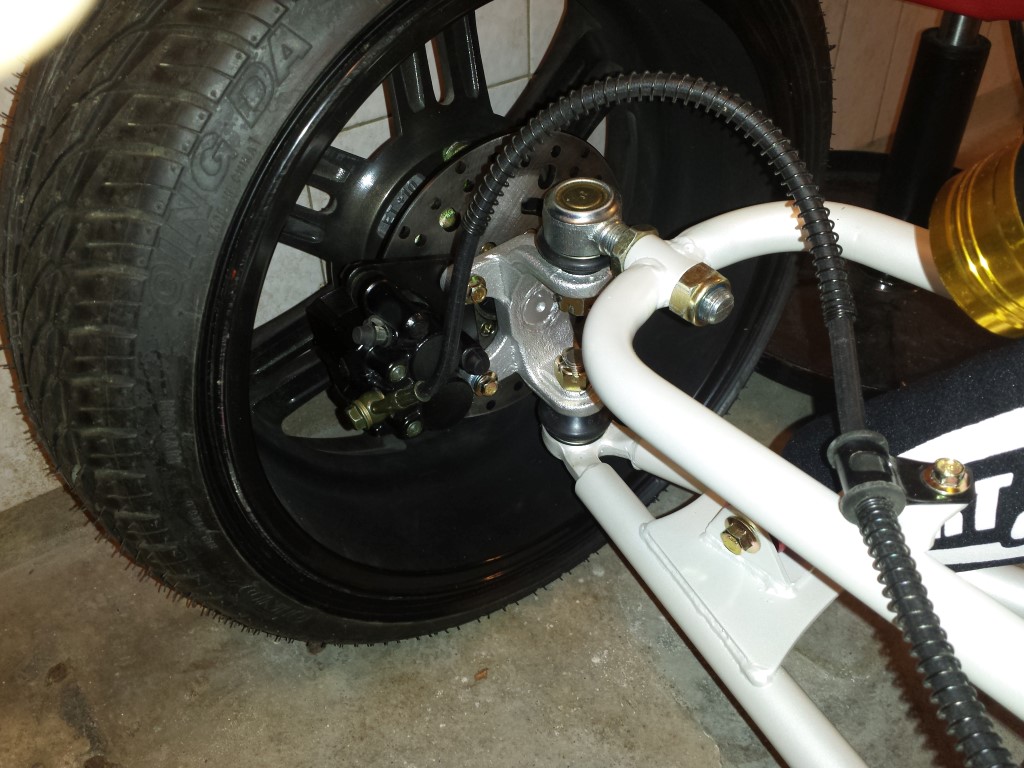
Then I placed the rear axle and added the rear sprocket and brake disc to it. Also placed the chain and tensioned it already.
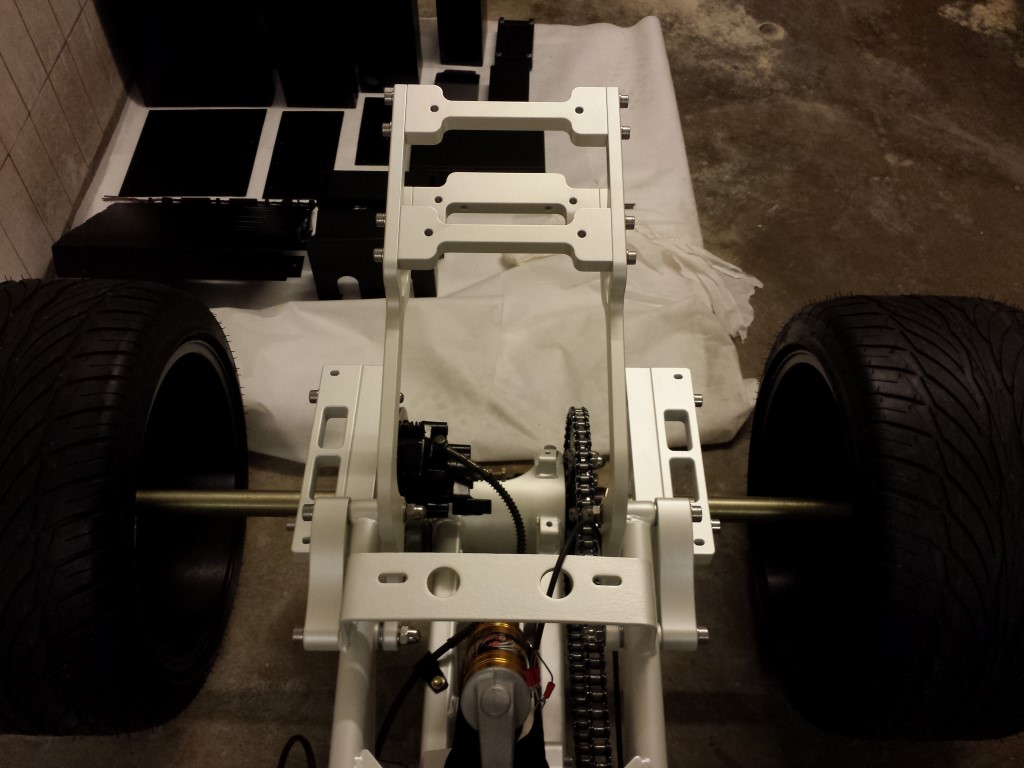
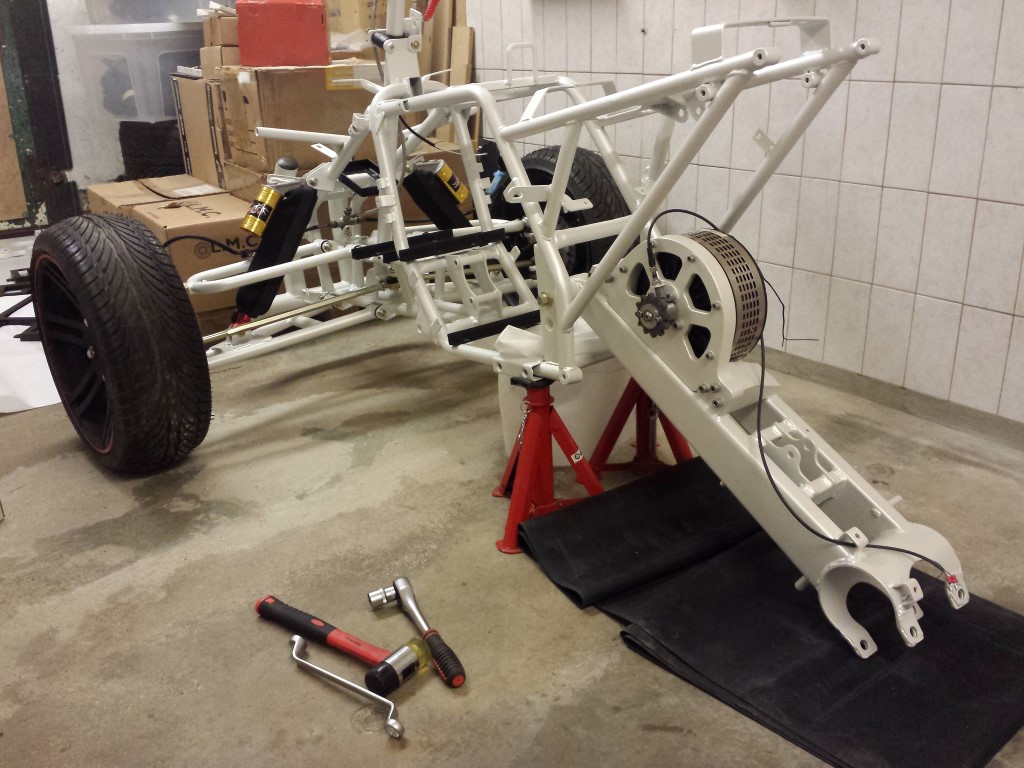
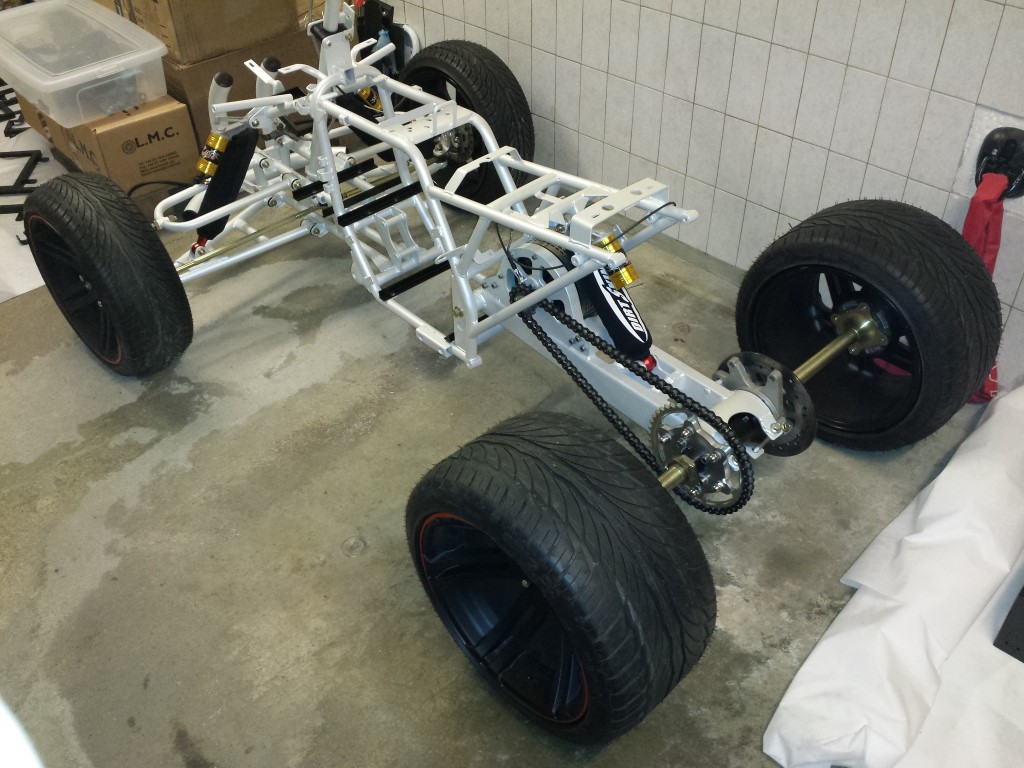
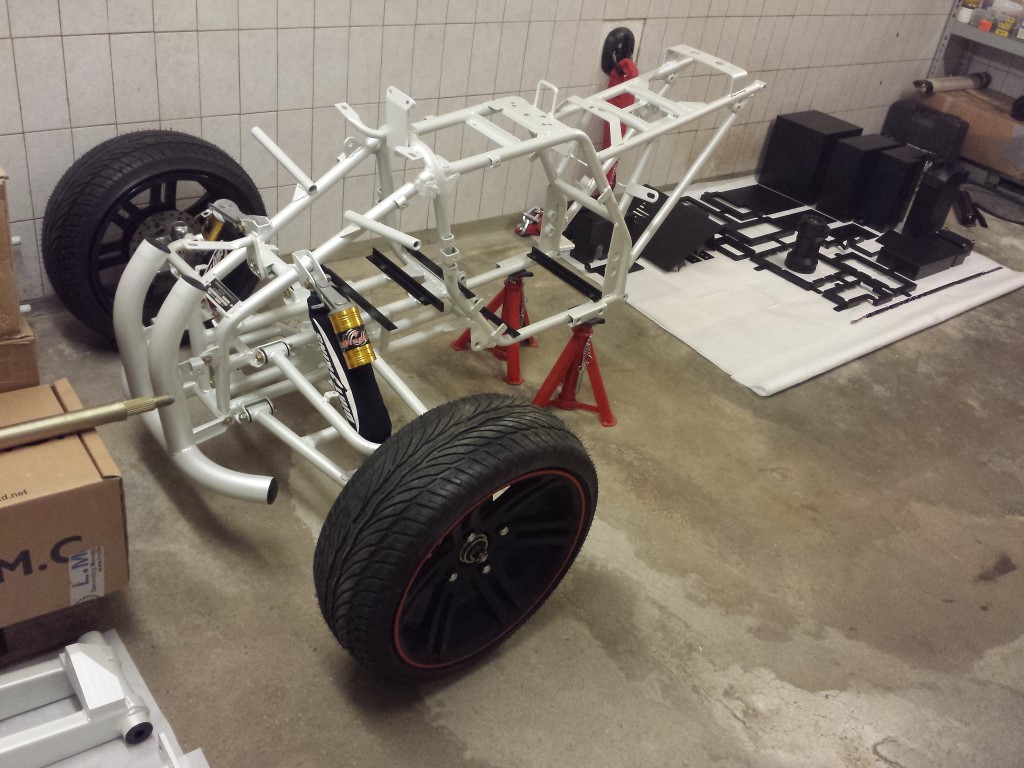
And then I could place the wheel hubs and the wheels themselves. Finally the quad bike is standing on all 4 of its wheels again.
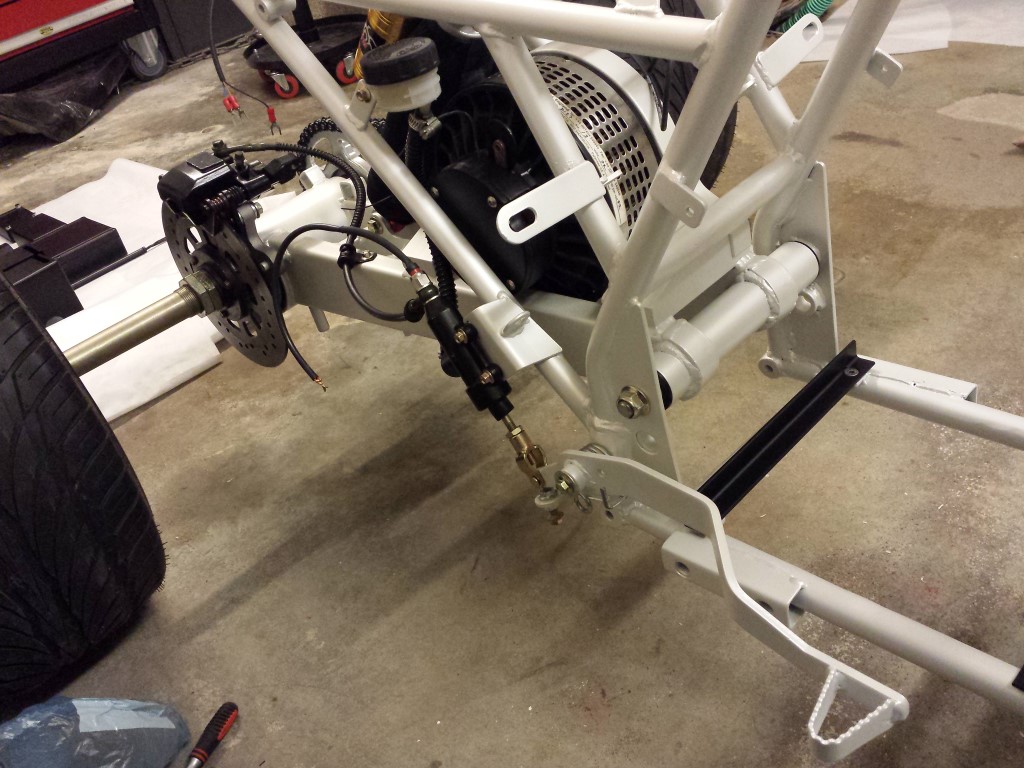
Also still placed the whole rear brake system.
And then I thought it was enough for today. Tomorrow afternoon and evening I'll continue again. What I did already notice is that the quad bike rolls much easier now than before. Think this has something to do with the new bearings. Always had to push it a lot harder when the old bearings were still in it. Or perhaps the brake pedal for the rear just wasn't properly adjusted, this is also quite better now I think.
Just another picture of how the quad bike looks like right now. Really starting to look like something again.
Posted on 28 September 2014 at 12:22 am (CET)
Category: General
Posted on 28 September 2014 at 12:22 am (CET)
Category: General
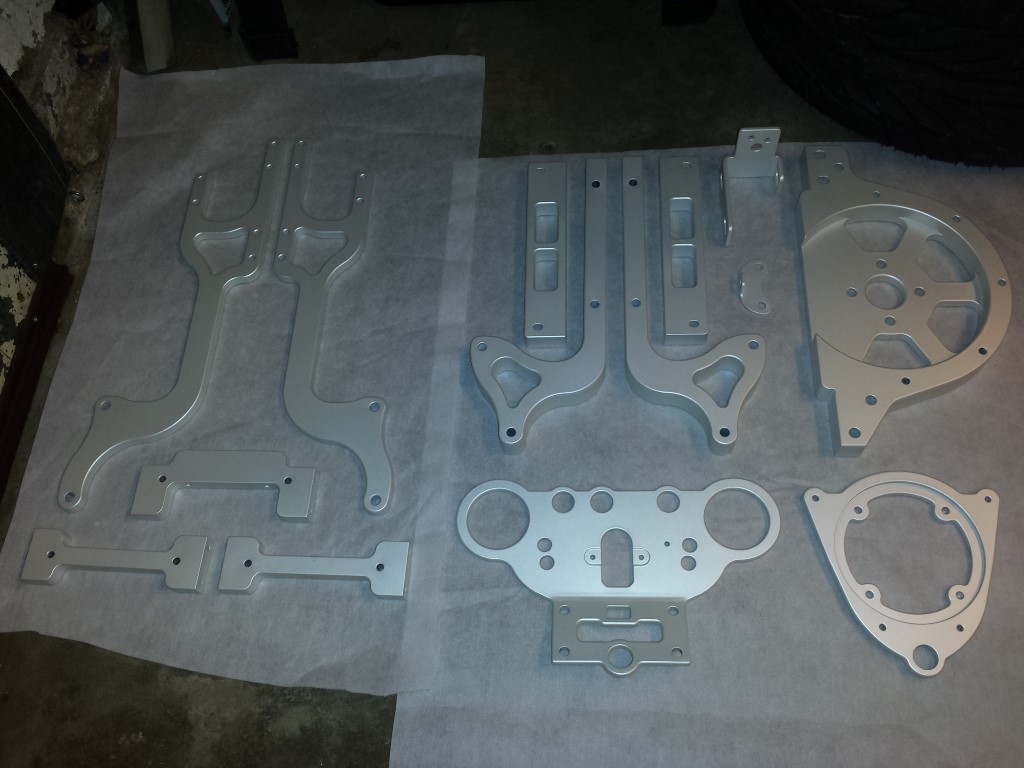
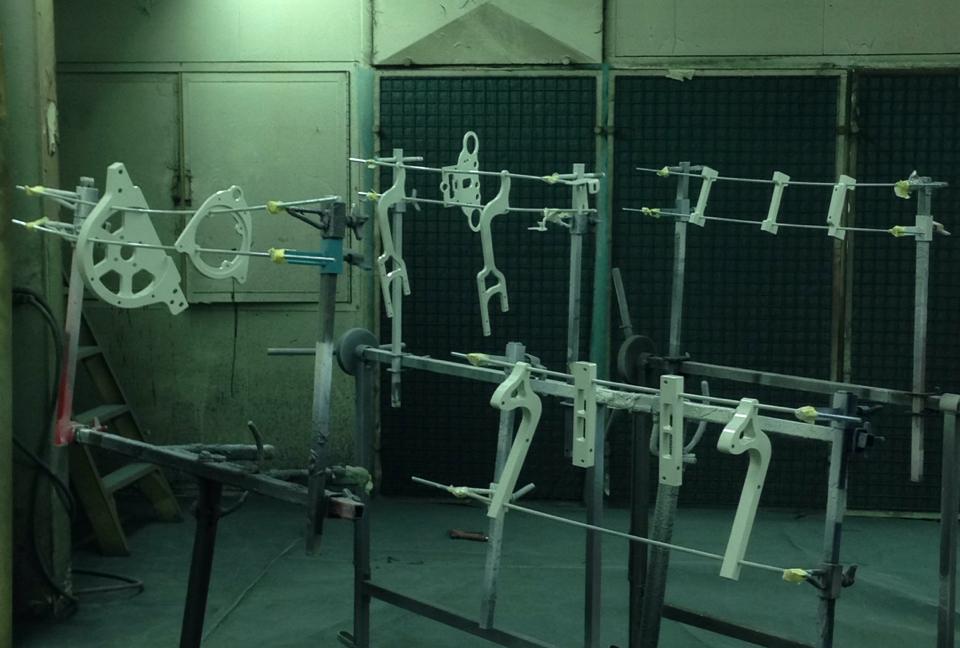
As promised, another (late) update today. The aluminium parts were sprayed today and are back home. I really have everything here at home now so it only depends on me now how fast the quad bike will be finished. Here are some pictures from after the spraying. My sister has really done a good job again, it all looks very nice again.
And here they are back home all nicely put together. I'm happy that I won't have to get back any more parts because it's really full here now.
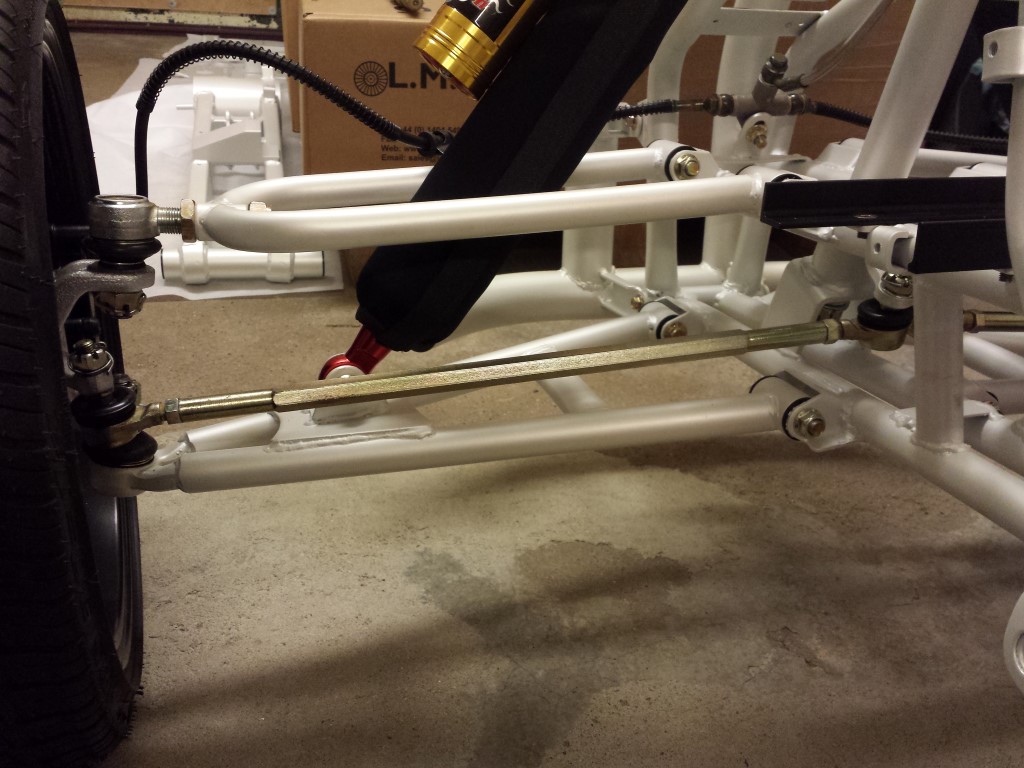
Ofcourse I immediately continued building it up again. First I placed the complete front brake system. Just like it came out without having to remove even one brake line it went back in again.
Then I greased and placed the steering shaft and track rods. Also attached the handlebar with the gauge plate on it since I won't be placing the fenders yet for the test ride soon (front fender can only be placed when the handlebar is off).
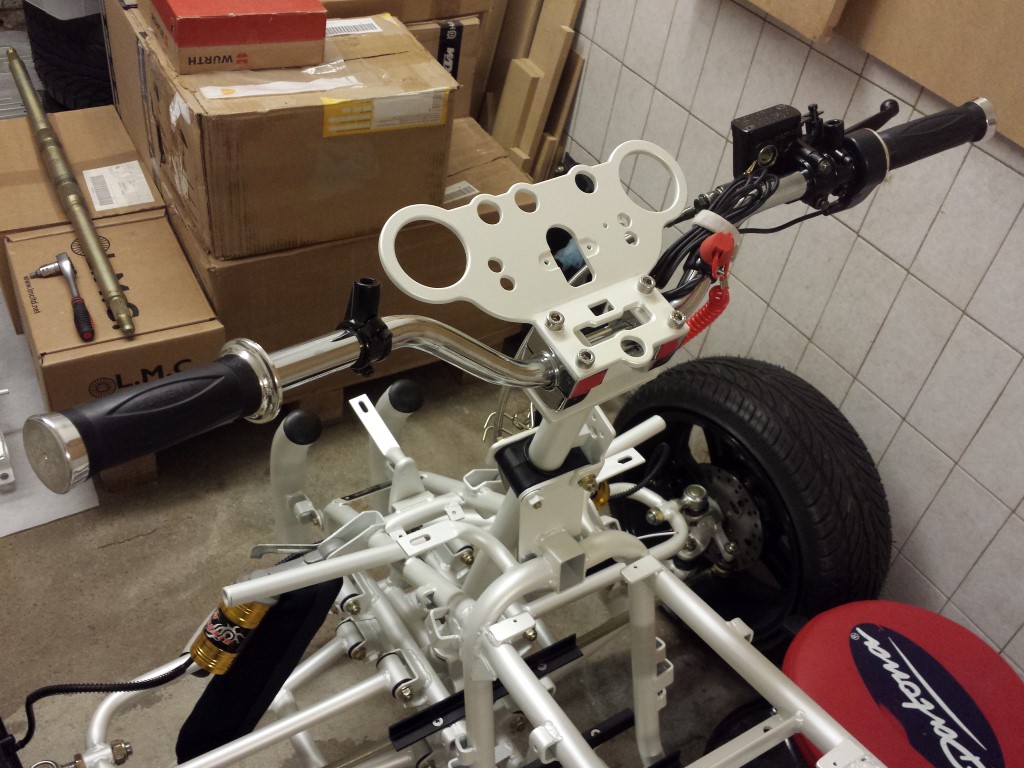
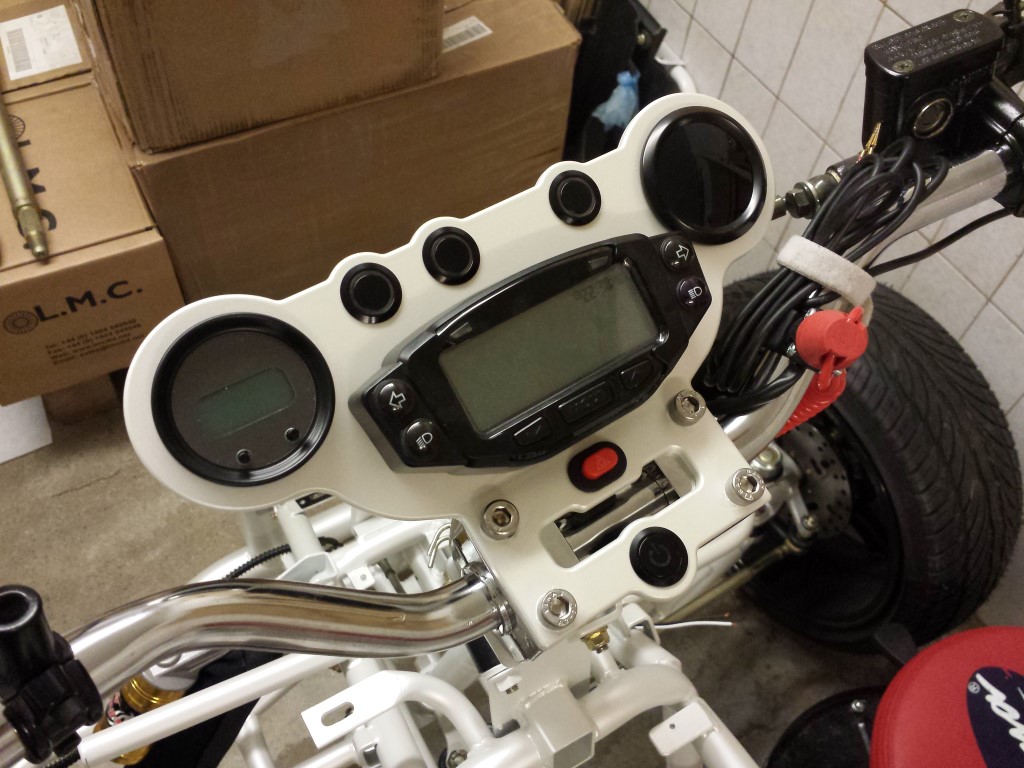
And I placed all of the gauges and switches on it, looks very nice again.
Tomorrow I'll continue again, I think the rear swingarm might be going in.
Posted on 27 September 2014 at 12:04 pm (CET)
Category: Wiring (12V)
Posted on 27 September 2014 at 12:04 pm (CET)
Category: Wiring (12V)
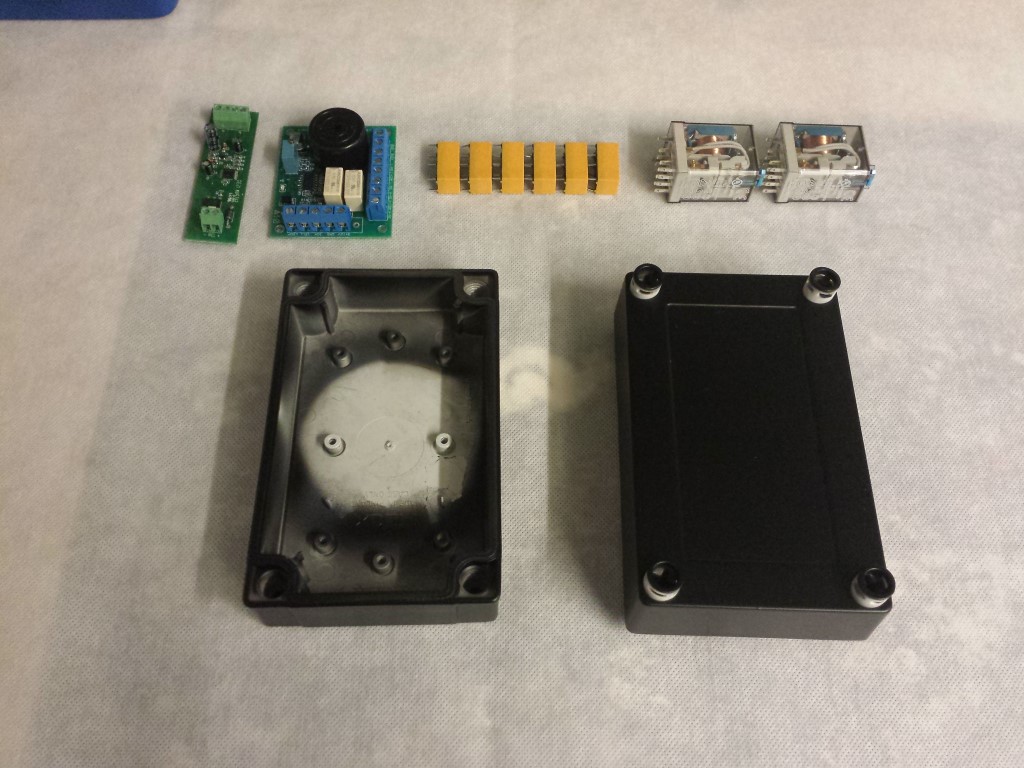
The last few days I've been been busy filling up one of the boxes with components and wiring them all up. Quite a challenge to stuff as much as possible into it. The plan was to get all this in.
I just started wiring up the 2 bigger relays, these are for the 3 drive modes (low power, high power, reverse). All wires are soldered directly onto the contacts. The mounts for these kind of relays take up too much space.
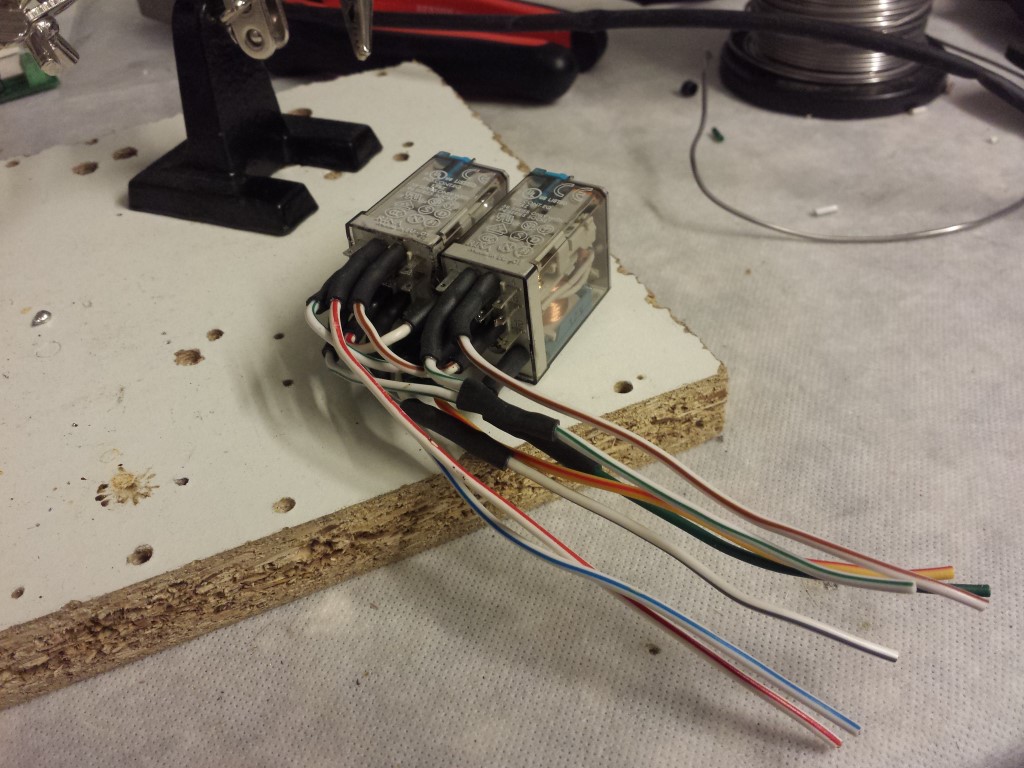
I wanted to do the same with the small relays but this wasn't such a good idea. They still took up too much space to be able to place them in the same box. The contacts also kept breaking when I was moving the wires a bit.

So for these I still bought some circuit boards and they will come in a seperate box. Should still have some space for that on the quad bike.
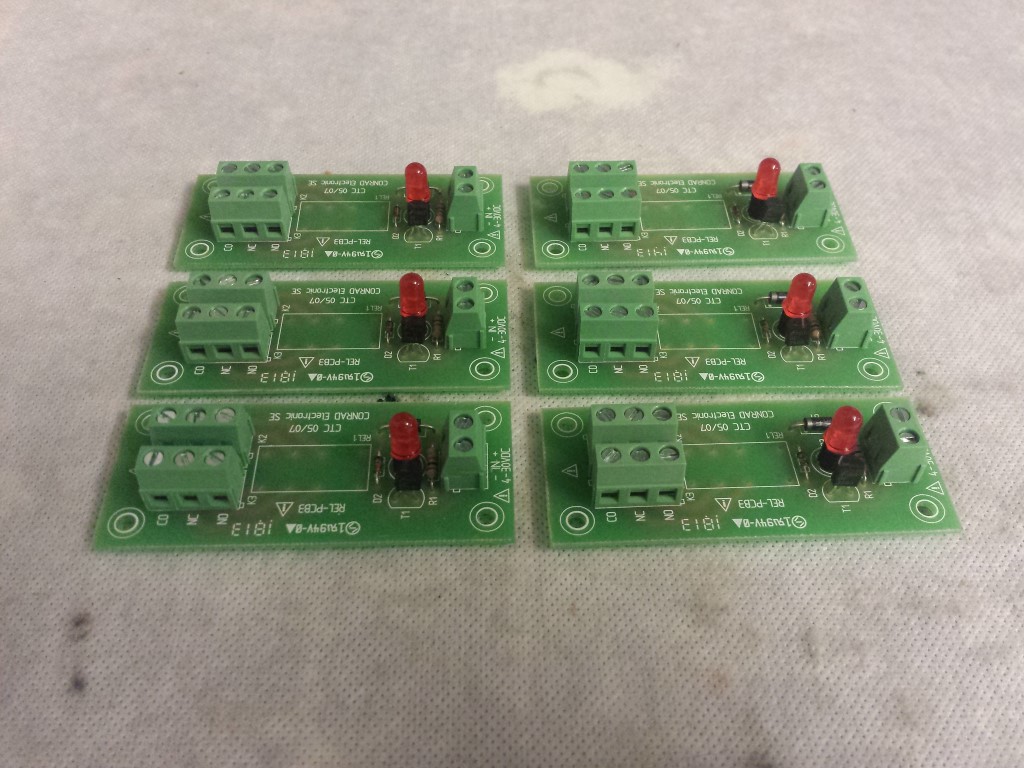
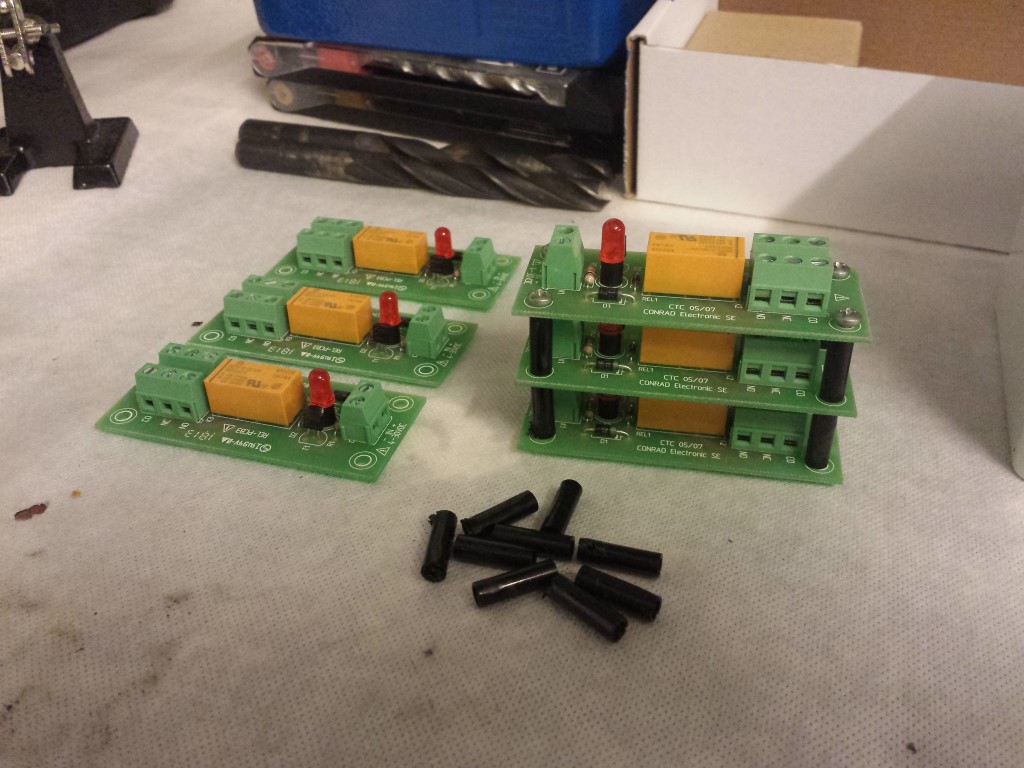
Already soldered the relays onto them. With some spacers inbetween the circuit boards I can stack 3 of them.
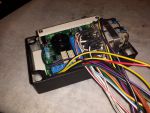
But that box will come later, still have to start on it. For the other box I was working on I made a plate that fits right in. I can screw all of the components onto that. Also wired these all up already. The bigger one is the main board for the BMS (Battery Management System) and the smaller one is to convert a pulse signal from a switch to on/off.
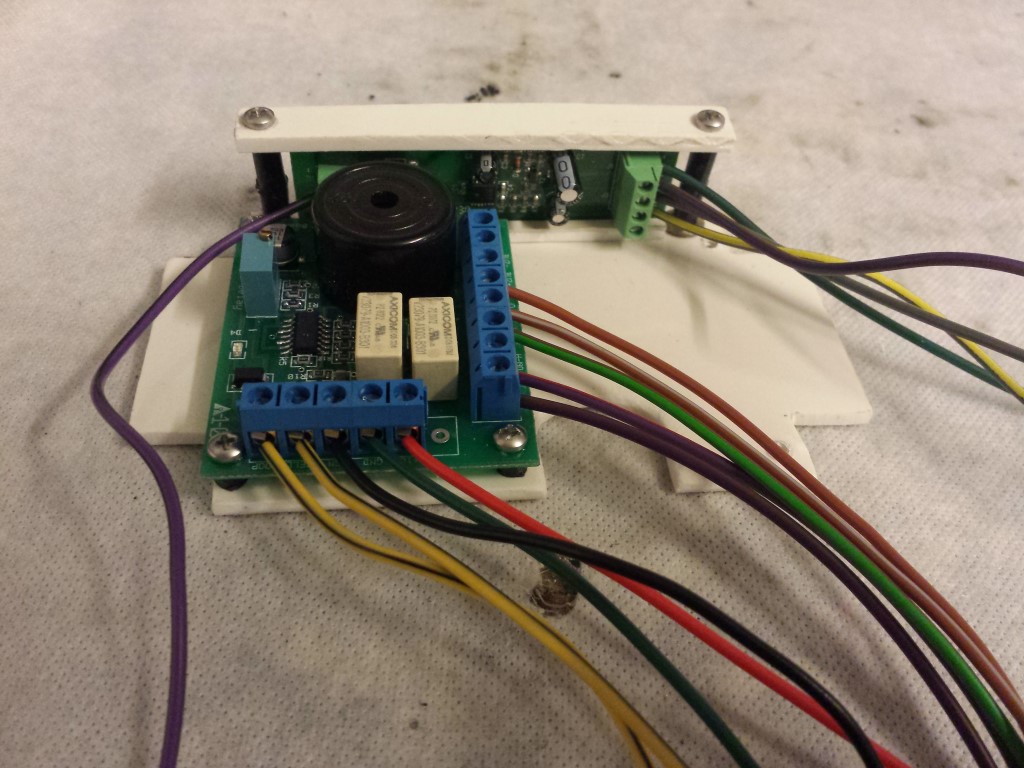
And here's everything in the box, it all barely fits. There are quite a lot of wires that have to go outside of the box. Still have to get some cable glands that I can place in the box but I'll wait with that untill I have the other boxes done as well.

Later on I'll have some more news if all goes well, in any case I'll have enough to do again this weekend.
Posted on 23 September 2014 at 11:12 pm (CET)
Category: General
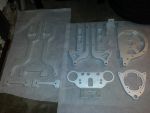
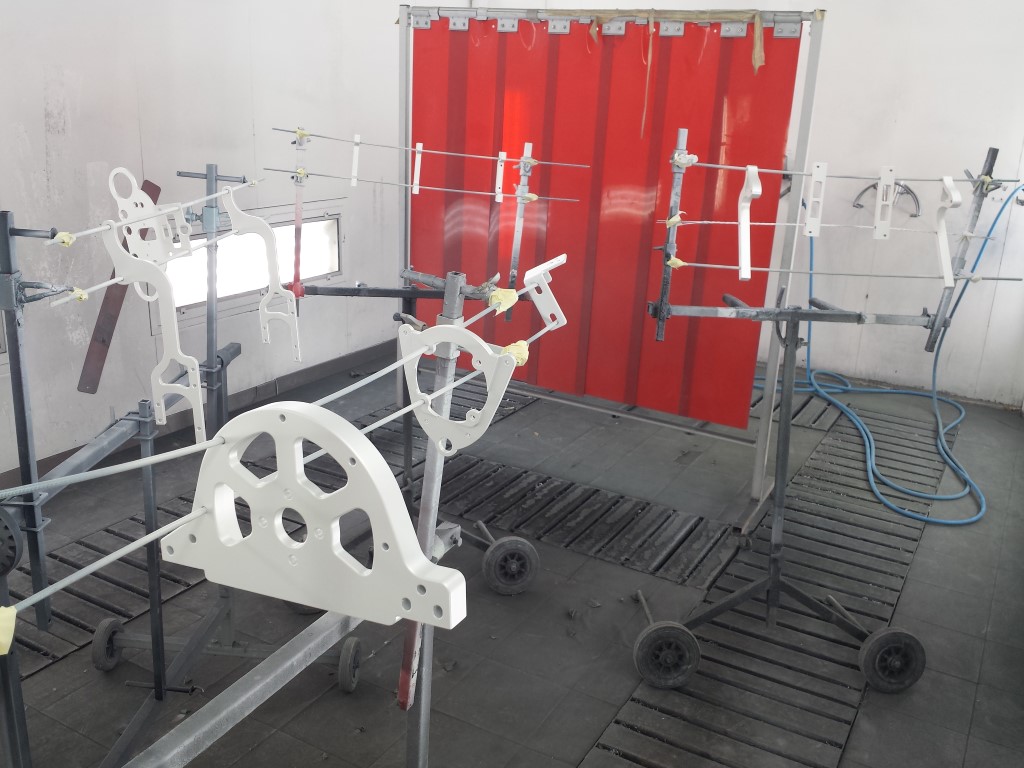
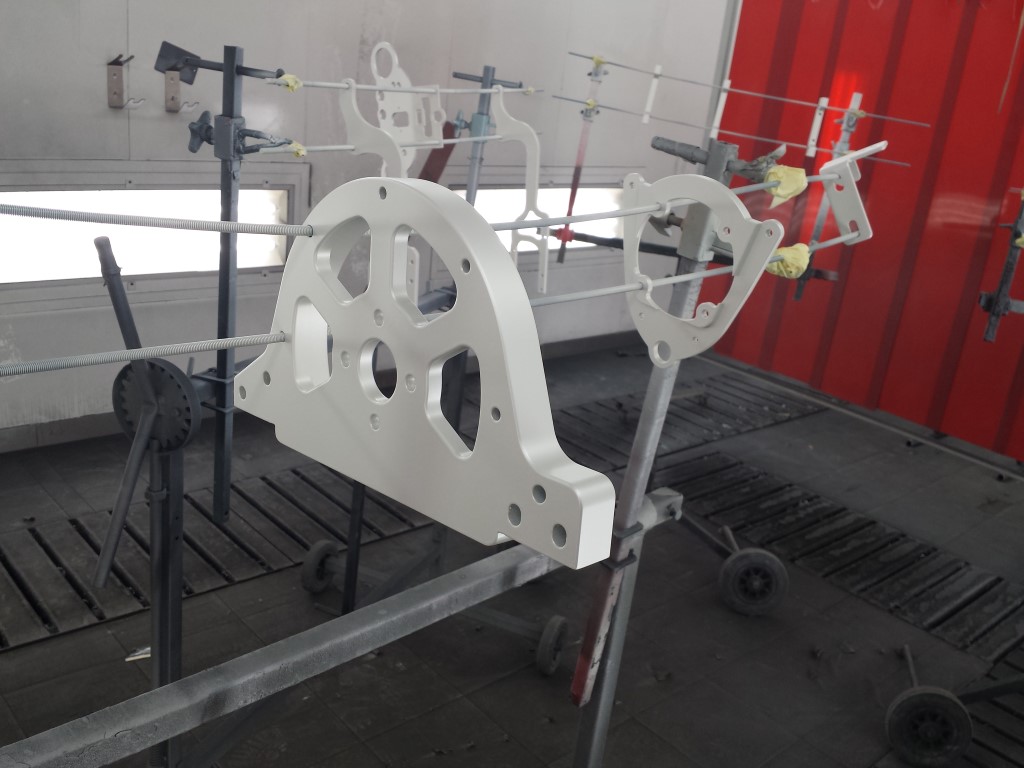
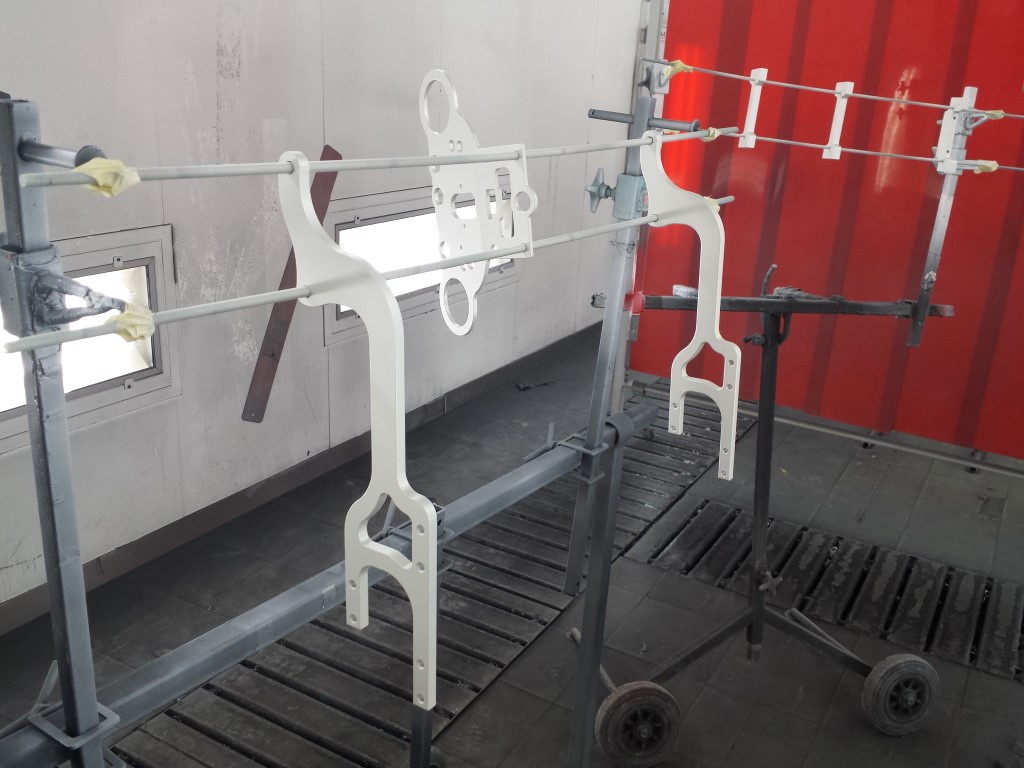
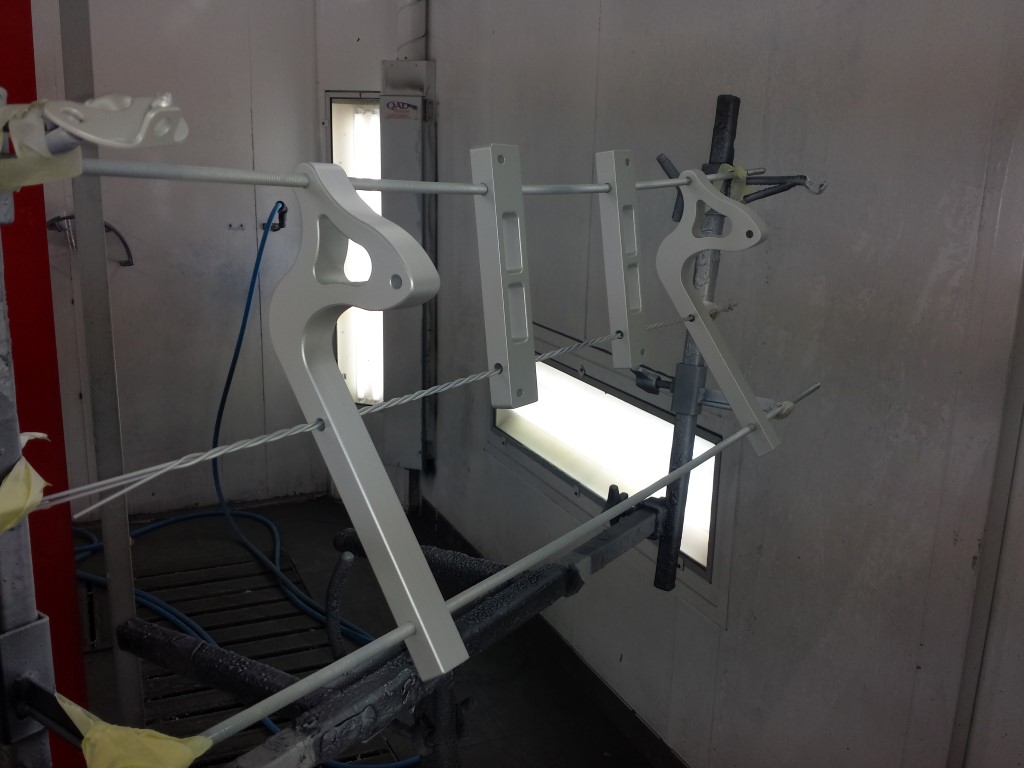
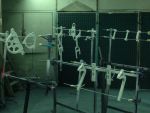
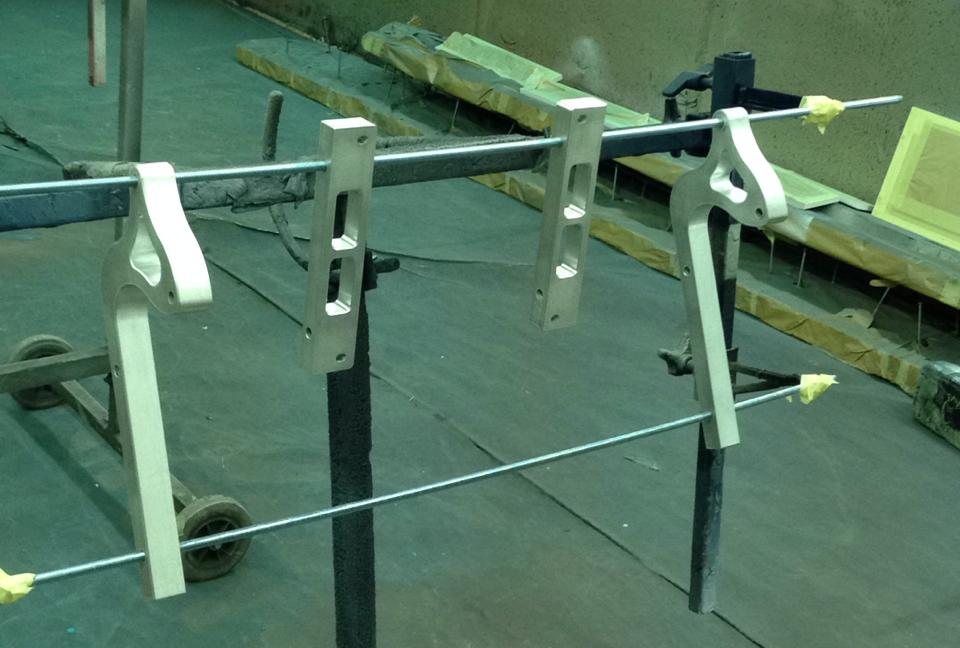
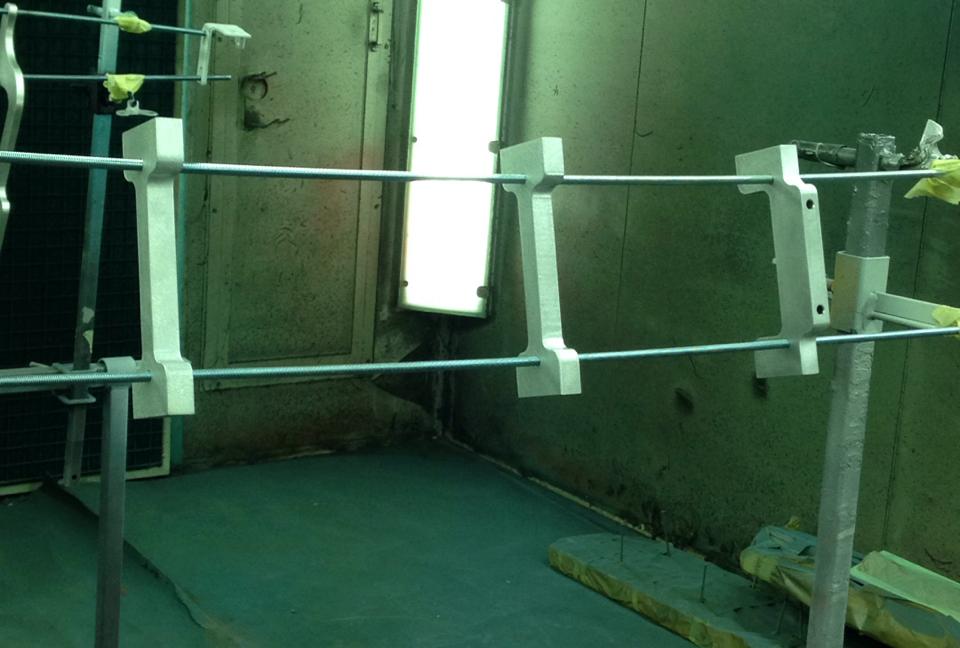
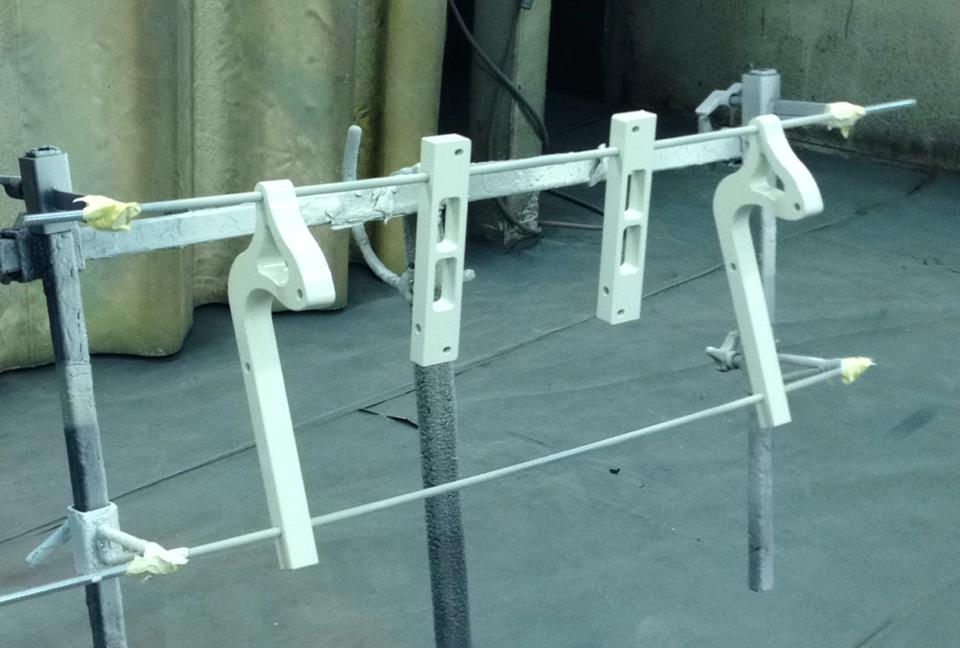
My sister had a little surprise for me today. While I was busy making some space so I could turn the quad bike around she was already spraying a layer of epoxy on all of the aluminium parts. This was actually going to be done next week so that was definately nice to hear. She also sent a few pictures again.
Here before spraying. All parts were also sanded a bit.
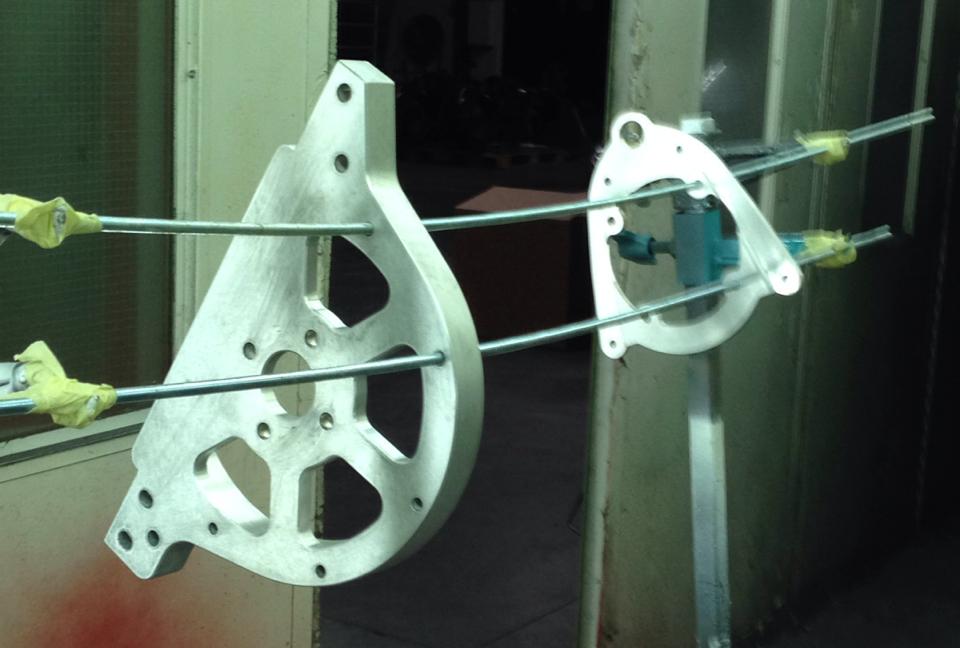
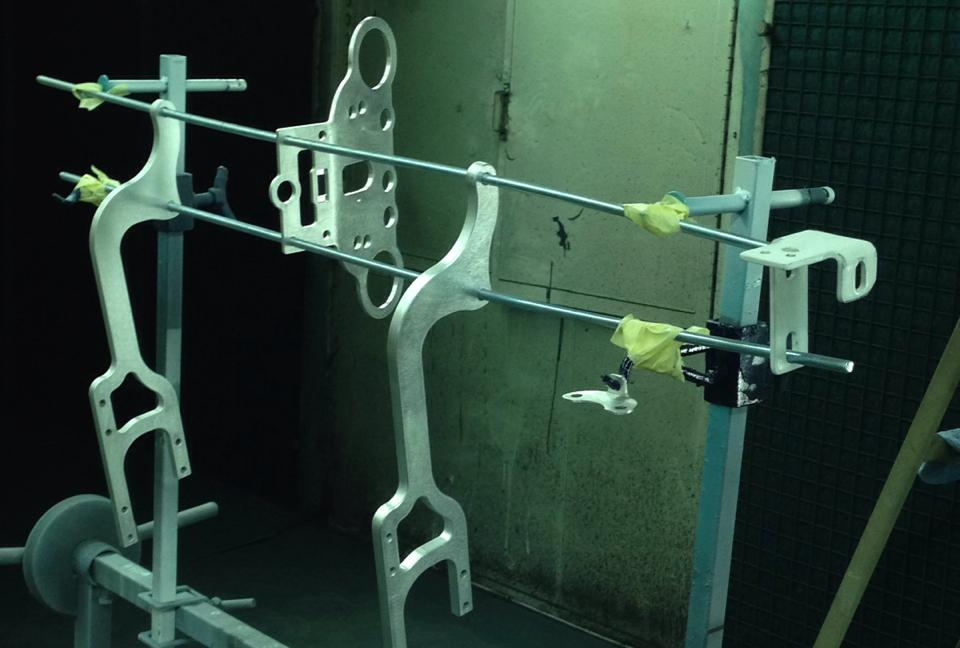
And after spraying.
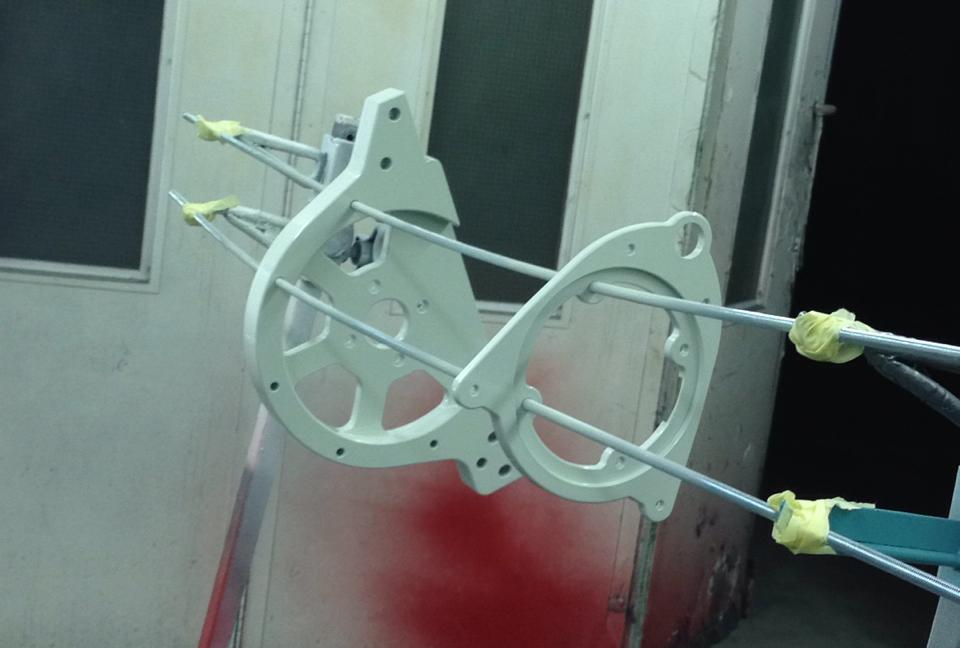
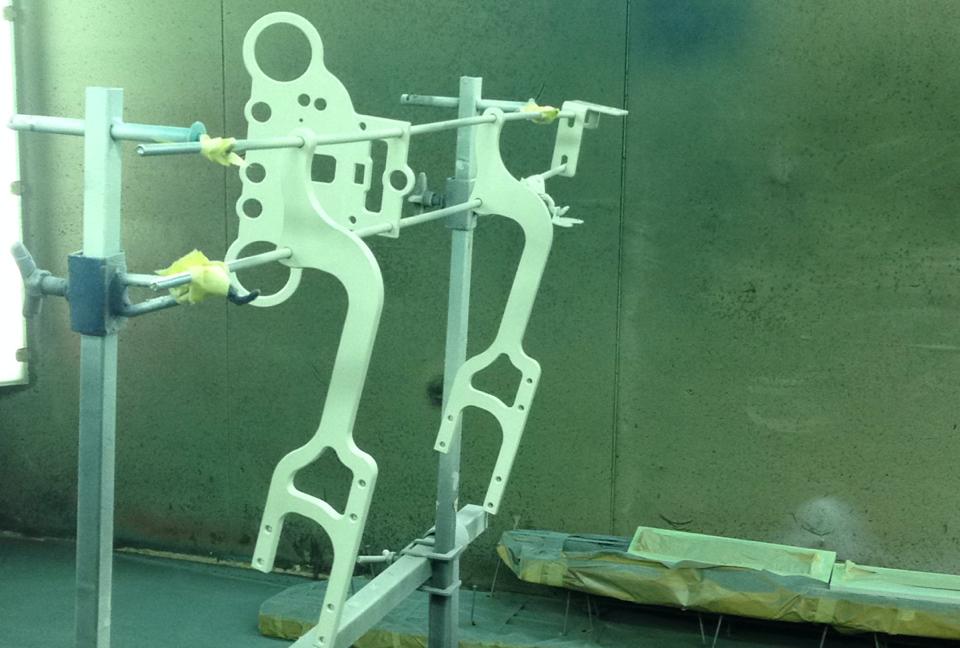
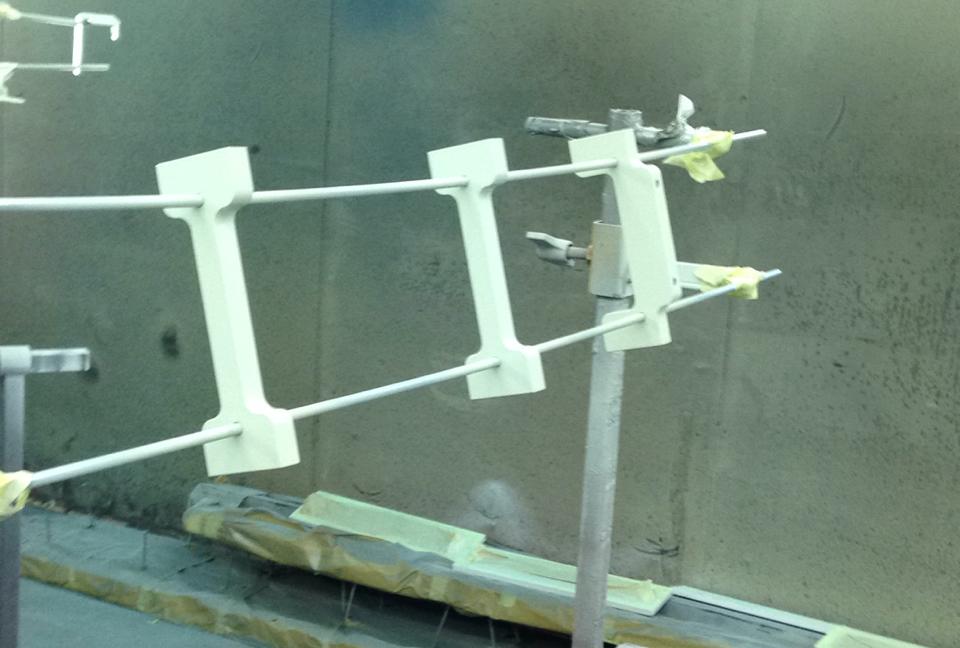
This Saturday they will all be sprayed in the same color as the frame and I can take them home again. I'm really curious how these parts will look like in that nice color.
Tonight I only made some space and turned the quad bike around so it's easier for me to work on. A few of the black parts are also attached now. Looks very nice in combination with the white, just can't really see it well yet in the picture.
The coming days I'll probably be busy with some of the smaller boxes already placing some electric components in them.