Blog / General
Posted on 17 November 2014 at 12:07 am (CET)
Category: General, Wiring (HV)
Posted on 17 November 2014 at 12:07 am (CET)
Category: General, Wiring (HV)
Finally an update again. These past 2 weeks I've definately not just been sitting on my hands. Lets start with the small things.
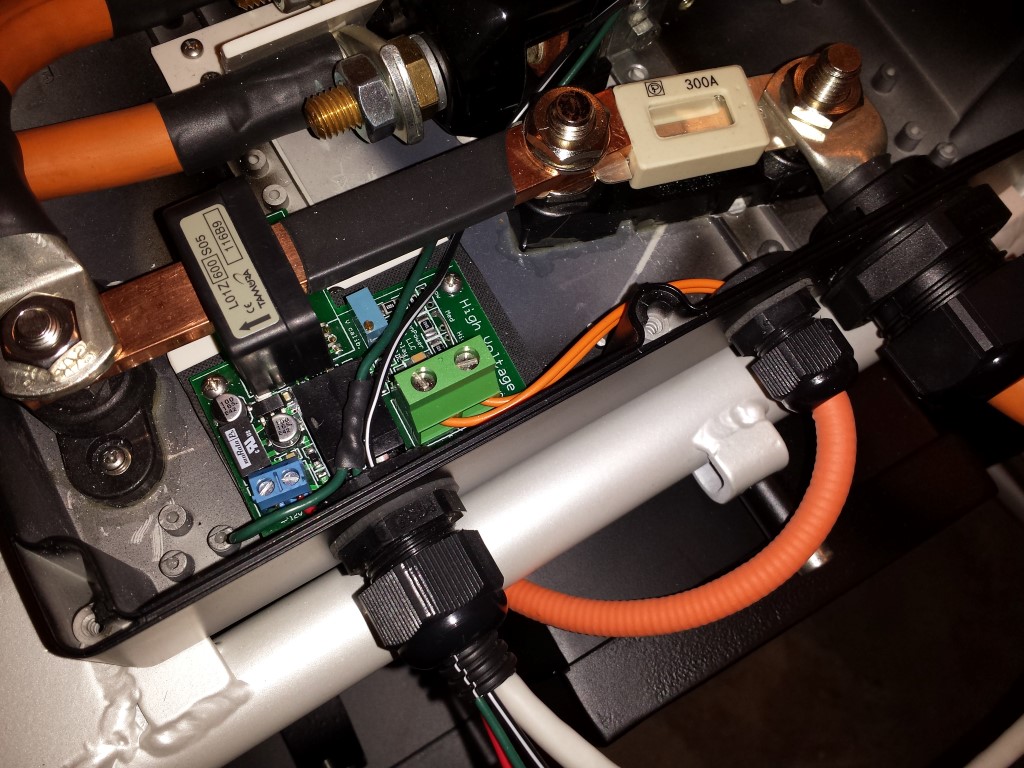
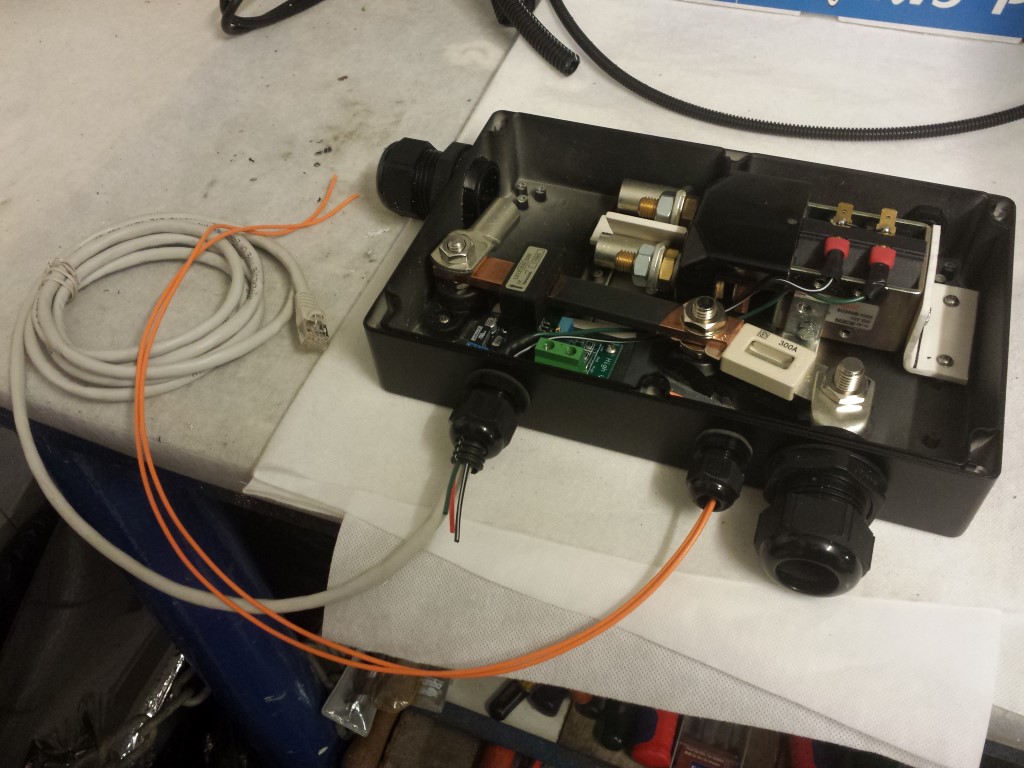
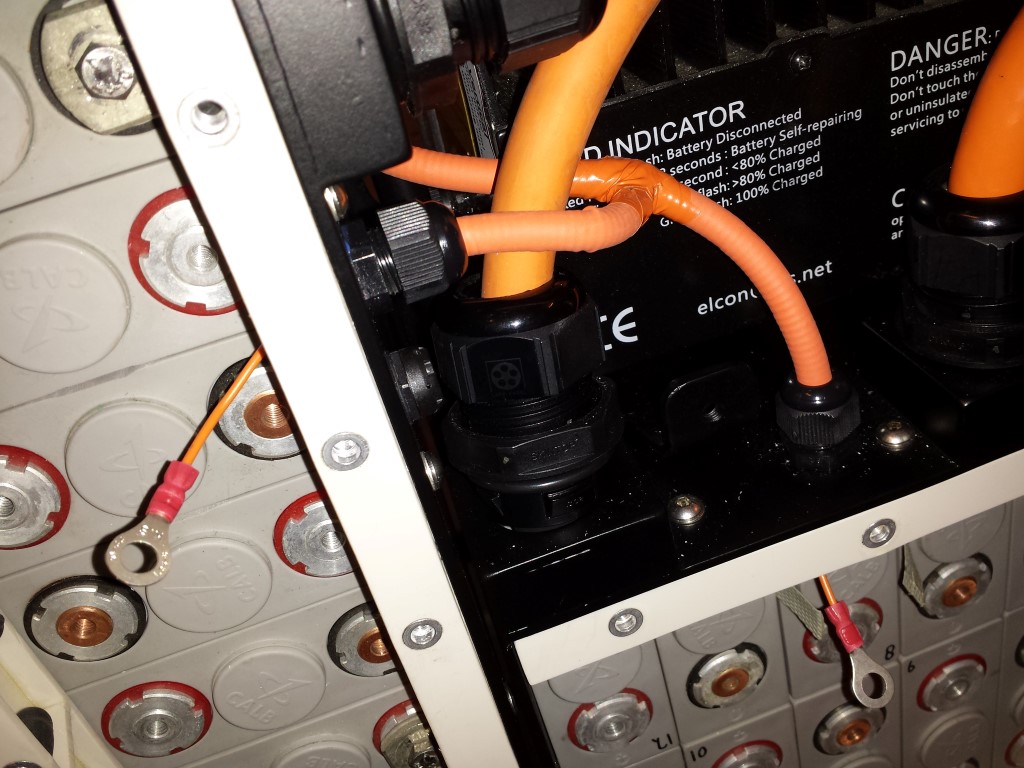
I've placed the wires for the sensor to the batteries. These are very important wires, because of them I can always see the voltage of the whole battery pack and the capacity is also calculated like this. So that's definately nice to know while driving.
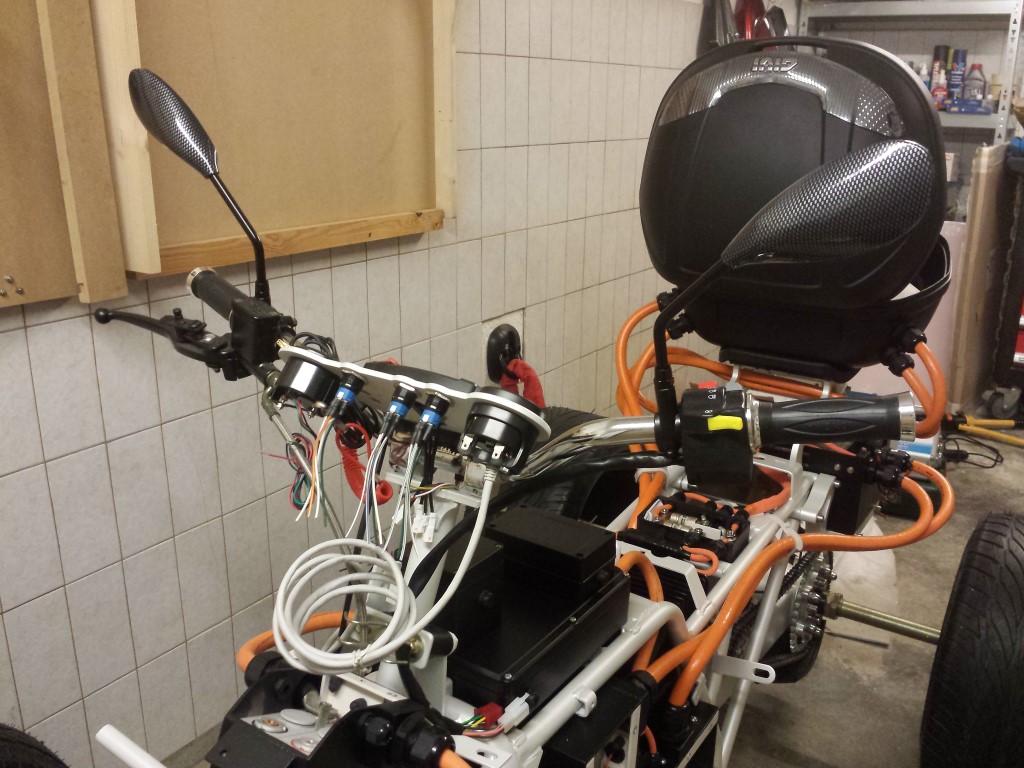
For the looks I bought some new mirrors, these match very well with the carbon mudguards. Looks much better than the standard chrome mirrors. Just have to wait and see how the view is. The only problem is that these don't have an E-marking, so I'll still have to use the chrome mirrors for the road approval test at the RDW.
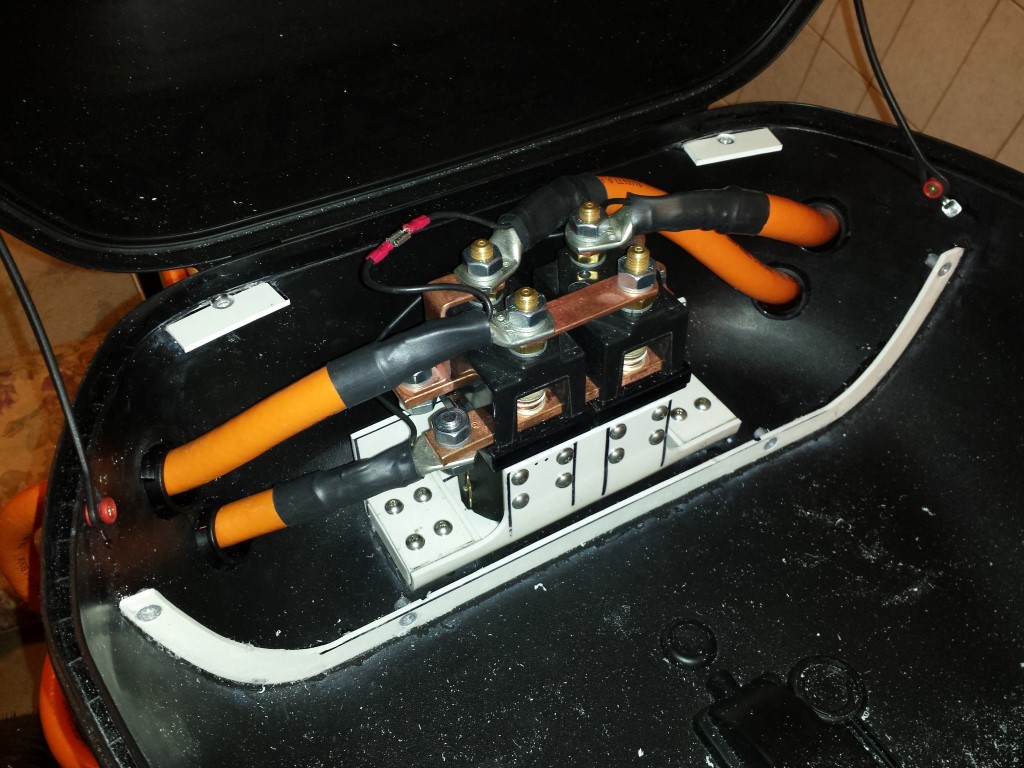
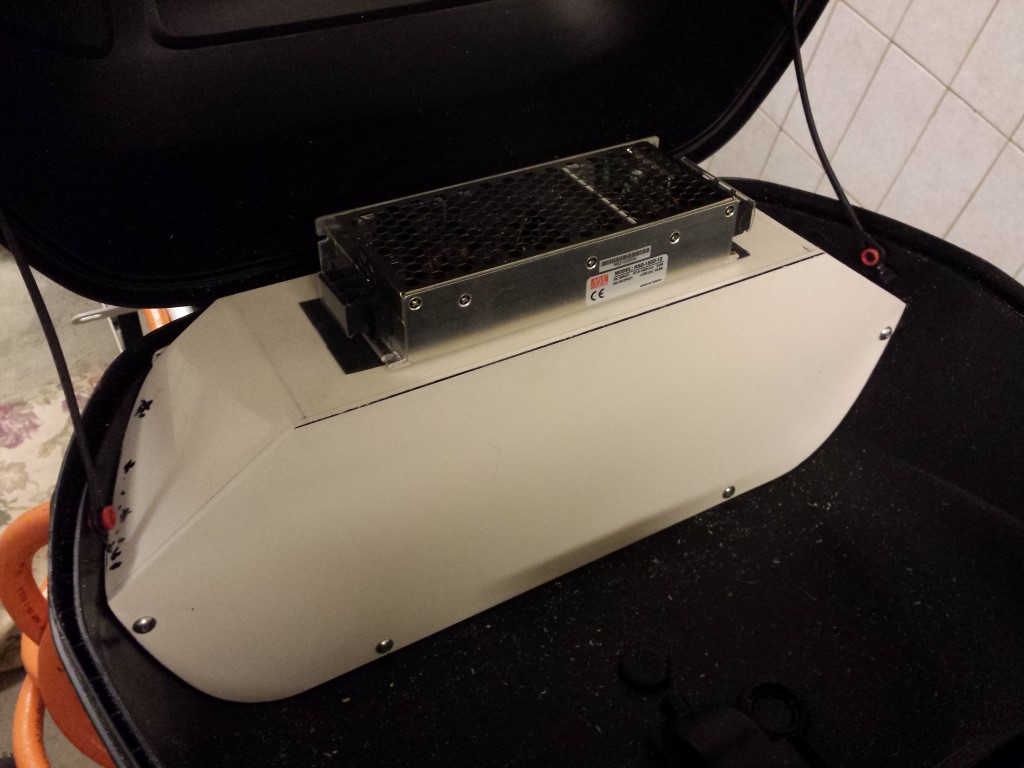
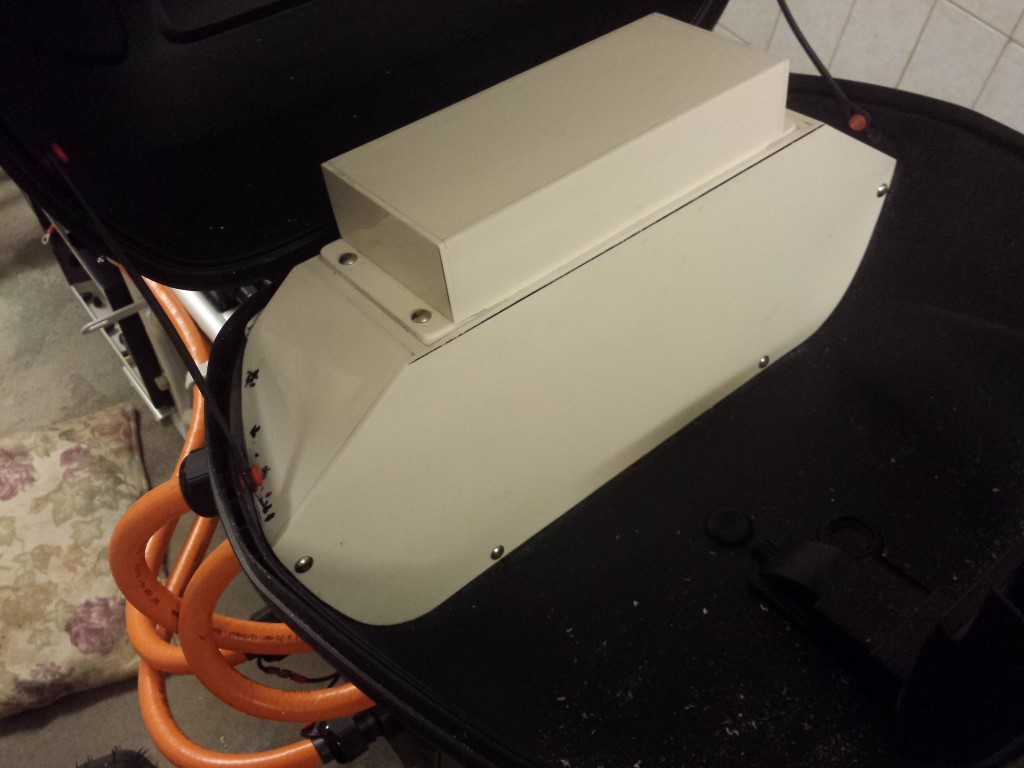
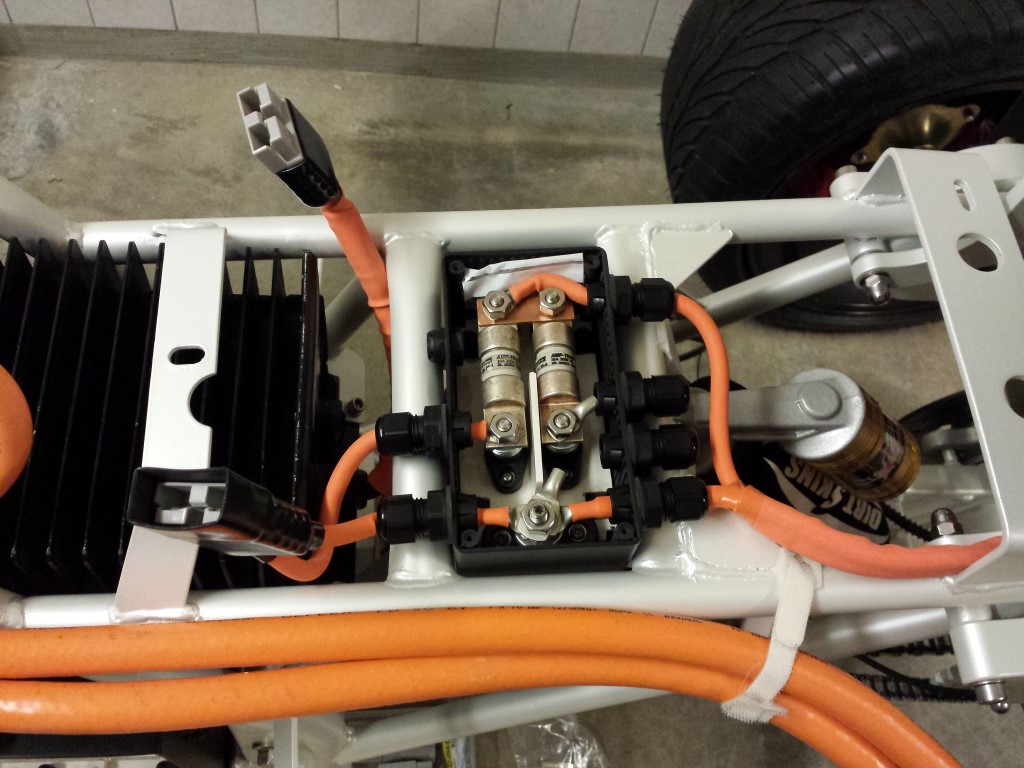
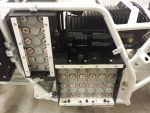
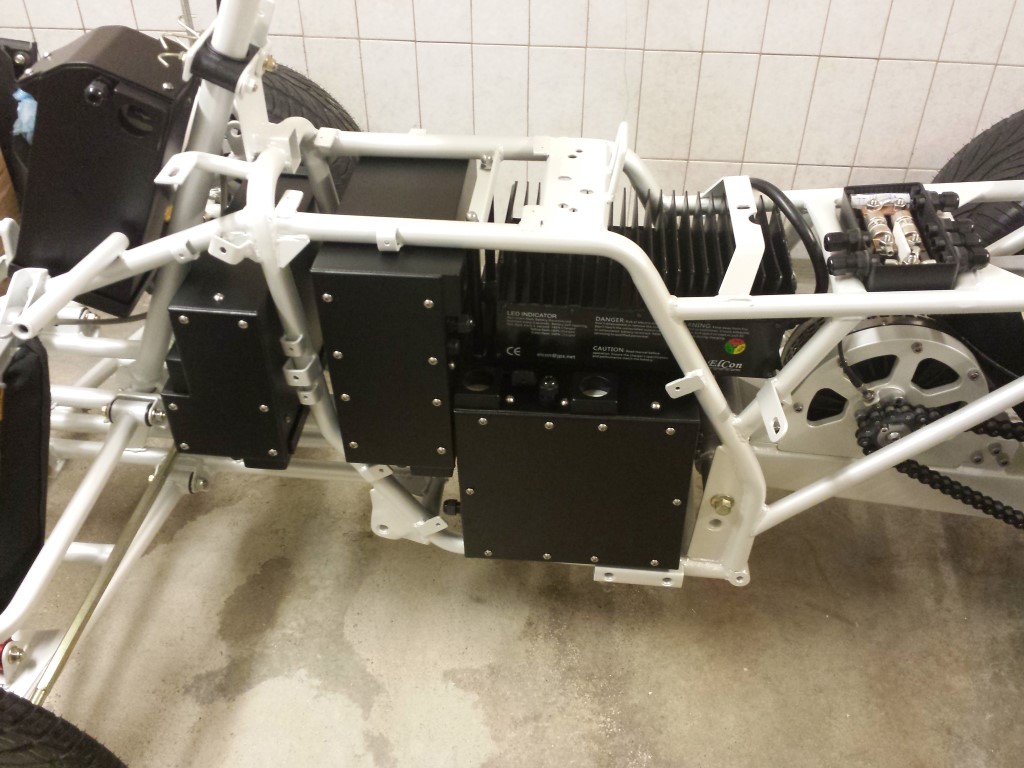
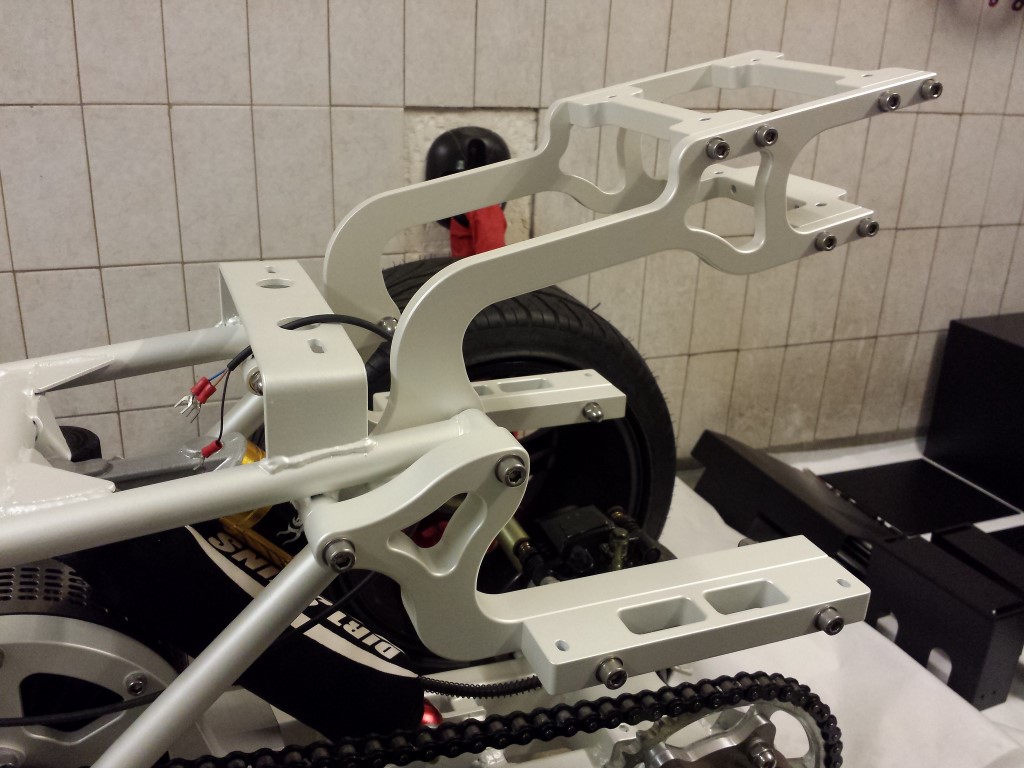
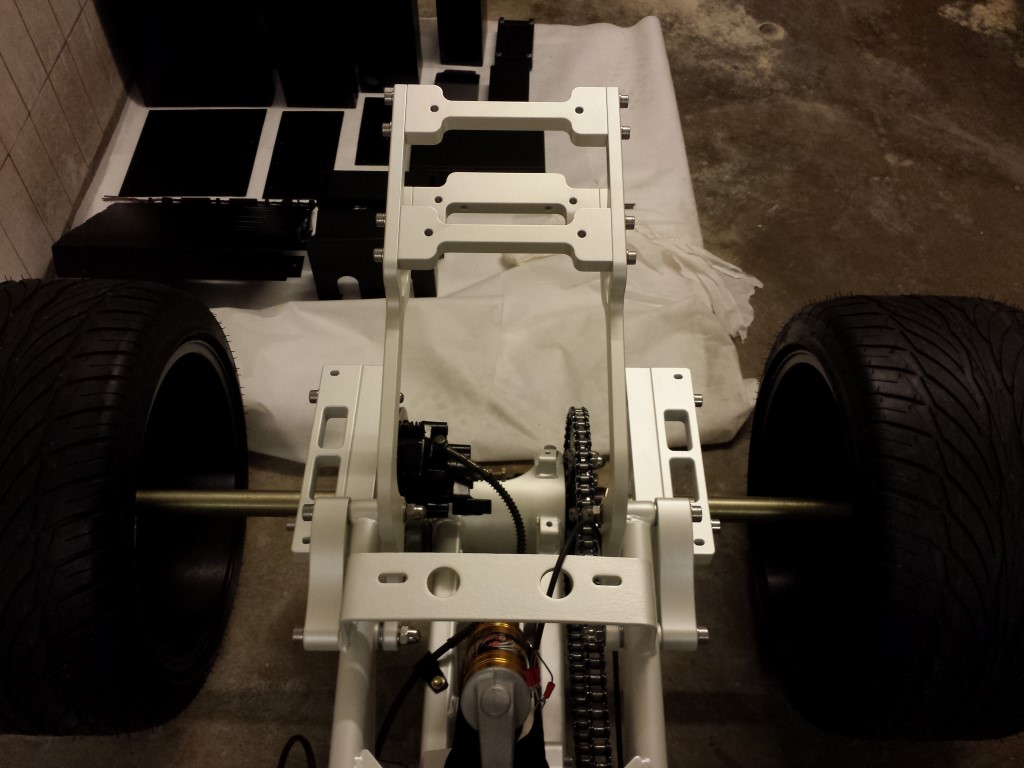
But the most important is that the top case is pretty much done now. I've made a protective cover out of plastic that fits over the contactors and is closed off all around it. This way it's impossible to still touch anything with live voltage. Mounting points for this are glued in again. The DC-DC converter to convert 72V to 12V still fits very nicely on top of this as well.
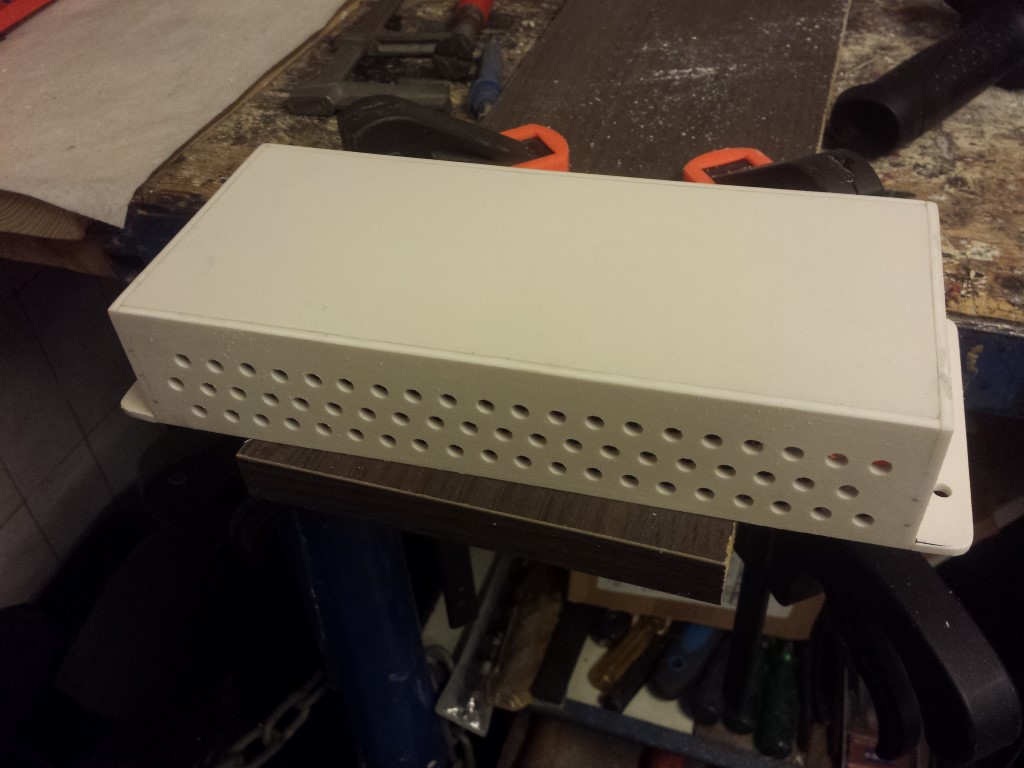
But since this is open on the top and has live voltage on certain parts I also had to make a seperate protective cover for this. On the rear I drilled quite some holes so the heat can go out.
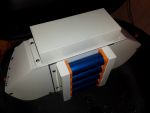
Then I was still left with the 12V battery. The plan was to place this as a square block as far as possible to the right but because of all the round shapes in the top case this was just too difficult. So I ended up placing it as an oblong shape in the middle. The sides are covered up again. I left the rest open, I think it looks pretty nice.
This will all still be sprayed black and then I can continue with the wiring again.
Posted on 24 October 2014 at 11:59 pm (CET)
Posted on 24 October 2014 at 11:59 pm (CET)
These past few days I've been busy again. Got a reply from the RDW saying it's no problem that a few components will be placed in the top case and that there will be high voltage wires coming out of it and sticking out a bit. So this is all allowed, just has to be done in a safe way of course.
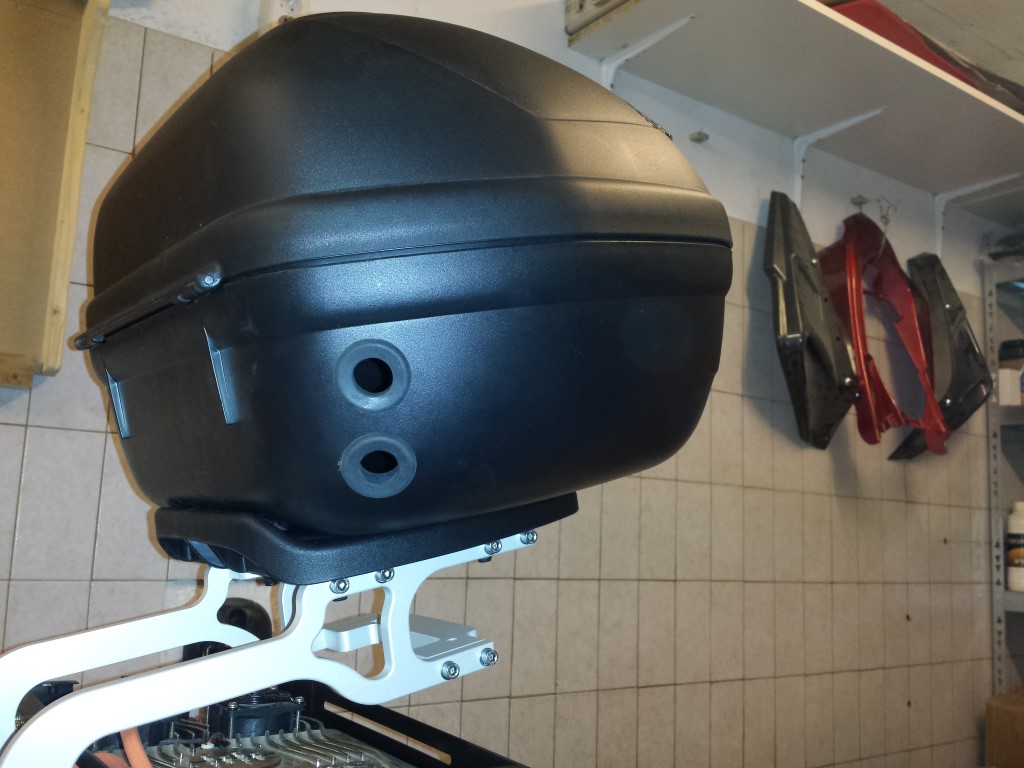
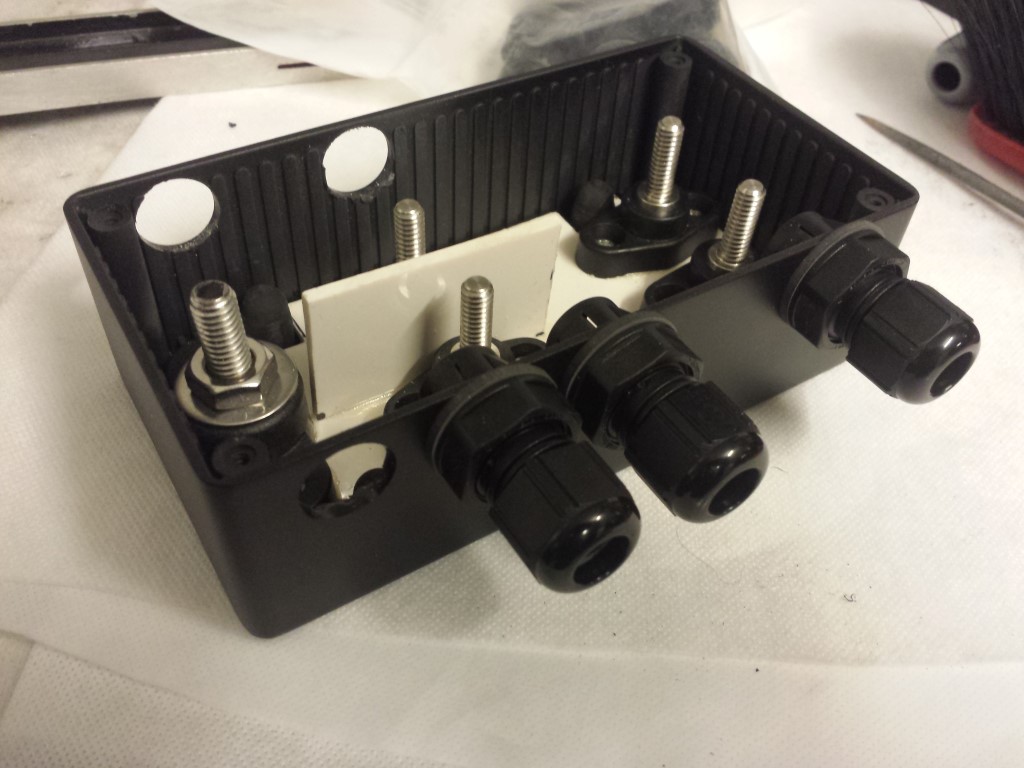
First I started making some pass through holes for the wires in the top case. I just don't know whether I'll keep using these rubbers or use cable glands again. With the rubbers the wires won't stick out as much.
Also bought some new heatshrink so I could continue again making the wires for the charger. There are also connectors inbetween so I can disconnect the charger from the batteries just in case it's ever needed.
Here with the connectors connected. Because of the rubbers that are all around it stays completely waterproof.
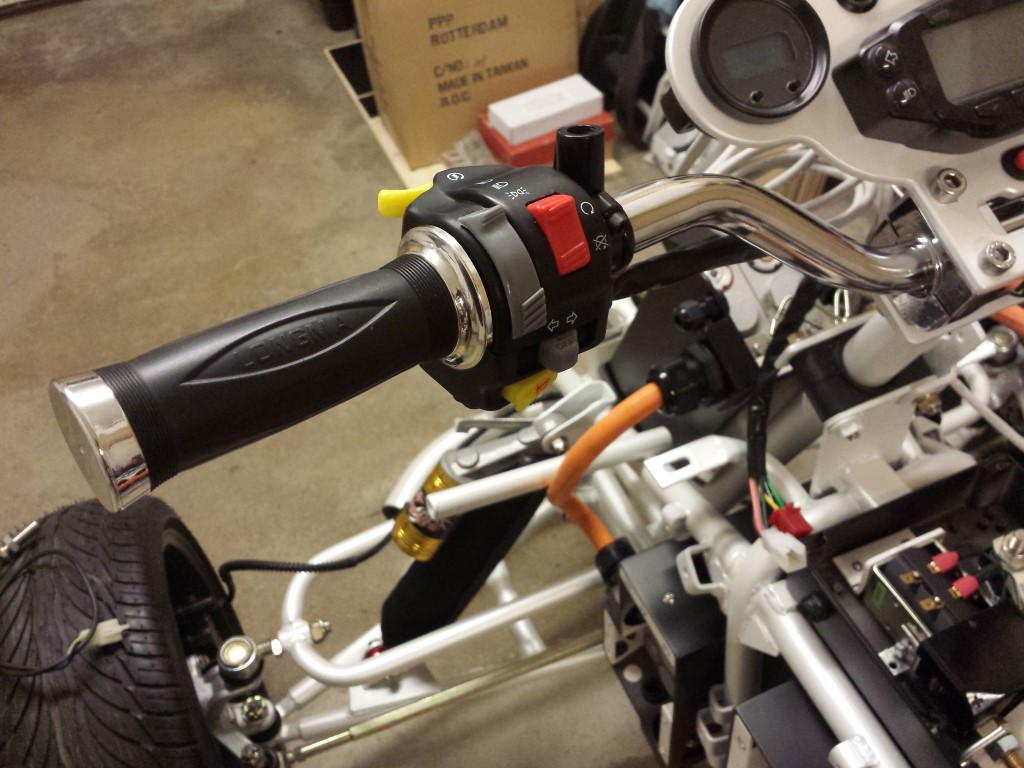
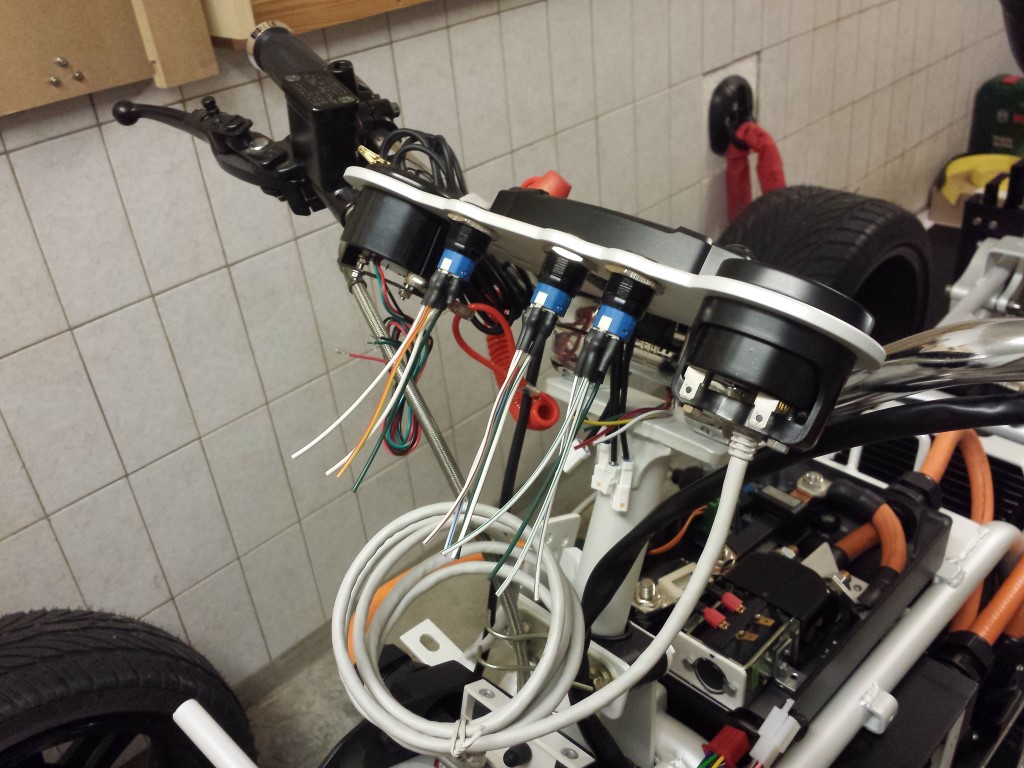
Meanwhile I have also done some smaller things. The new handle switch is attached and soldered all of the wires for the led buttons.
This weekend I'll start attaching all of the components in the top case.
Posted on 13 October 2014 at 11:33 pm (CET)
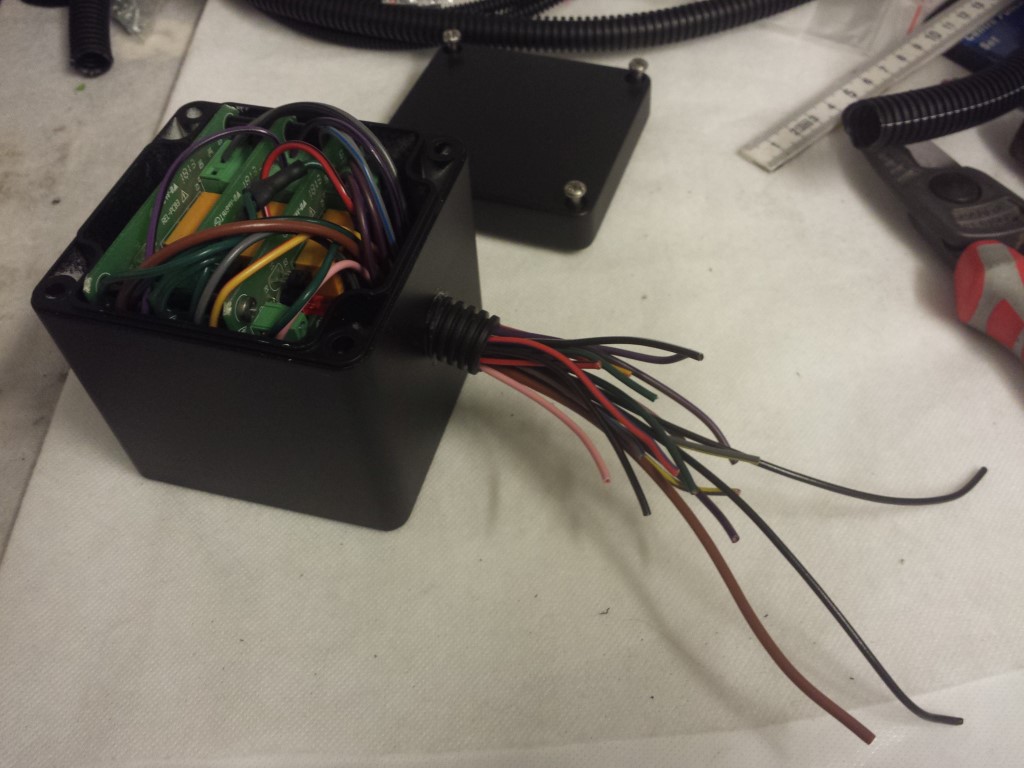
A big update again after a few days of work. I've made cable pass throughs for all of the boxes.
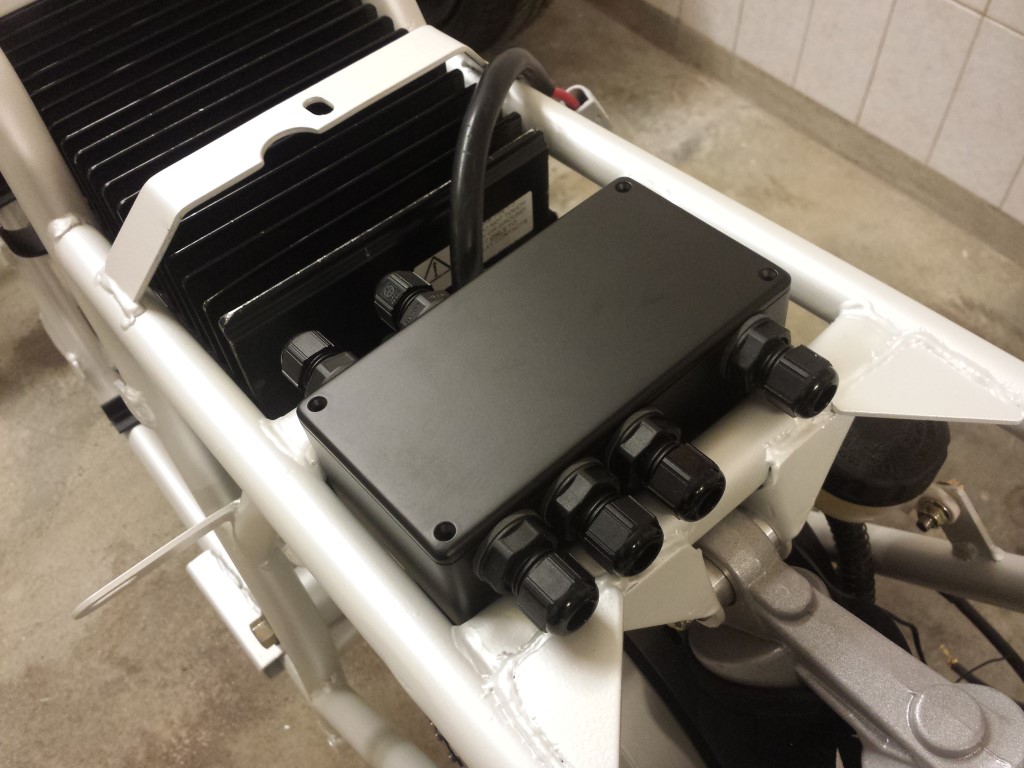
First I completely finished the one for the fuses of the charger and dc-dc converter. Drilled quite a few holes and placed cable glands in them.
This one I could also place on the frame already. Can only connect the cables once everything's on there anyway.
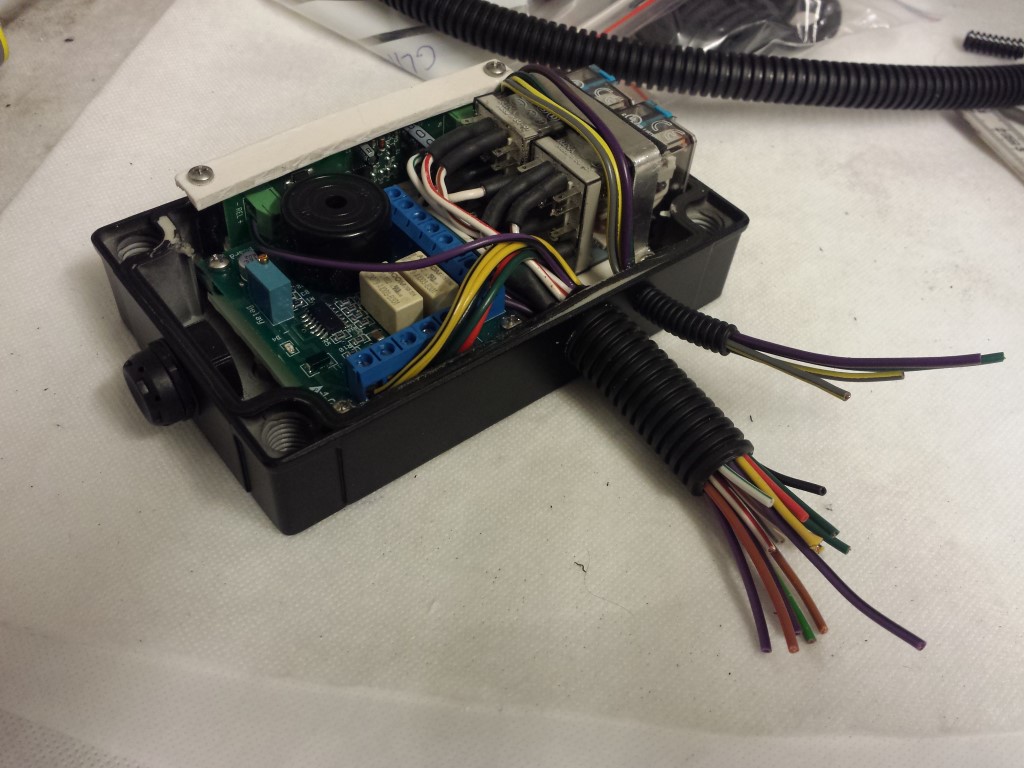
For the next box I didn't use a cable gland, not enough space for it unfortunately. So I just glued a small hose into there. Works pretty good as well.
For the square box I could have placed a cable gland but the space on the inside was very tight then. So I also just glued a small hose into there.
Then the bigger box. Here I was able to use cable glands everywhere.
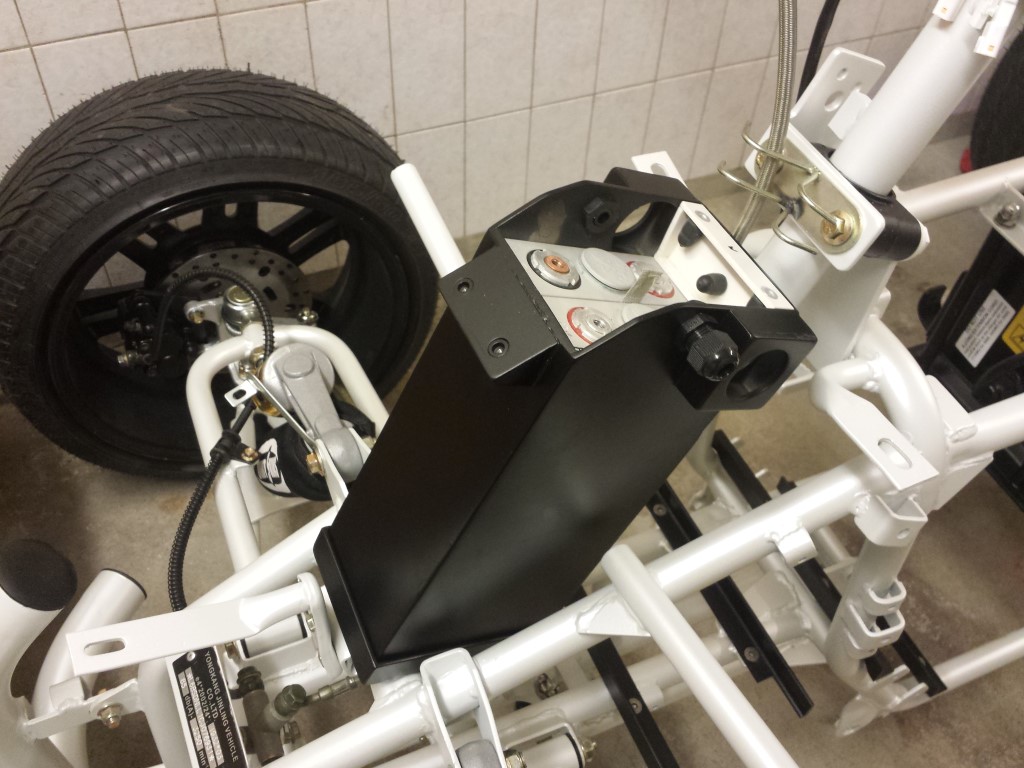
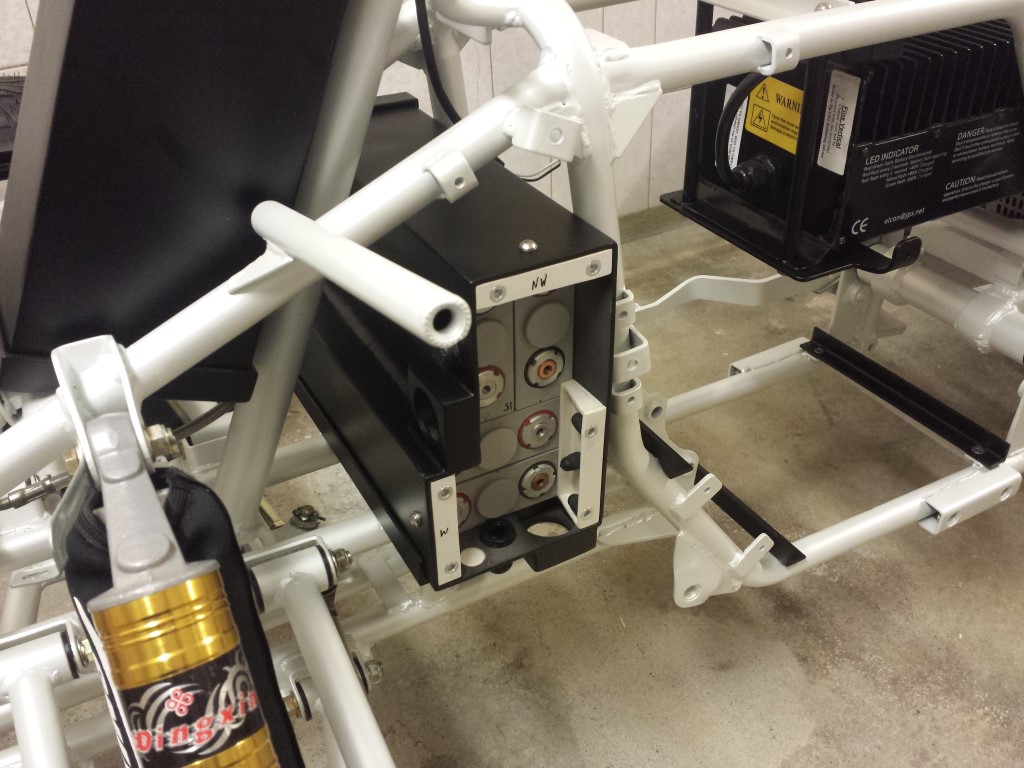
But the most important is that all of the battery boxes are all done now and finally back in the frame. I just wonder if all of the frames of corner profiles will still fit well since the paint layer is pretty thick but I'll find out soon enough.
Also placed all of the lids on them to see what it'd look like. I'd say it looks pretty nice.
Now I just still have to place those other boxes, then I can start connecting everything. And the top case I still have to get ready as well, probably won't be easy either. But it's really starting to get a move on again.
Posted on 29 September 2014 at 11:50 pm (CET)
Posted on 29 September 2014 at 11:50 pm (CET)
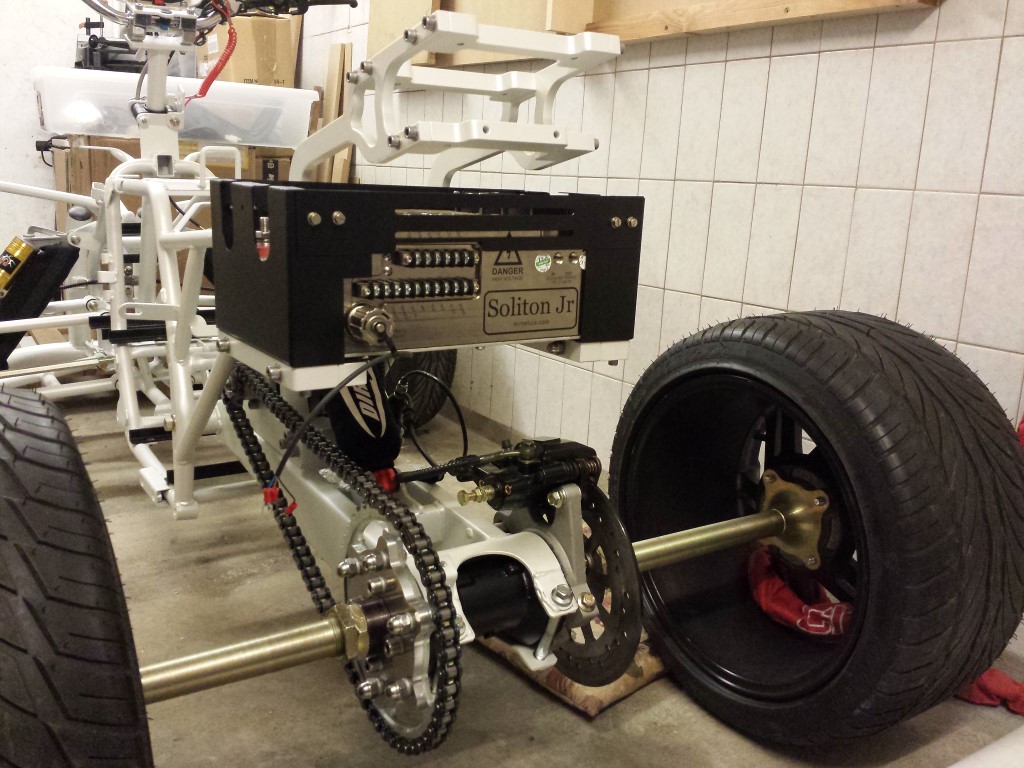
Today the mounts for the controller and top case were placed. I still really like the look of them.
I also put part of the temporary aluminium enclosure around the controller and placed it on the mounts. While it's an ugly enclosure I think it looks much better than before now it's matte black. It still is a shame that the controller itself won't be visible for now though, untill I can make something else for it.
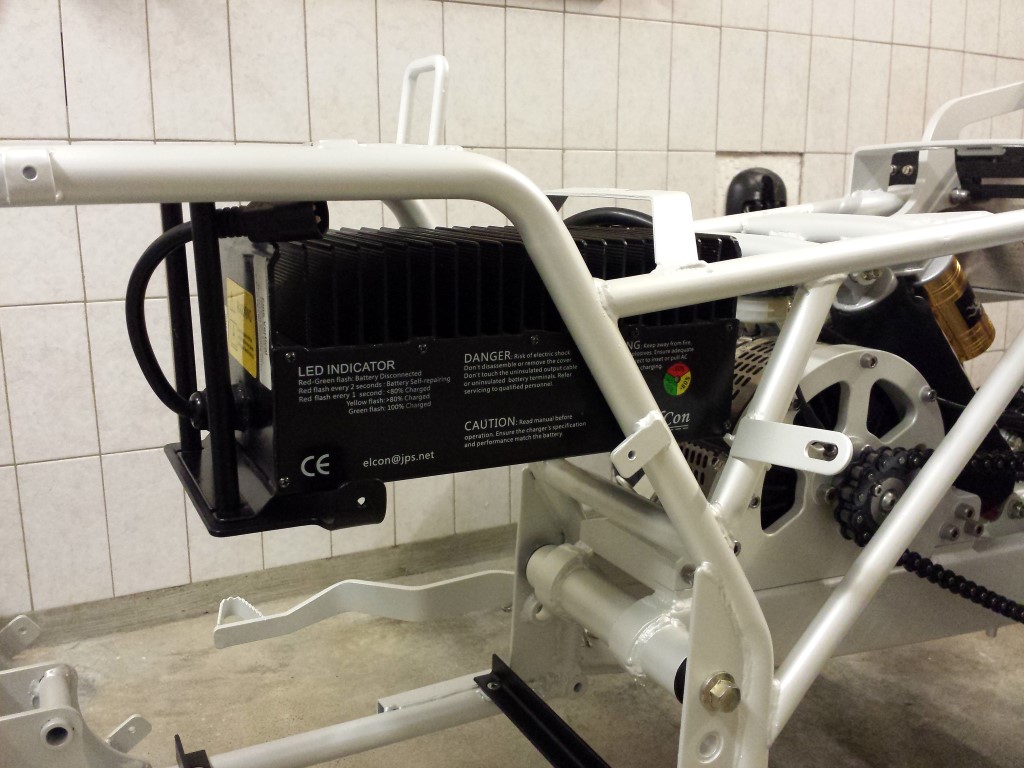
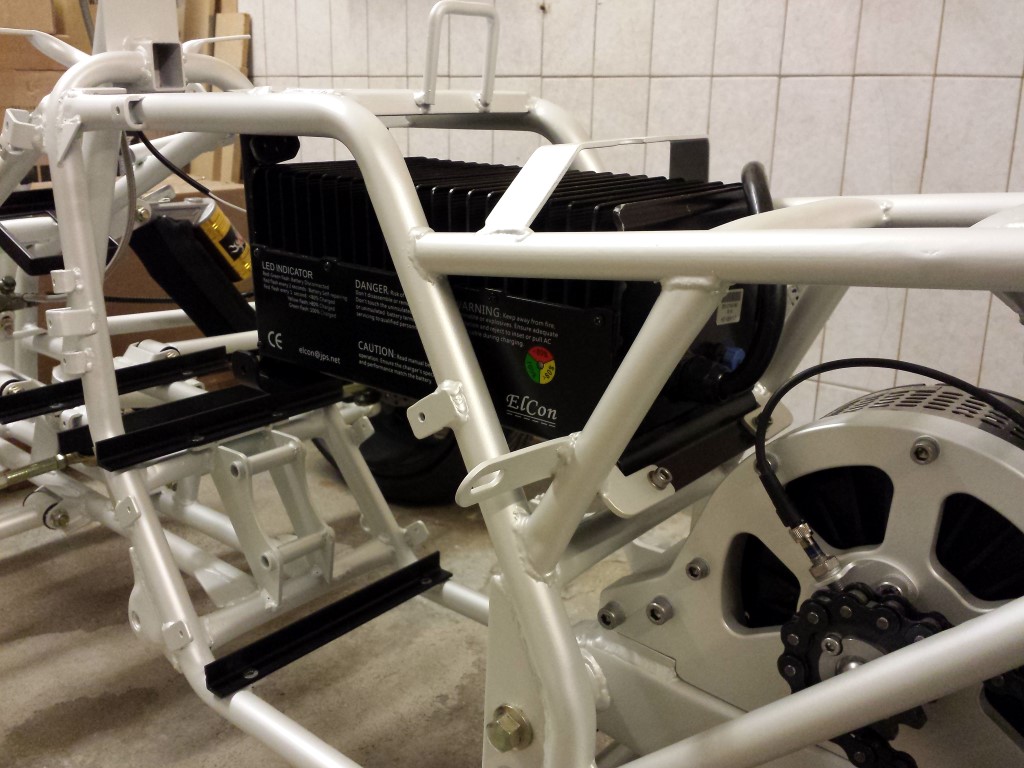
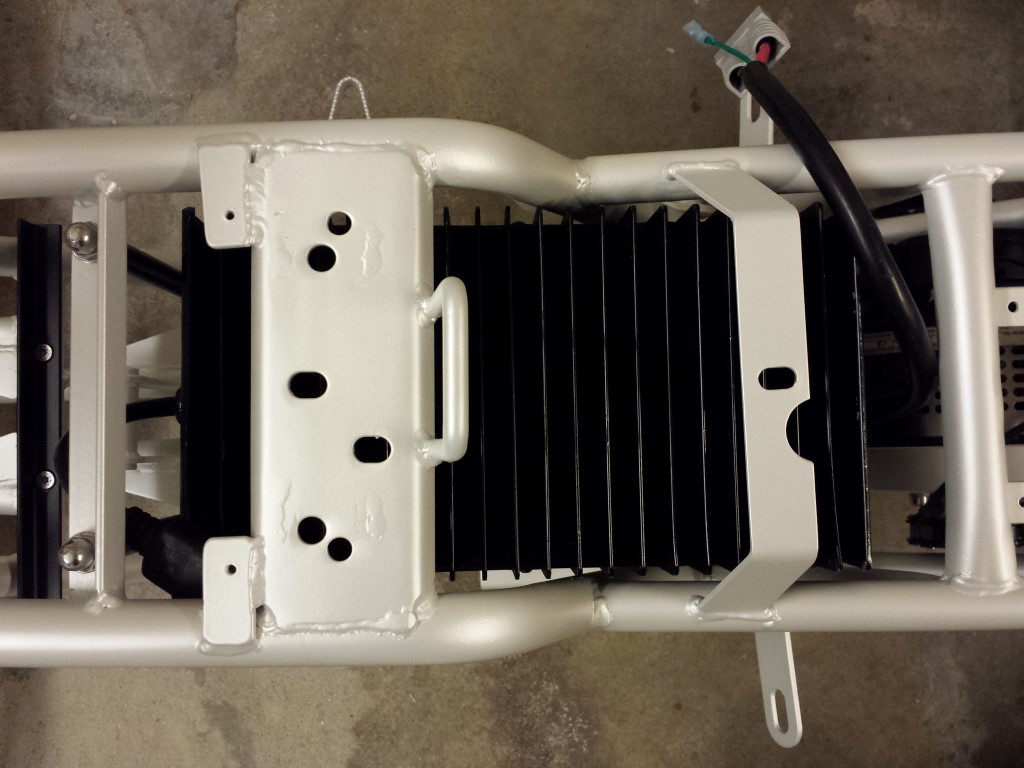
The charger is also attached. This is hanging nicely in there as well now.
I think I'll start with charging the batteries one by one at the same level tomorrow. Meanwhile I can continue filling up the other boxes with components and connecting some wires again.
Posted on 29 September 2014 at 12:09 am (CET)
Category: Electric motor, General
Posted on 29 September 2014 at 12:09 am (CET)
Category: Electric motor, General
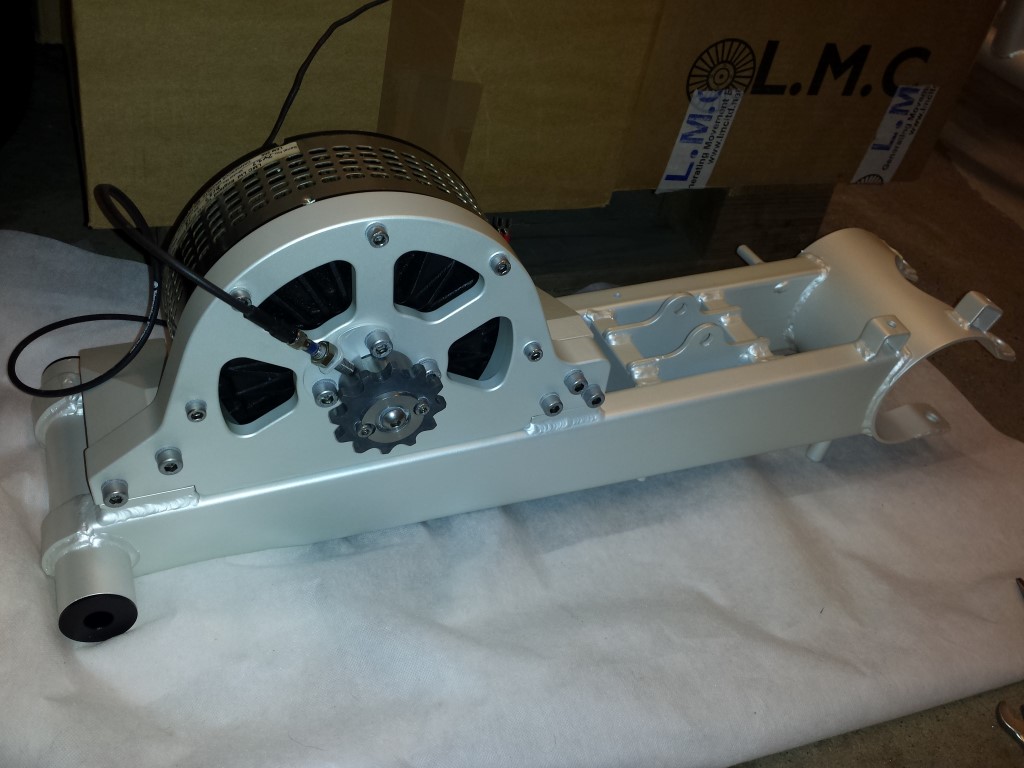
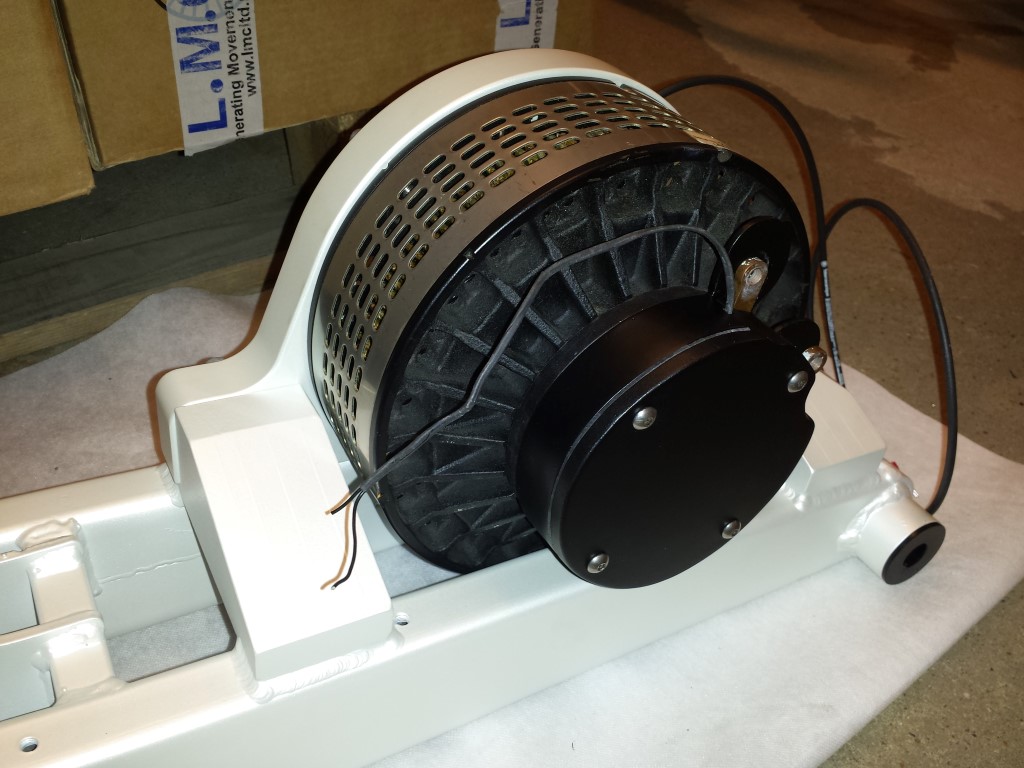
Today was a very productive day. The quad bike is nicely standing on 4 wheels again. This morning I started with attaching the motor to the rear swingarm. I just needed a rubber hammer to get it on there because of the thick layer of paint on the blocks and plate but at least it's firmly on there now.
I also placed the new protective cover on it. Definately looks much better than the original.
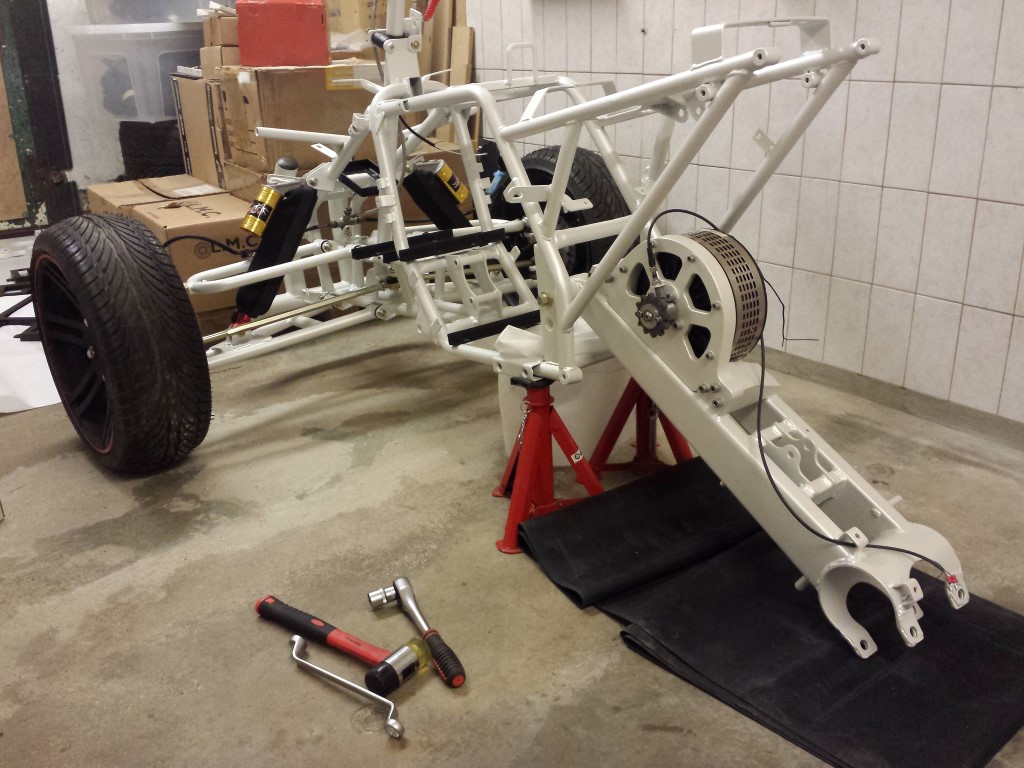
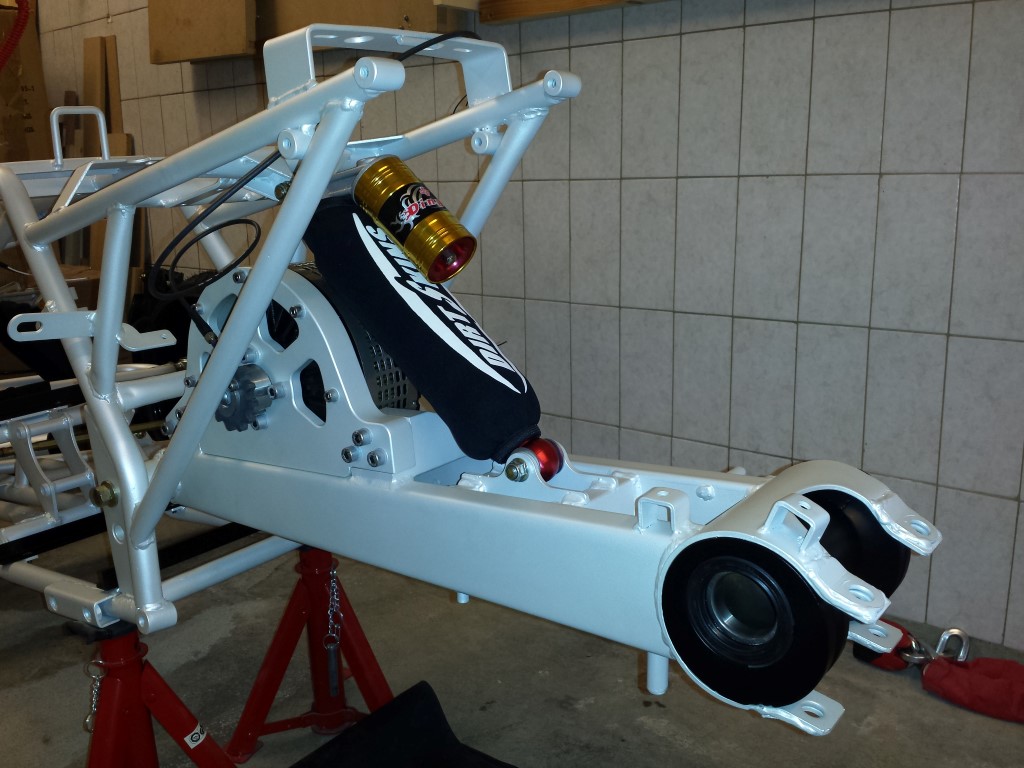
Then I wanted to place the rear swingarm onto the frame. Wasn't really easy since it weighs about 15 kg in total with the motor on it. With the POM bushings in it it's also just a bit wider so I had to push the mounting points on the frame outward a bit. After that I was able to get it in pretty good with some help of the rubber hammer again and a few extra hands.
Shock with shock cover attached and the bearing house in the rear swingarm.
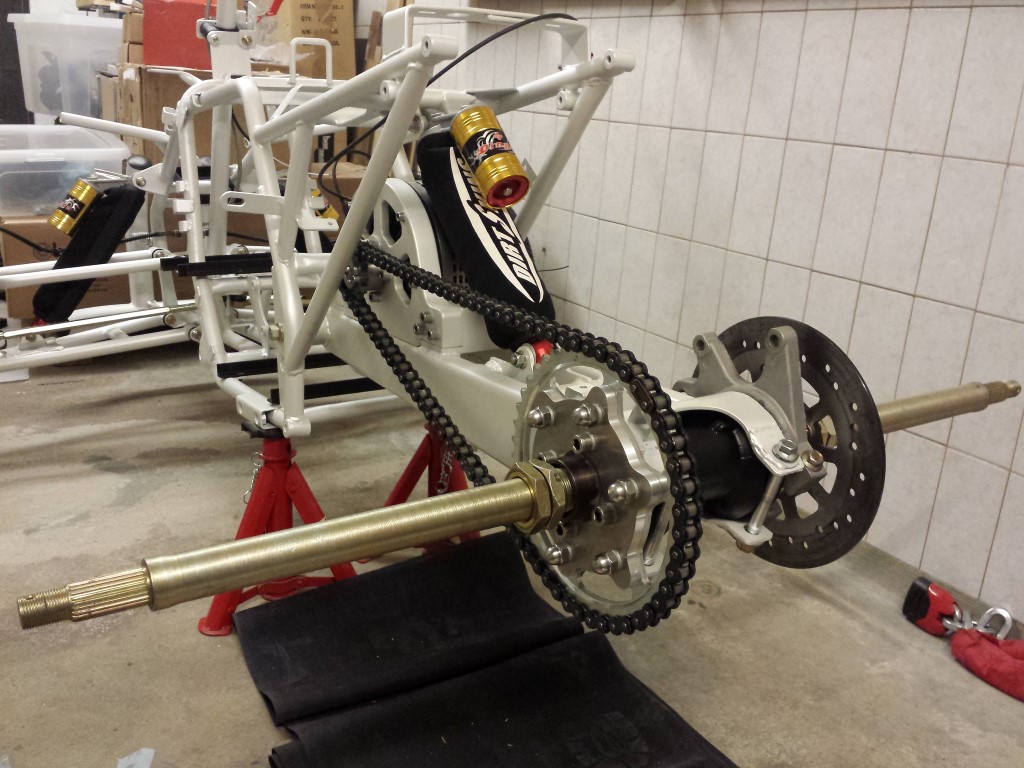
Then I placed the rear axle and added the rear sprocket and brake disc to it. Also placed the chain and tensioned it already.
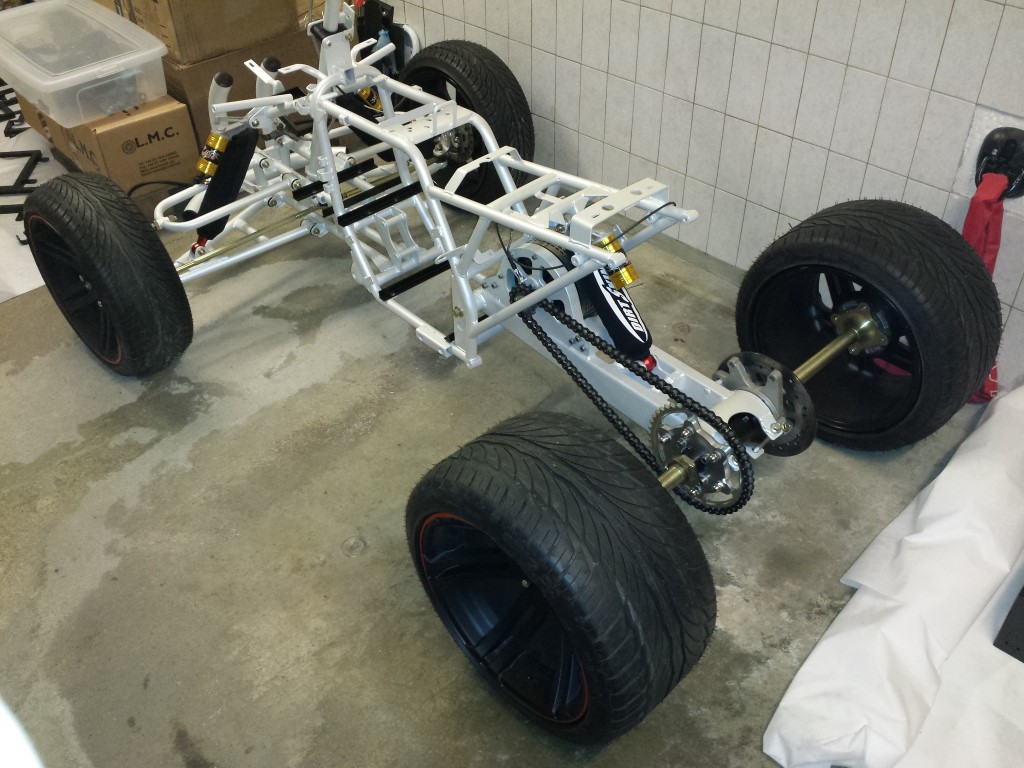
And then I could place the wheel hubs and the wheels themselves. Finally the quad bike is standing on all 4 of its wheels again.
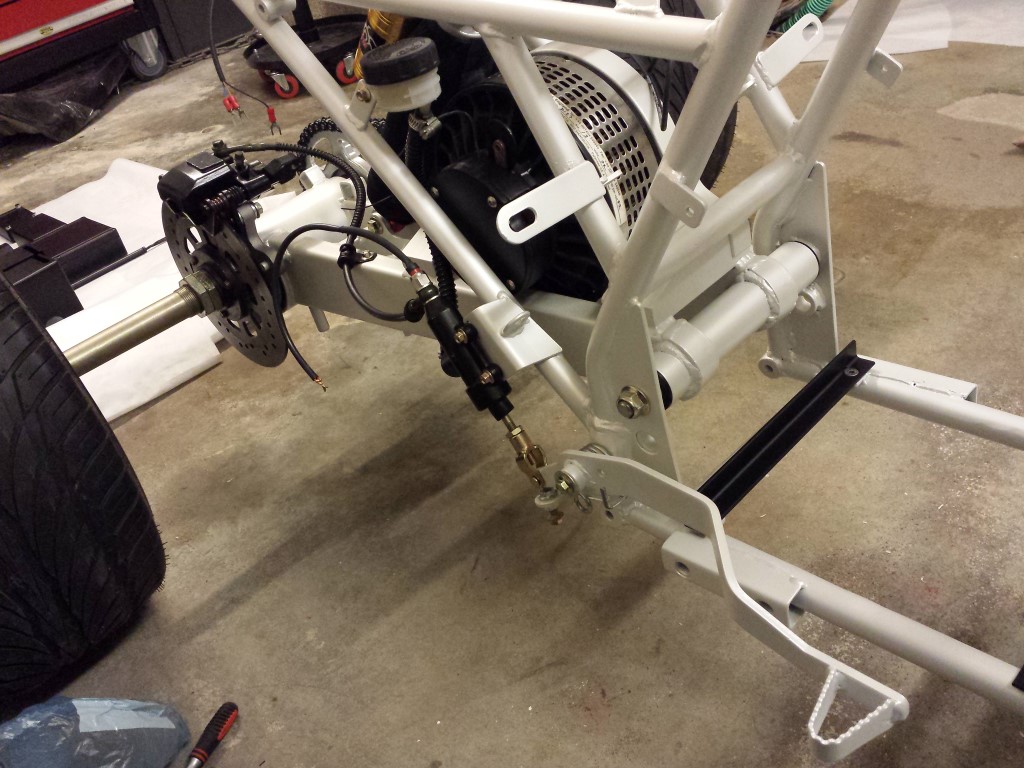
Also still placed the whole rear brake system.
And then I thought it was enough for today. Tomorrow afternoon and evening I'll continue again. What I did already notice is that the quad bike rolls much easier now than before. Think this has something to do with the new bearings. Always had to push it a lot harder when the old bearings were still in it. Or perhaps the brake pedal for the rear just wasn't properly adjusted, this is also quite better now I think.
Just another picture of how the quad bike looks like right now. Really starting to look like something again.

 Nederlands