
 Nederlands
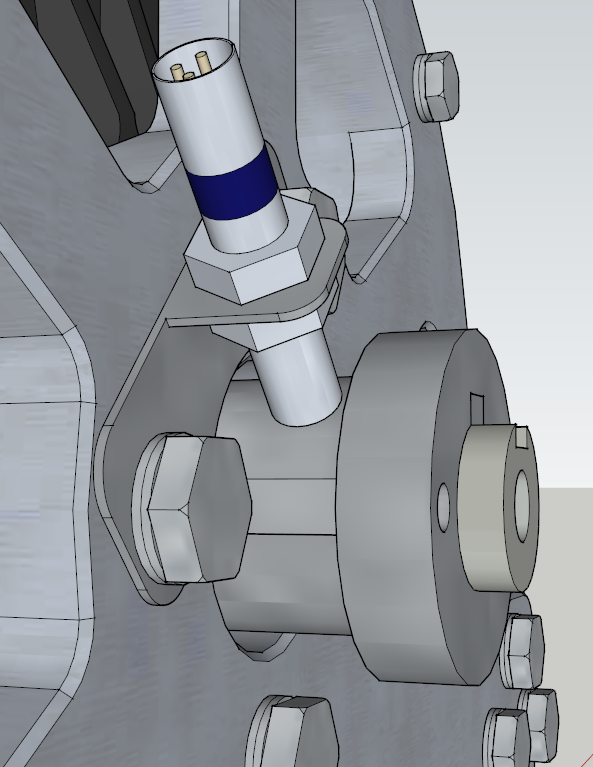
Blog / April 2013
Posted on 27 April 2013 at 11:29 pm (CET)
Posted on 27 April 2013 at 11:29 pm (CET)
I continued drawing since I have to wait again for a while.
The adaptor for the front sprocket will look more or less like this with the RPM sensor added. There will be 2 notches (or maybe just 2 bolts into it, don't know yet) in the adaptor which the sensor will pick up.

It's just a question of whether it fits with the sprocket and chain on it. There's not much space to work with there, also with the frame.
Posted on 25 April 2013 at 10:19 pm (CET)
Category: Electric motor, Parts
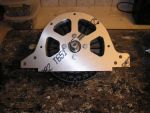
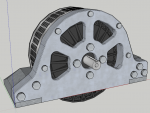
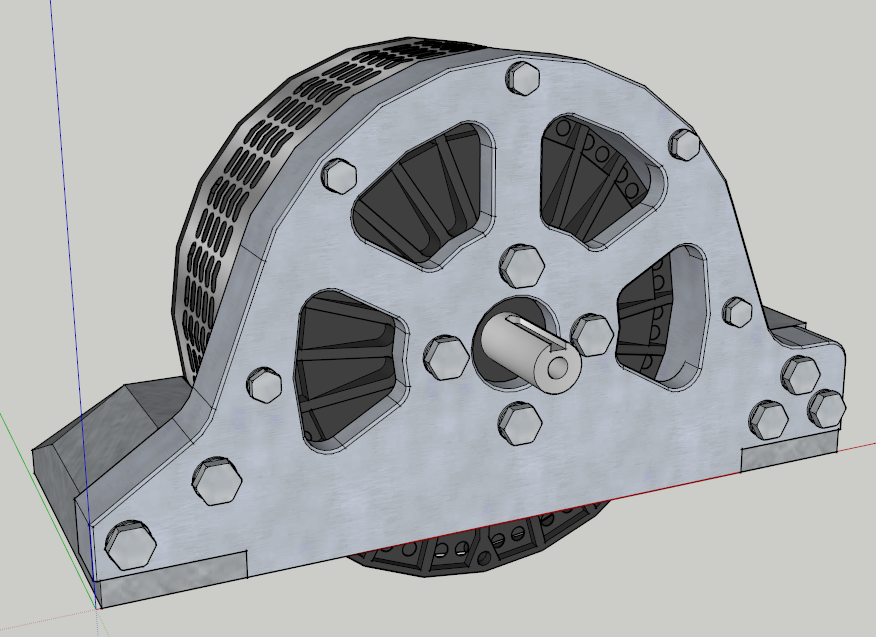
Another update today, very good news. I received the motor mount. It looks even better than I imagined, it really is a great looking mount. And even better, it fits exactly the way I wanted.
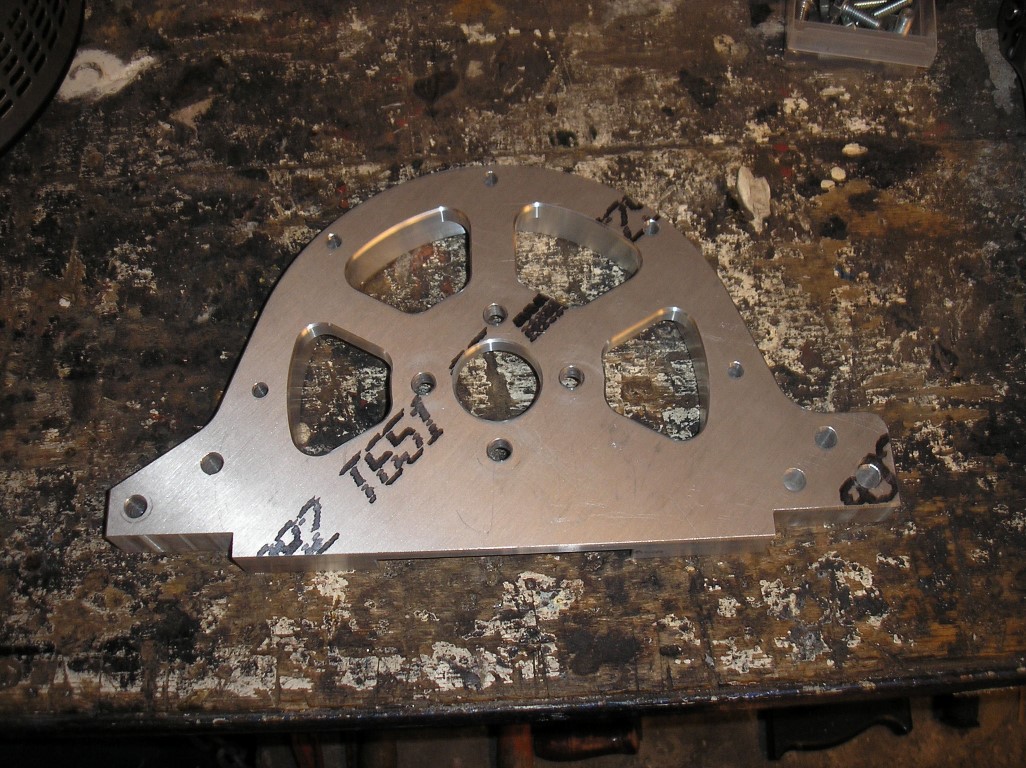
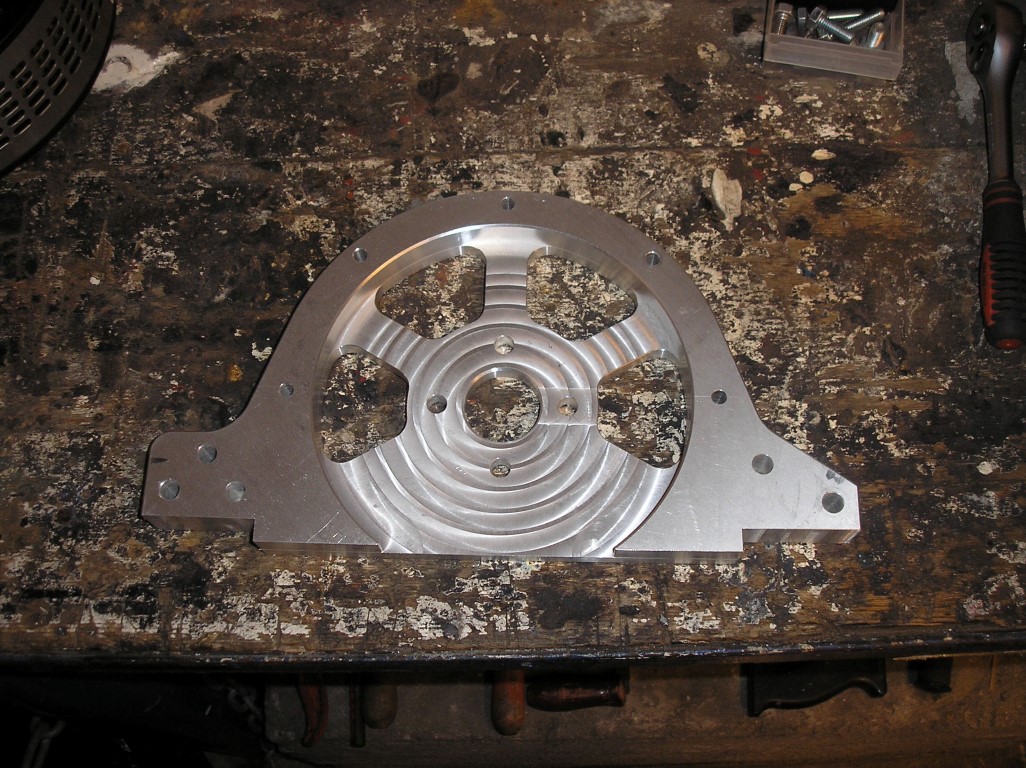

The measurements are exactly right, the mount sits perfectly flat on the motor and the mounting holes line up perfectly. Just still have to get some longer M6 bolts for the outer mounting points of the motor.
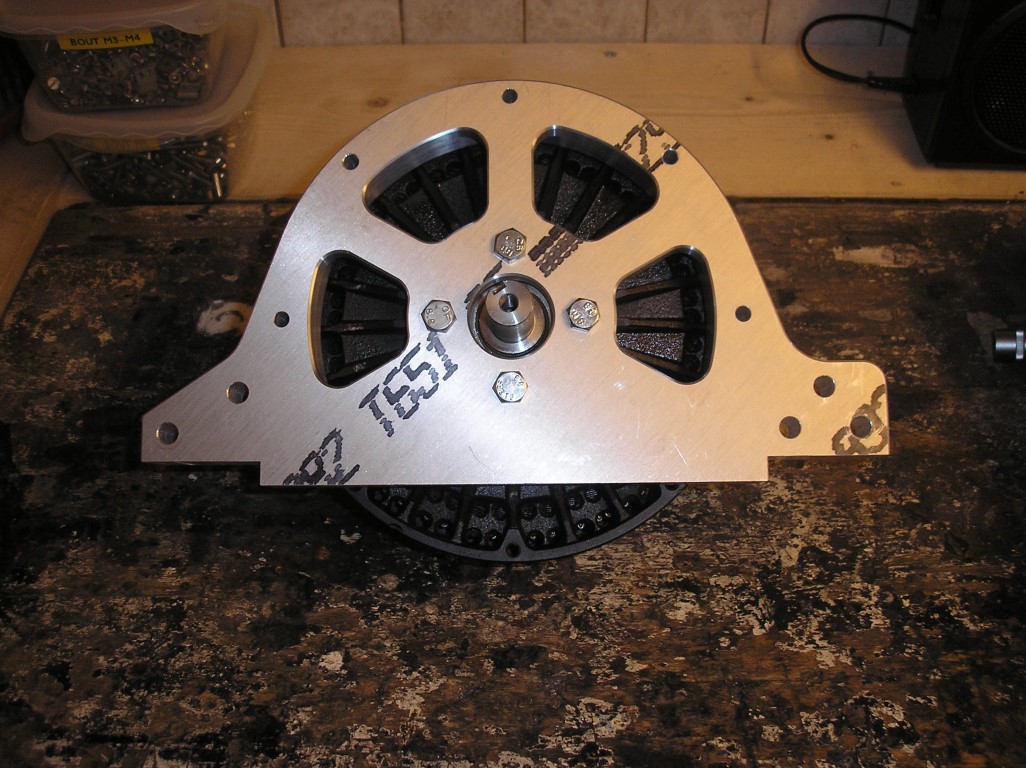
And it looks great on the rear swing arm as well. Just don't know yet if I'll get it sprayed just like the whole frame or that I'll get it anodized in a nice color. It should stand out a bit I think.
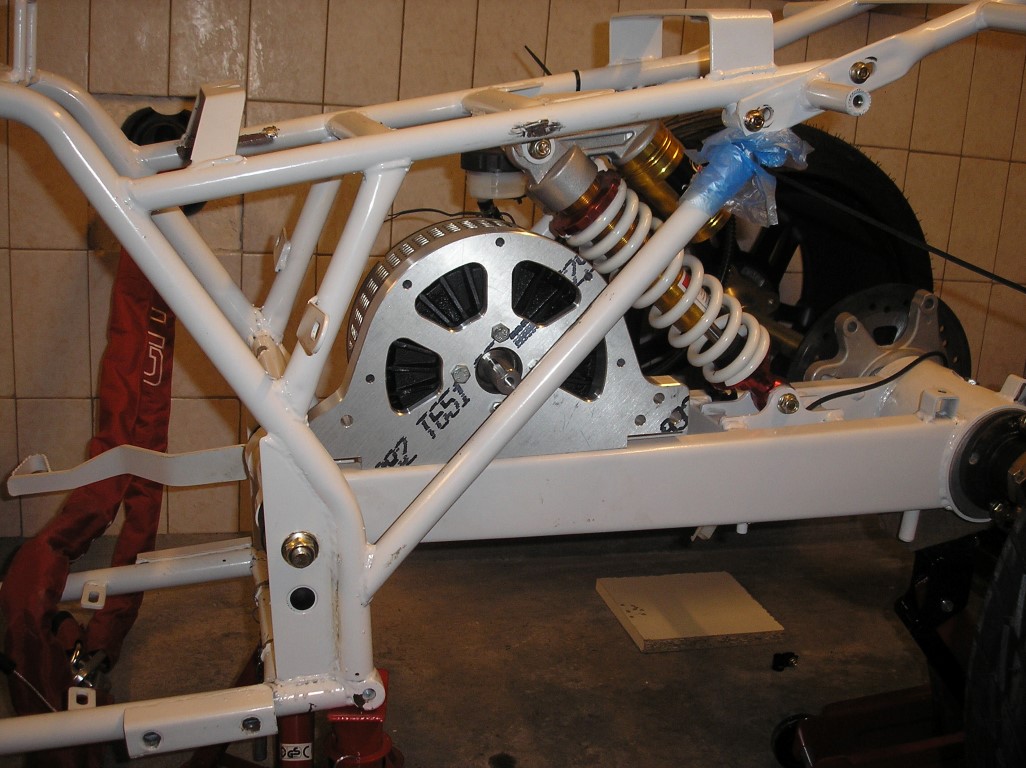
Had a look how the chain would fit since I wasn't sure that it would with the bolts sticking out. But as you can see it's no problem at all, fits perfectly. It just doesn't go straight now but on the rear it should come a bit more towards the swingarm. Can't really see this yet untill the sprockets are done.
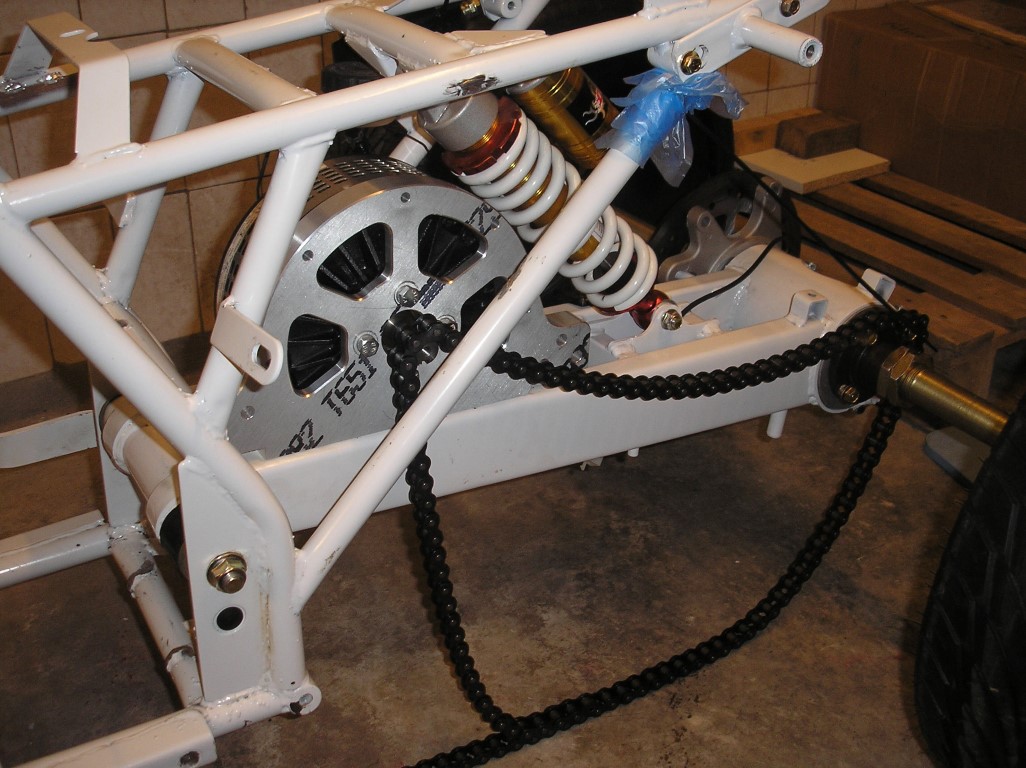
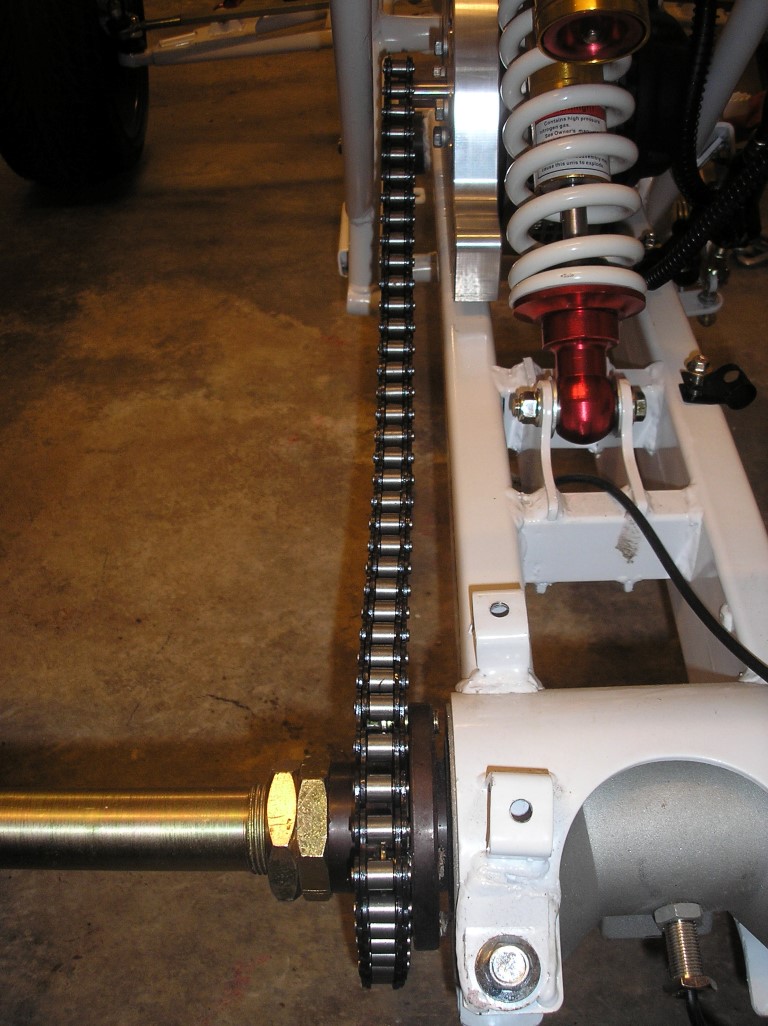
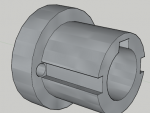
I only don't have the steel blocks that will get welded on the swingarm back yet. They'll still be made this week I think. I also gave my friend both of the sprockets so the holes could be made in these. There will also be an adaptor made to be able to fit the front sprocket to the motor's axle. This will hopefully all be here next week.

Posted on 25 April 2013 at 06:23 pm (CET)
Category: Parts
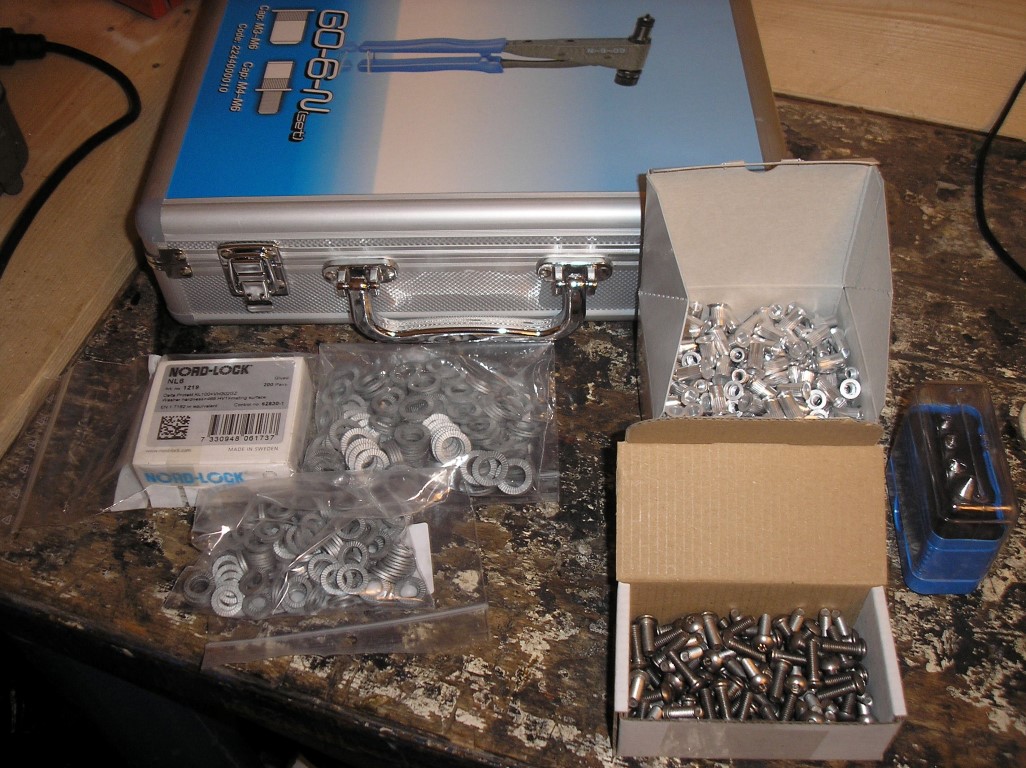
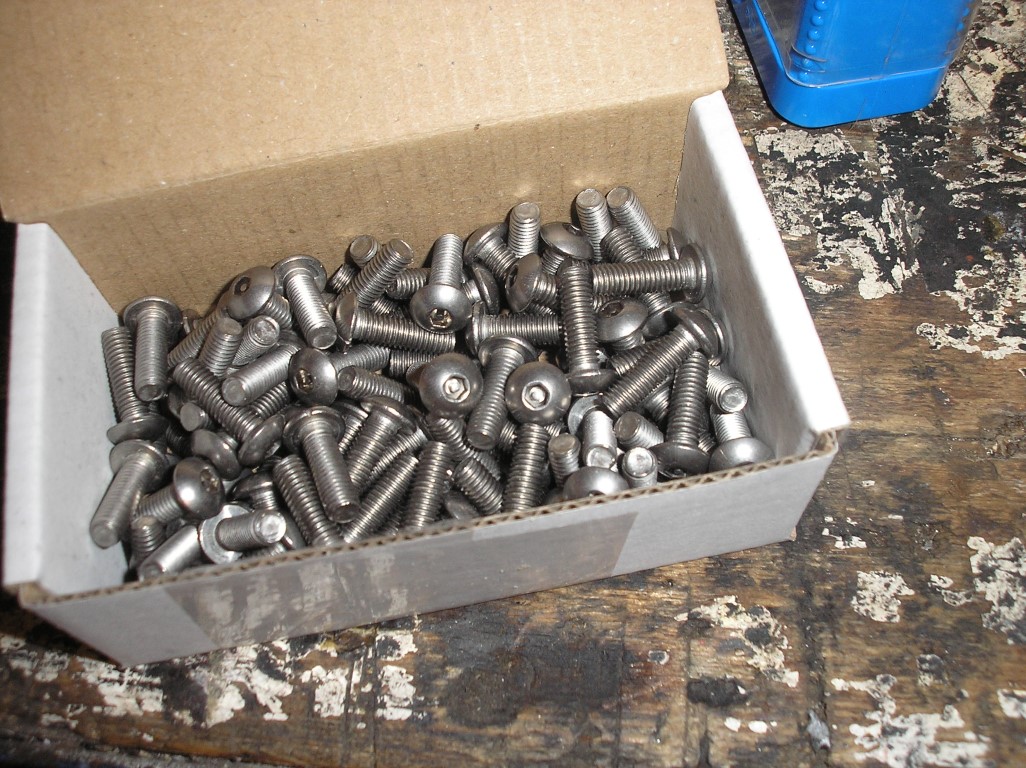
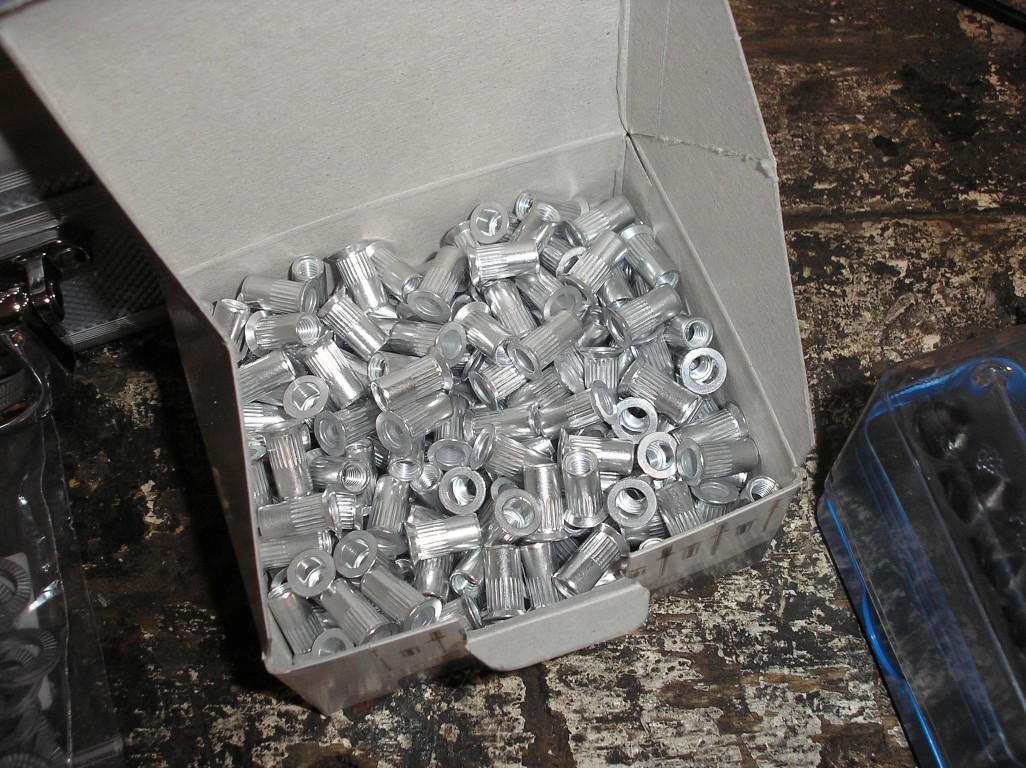
Today I received many fastening materials.
M6, M8 and M10 Nord-lock rings, mainly for all electrical connections and motor mount so they won't ever come loose. Rivets nuts with rivet tool and bolts for all of the battery boxes. Also bought some countersink drills since the rivet nuts are countersunk. It's a lot easier than trying to do this with a bit larger drill.
Posted on 21 April 2013 at 12:23 am (CET)
Category: Drawings, Electric motor
Posted on 21 April 2013 at 12:23 am (CET)
Category: Drawings, Electric motor
Since I'm still waiting for the motor mount I've tried to draw it. This way I can at least already see how and where it'll be attached exactly.
While I don't have the motor mount yet I do have some good news. If all goes well it should be done at the end of next week. Means I'll probably receive it next saturday.
Posted on 19 April 2013 at 12:35 am (CET)
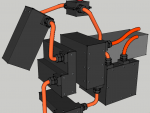
Drawing is pretty much done now. There should still be a few little things added but I don't know if I will actually draw them. Was already annoying enough to get the orange cables like this.
Here with all the battery boxes opened.

And here with all battery boxes closed.
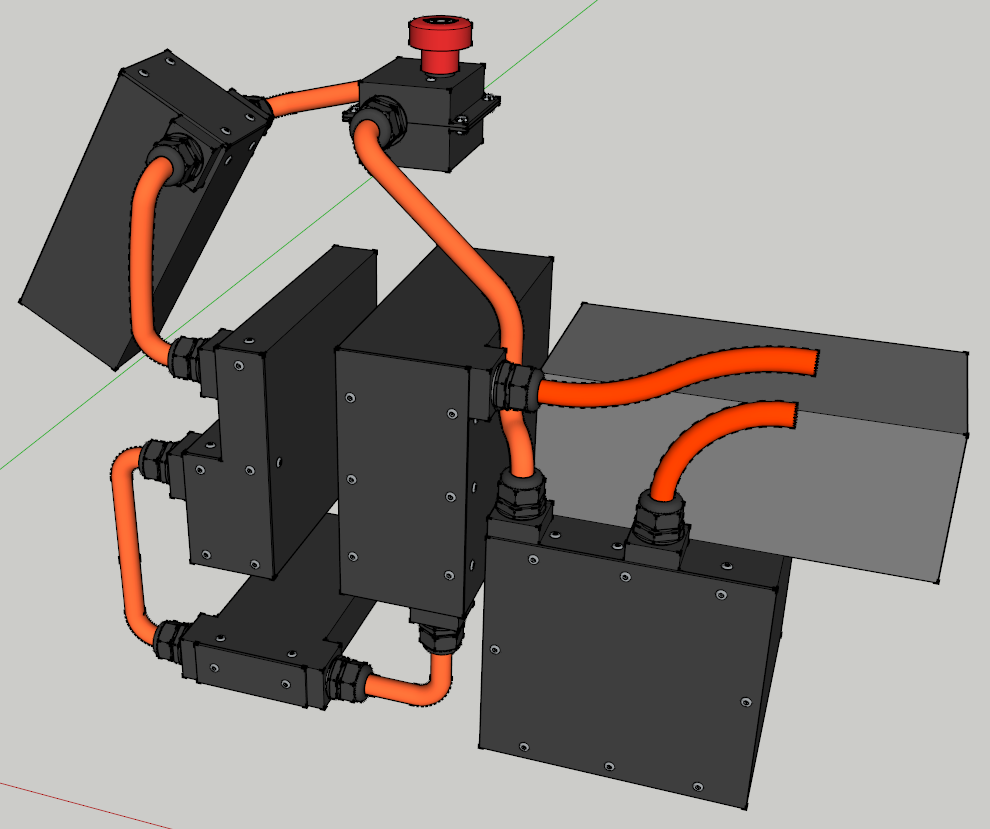
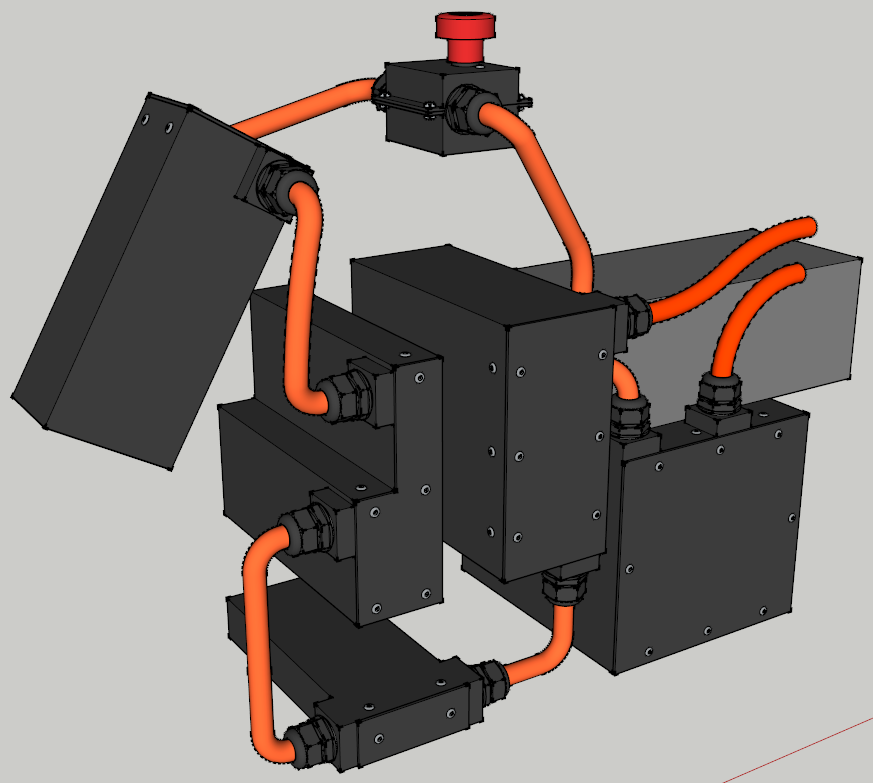
It'll be like that pretty much. The 2 darker orange cables are just the positive and negative of the whole battery pack and go towards the controller. These are the thicker cables with mesh shielding inside of them. The cables that are between the battery boxes are a bit smaller and a bit more flexible. And the gray box is just the outside size of the charger just to see if it would fit next to the cable glands and orange cables.
I just hope it all actually fits like this in the frame. I'm not entirely sure about the 2 batteries that are sitting at an angle in front of the steering shaft and the 1 battery at the bottom. Can't really know for sure untill I actually receive the batteries. They should have arrived already at the company I ordered them from, will still wait some more untill next week.