
 Nederlands
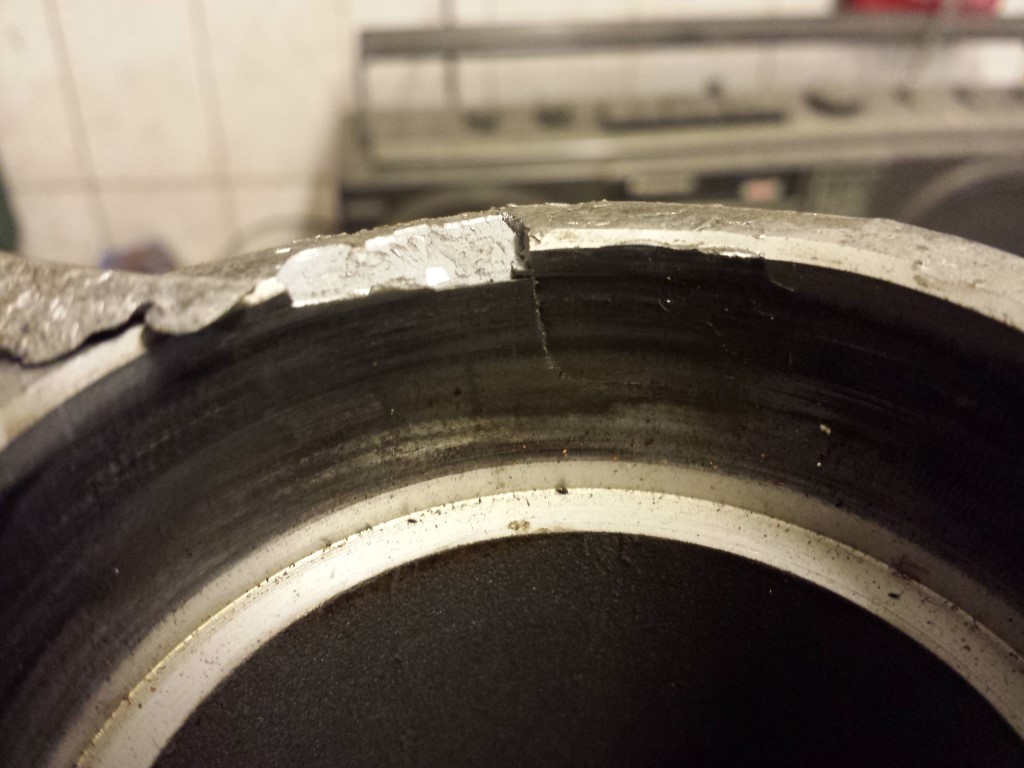
Blog / General

Posted on 17 July 2014 at 12:05 am (CET)
Category: General
Posted on 17 July 2014 at 12:05 am (CET)
Category: General
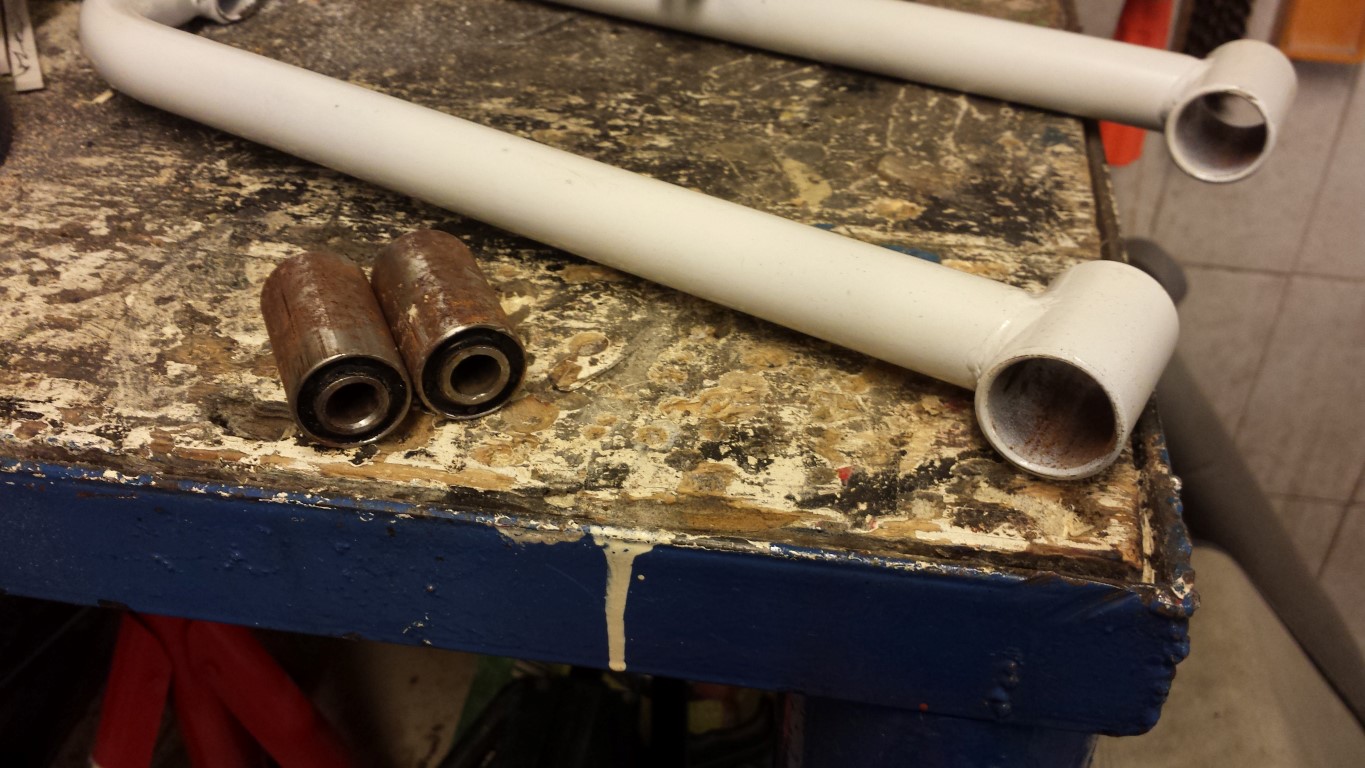
The less good news first. I wanted to remove the bearings and axle from the bearing house so I can soon place much better bearings of the brand SKF in here instead of the Chinese bearings. This just didn't go so well on one side, a piece of the bearing house broke off and there's a small crack as well. So I can't use this one anymore.
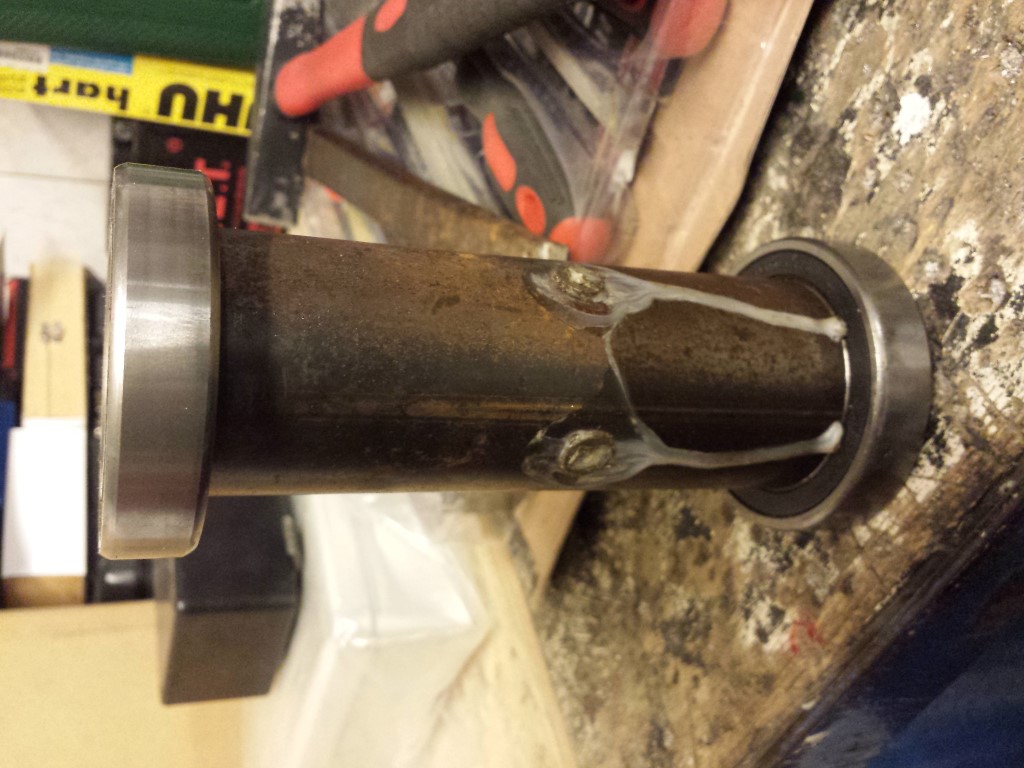
But I did get everything out so at least I know how everything fits together now.
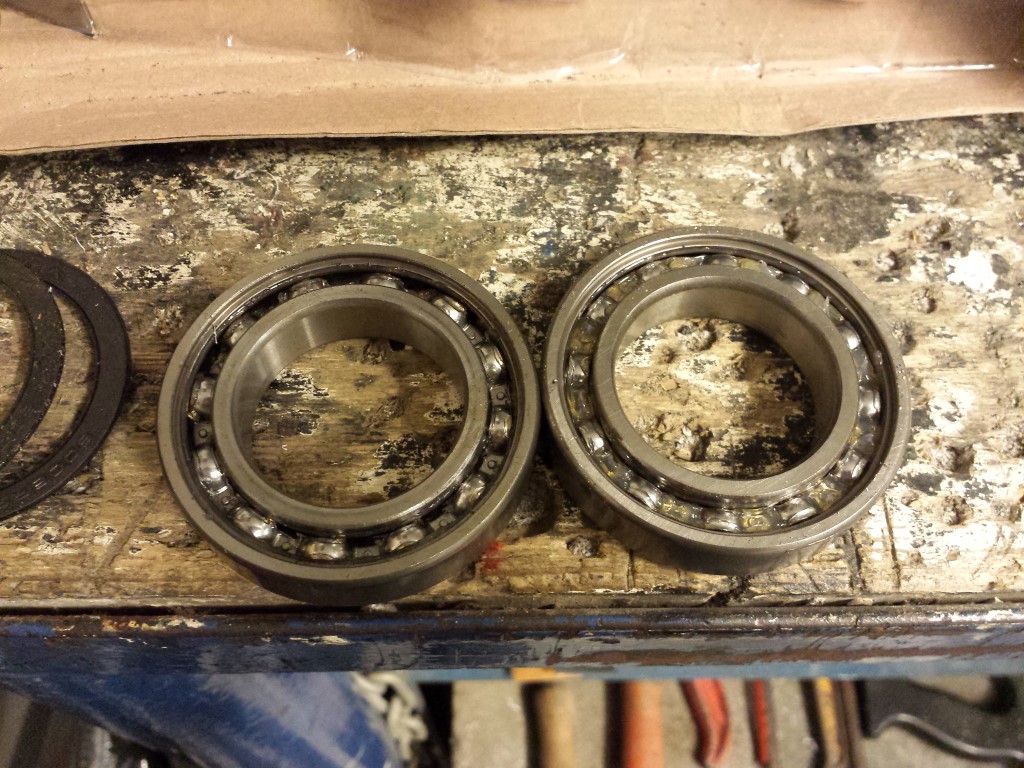
Here's one reason already why I don't want to use these Chinese bearings. Just look at the difference between the 2 bearings, the one on the left has no grease at all in there while these are still new closed bearings. But they're bad quality anyway, these bearings break very quickly. Especially that one without any grease.
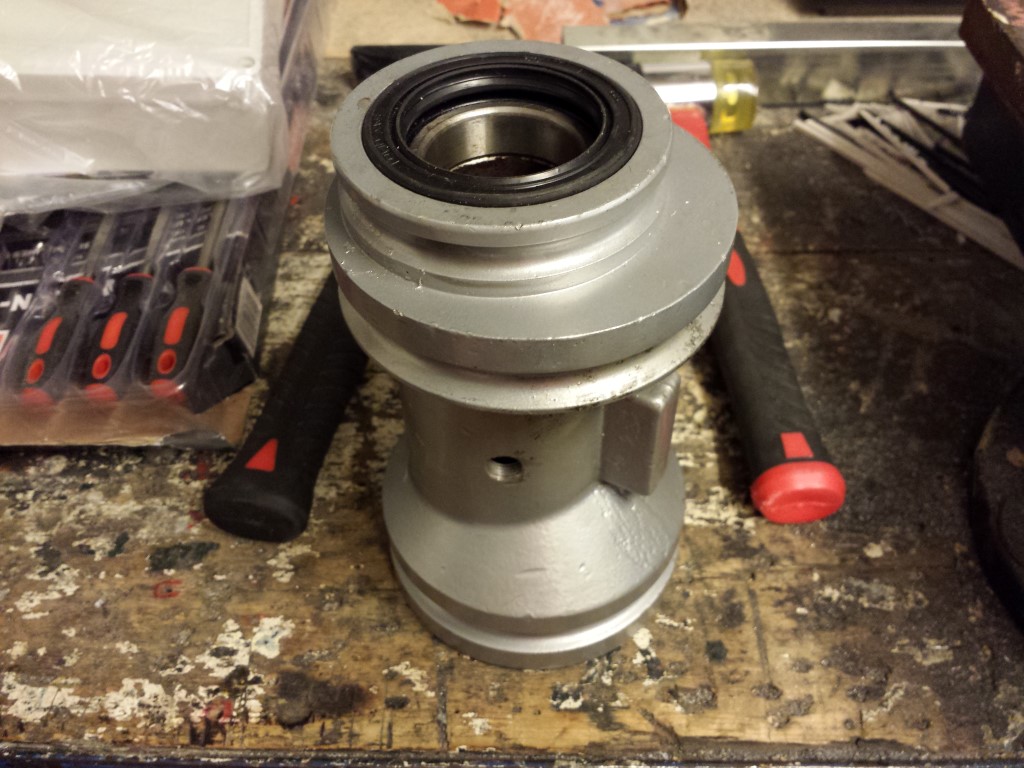
Meanwhile I already got a new bearing house. There were also bearings in this already but everything went well removing them this time.
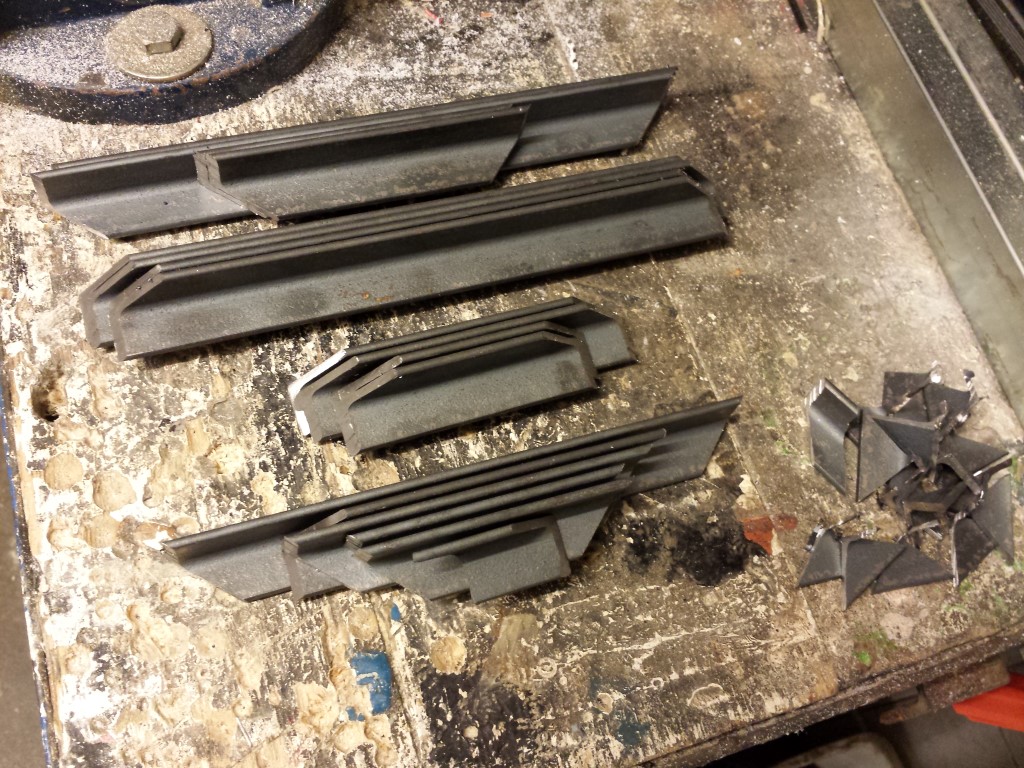
And then the good news. All mounting points for on the frame and the battery boxes are finally done. Was quite a bit of work, especially since I had to make these to size using only a bench vice, hammer and file. But they can all hopefully get welded within a few days now.
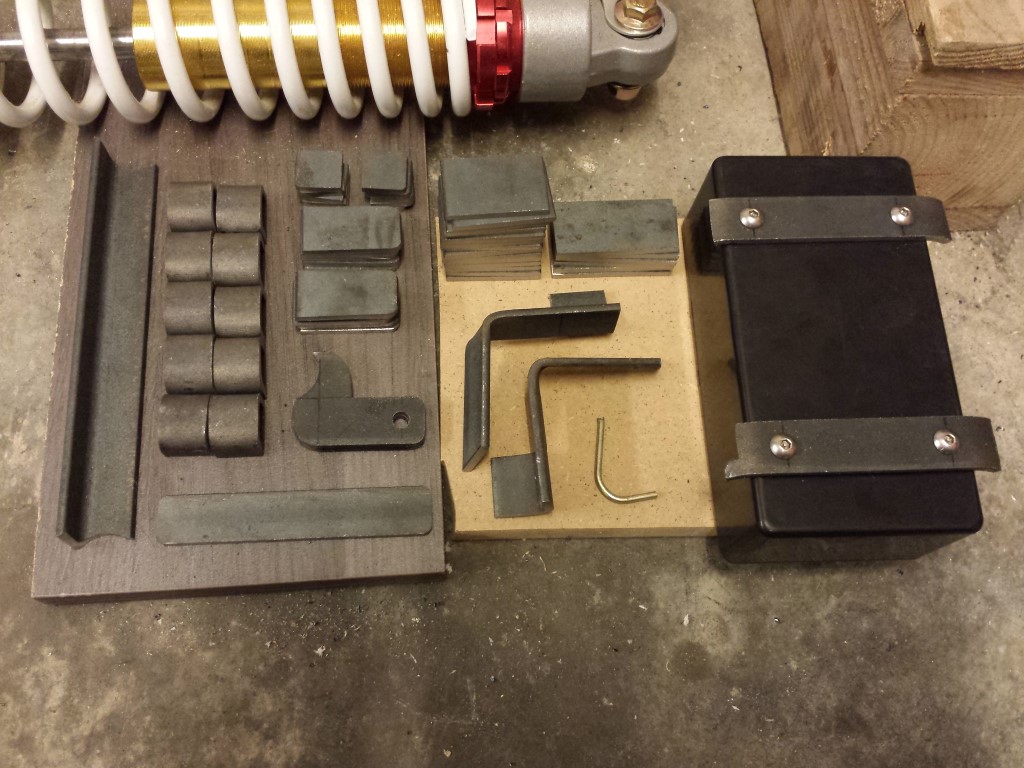
The ones for the smallest battery box up front were the hardest because they needed a few corners and a part that's skewed. But they turned out pretty good, definately strong enough for the 2 batteries that are going in there.
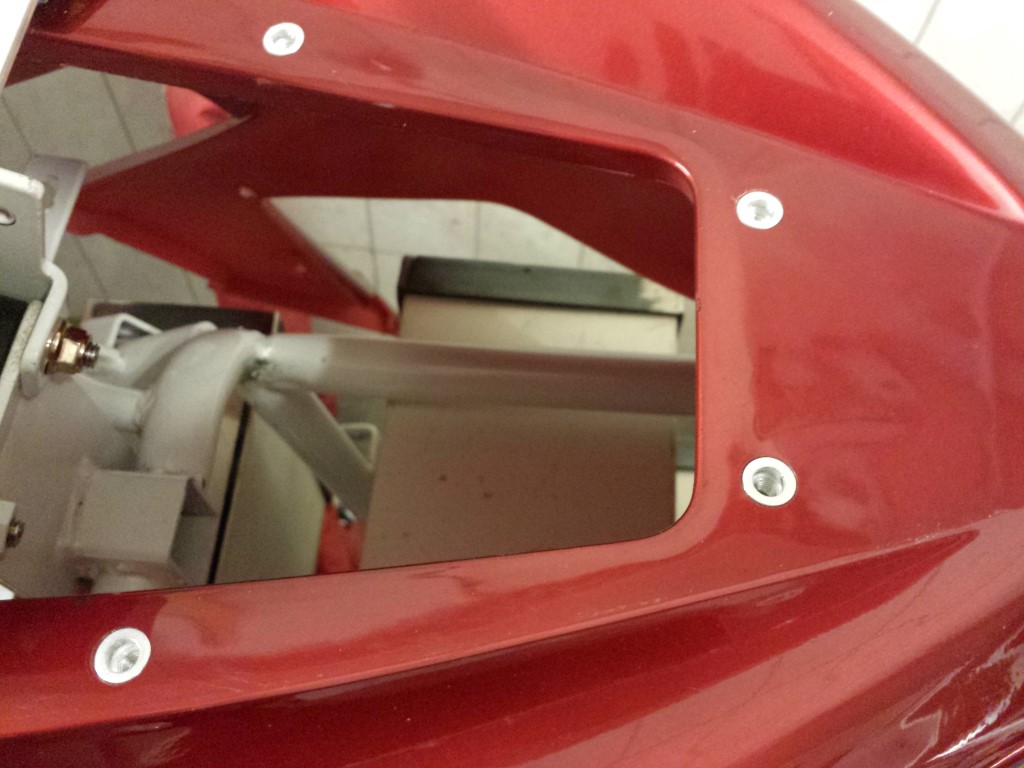
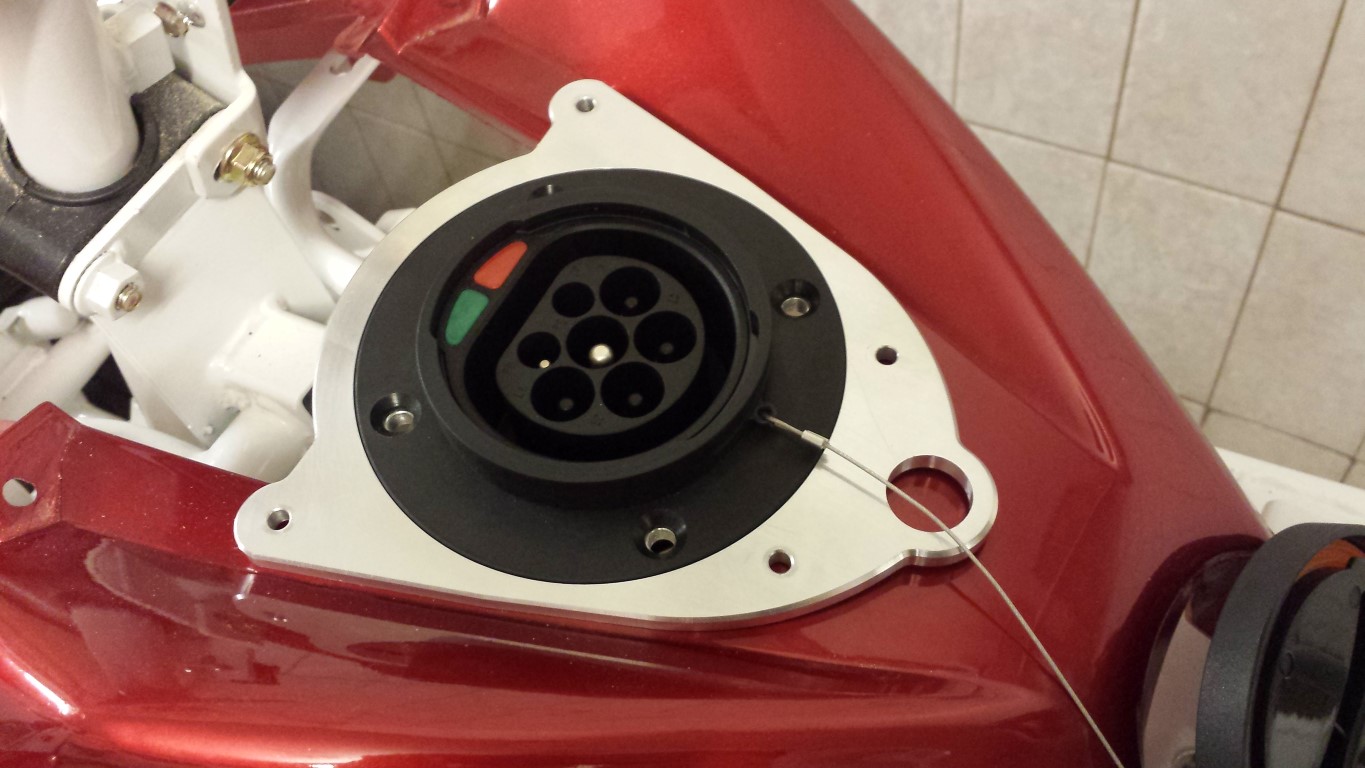
I also made the holes in the front fender already with mounting points for the charge plate. Ofcourse I used rivet nuts for this again.
Hopefully another update soon once everything's welded.
Posted on 6 July 2014 at 01:56 pm (CET)
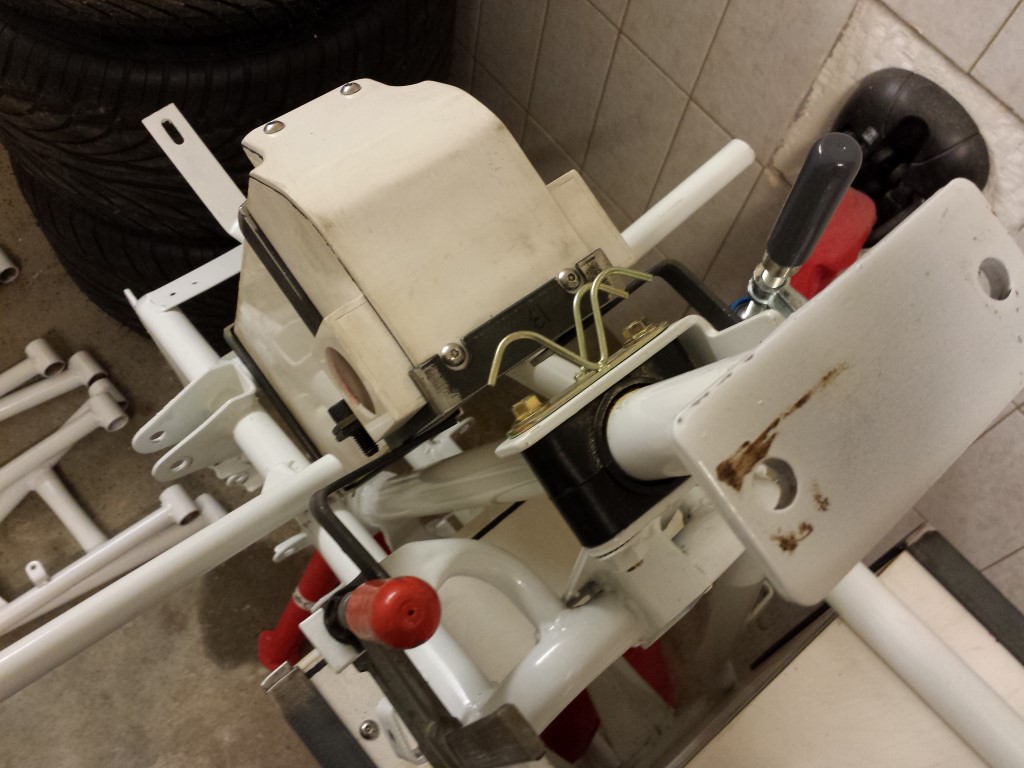
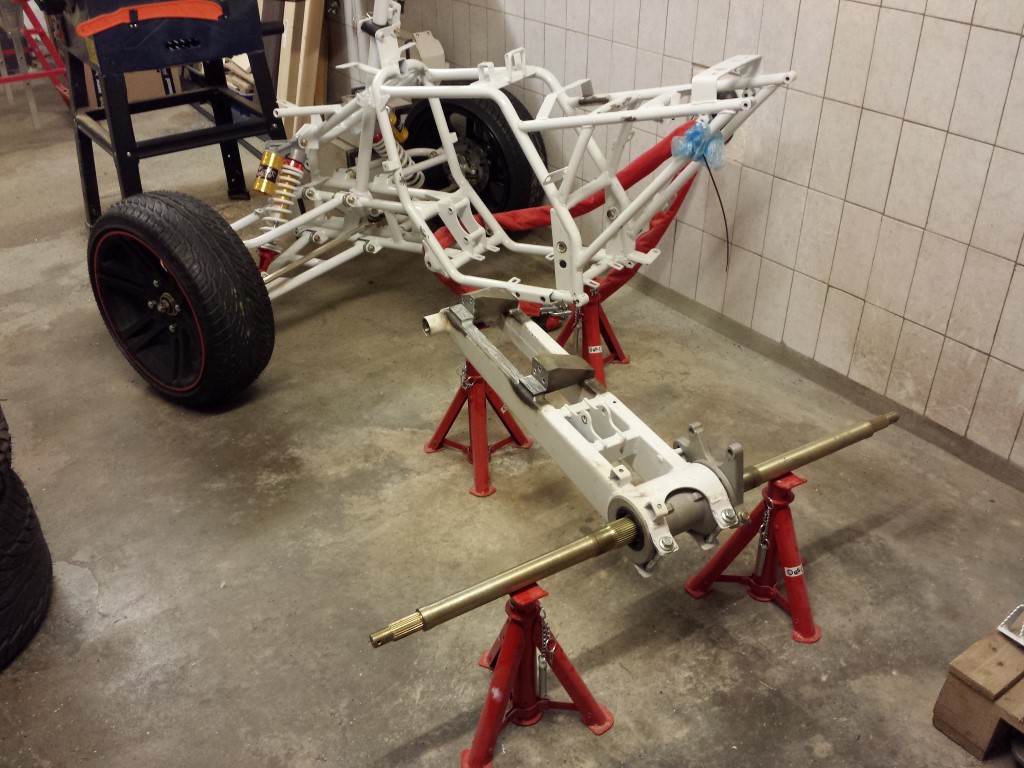
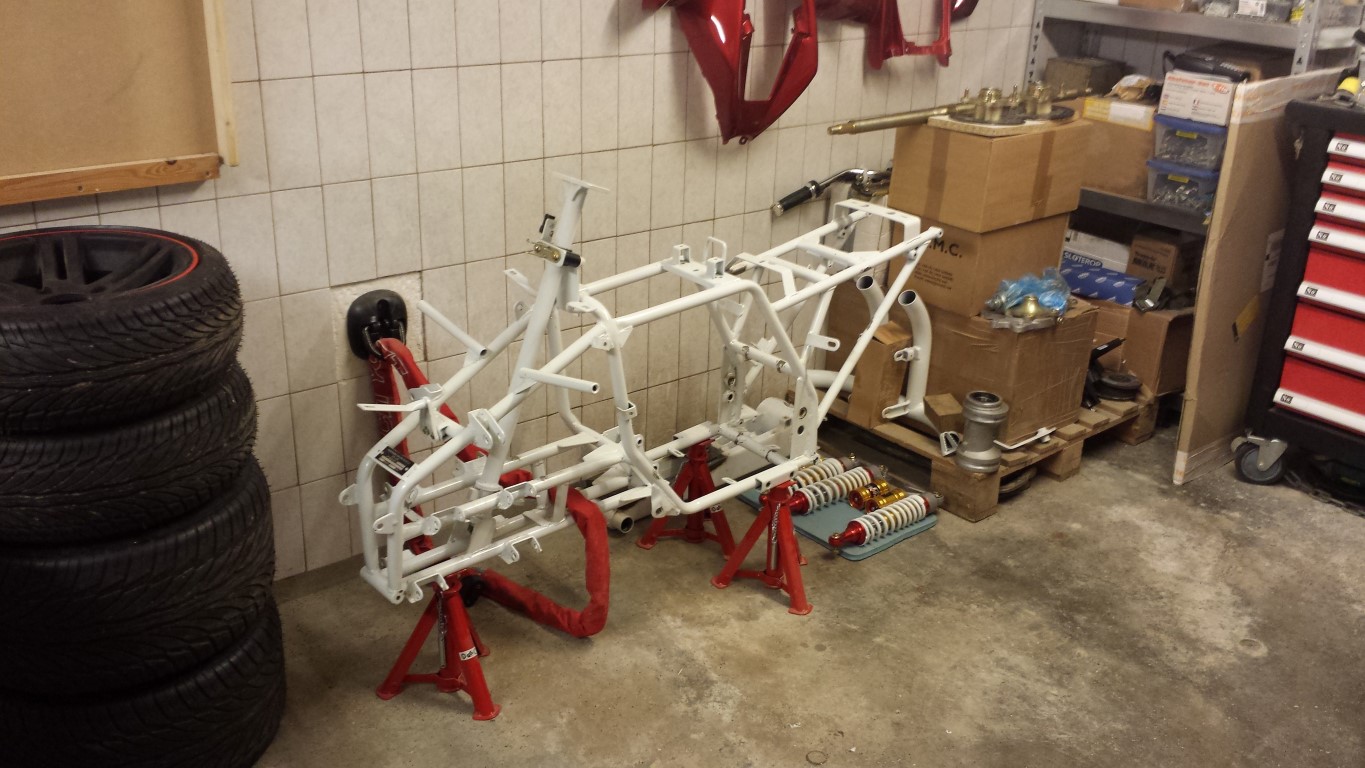
Much has happened again this week. I completely dismantled the quad bike so that all parts of the frame can be sprayed soon. Was pretty fun since I've literally had each and every part of the quad bike in my hands, I know exactly how it all fits together now. I've also come across certain things that I'll be replacing right away with better alternatives, especially the bearings and the bushings in the front swingarms and rear swingarm.
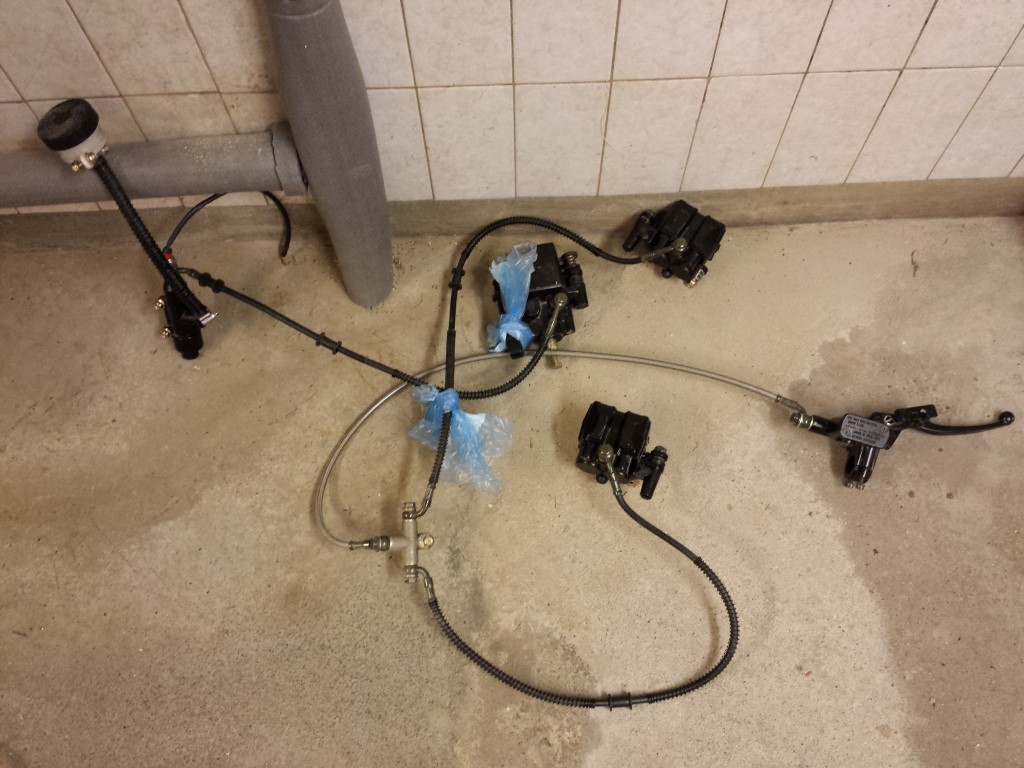
I was able to remove the whole brake system without even having to disconnect a single brake line.
And this is what the quad bike looks like right now, only parts everywhere.
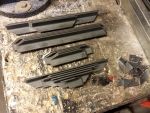
I already removed the bushings in all of the swingarms. These are all still new bushings but they don't really look like that. These Chinese bushings also don't really work like rubber bushings are supposed to work, they're actually hinging in the swingarm itself instead of in the rubber so it's steel on steel. This will wear out very quickly, especially since there was no grease at all anywhere. The plan is to place POM bushings in here, works much better and lasts much longer too.
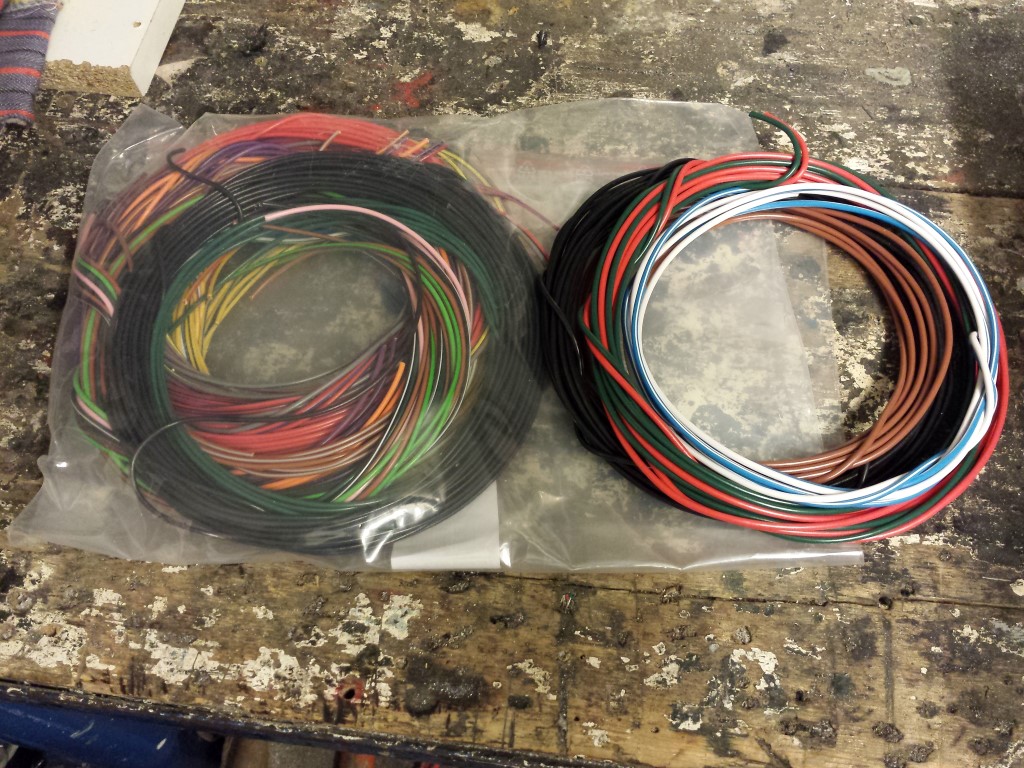
I also got some new parts again. These are all the wires that I'll need to make the whole wire harness.
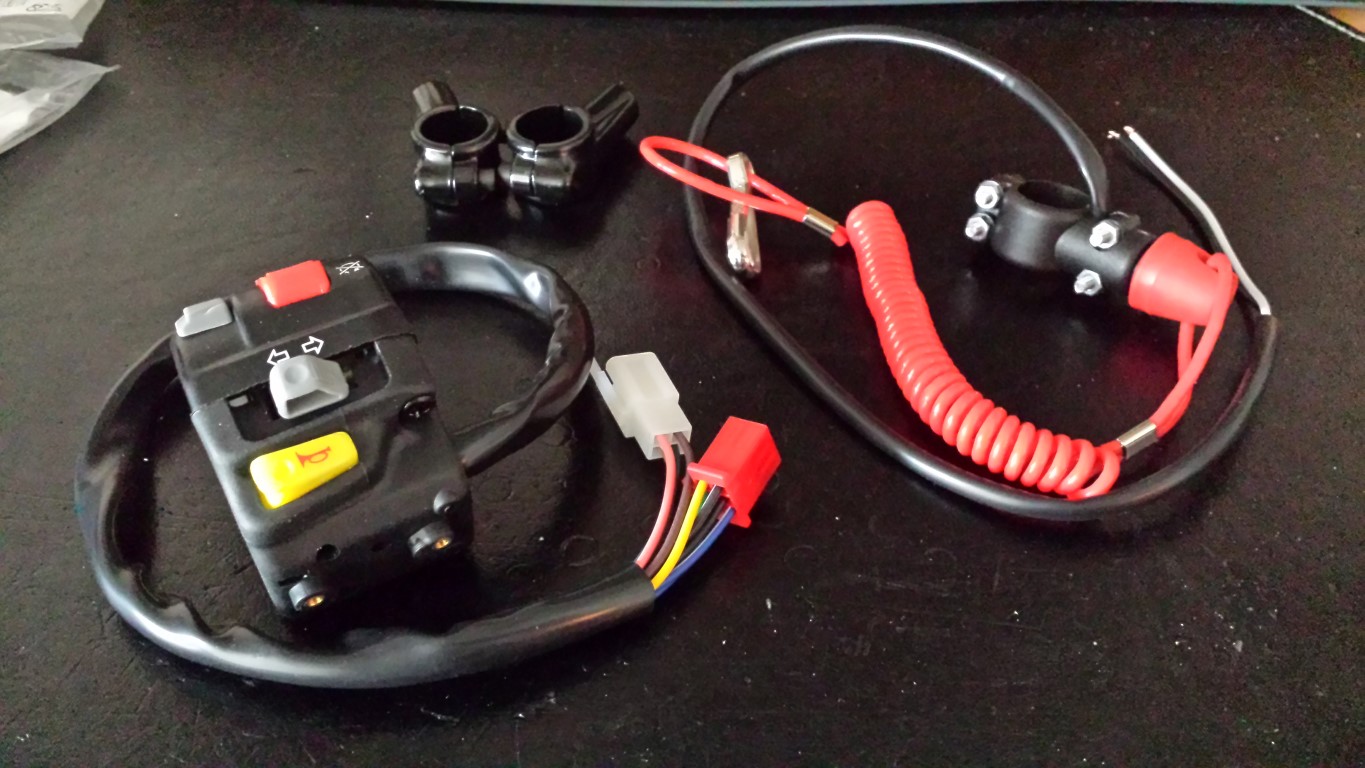
There's also a handle switch and 2 mounting points for the mirrors. And also a seperate killswitch with cord so the high voltage will be disabled if I leave the quad bike in any way.
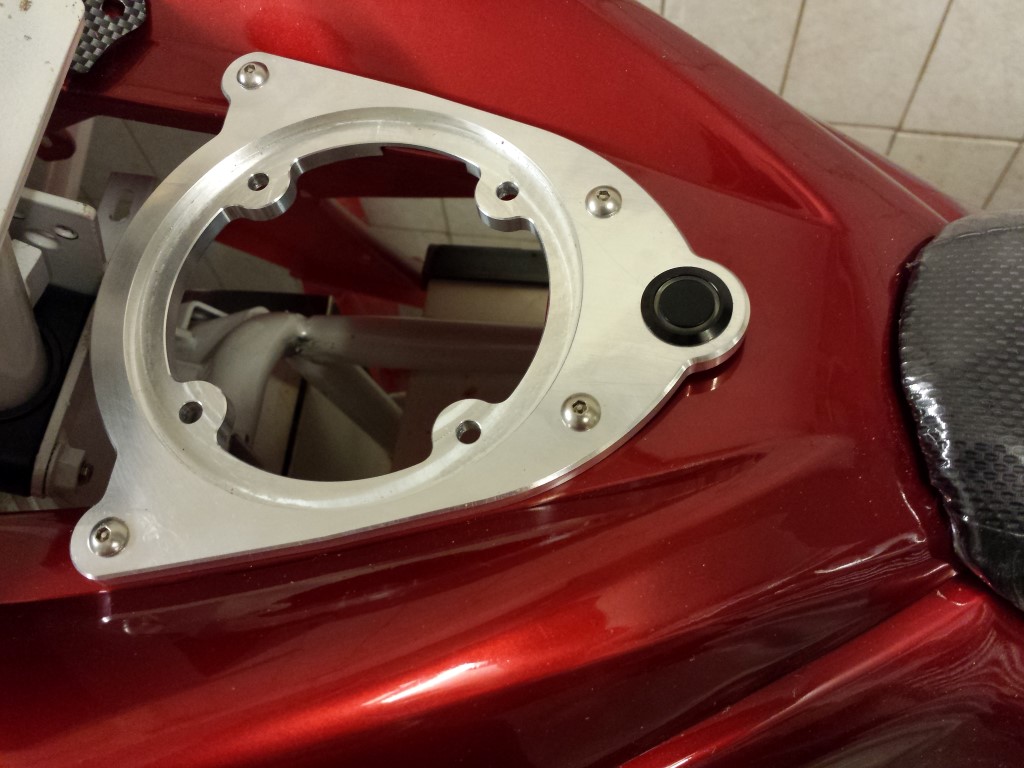
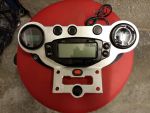
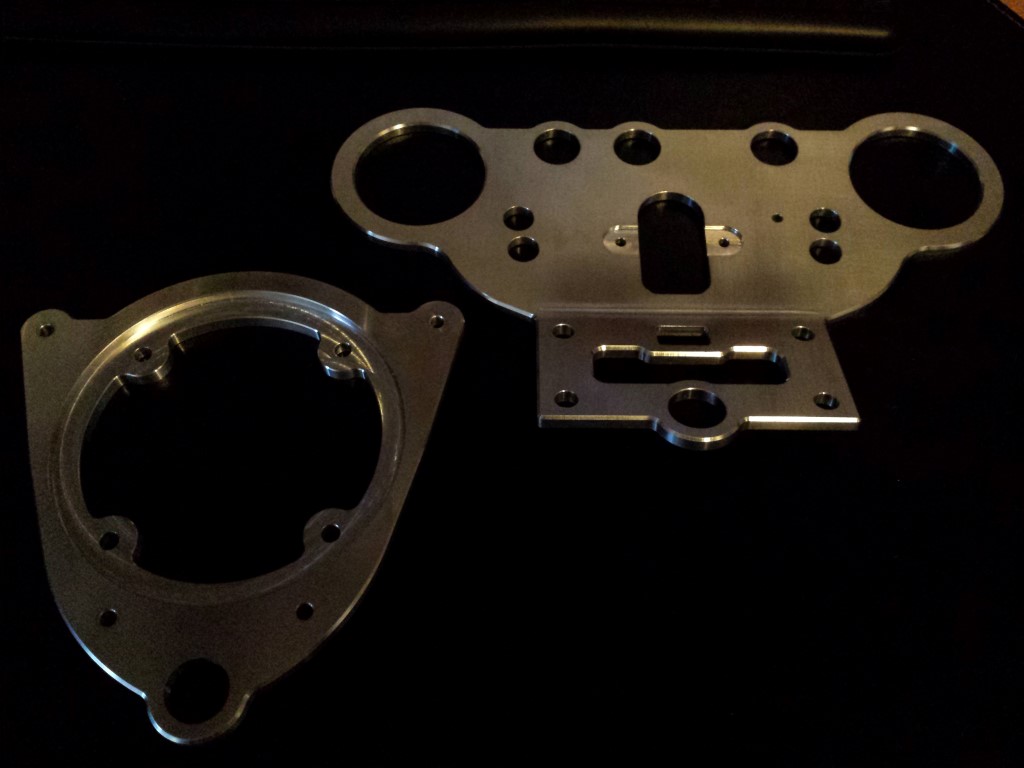
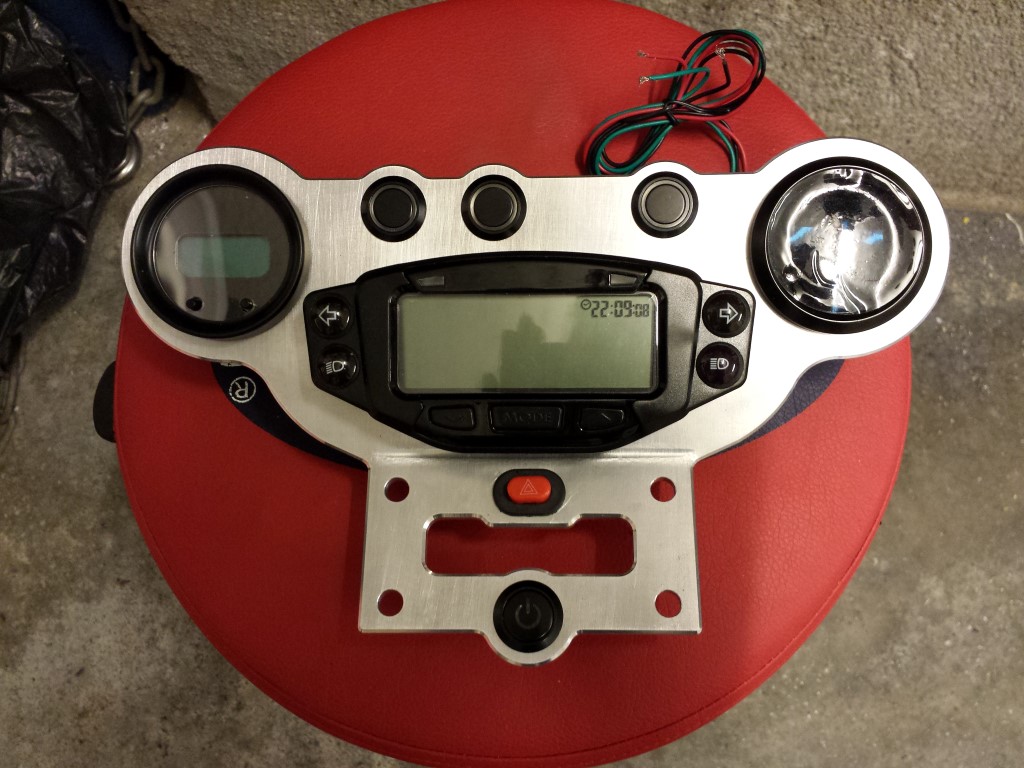
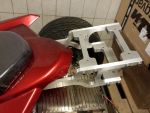
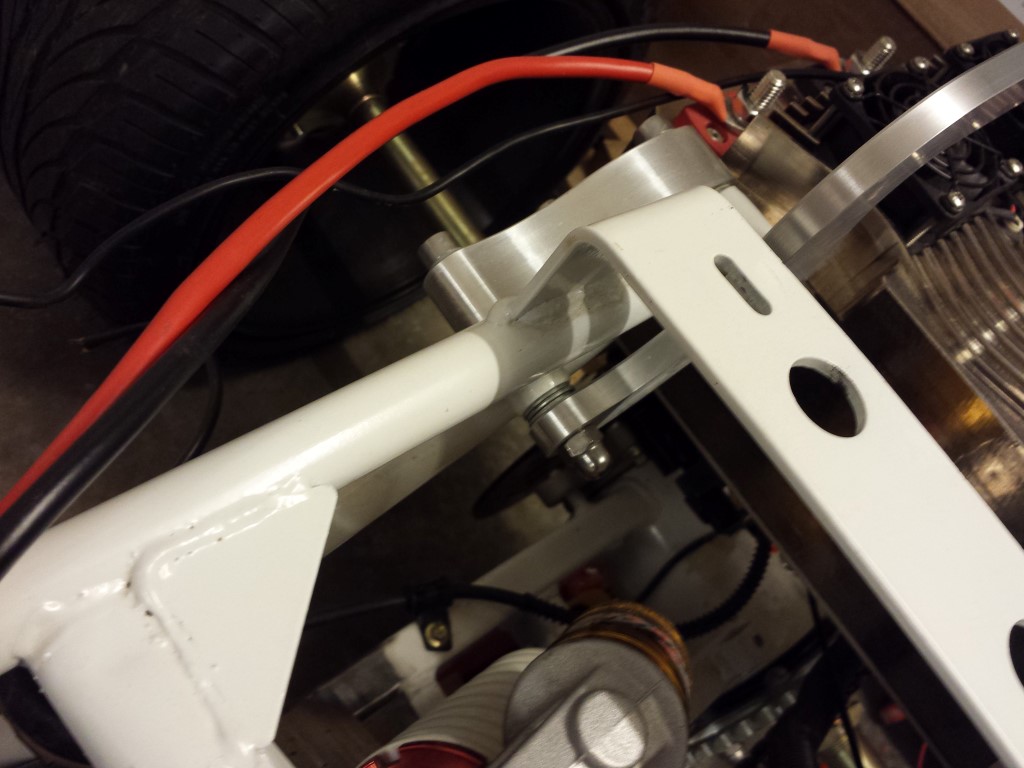
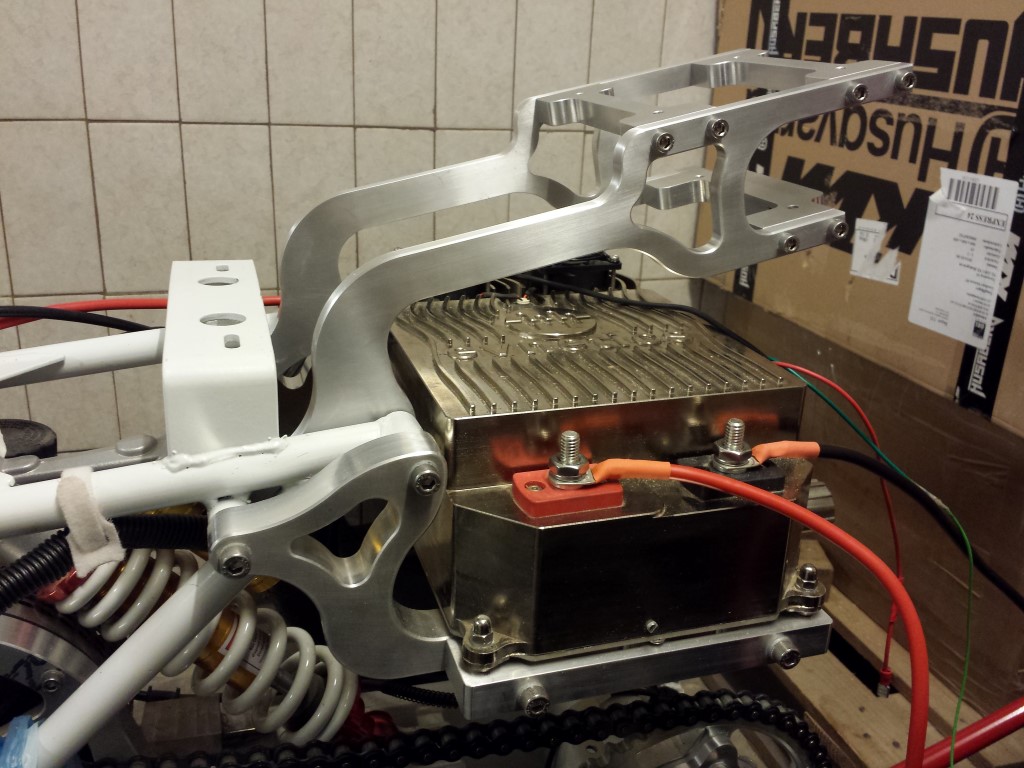
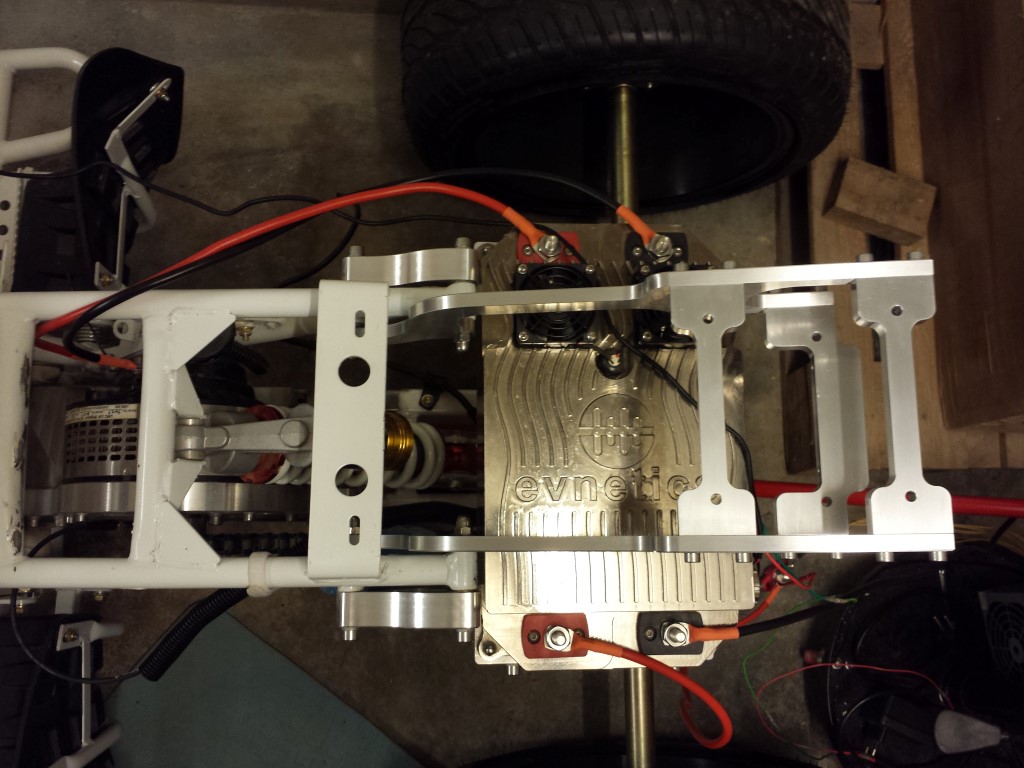
But the most important is that the gauge and charge plate are done and thanks to Geraets Metaalbewerking they turned out very nicely again. Everything fits perfectly again as well. I just can't really show yet how it'll all be mounted exactly since the quad bike is dismantled but to give an idea I've made a few pictures.
I'm working on making all of the mounting points to size now, these might get welded to the frame this coming week then.
Posted on 13 June 2014 at 01:06 am (CET)
Posted on 13 June 2014 at 01:06 am (CET)
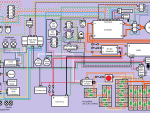
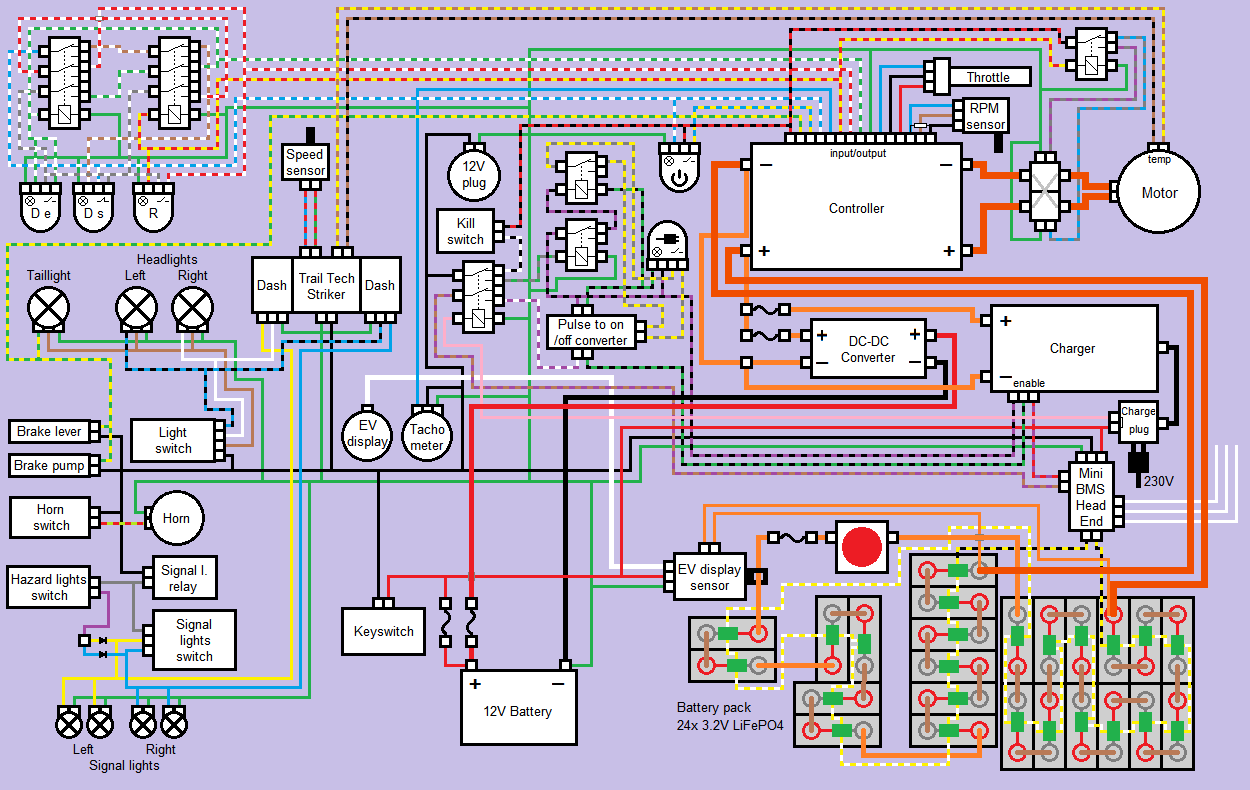
Past few days I've been busy drawing the whole wiring diagram. I'm pretty sure everything will actually be connected like this now. Only those 3 wires of the Battery Management System I'm not really sure about how to connect them yet. These are for drastically reducing the power when the batteries are empty so you can't undercharge them. But there should still be enough power to get the quad bike off the road safely. This can be connected in a few ways so I'll still wait with this.
Also made 2 extra circuits in it with a few buttons and relays. The one on the top left is for switching between low power (Drive Eco), high power (Drive Sport) and Reverse. And the one in the middle is for starting and stopping the charge process when the charge plug is connected. I might still get an actuator for this so the charge plug will get locked with this circuit while charging.
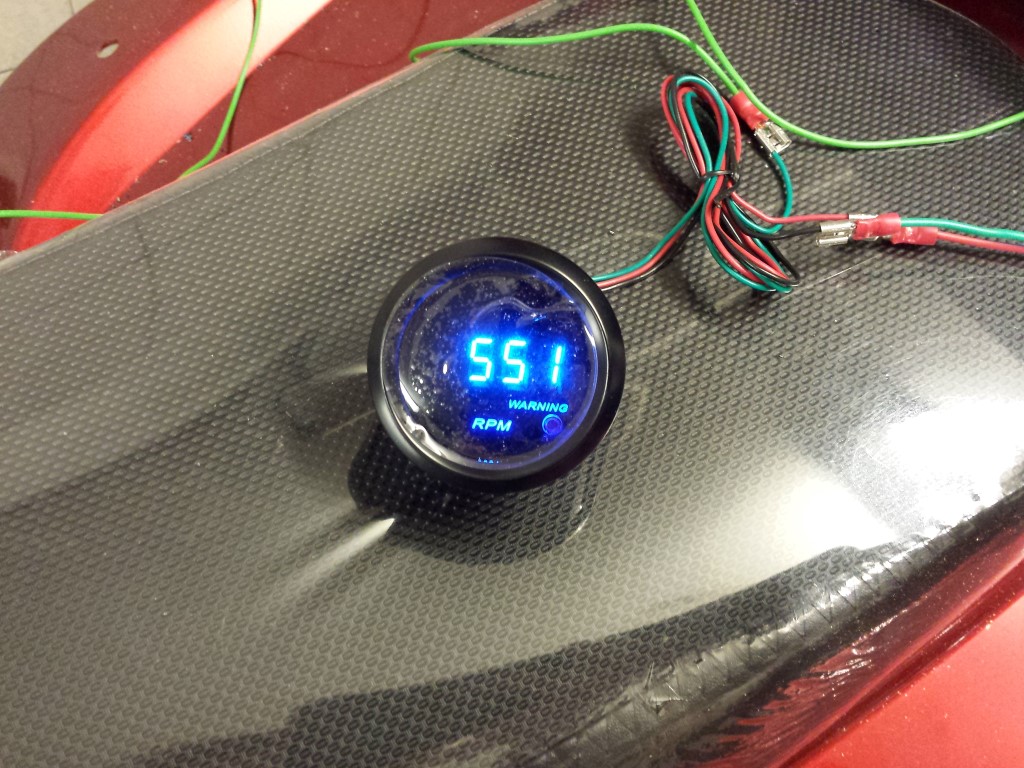
Also have another new tachometer, this time one from Hong Kong for 10 euros. And third time's the charm, this one works perfectly.
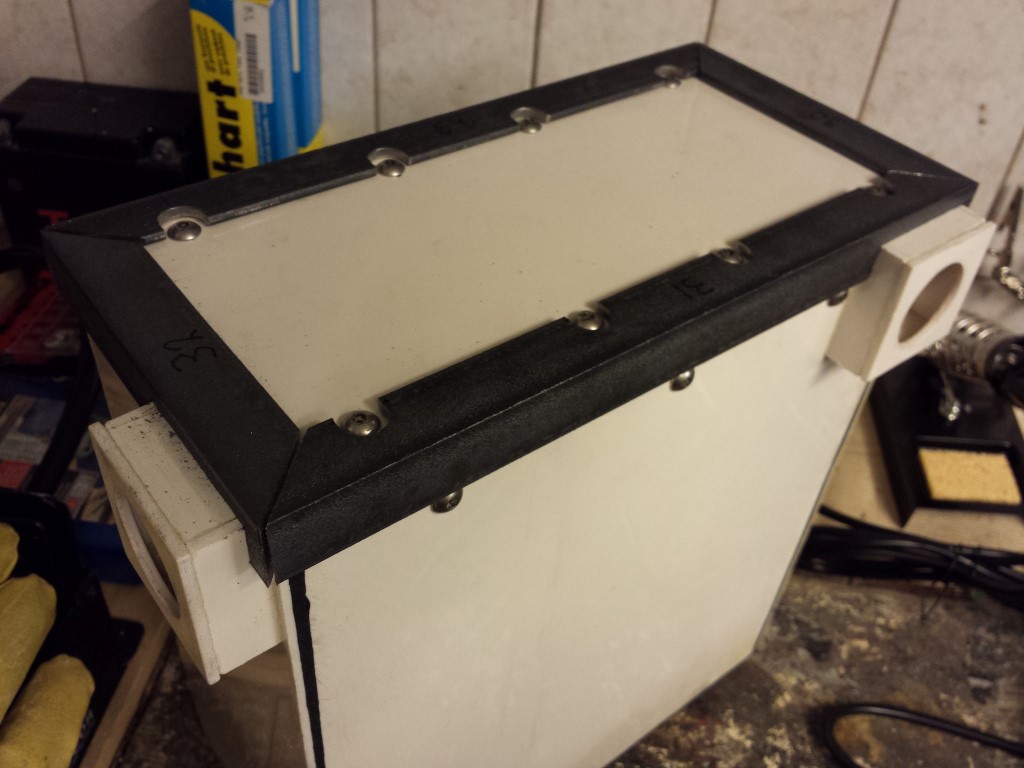
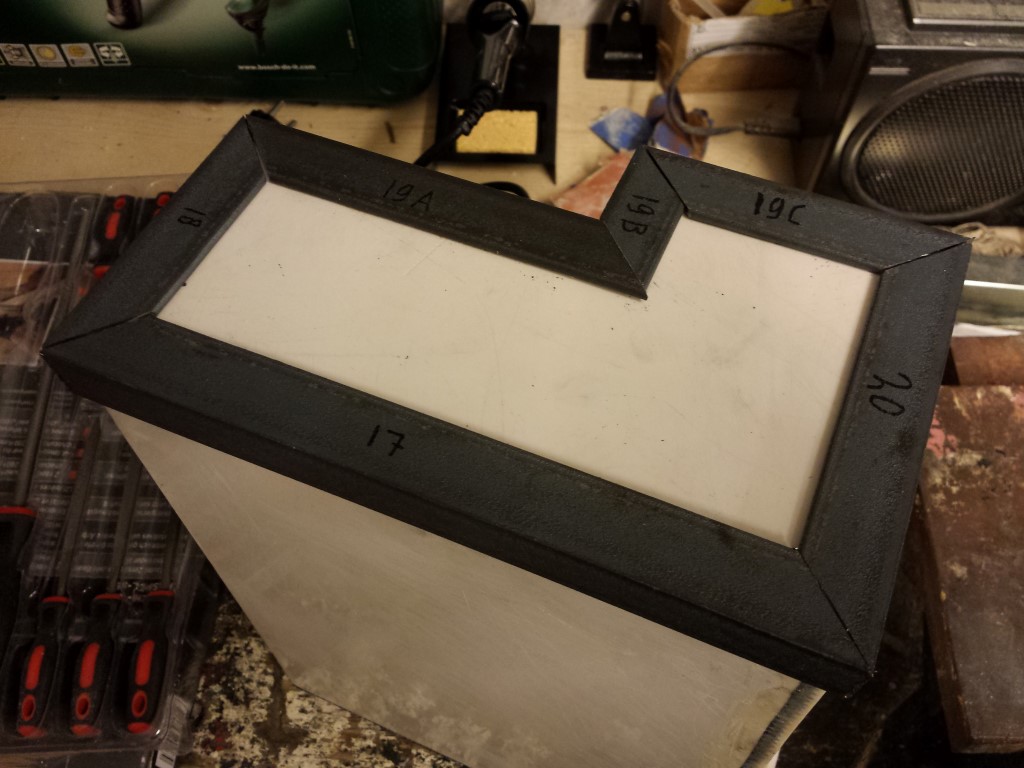
For the rest I've still been busy with the corner profiles on the side of the covers. Have to make quite a lot of cutouts in them for the cable glands and bolts. So this'll still take me a while. But for this battery box they're all done, still 3 to go.
Posted on 5 June 2014 at 10:22 pm (CET)
The corner profiles for the rear of the battery boxes are done. Now I still have to work on the ones for the front/cover but that'll take some more effort since I have to cut a few parts out for the cable glands and bolts.
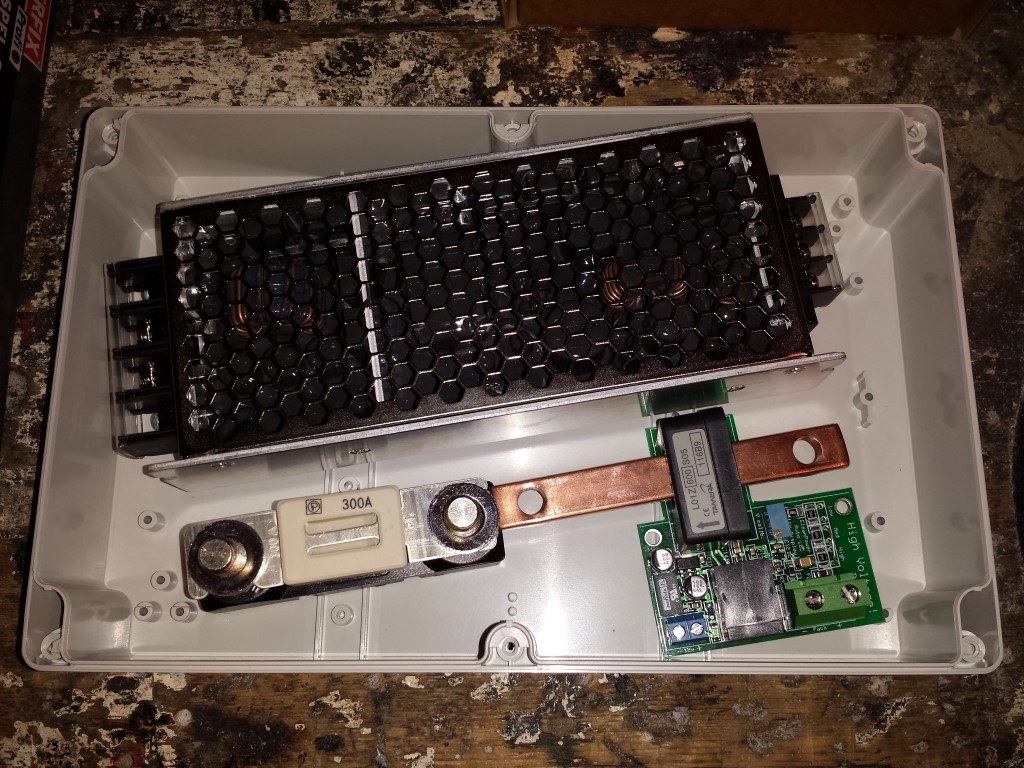
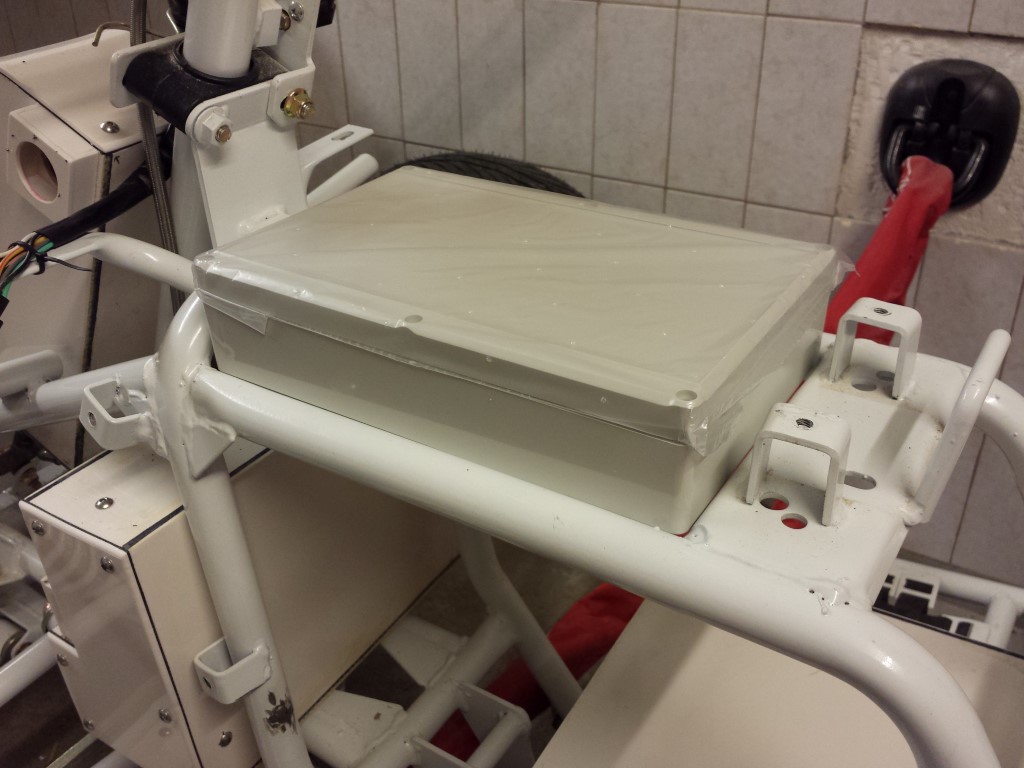
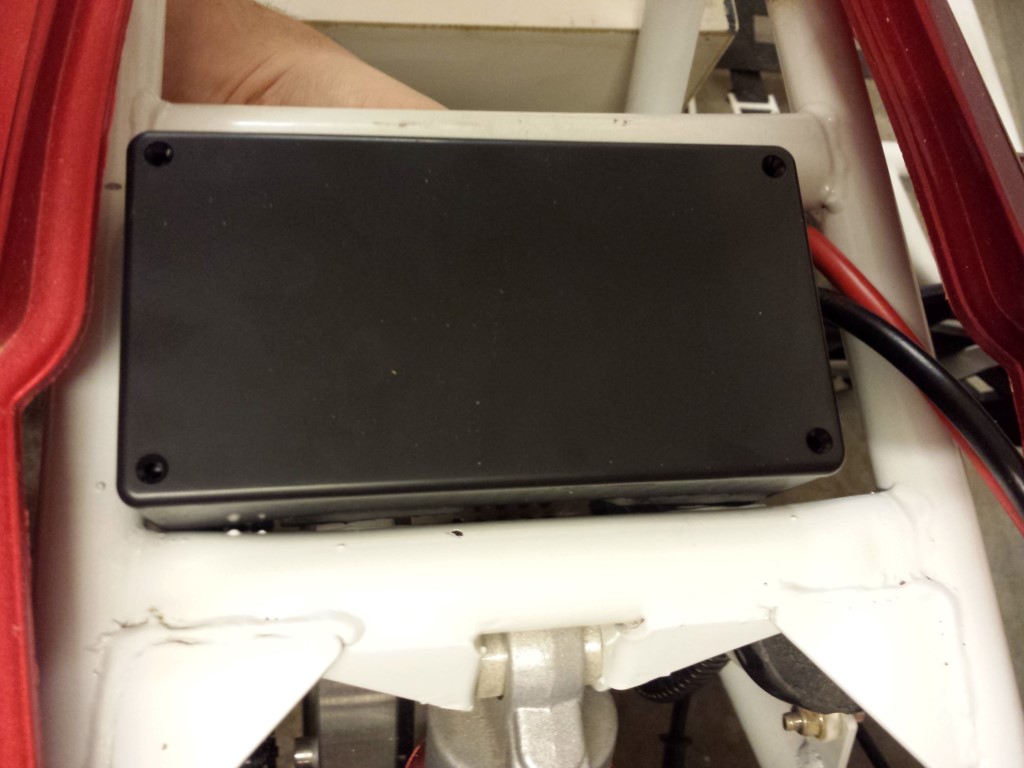
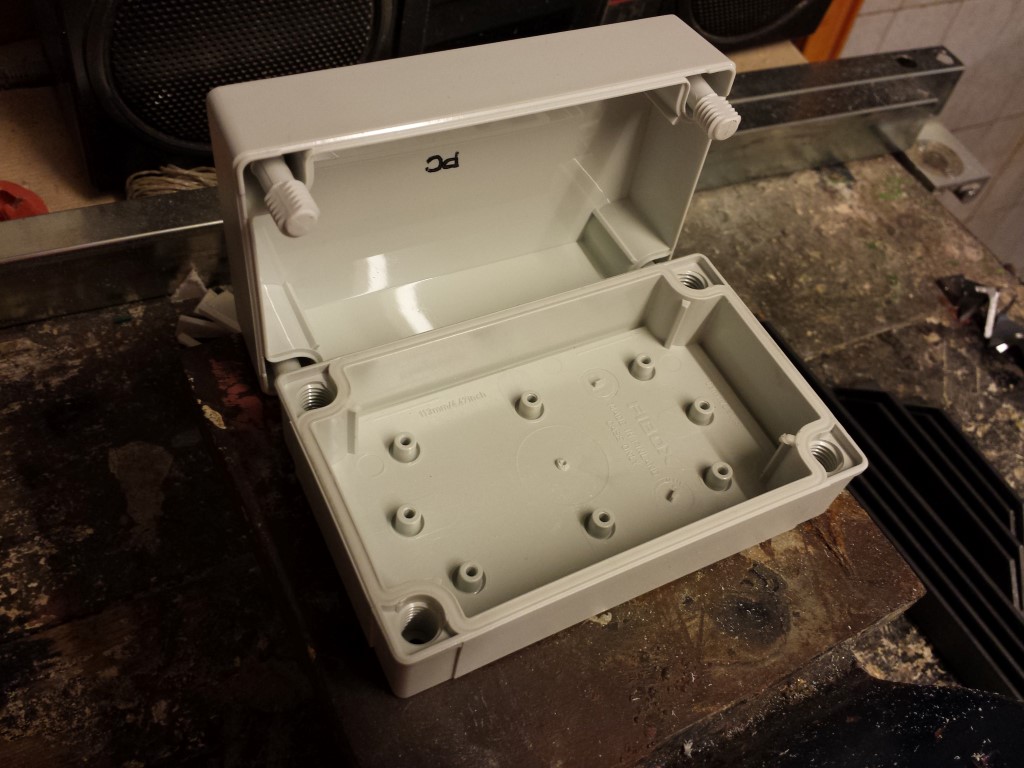
I also bought some extra enclosures to place some other high voltage parts in. Bit easier than making something myself again. The DC-DC converter, sensor for the volt/amp meter and the main fuse will come in this large one. It'll be placed where the gastank used to be. It really fits perfectly, took a good guess for the sizes. It only wasn't available in black so it still has to be sprayed.
And this smaller one is for splitting up the high voltage cables to the DC-DC converter and charger and for both a seperate fuse. It'll be placed where the 12V battery used to be. It fits nicely as well and there's still enough space for the big orange cables which will run to the motor.

Then I also still have this one for some 12V things (main board for the Battery Management System and a few relais). Think I'll just place this one on top of the large enclosure, there's still some space for it.
Tomorrow and in the weekend I'll continue again with the corner profiles so these can hopefully get welded next week.
Posted on 29 May 2014 at 12:29 am (CET)
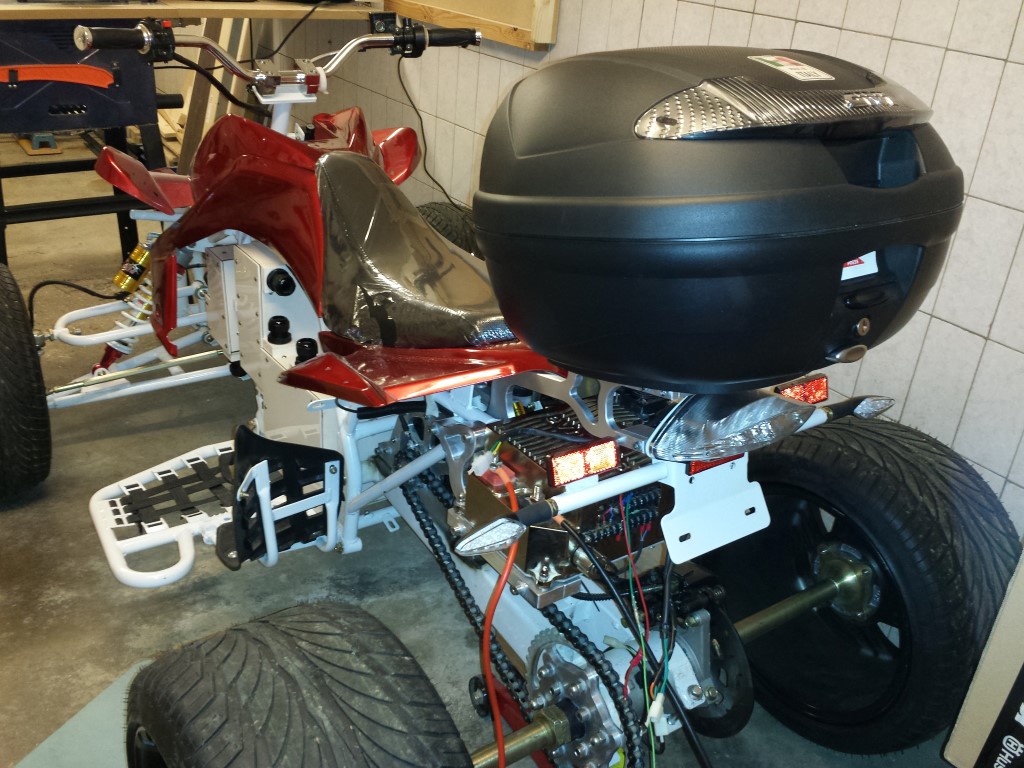
Some good news again today, the mounts for the top case and rear lights are done. They're really nice looking again thanks to Geraets Metaalbewerking. It's always amazing to actually see something like this made from a drawing. Here are all the parts together.

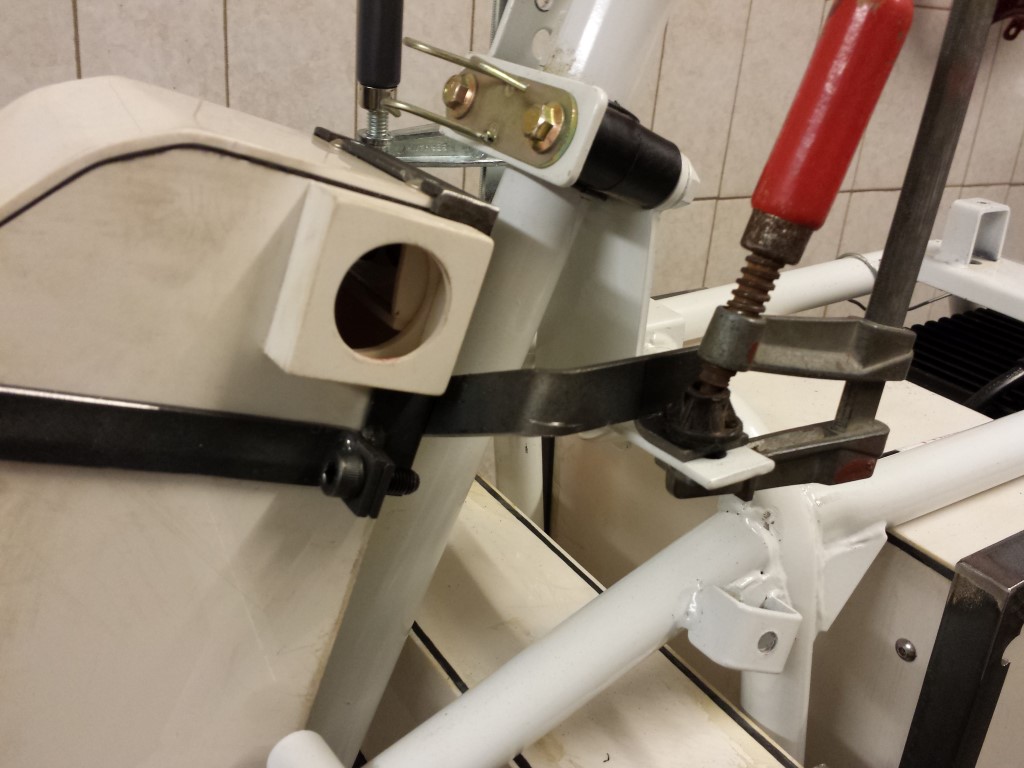
Attaching them was a bit difficult, the mounts weren't the problem but ofcourse the Chinese welds again. Had to add quite a few rings again to get the mounts straight and make them fit. But it's not that bad, I think I just need to get some longer bolts now since the nuts are barely on there.
But eventually they were nicely attached to the frame.
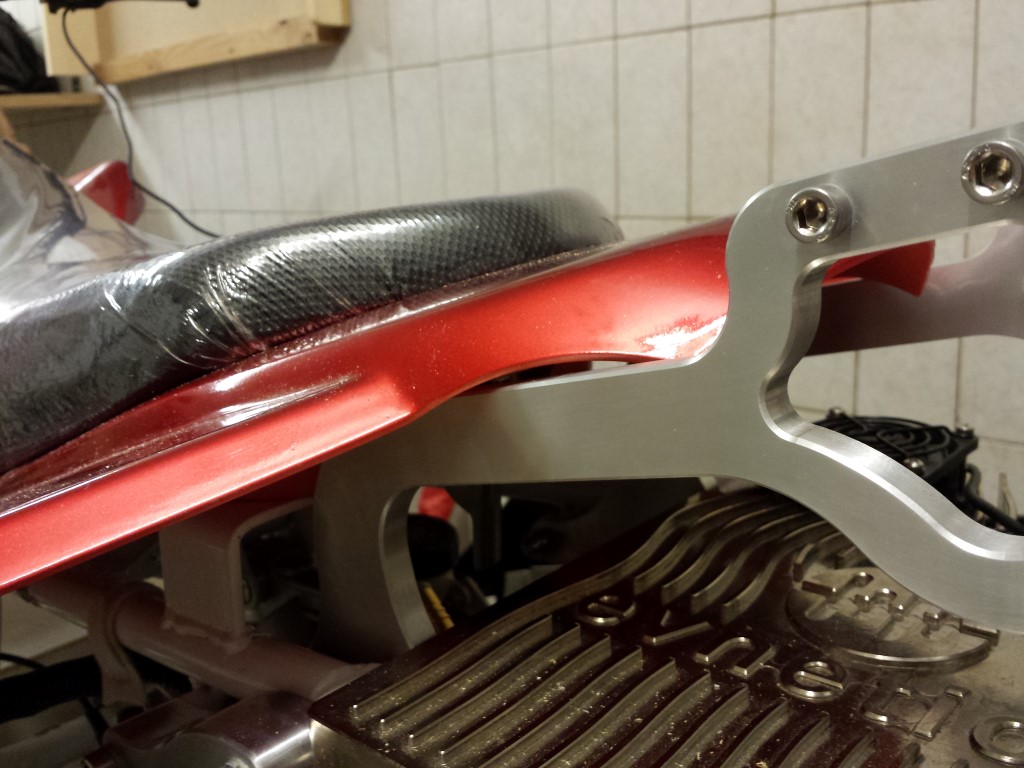
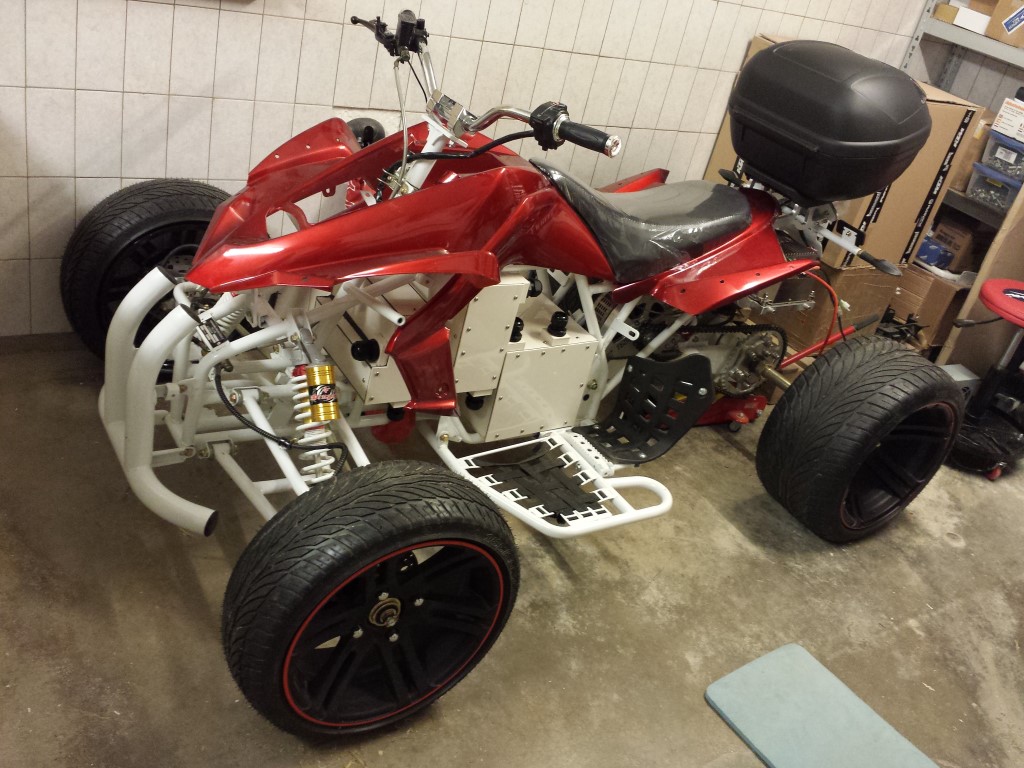
And with the fender it just barely fits, it was meant to be this way but it was still pretty exciting if it would actually fit or not.

The lights and mounting plate for the top case attached. I thought I'd have to modify the rear light a bit so it could sit a bit lower but this is not necessary, fits just right with about 0,5 mm of clearance.
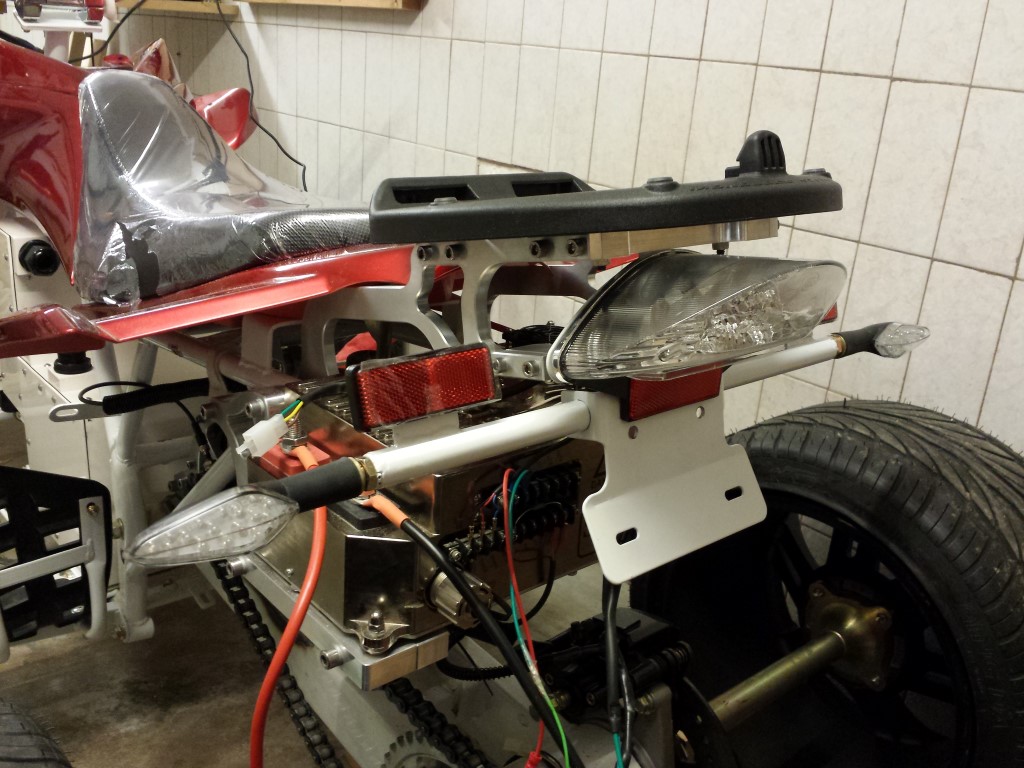
And then with the top case on there. Looks pretty nice, doesn't sit too high or too low. And also not too much to the rear which is usually the case with most of the top cases. It's also very firmly attached, if I try to move the top case the whole frame moves. So the mounts are definately strong enough as well.
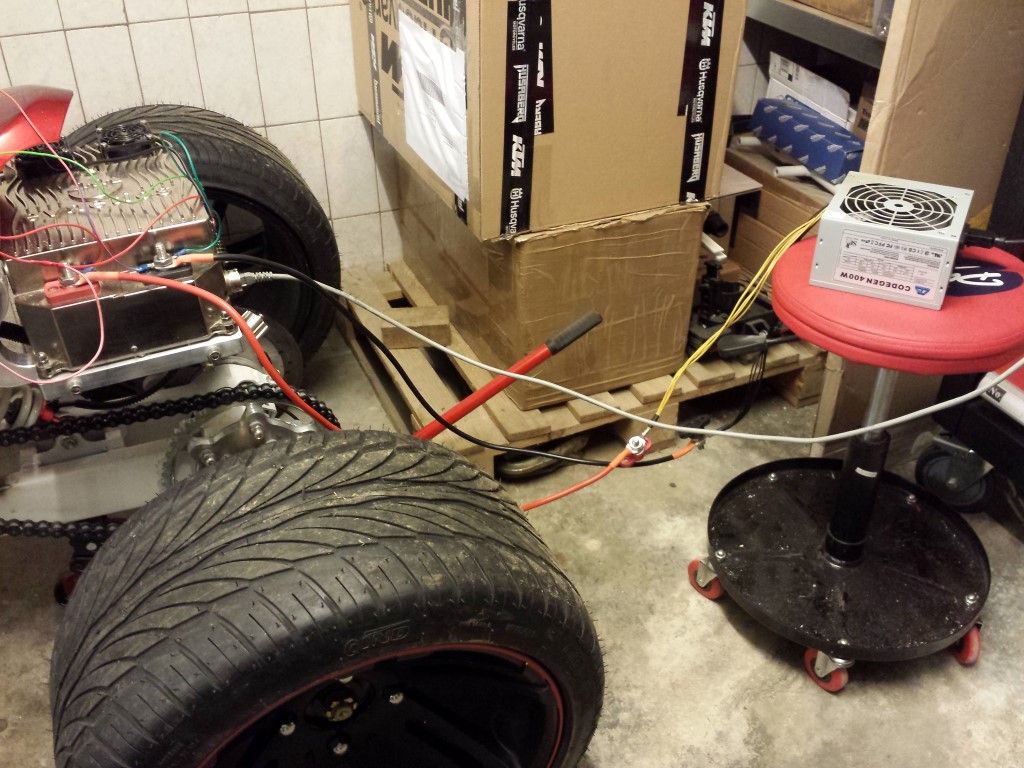
Meanwhile I also modified an old power supply of a computer to be used as a 200W 12V converter. I can now easily use this to test some things sometimes. Much easier than having to charge that small 12V battery every time which is always empty again after 5 minutes.
I've also been busy modifiying the small battery box, but I'll probably show that tomorrow when it's done. This weekend I'll start on making those steel corner profiles to size.