Blog / Electric motor
Posted on 25 March 2013 at 12:49 am (CET)
Category: Drawings, Electric motor
Posted on 25 March 2013 at 12:49 am (CET)
Category: Drawings, Electric motor
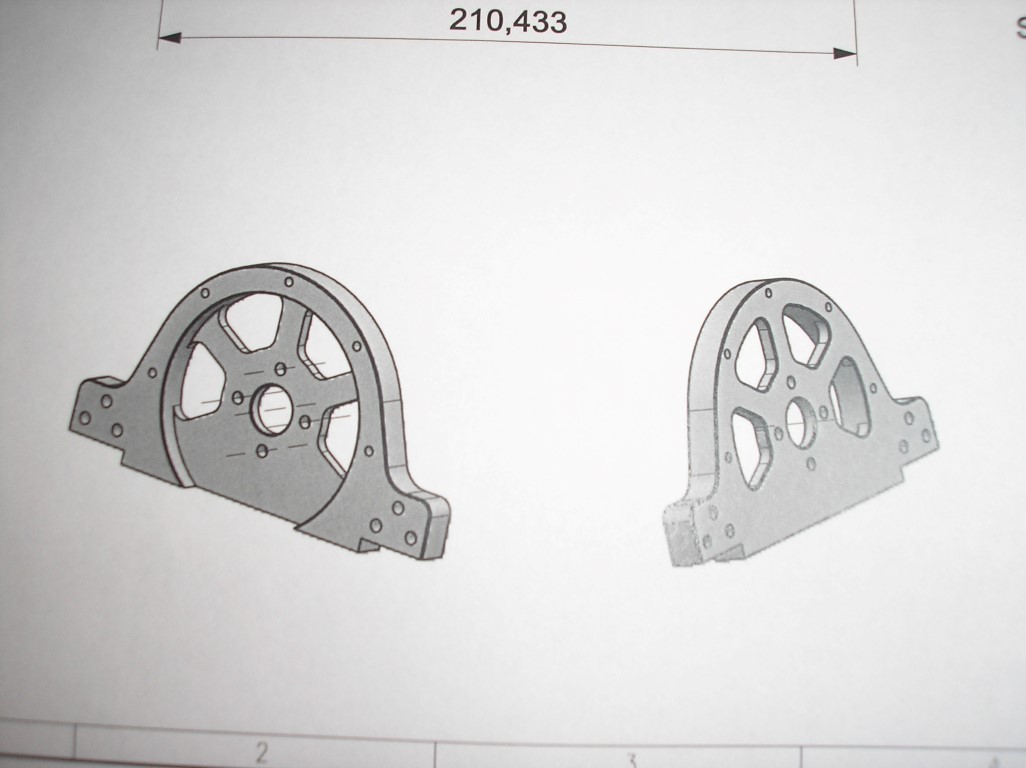
A while ago a friend of mine came by, he is in the metalworking business. Together we went looking for the best solution to mount the motor and if he could make a mount for it. He already had a few ideas but he would go and make a drawing of it first. Ended up being a few drawings since a few modifications had to be made.
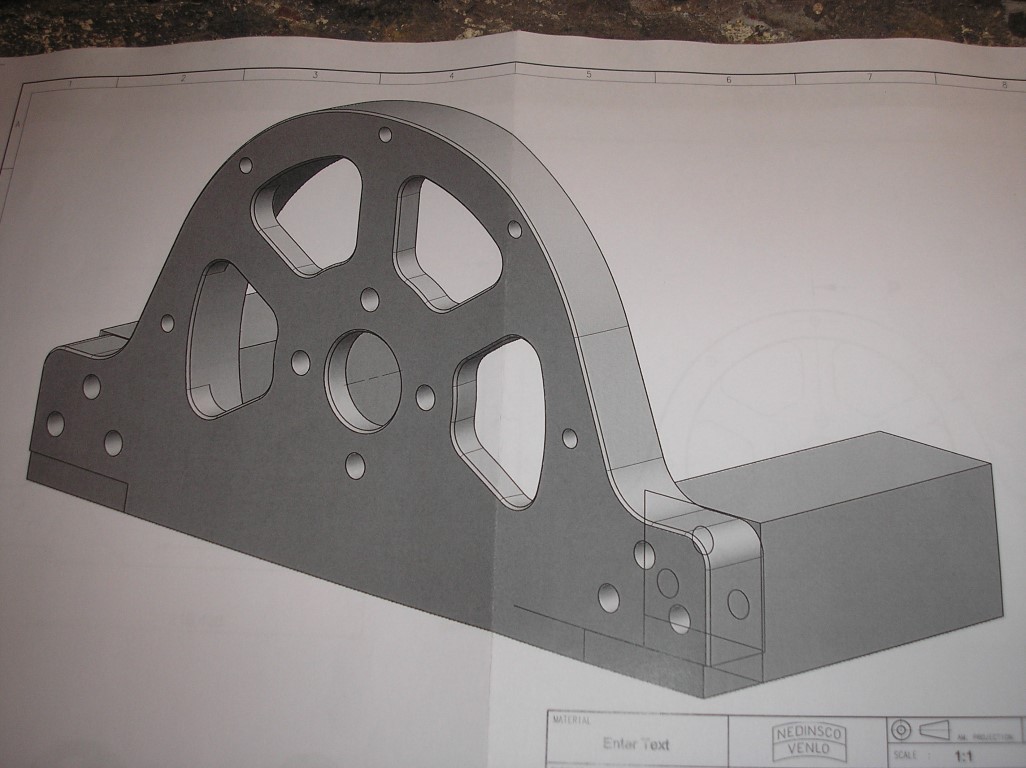
Meanwhile I received the final drawing and I'm checking if it can actually be fitted this way. First off, here's the drawing.
The 2 blocks that you can see will be welded on the rear swingarm.
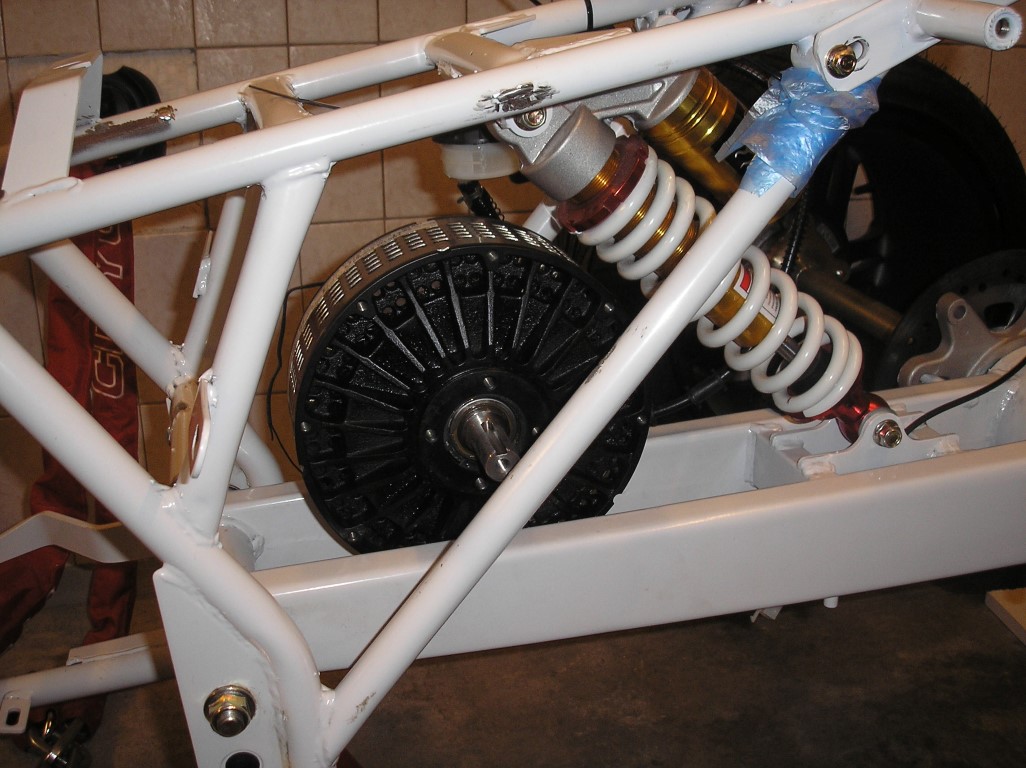
Here you can see where the motor will be placed. As you can see there is no need for modifications with the suspension, it fits perfectly in there.
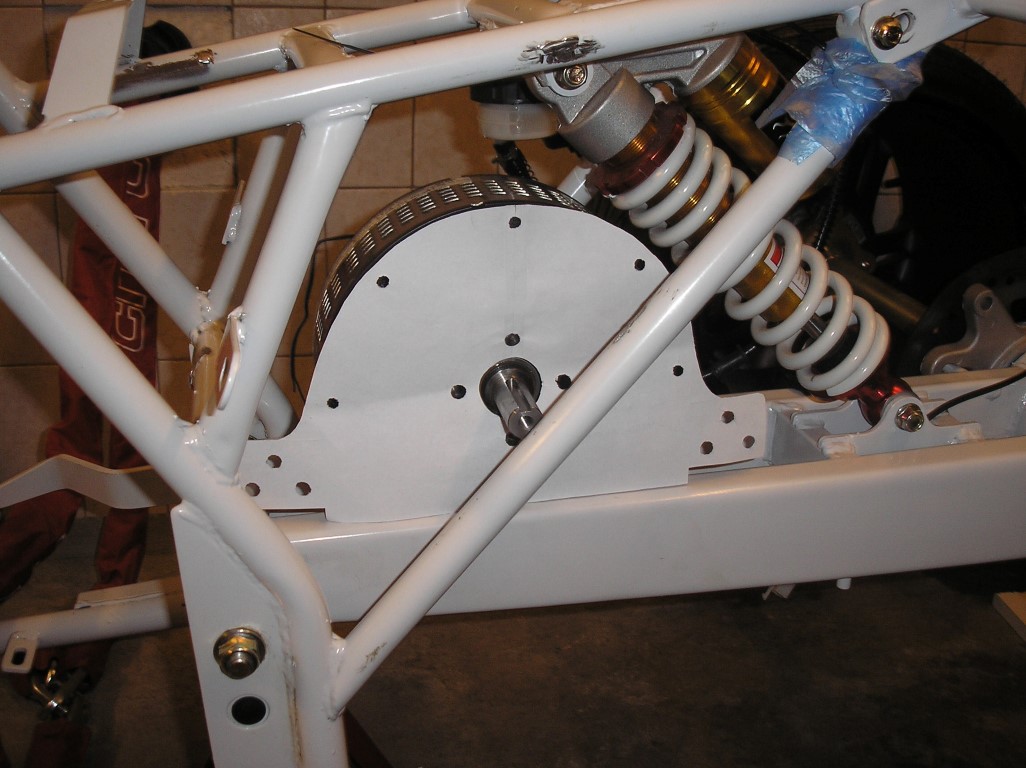
And I again made a paper model to see if the motor mount would fit. Still think it's the best way to measure.
Only on the bottom left it will get a bit more sloped and only 2 mounting holes for mounting on the swingarm since the frame on the left side of the motor is in the way.
The motor mount can be made now. Will have to get the materials myself first, after that it would probably take around 2 weeks to make it. It'll probably become the best looking part on the quad bike.
Posted on 9 March 2013 at 10:06 pm (CET)
Category: Controller, Electric motor
Posted on 9 March 2013 at 10:06 pm (CET)
Category: Controller, Electric motor
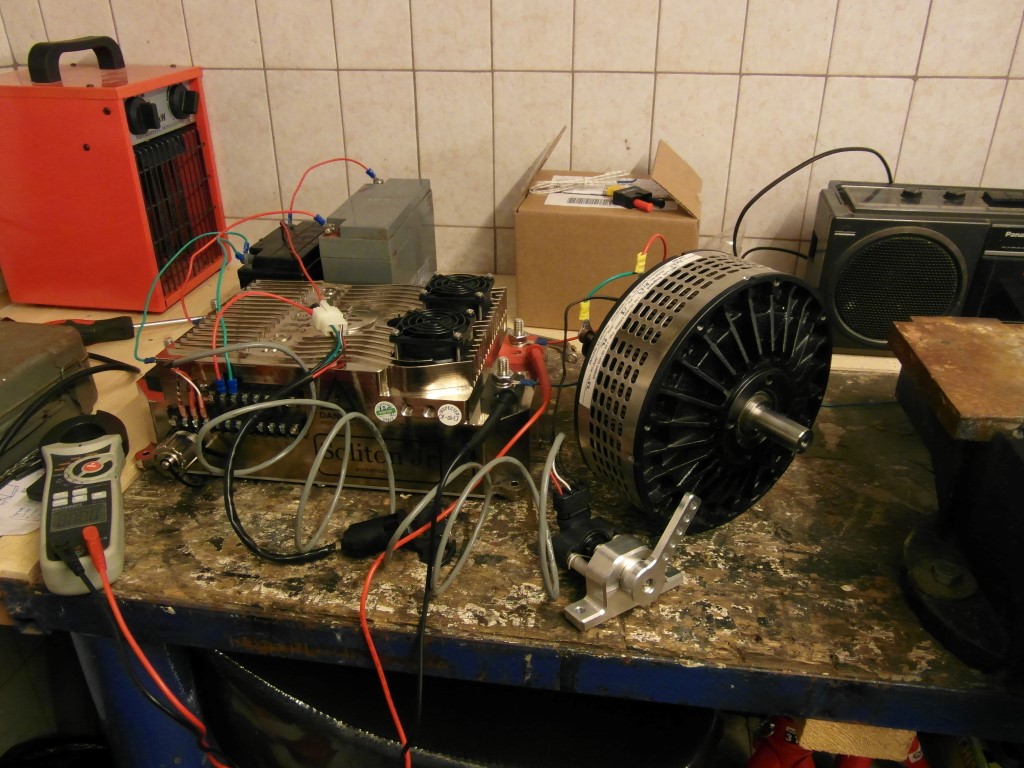
Today I made a test setup to check if the controller and motor work well. First I setup the controller on my computer, very easy to do and can't really set anything wrong because of the clear descriptions. I then cut some cables out of the old wire harness, didn't really have anything else to use. To be sure I also added the keyswitch so I could turn it on and off.
Thankfully everything worked perfectly. Also made a short video so you can see the motor spinning. When turning on the controller you always have to wait before you can control the motor because the capacitors are being charged up. If this wouldn't happen and they directly get high voltage it could damage them. After this is done the contactors (big relais) close, the motor can be controlled and you can 'drive'.
Sorry it's so short, had a bit more footage but something went wrong with filming. By the way, this is with 2 12V batteries in series, so 24V. But in the controller I set a limit for the motor of 13V 10A. Did this because I wasn't sure the small Chinese wires I used would survive with higher voltage and current. But I must say I'm impressed, it was already pretty hard to keep the motor in place with 1 hand when I fully opened the hall sensor, already noticed the torque quite well. I did see 16V going to the motor and 18A so the limit isn't working perfectly. So this was 288W (0,288kW). Still hard to imagine how it'll be like with 25+kW but it's looking good.
Posted on 8 March 2013 at 12:14 am (CET)
Category: Electric motor, General
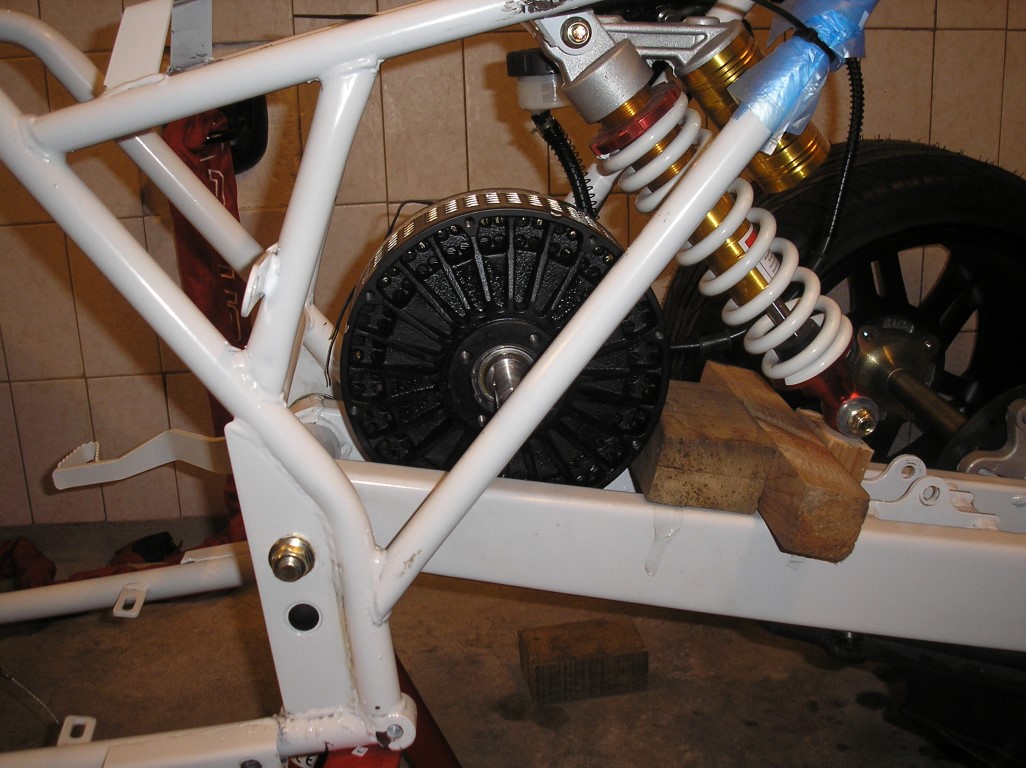
Tonight I detached the rear swing arm partially and fitted the motor. I knew that it would be a close fit but it really only has a few millimeters to spare.
Seen from the side it all fits well, some space left even.
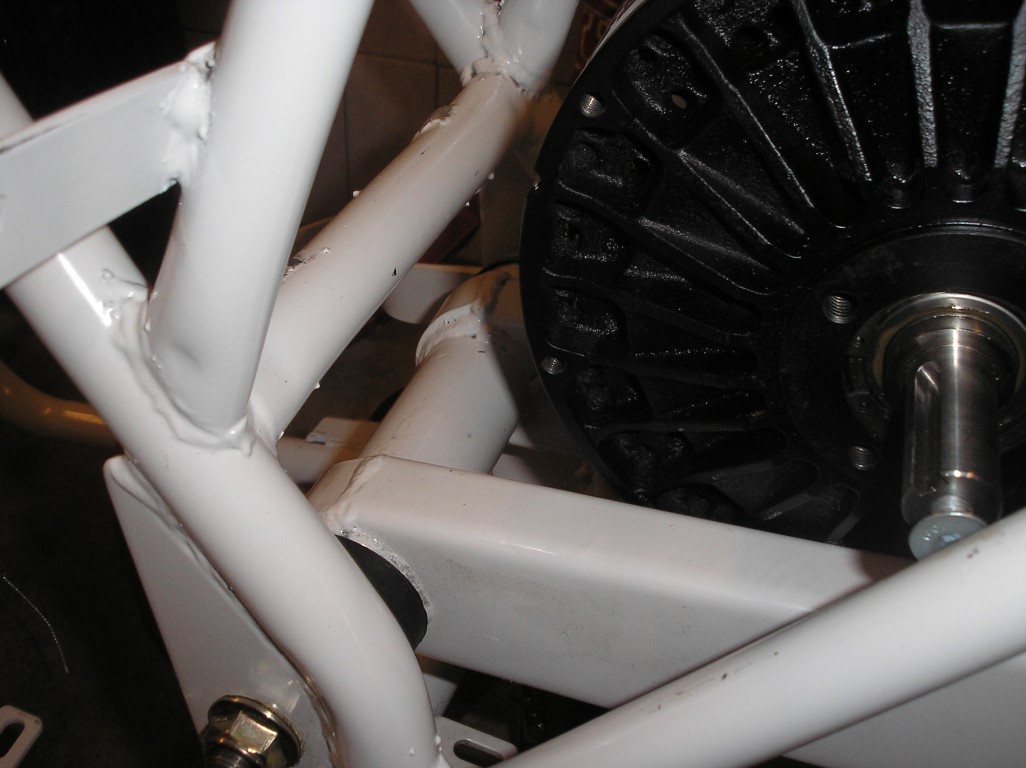
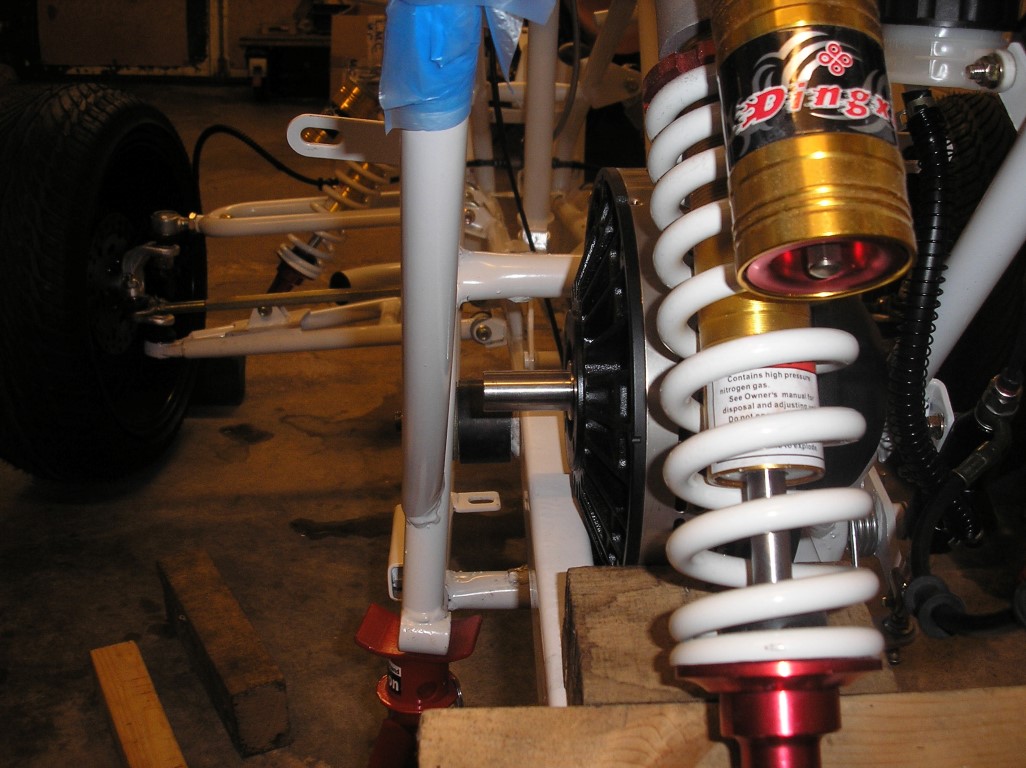
Seen from the rear, not a lot of space but I think it's enough to still be able to mount the sprocket on there. The sprocket will stick out of the axle just a bit to get the chain aligned with the rear sprocket.
But then on the other side, I think it's 2-3 mm of space there. It's just barely enough as long as there won't be any play in the swingarm.
I'm happy that it fits just like I planned. Now I have to get some mounts made.
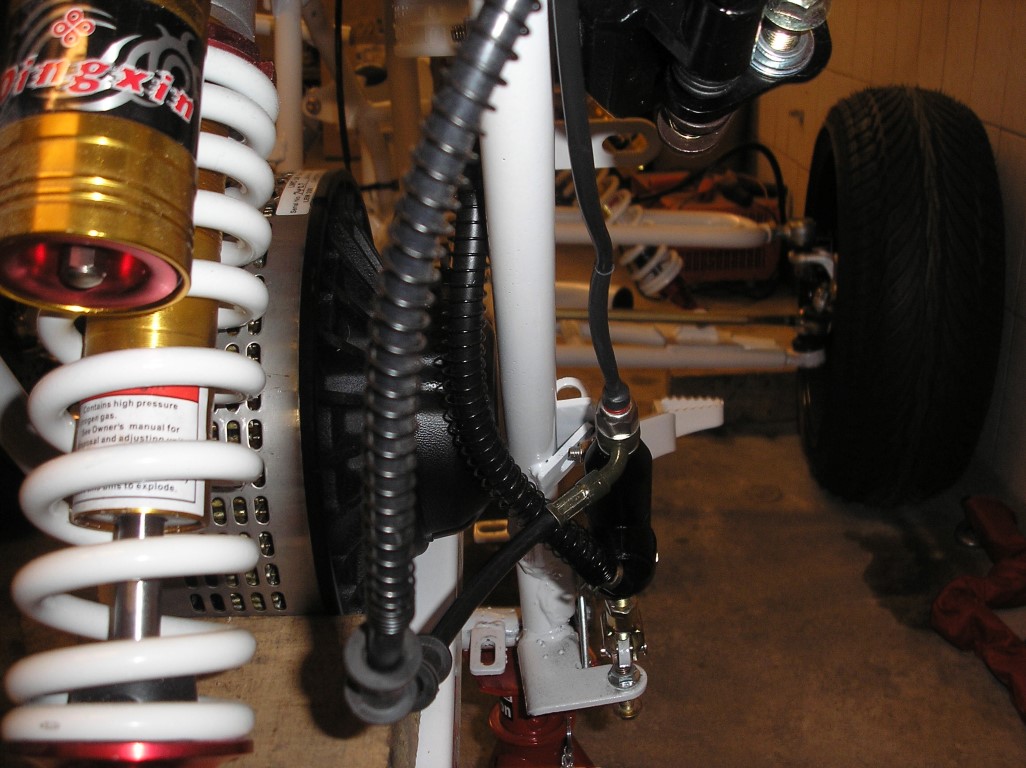
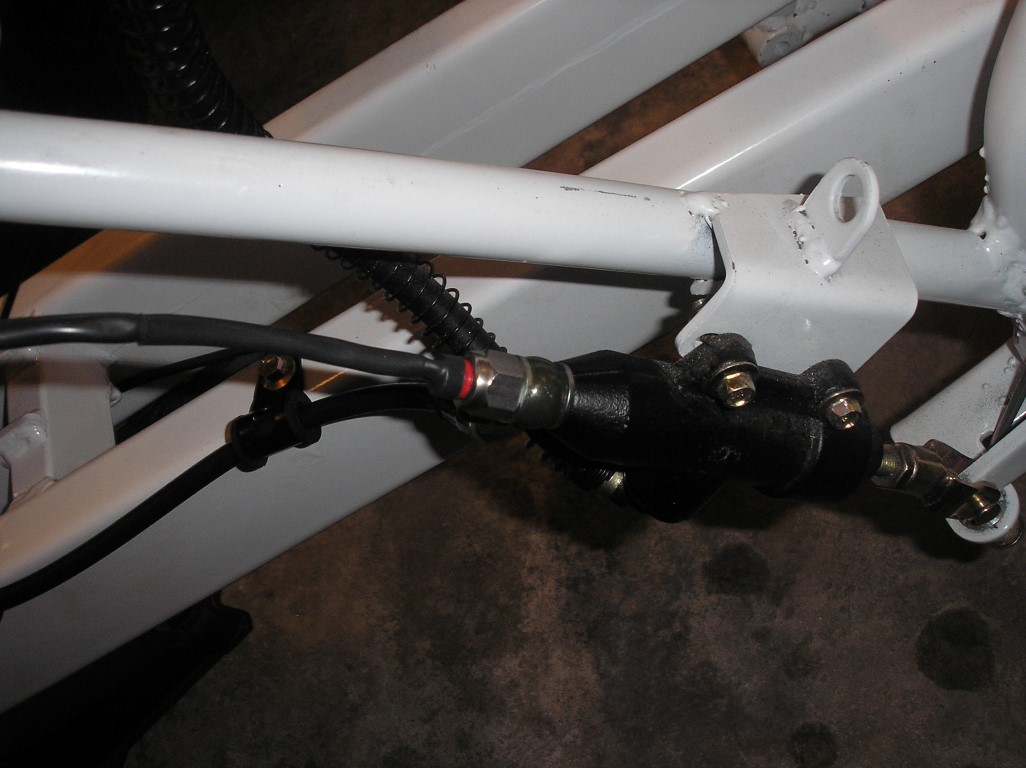
I also still received the new banjo bolt with sensor for the brake lights. So I replaced this one as well.
Posted on 6 March 2013 at 10:07 pm (CET)
Category: Electric motor, Parts
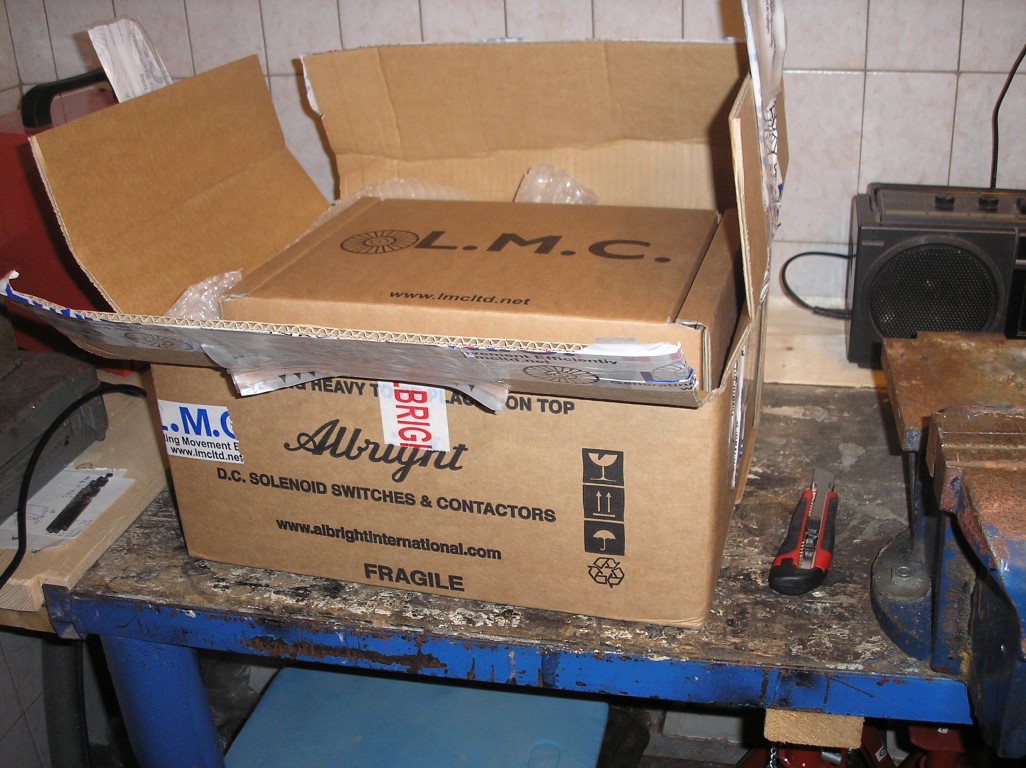
Today I got a package with a total weight of 18kg, what could it be?
Finally received the motor from LMC Ltd., with some more important parts.
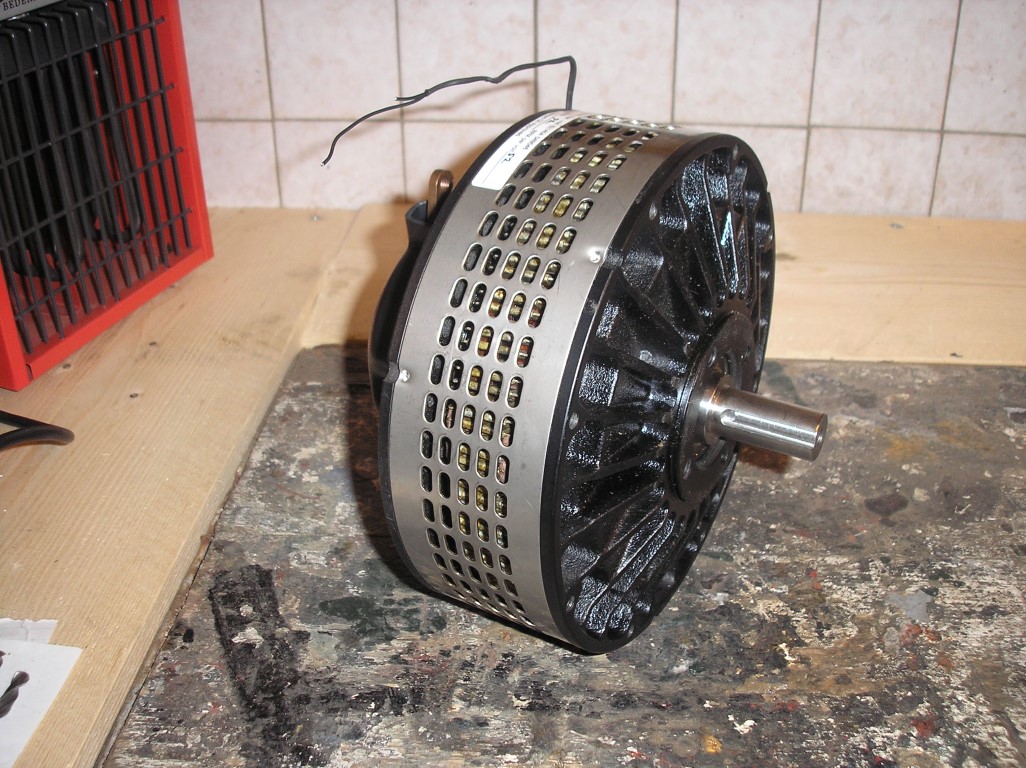
Here's the motor, think it's pretty cool how you can get so much power out of such a small motor. But it's pretty heavy for the size, it weighs 11kg.
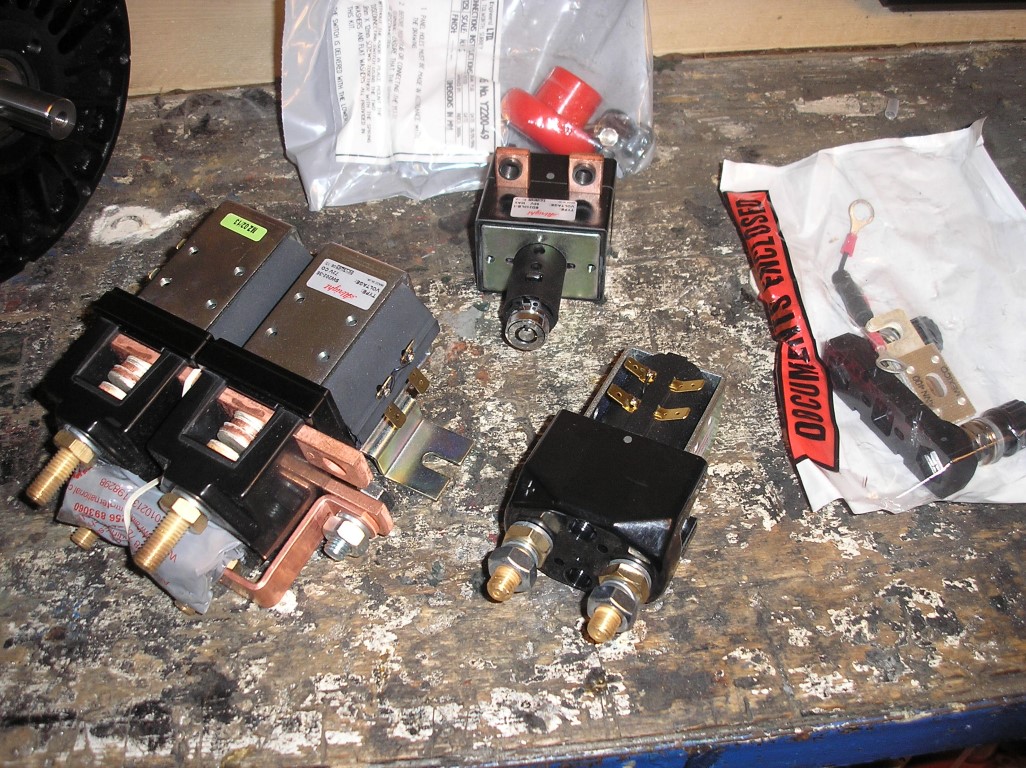
And the other parts.
On the left 2 contactors (big relais) to switch positive and negative to the motor, so to be able to drive in reverse. Much bigger than I expected, will have to see where I could best place this.
On top the emergency switch with lock, with a press of the button the 72V towards the controller can be disabled with this. Just in case I can't turn off the controller with 12V (keyswitch/killswitch) if anything goes wrong. Or for safe maintenance. The key is needed to turn it on again.
At the bottom another contactor, this was intended for a different controller at first. The controller I have now already has 2 built in. But to be sure I still kept it in my order. Planning to use this in the middle of the battery pack now so it's a bit safer to work with (36V DC is a lot safer than 72V).
On the right the main fuse with fuse holder. Yet again a problem though, it doesn't fit. The bolts are just a bit too thick, the fuse doesn't fit on it. Comes all the way from England so it'll be hard to send back to get a new one. Will have to see how I'm going to solve this, otherwise I'll just buy a different fuse holder here.
First thing I'll do now is remove the rear swingarm to find out the best way to mount the motor on there (can't get it in without removing since the motor is just a bit too big to fit through the frame). I can only mount the motor on one side so it'll have to be pretty sturdy.
After that I'll have some mounts made for the motor and controller and I can finally start adding things onto the frame and connect all cables. At least up to the batteries since I won't have them yet for another 7 weeks or so.

 Nederlands