Nederlands
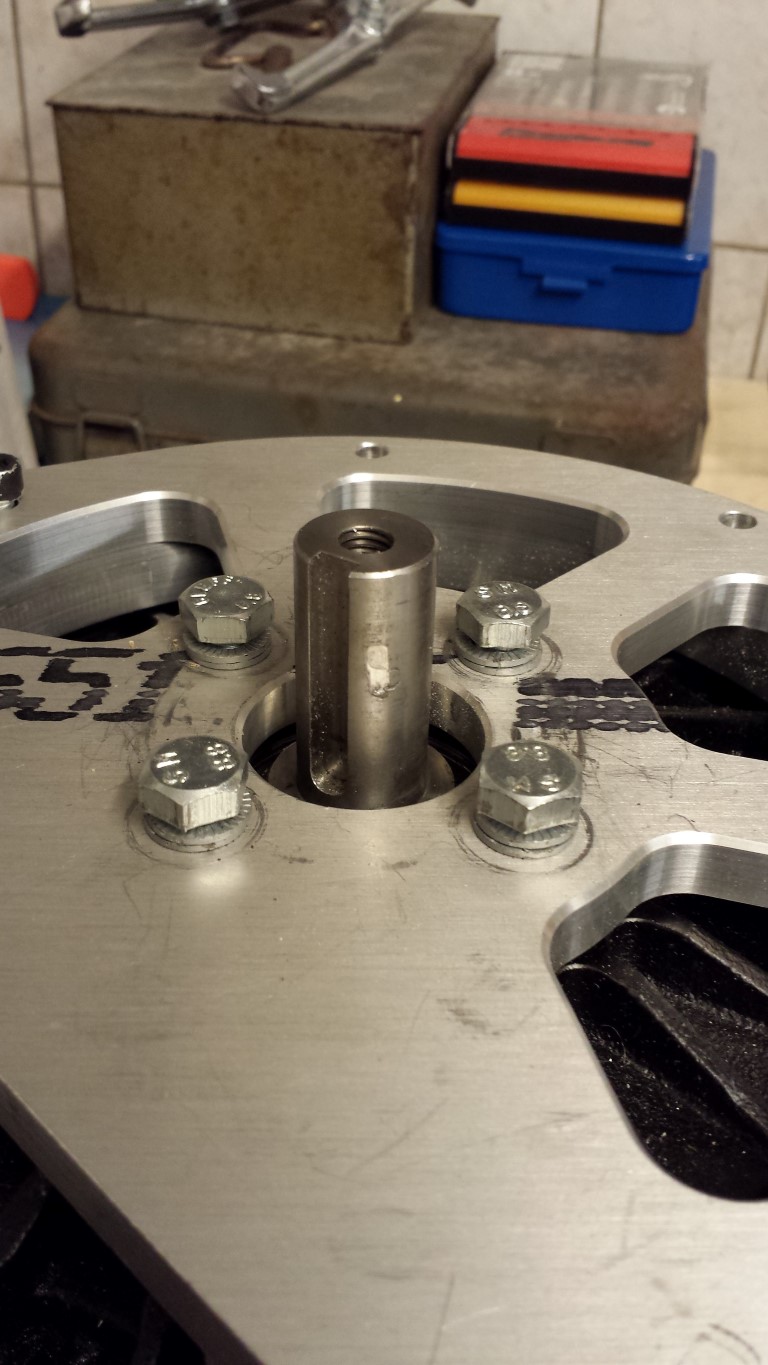
Blog

Posted on 8 June 2013 at 11:37 pm (CET)
Category: Electric motor
Was busy making a small plate for the RPM sensor, had to remove the adaptor with sprocket from the motor for this. But I couldn't get it off, seemed to be stuck somewhere while the set screw was loose. So I went to buy a set of disk pullers to still be able to take it off. After 2 hours and 2 broken disk pullers I finally managed to take the adaptor off. But what I saw next didn't really make me happy. The axle was damaged by the set screw that's in the adaptor.
I think this happened because the set screw was tightened and after that I tightened the bolt on the sprocket. This also moved the whole adaptor and so this is the consequence. Partly my own mistake ofcourse but also the design with the set screw not working well. Wasn't my own idea anyway, I wanted to do it differently.
The adaptor itself is badly damaged as well by all the attempts to get it off with the disk pullers. Didn't mind it that much, was more important that the motor would not get damaged.
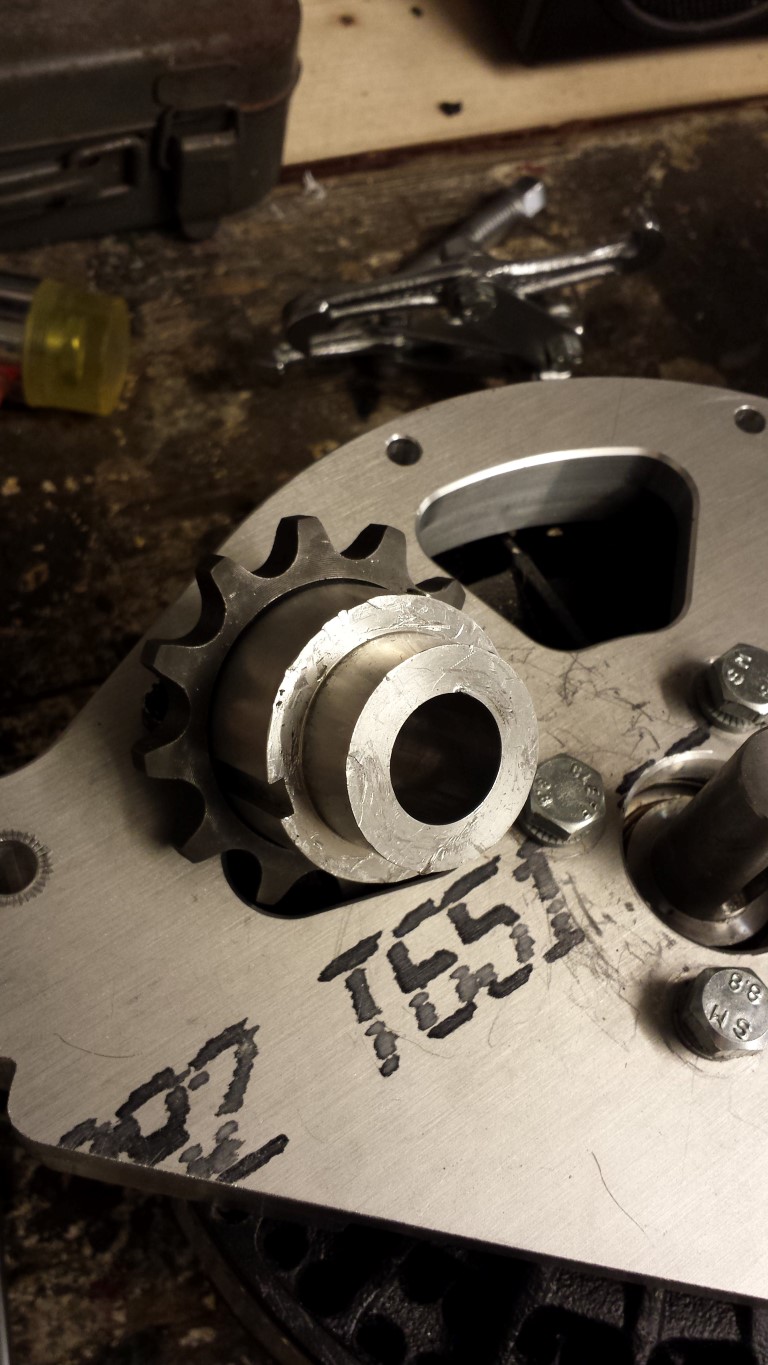
I now want to have a new adaptor made that exactly matches my own idea. It'll have a keyway so I can just place a key between the axle and adaptor. A lot better and stronger that way. The sprocket will be attached the same way though. It will also get the exact size needed so that no set screw will be necessary. The bolt on the sprocket will keep it attached on the axle.
I checked if I could repair the axle a bit and it went pretty well with a fine grinding stone and some fine grit sandpaper. It'll ofcourse never be as new anymore but I don't think I could get it any better than this.

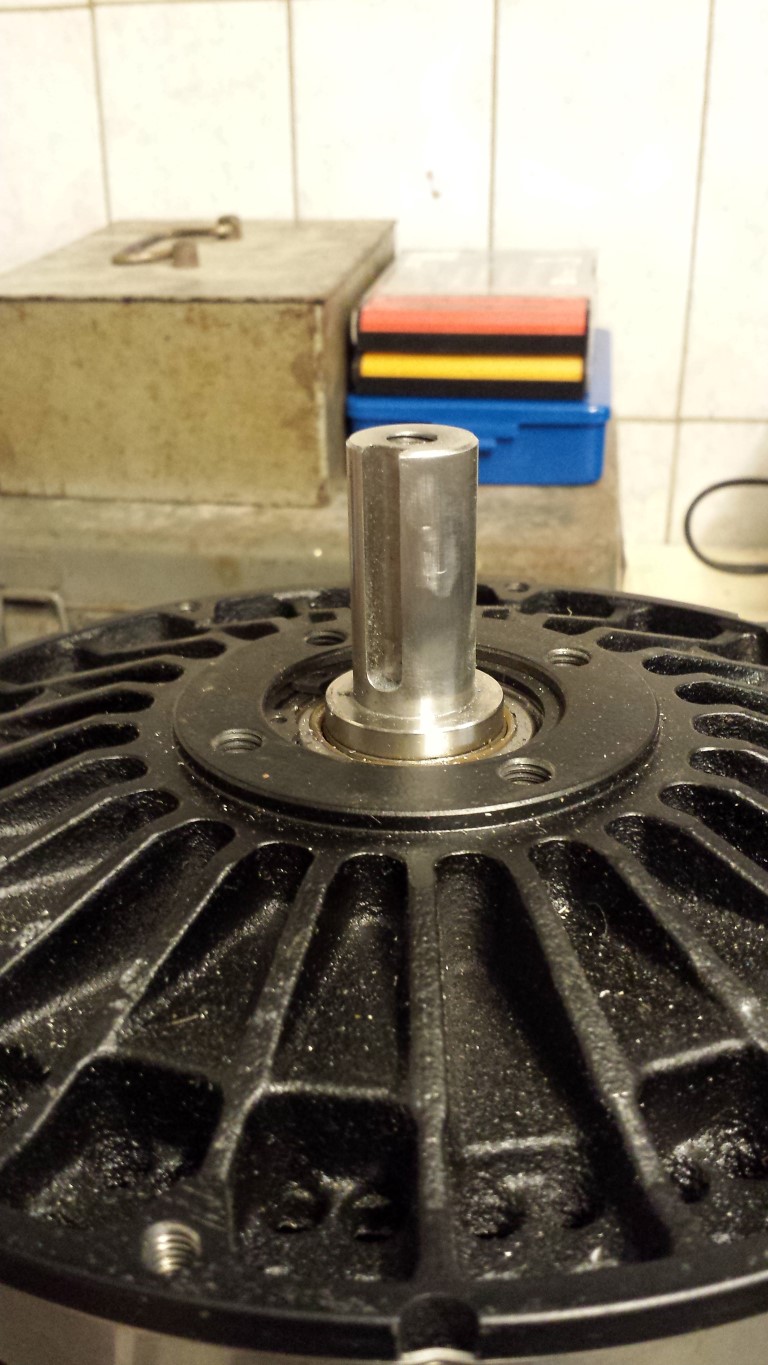
Now I have to wait again for the new adaptor. Meanwhile I can already start on the battery boxes though. Only having some trouble with plastic welding so I'll glue the insides first and maybe after that I'll still weld the outsides.
Posted on 1 June 2013 at 12:09 am (CET)
Category: Controller, Parts
Posted on 1 June 2013 at 12:09 am (CET)
Category: Controller, Parts
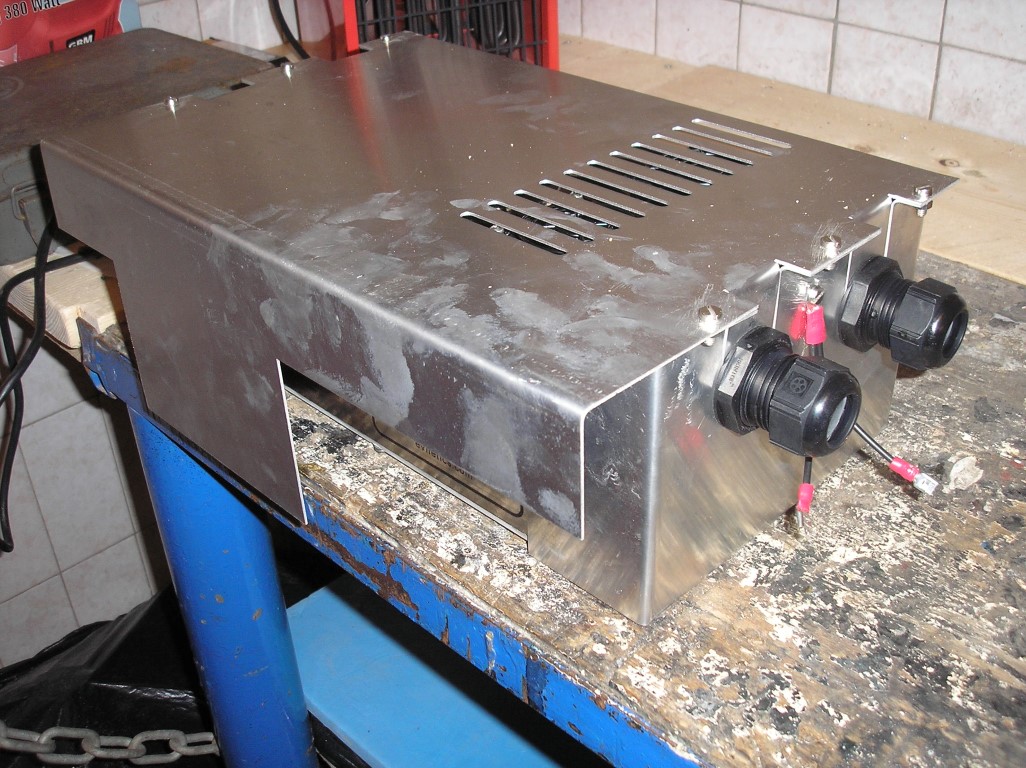
Today I've been busy modifying the controller's enclosure a bit. First a picture of how it looked like originally.
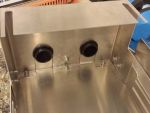
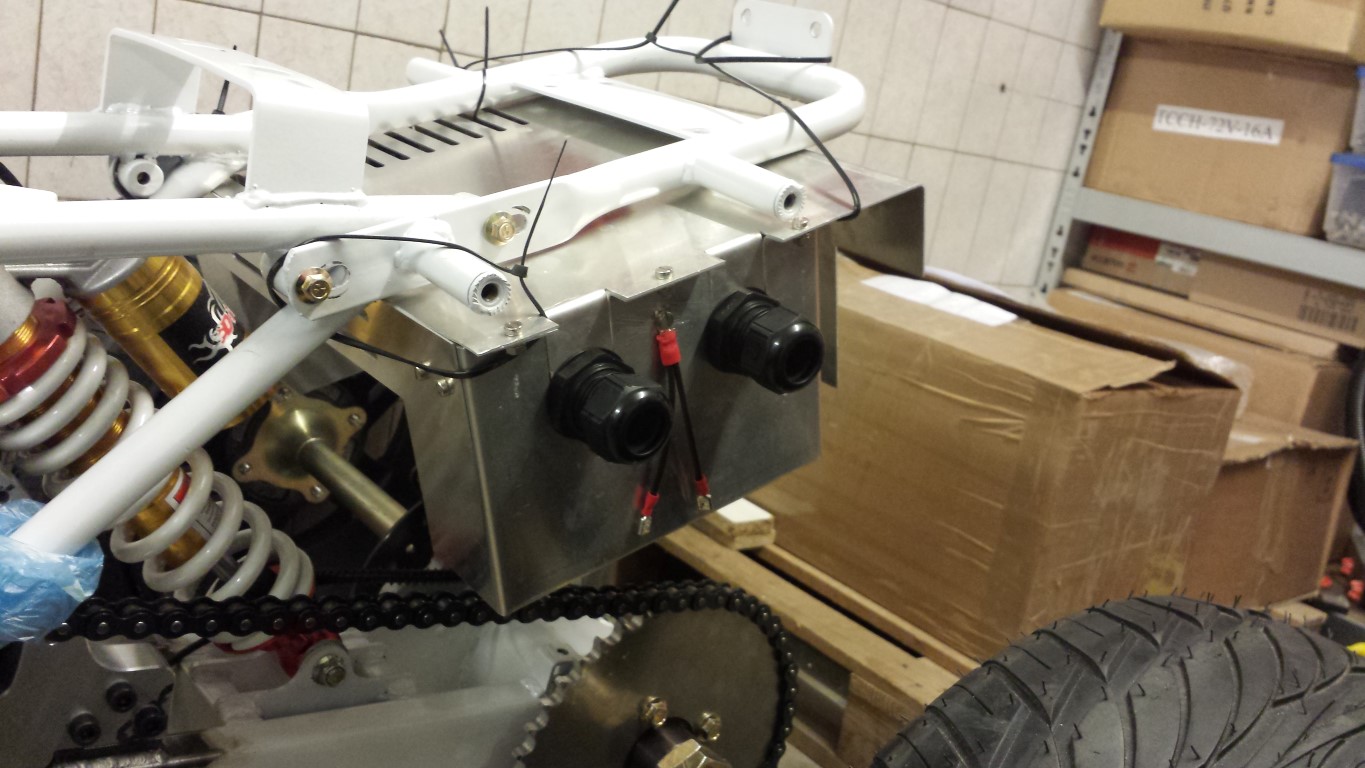
And here what it looks like now.
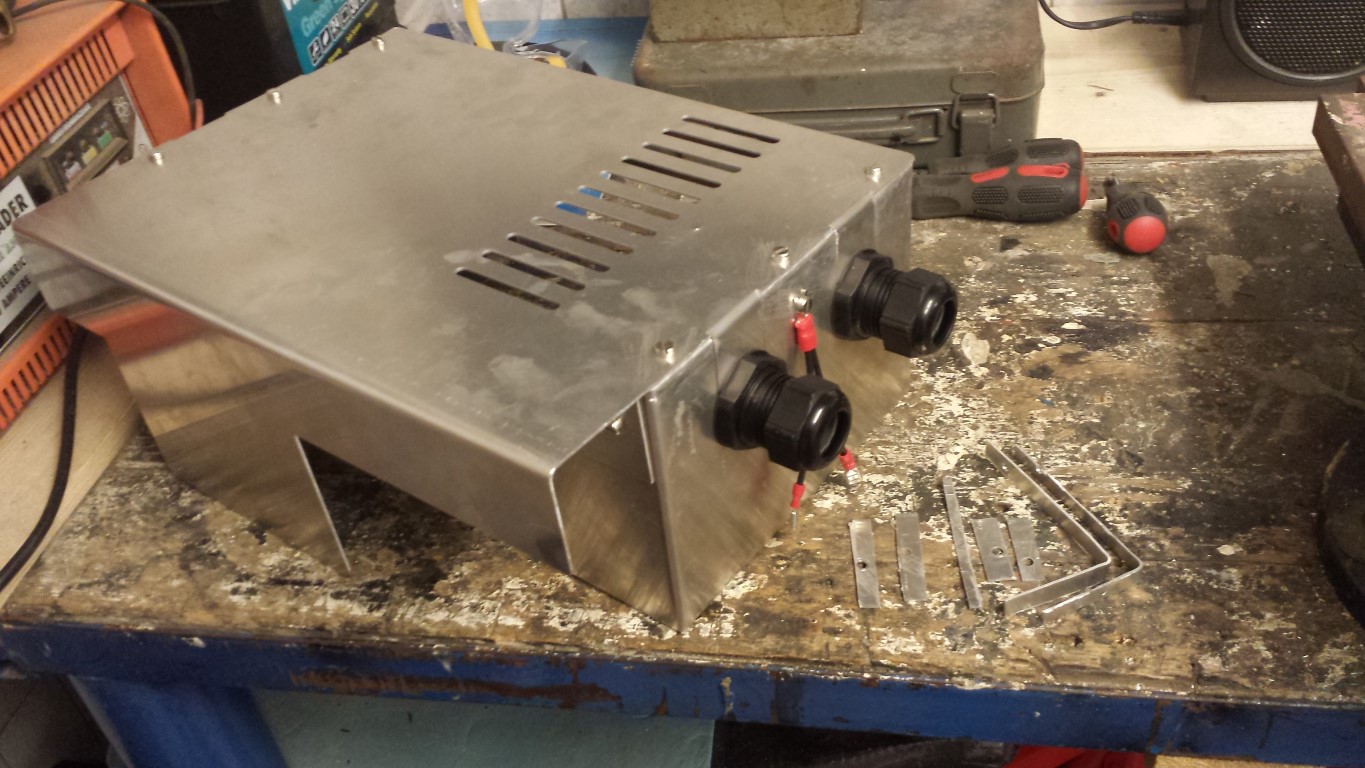
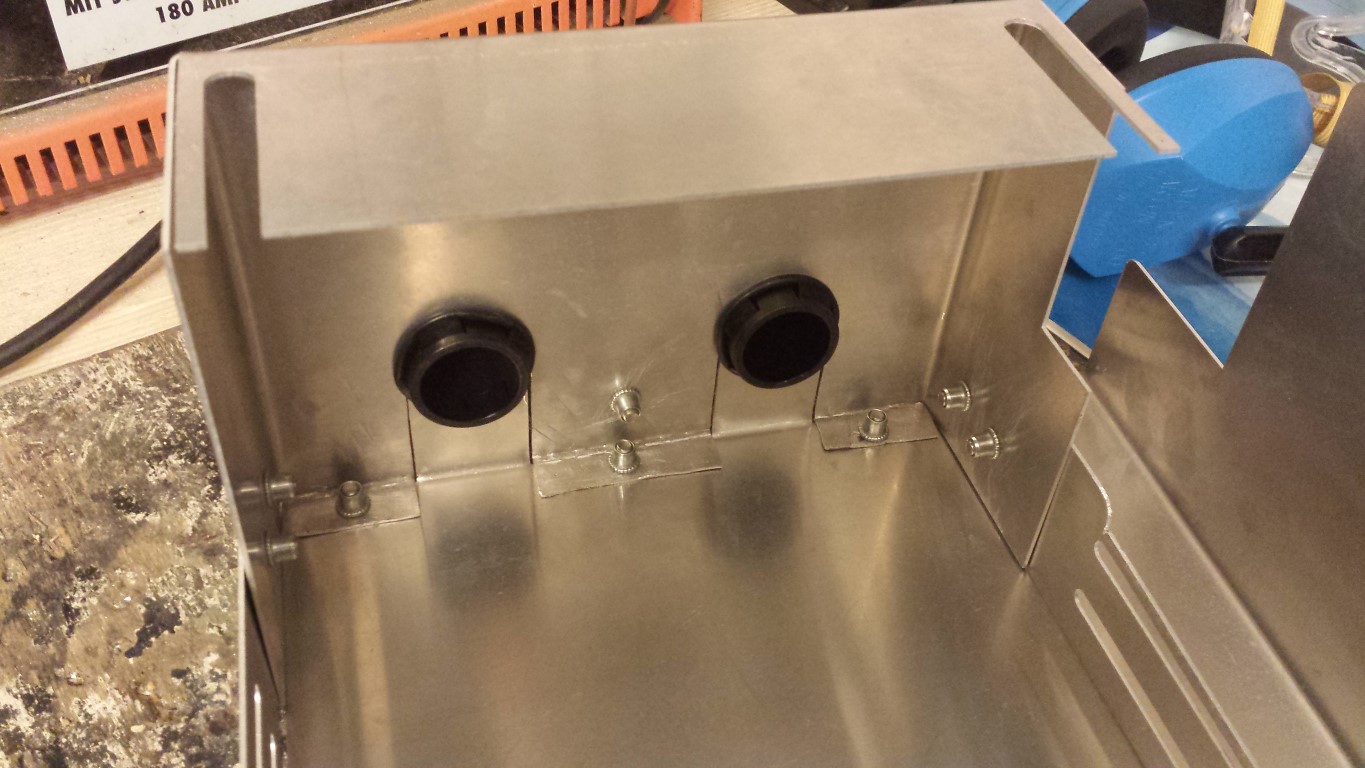
On the sides I bent those outside parts inwards and fitted rivet nuts in there. In all other mounting points I also fitted rivet nuts. I think they're great, already used a lot of them too.
On the top plate I cut off the outer parts and filed them nice and straight. Also filed all of the sharp edges so they're rounded now.
Looks a bit better again and it seems smaller as well now. But what's most important is that I can let the mounts which will be attached to those points where the exhaust silencers used to be just drop down since the enclosure is exactly the same width now.
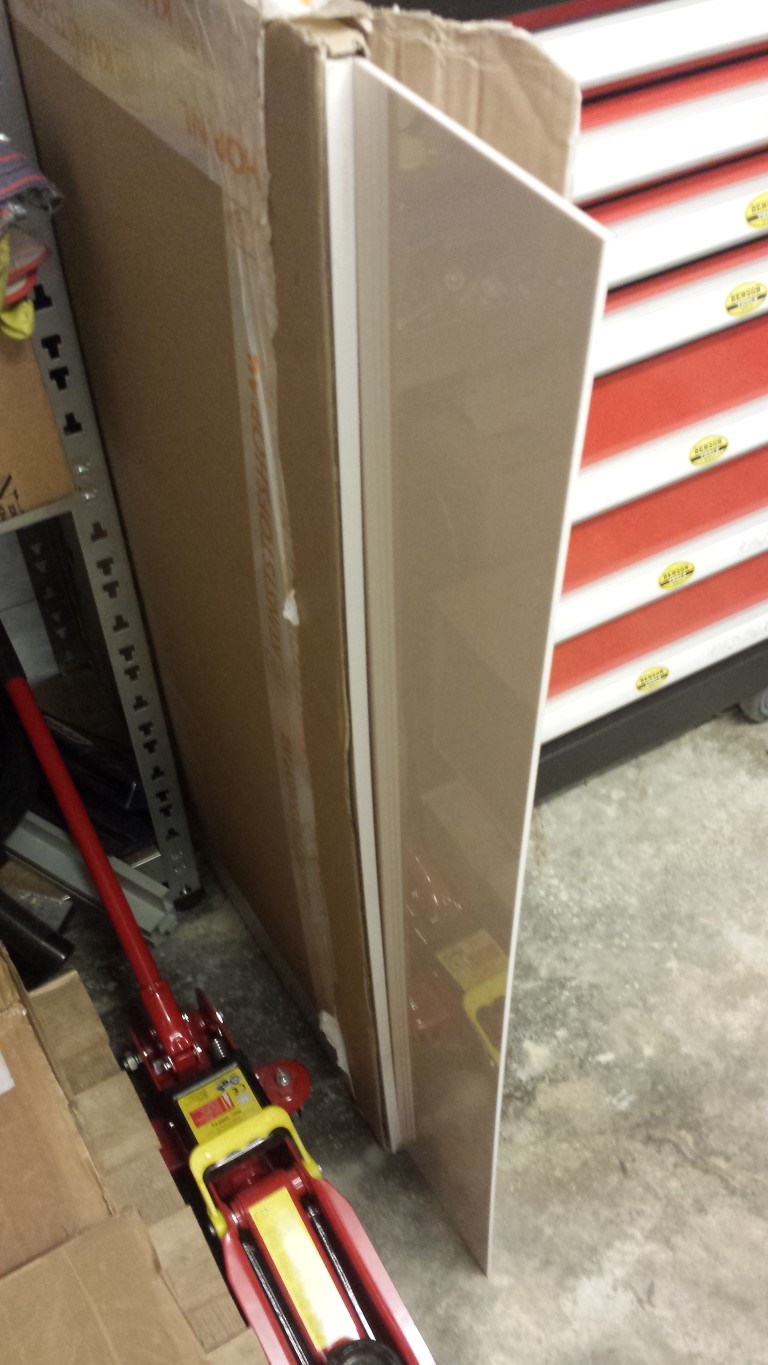
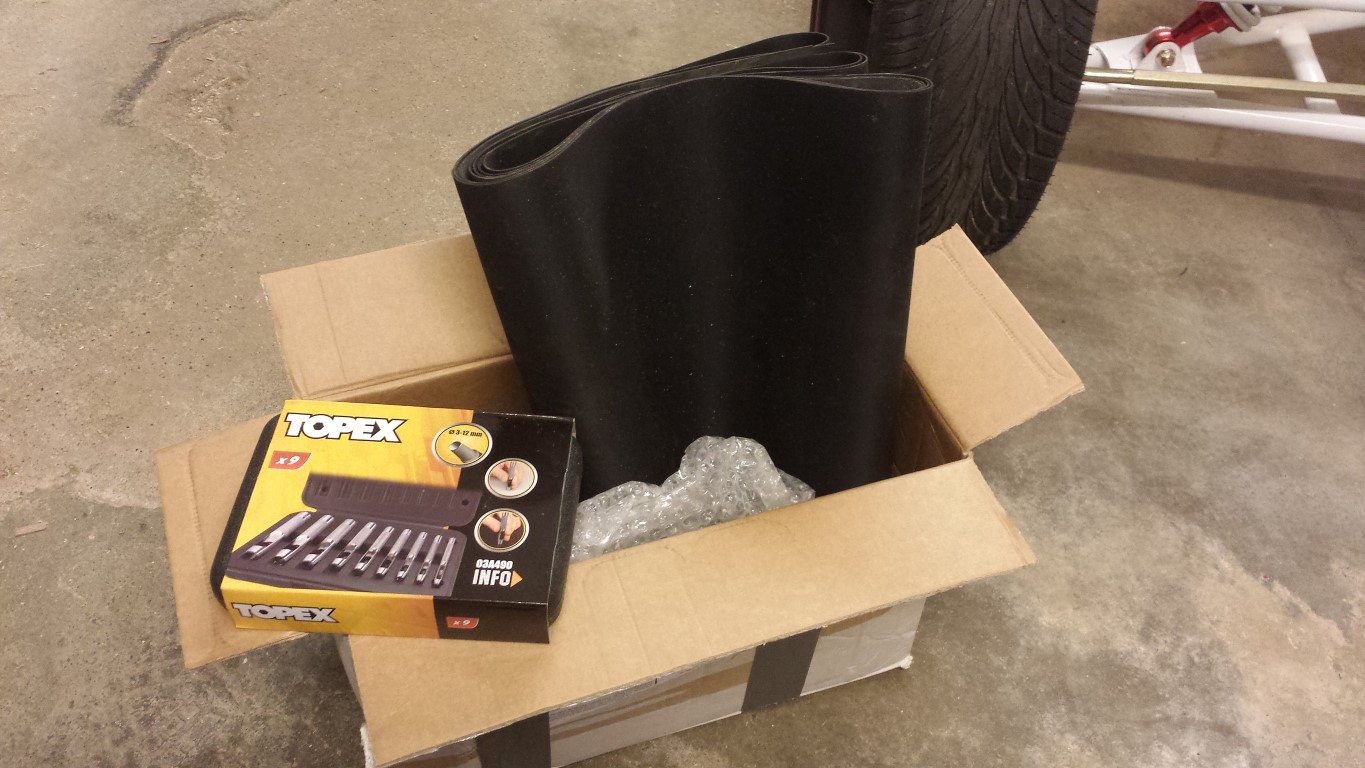
Also received some more parts today. The ABS plates to make the battery boxes, EPDM rubber to make them waterproof and a hole punch set to be able to make some rubber rings.
Posted on 26 May 2013 at 05:23 pm (CET)
Category: Batteries, Controller
Posted on 26 May 2013 at 05:23 pm (CET)
Category: Batteries, Controller
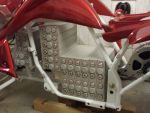
Just tried fitting the batteries, I have good news and bad news.
First the bad news, they don't fit the way I've drawn them.
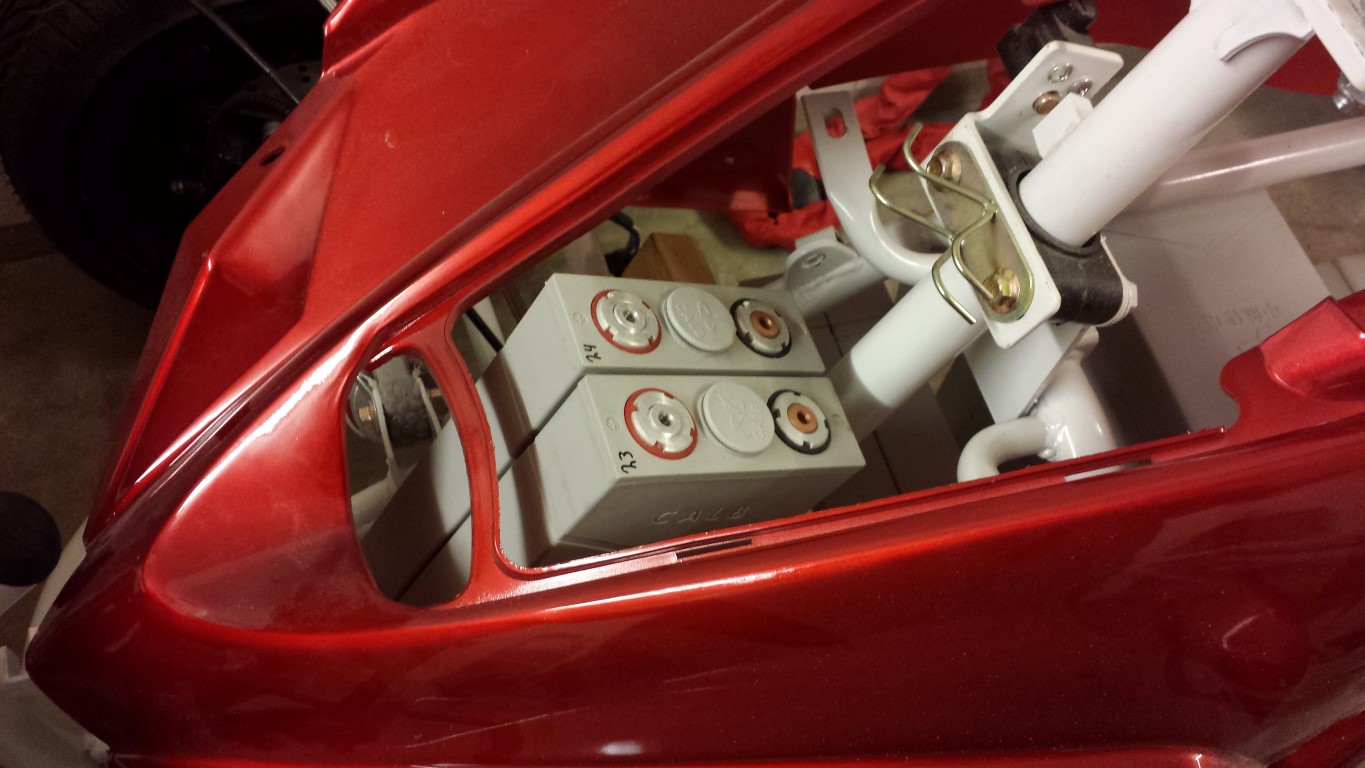
And then the good news, they fit even better. Instead of 5 battery boxes I will only need 4 since I could still fit 1 more battery where the radiator used to be.
The battery box with just the one battery will no longer be needed which I'm very happy about. I had no idea how to place the cable glands to let the orange cables pass through. On the top and side the frame would be in the way and pointing it towards the ground didn't seem like a good idea either.
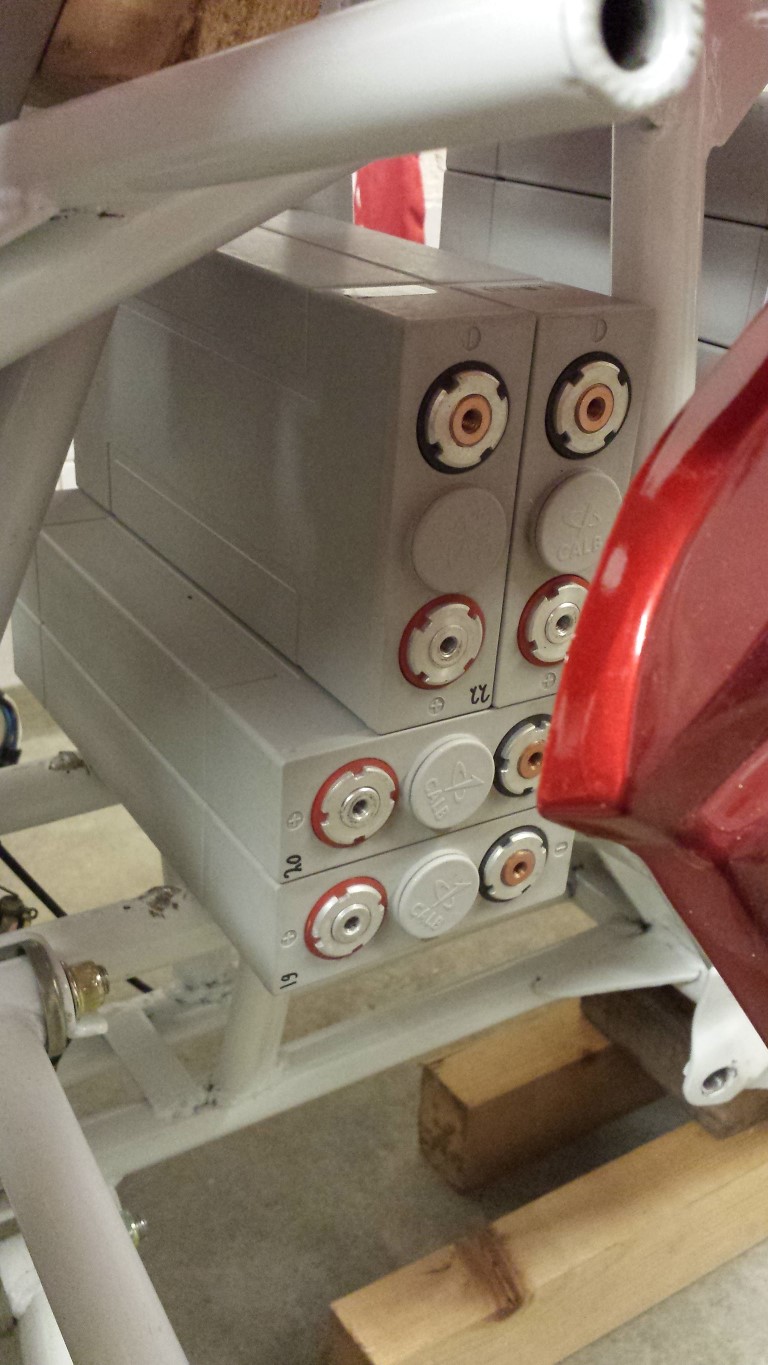
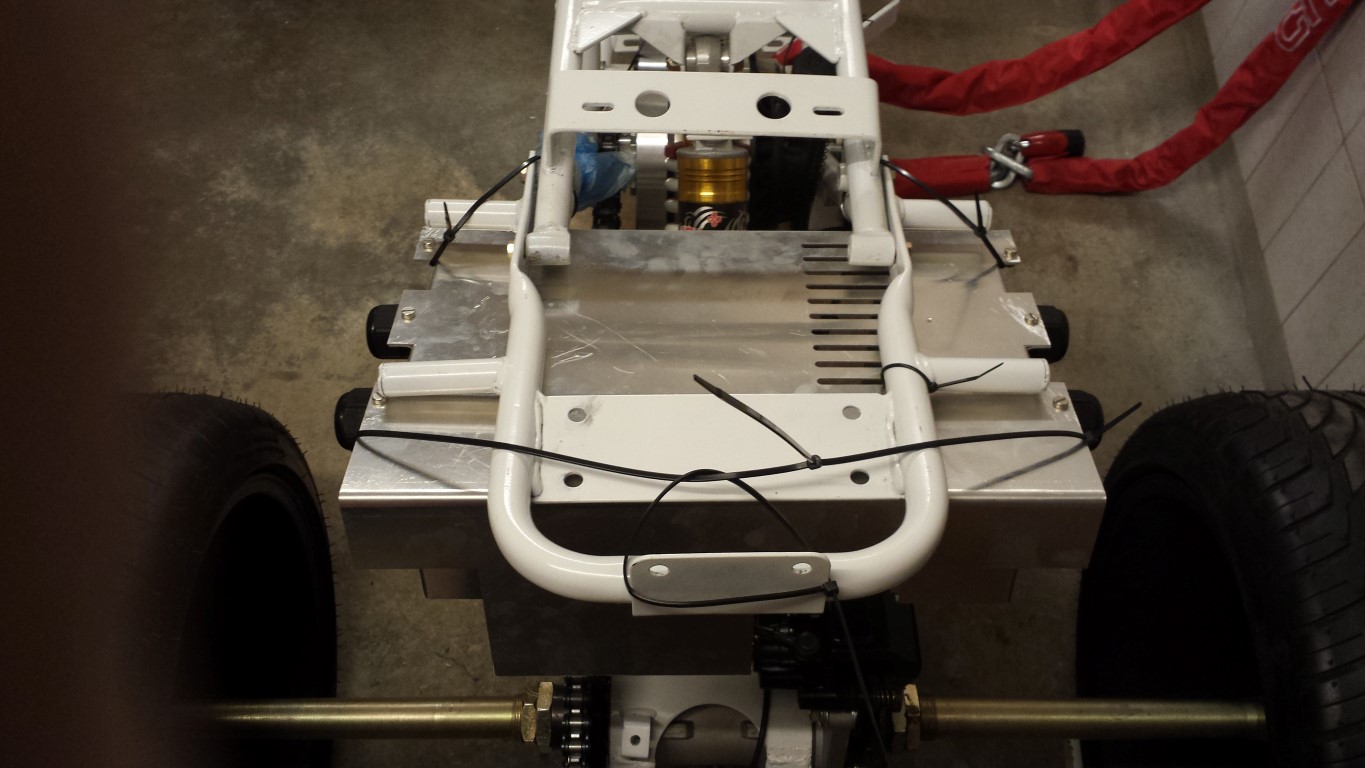
So they all fit perfectly and there's still 6 mm of space everywhere as well for the battery boxes to go around the batteries. Here are some pictures again.
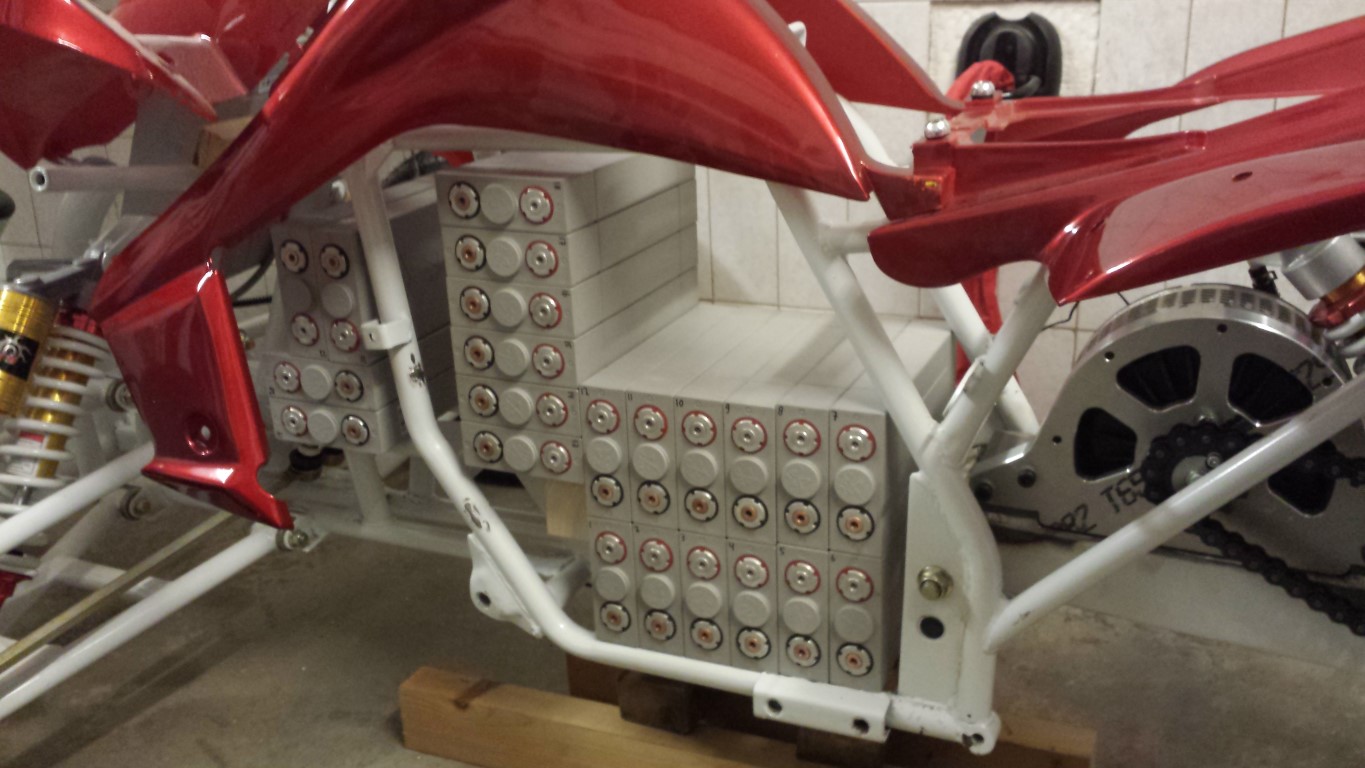
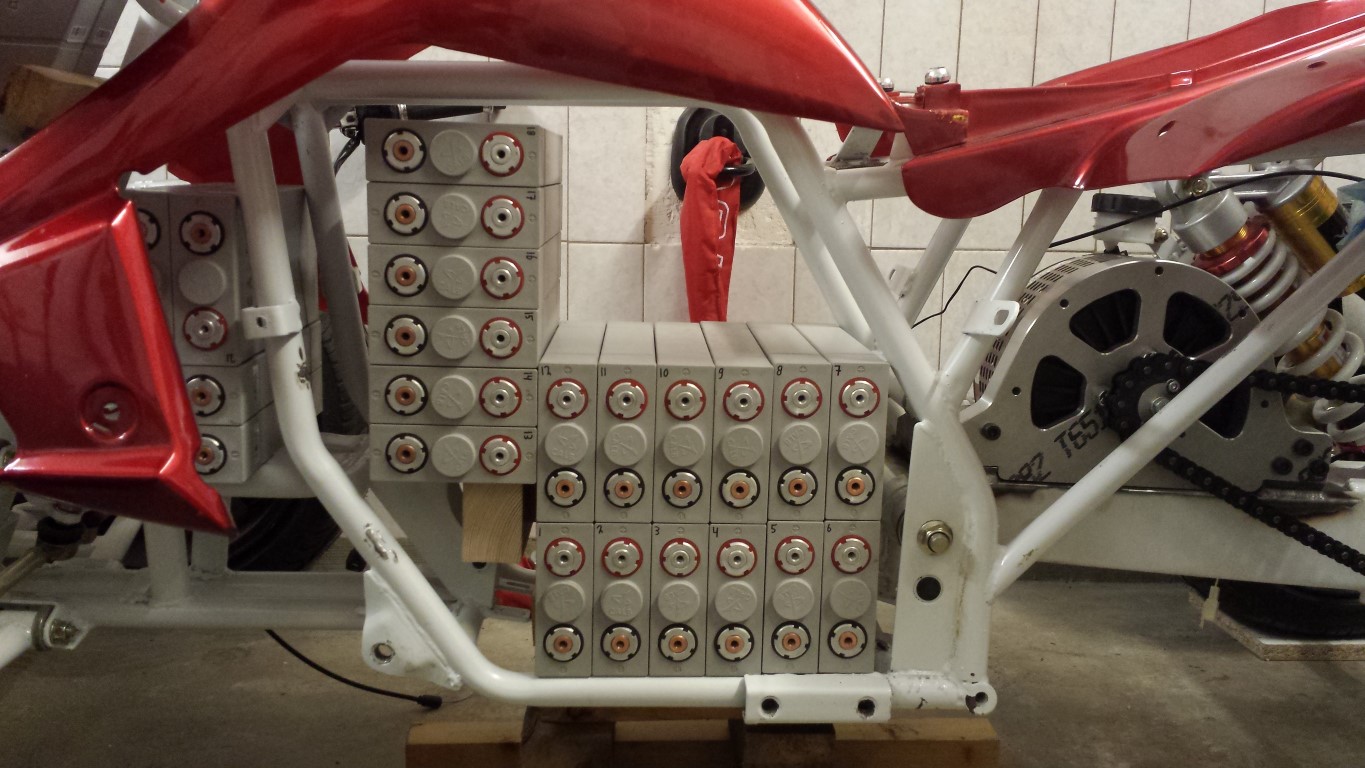
The big empty space in the middle of the frame is where the charger will come and on the sides of it probably some smaller parts of the BMS, display and main fuse.
I also hung up the controller's enclosure with cable ties. I want to have mounts made for this that will come down from those 4 points where the exhaust silencers used the hang from. But I'm not sure yet how I want to have this.
That was it for today.
Some more news today. I went inside to get something and suddenly heard a van stop outside. So I went to look at the door and it was the delivery man with 2 heavy packages from Amsterdam. What could be in there?
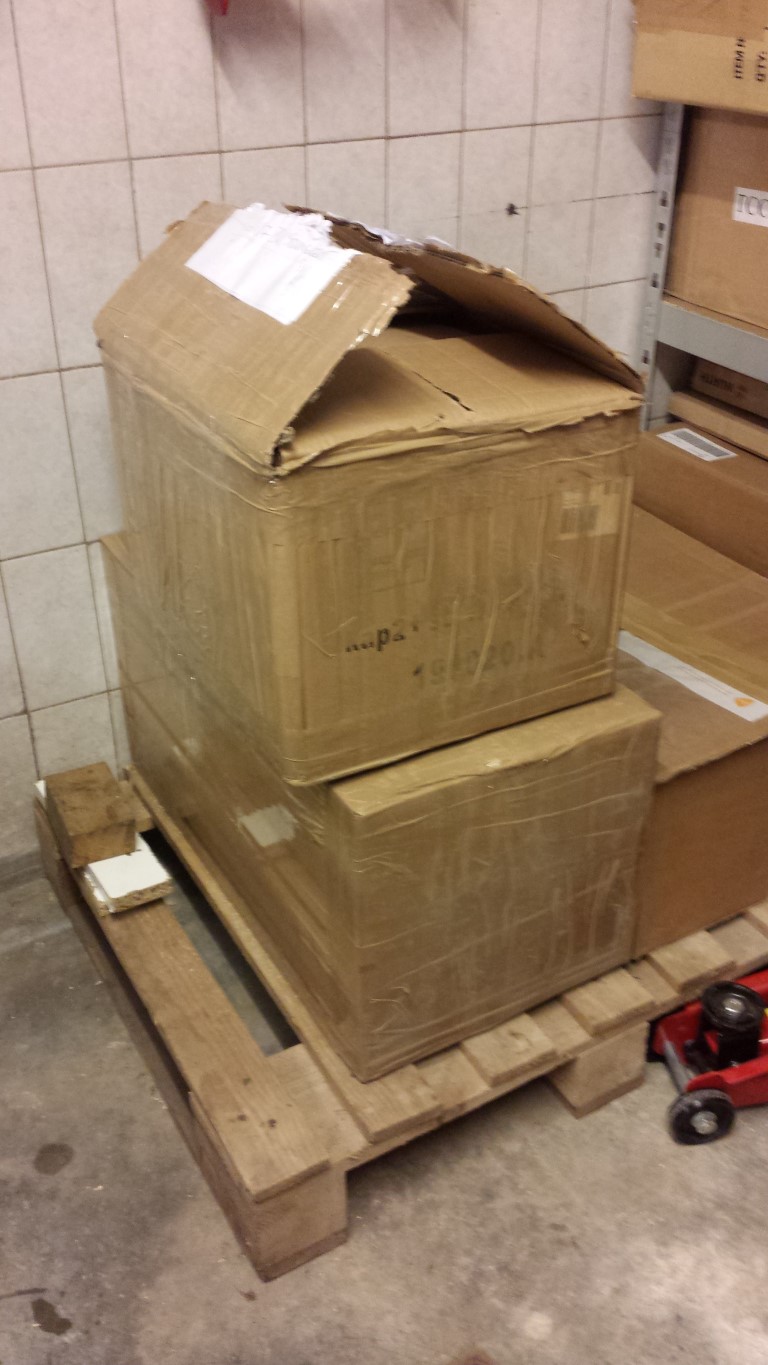
Was a surprise since I didn't even get a message yet that they were actually sent. But the batteries are finally here. And with connection plates, bolts and Nord-lock rings included.
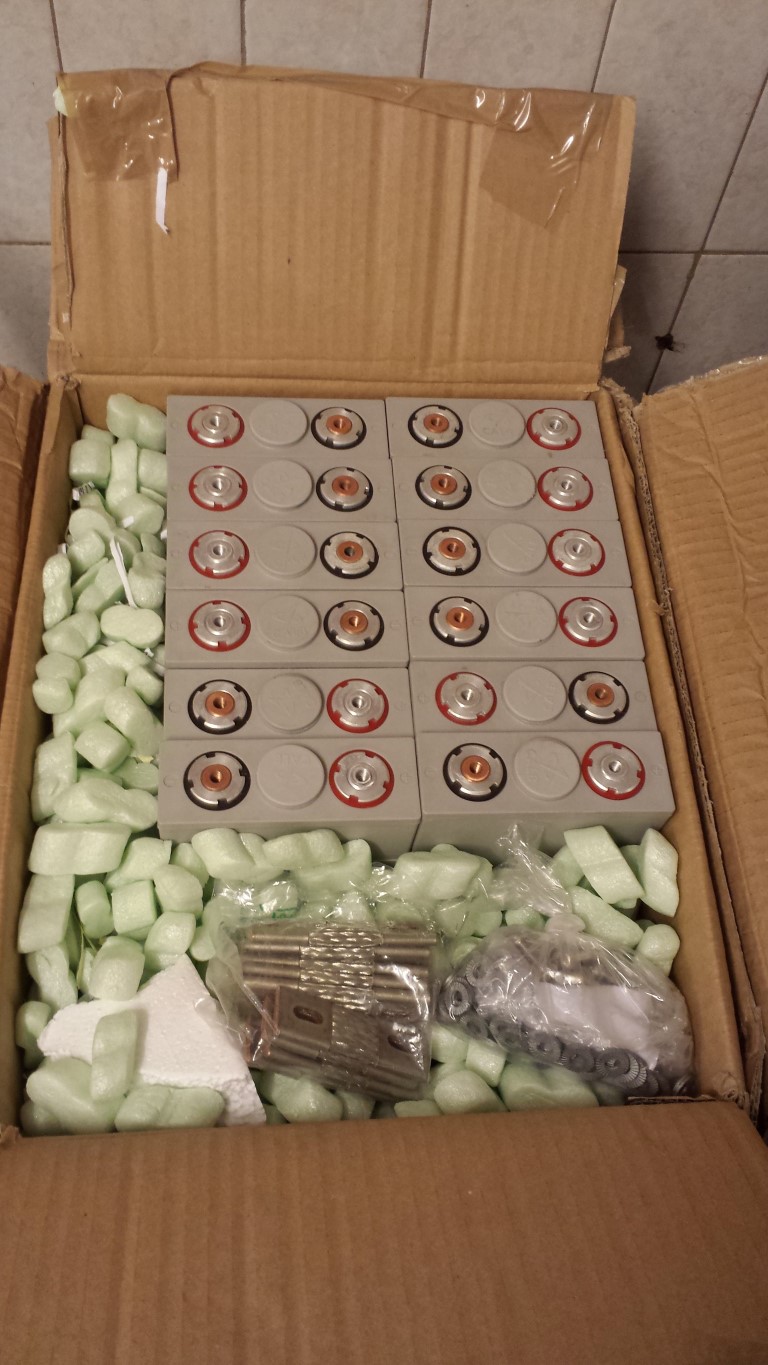
Just not from that official dealer where I still had to wait 8 weeks but from New Electric here in the Netherlands which did have them on stock.
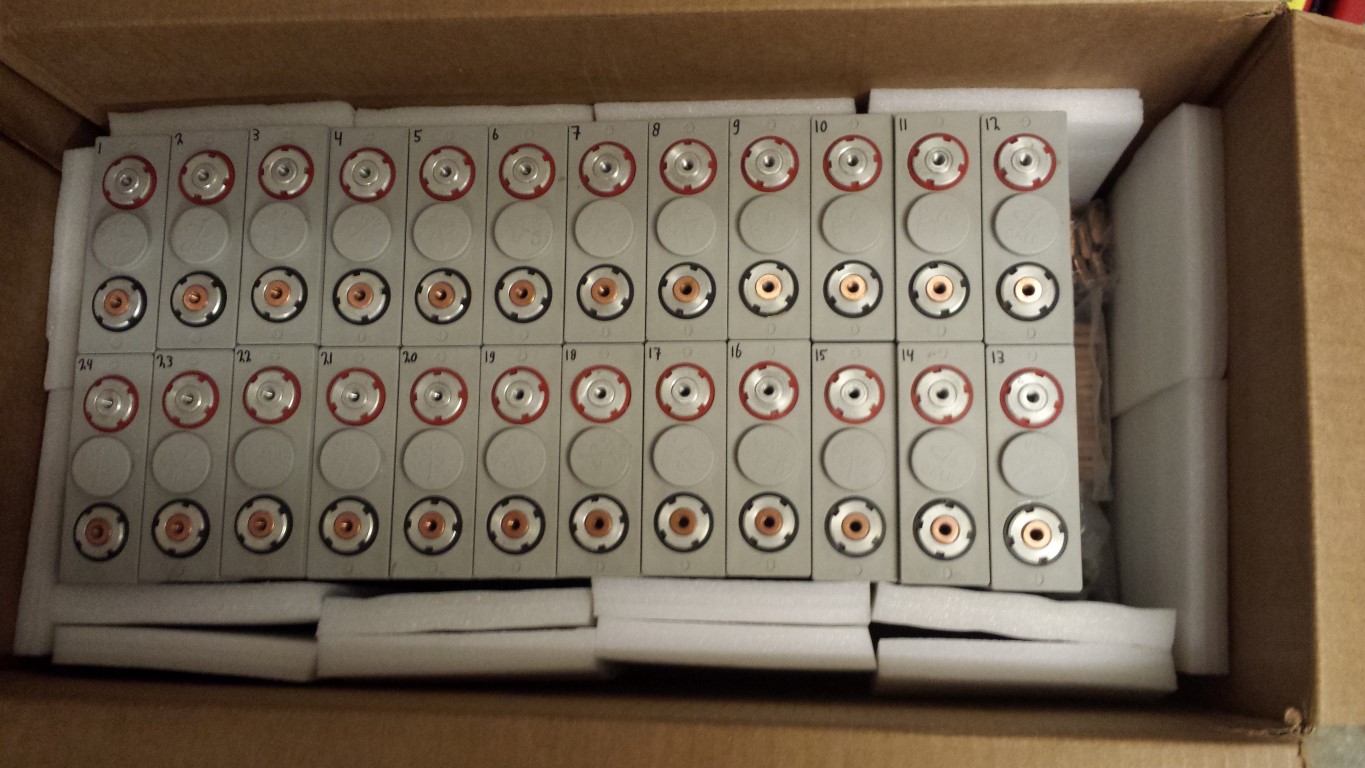
Here are some more pictures.

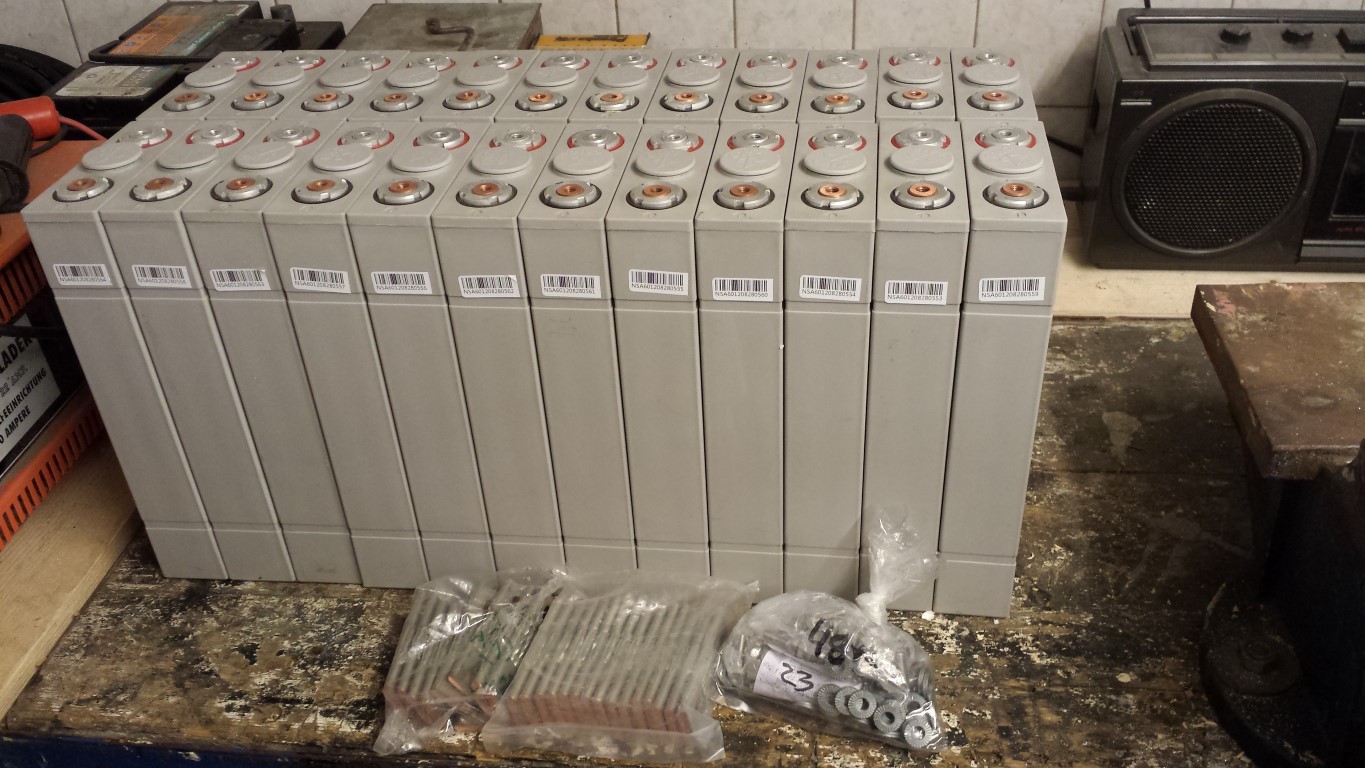
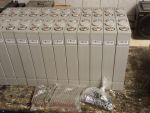
Also measured and numbered them all. As far as I could see there are no defects. And they're all charged at the same level. There are 11 batteries at 3.286V and the other 13 at 3.287V. For now I put them back in the box again. Will first have to try and fit them in the frame and then start making the battery boxes.
Posted on 25 May 2013 at 08:30 pm (CET)
Category: General
Posted on 25 May 2013 at 08:30 pm (CET)
Category: General
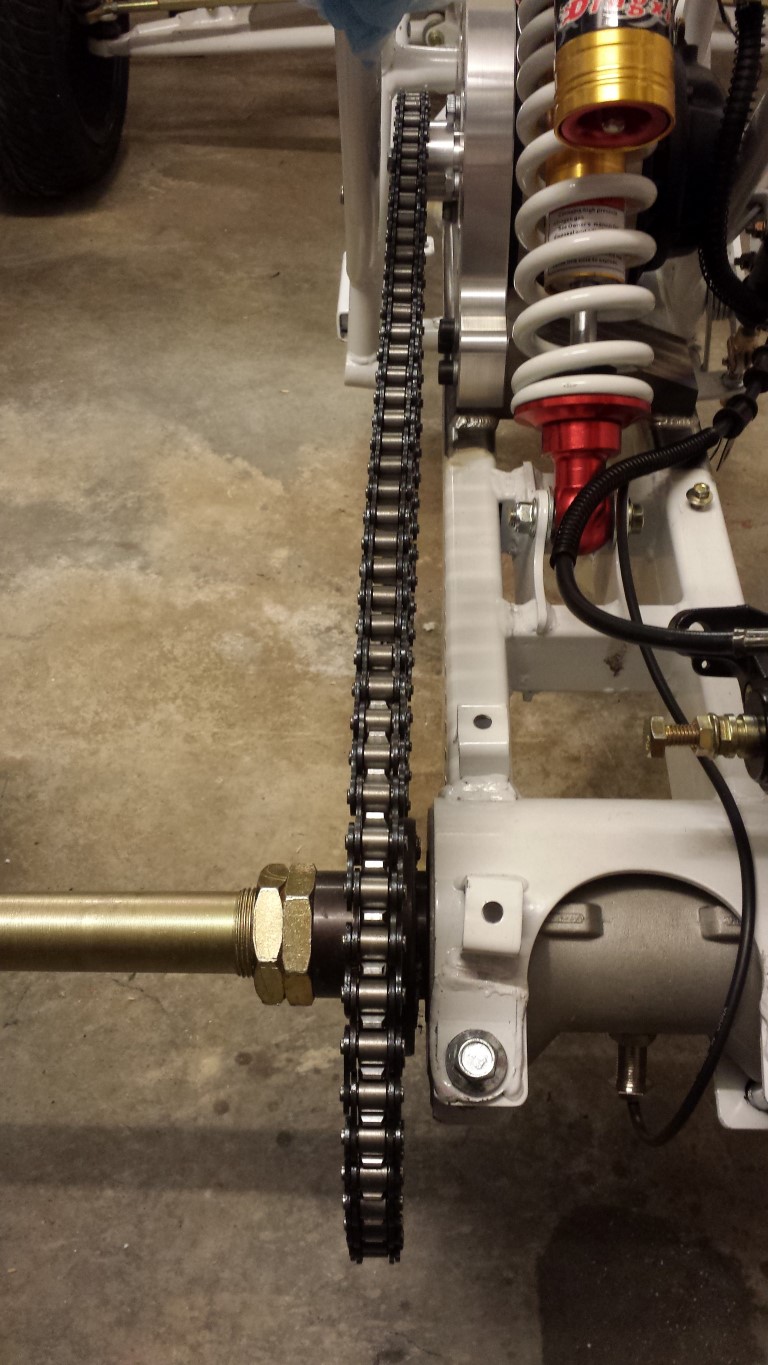
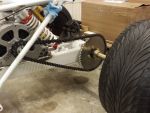
Today I tightened the chain. Usually this should be very easy to do but it took quite some effort here. When the bearing house was in the front position I could see it wasn't possible to take out another link.
But when I turned the bearing house as far as possible backwards the normal way the chain still wasn't tight enough.
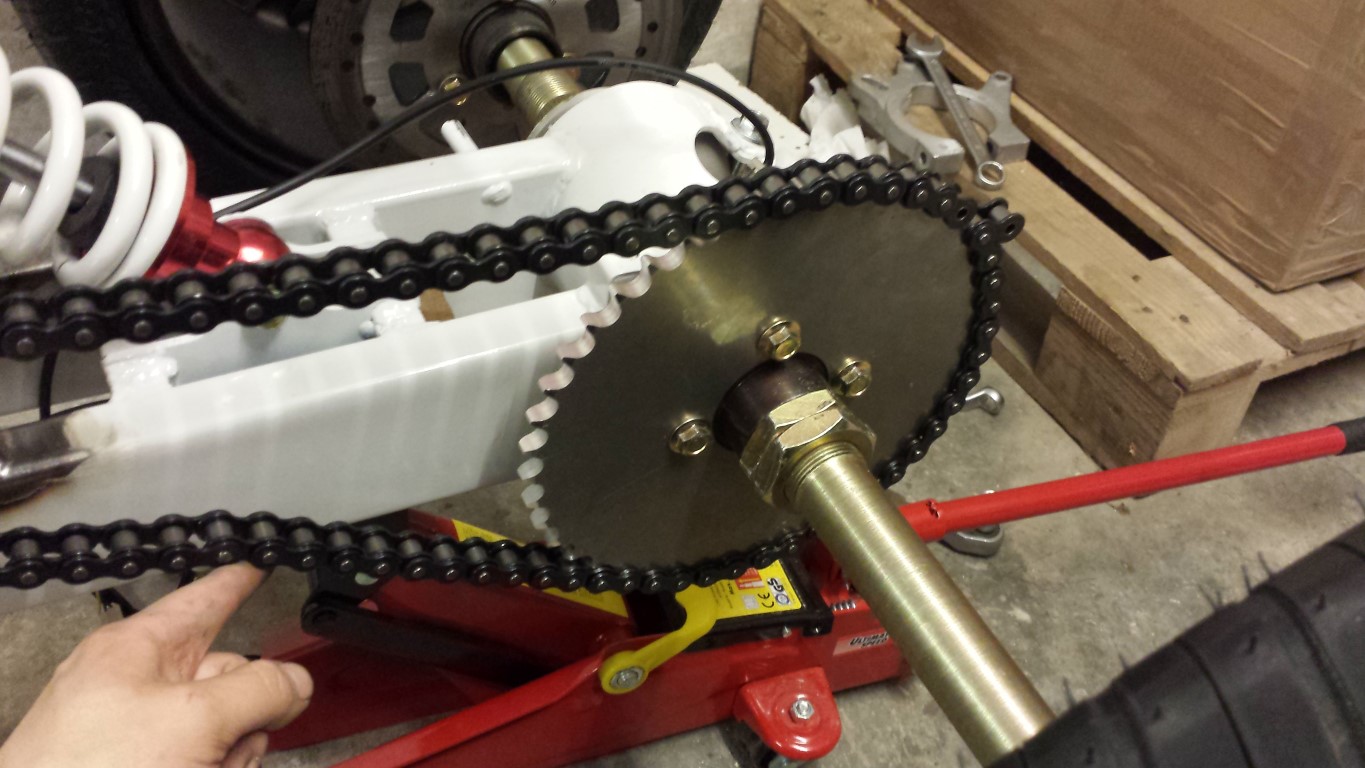
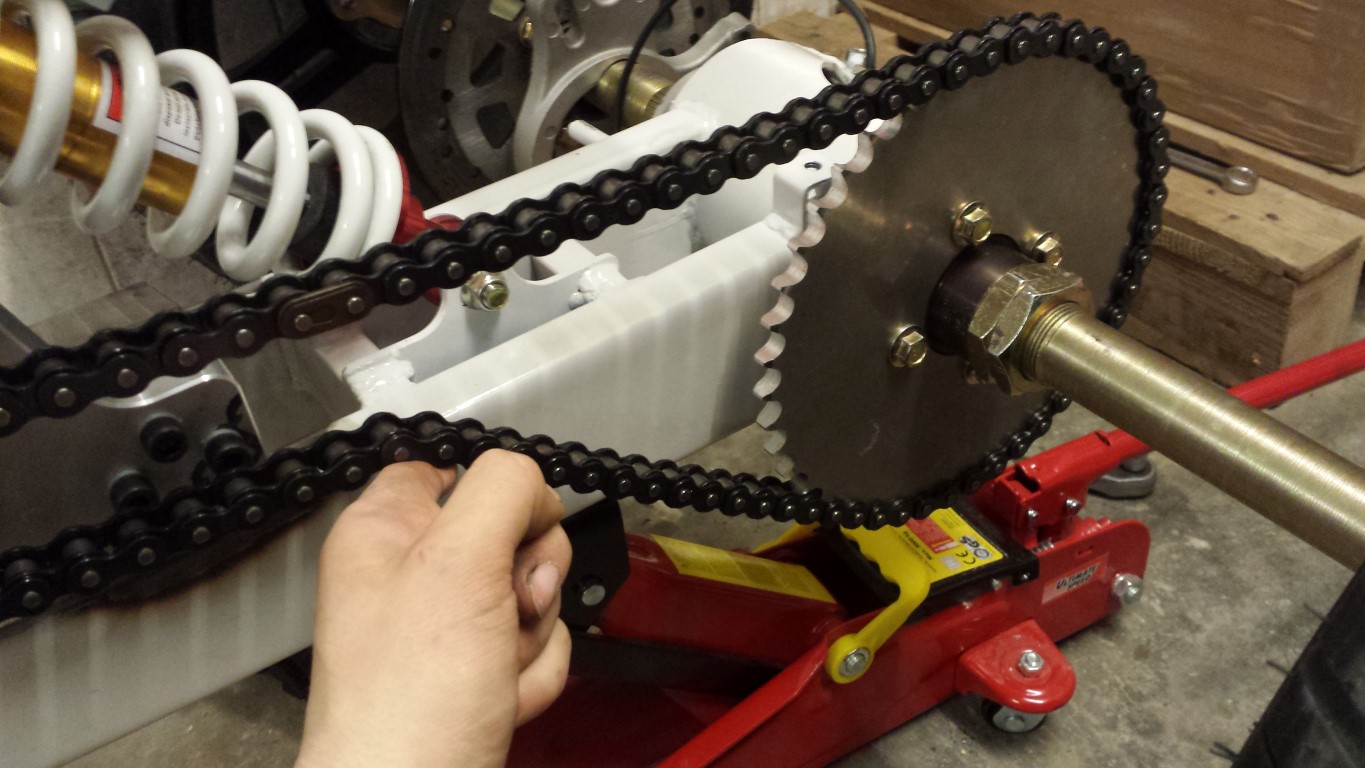
It was also very difficult to turn the bearing house. I was even unable to move it at all at some point. The cause of this turned out to be the plate that the brake caliper is attached to. Took this off and it was a lot easier to turn the bearing house. Just still not far enough to tighten the chain. But after that I did still find a way to tighten it a bit more than is possible the normal way. I attached the brake caliper's plate again but outside of the part that keeps it in place. This way I could turn the bearing house just a bit more. And it turned out to be just enough, the chain is tight now.
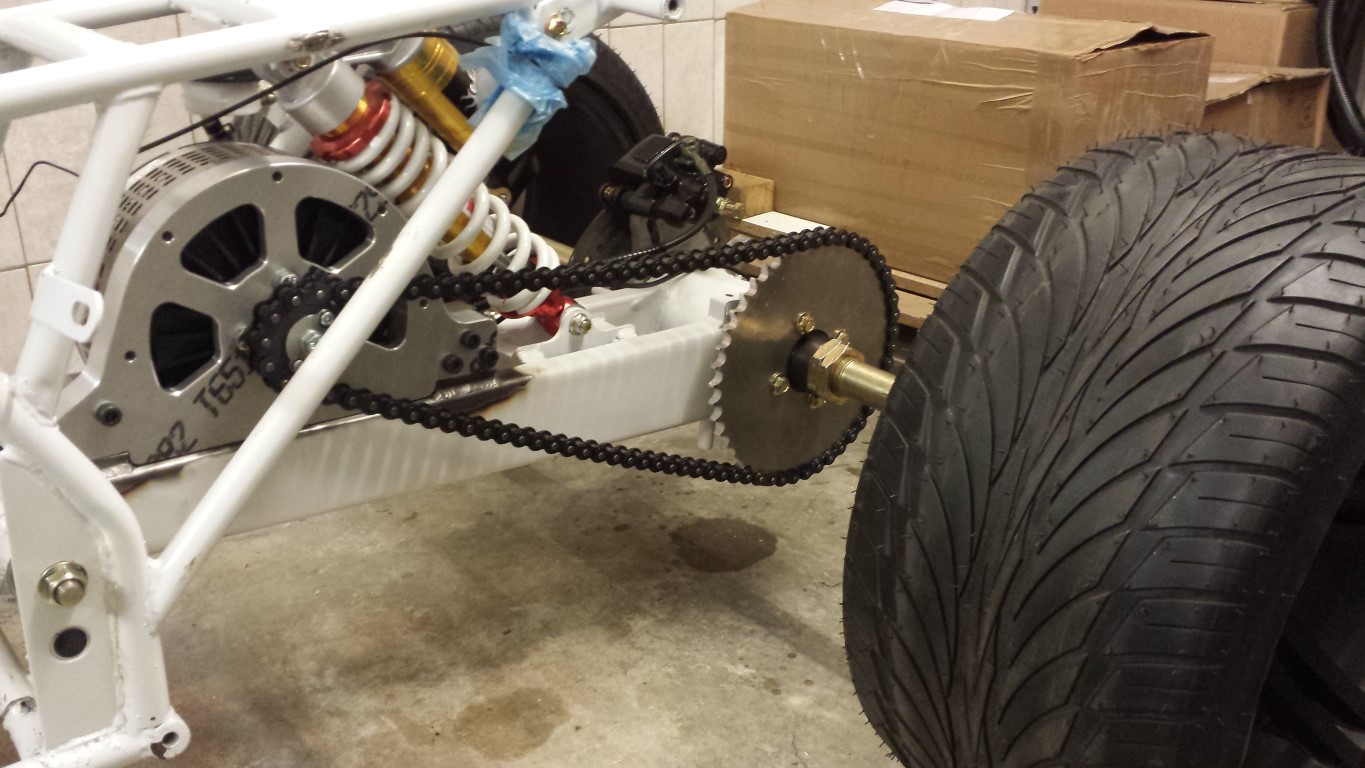
But there's still a problem, I saw that the chain isn't sitting in a straight line. This will still have to get fixed, probably with an adaptor so I can move the rear sprocket a bit more towards the swing arm. I can't move the front sprocket any more to the outside because of the frame. What could be an even better idea is to turn the current sprocket into an adaptor and get a new sprocket from a known brand. This way it'll be a lot easier in the future to get my hands on a new sprocket instead of having a custom one made again.