
 Nederlands
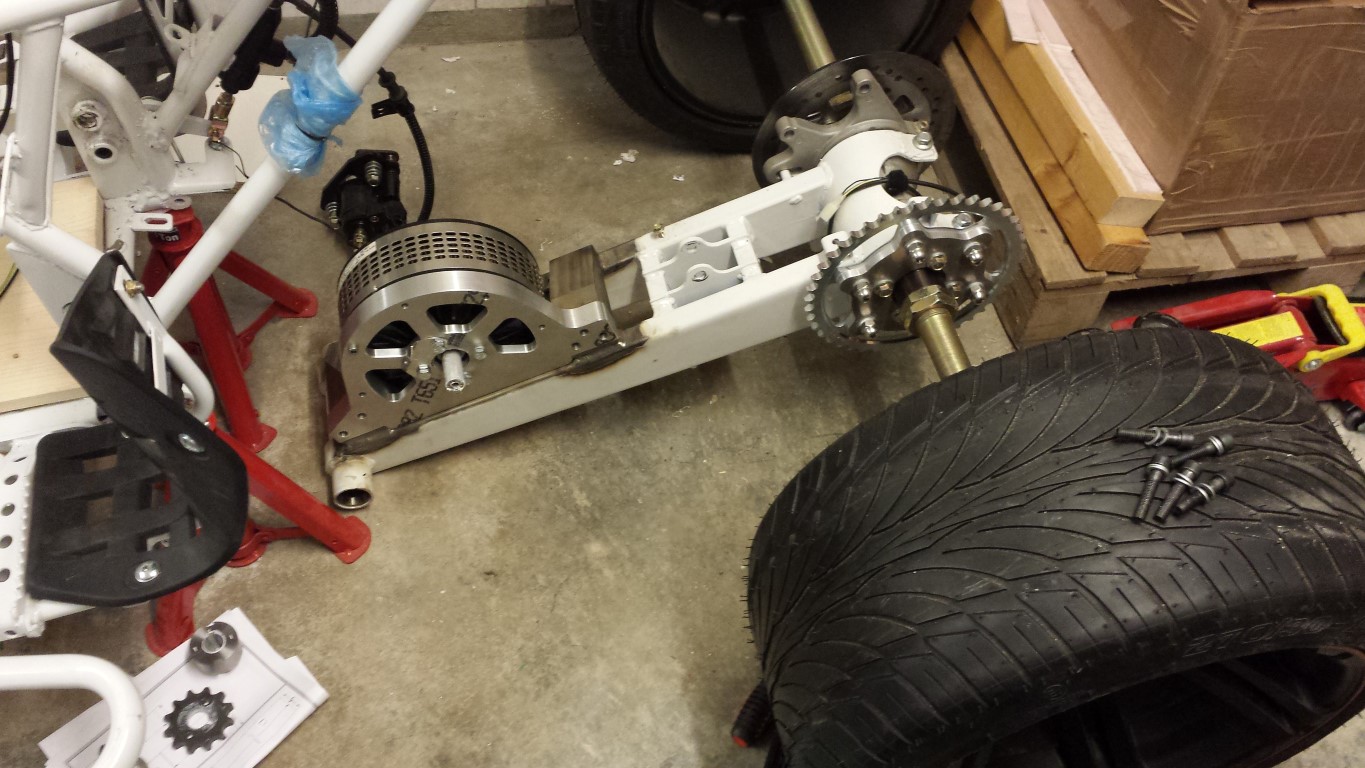
Blog / Controller mounts done and refitting everything with stainless steel bolts
Controller mounts done and refitting everything with stainless steel bolts
Posted on 13 September 2013 at 12:28 am (CET)
Posted on 13 September 2013 at 12:28 am (CET)
Very good news today, the mounts for the controller and a new plate for the RPM sensor are done and also fitted them already. Been working on it for the whole evening. I do have to grind off 2 mounting points on the frame though since the mounts are pointing inward a bit. But it's an easy fix, will do it tomorrow. Couldn't make any noise anymore here so late in the evening.
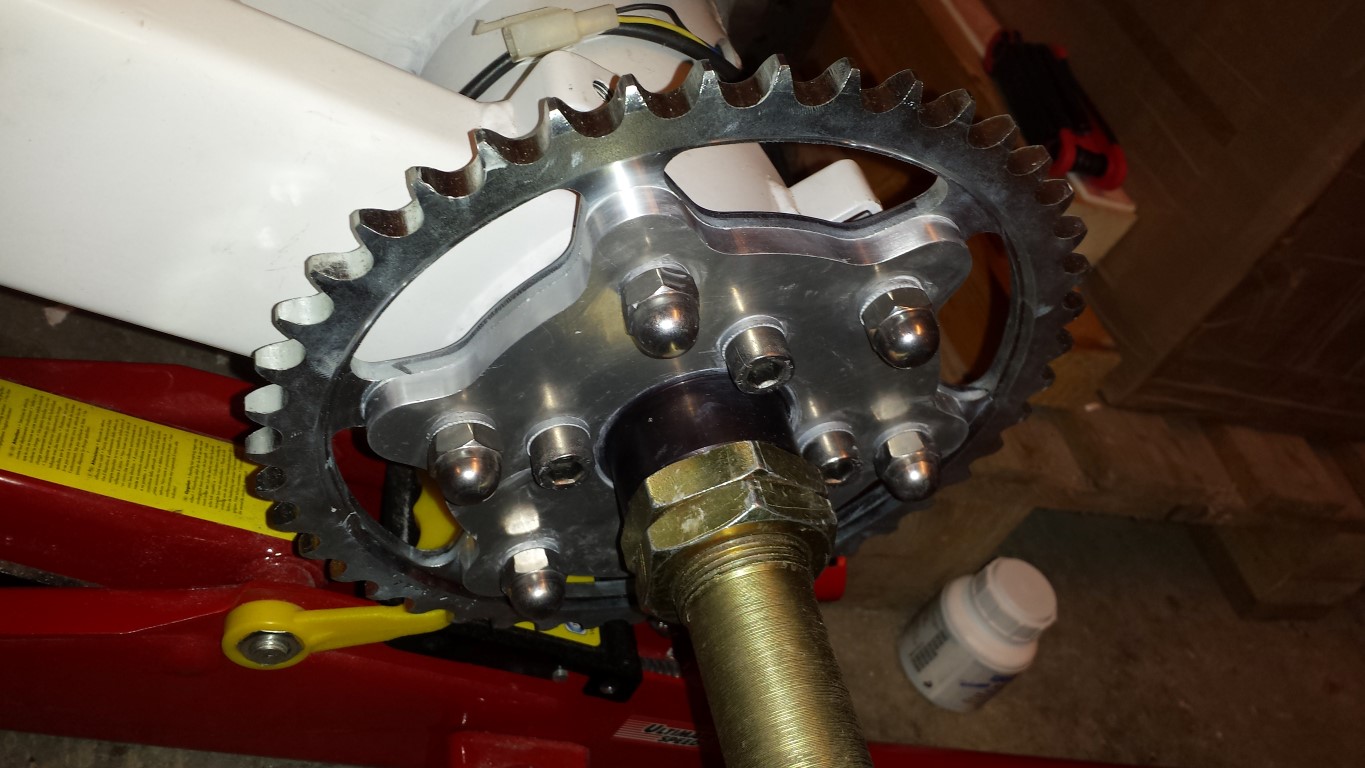
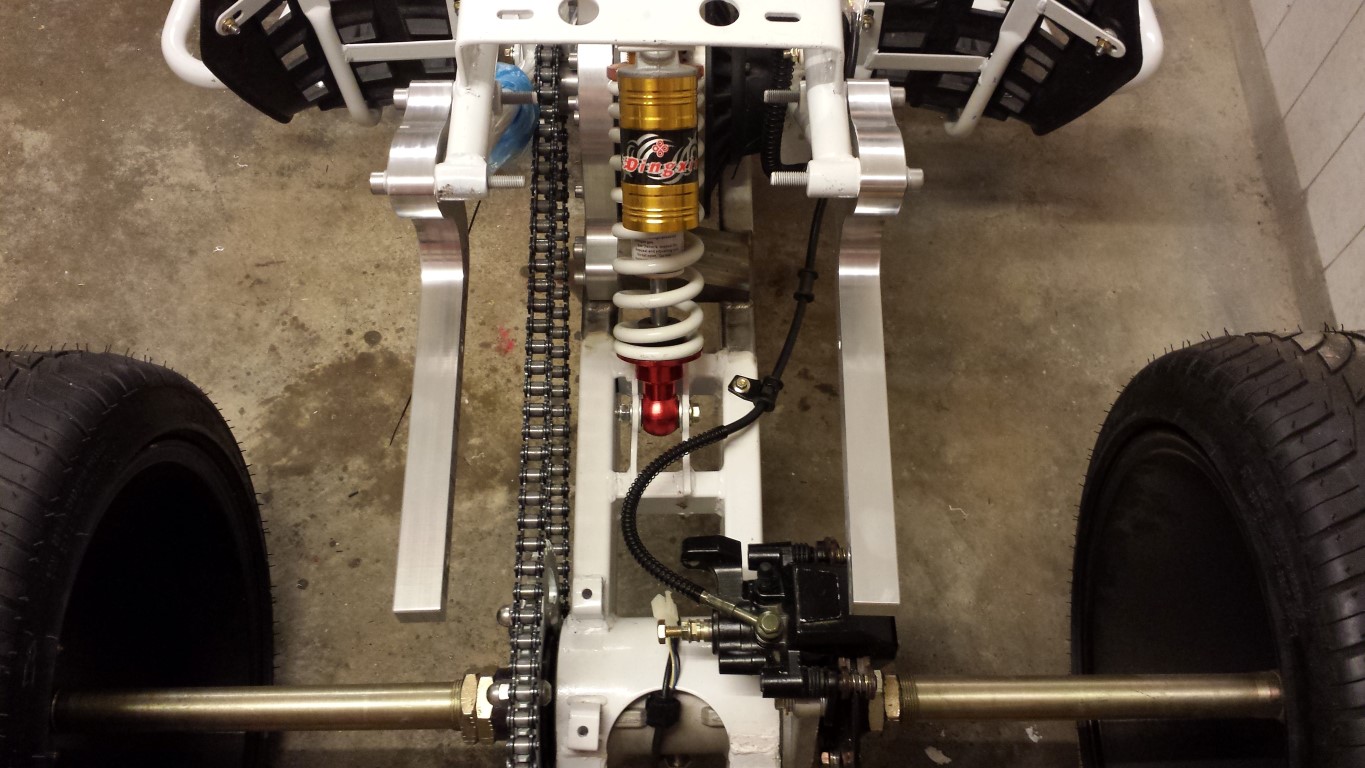
First off I removed the rear swingarm again so I could place all the new stainless steel bolts on the motor mount and to place the new plate for the RPM sensor.
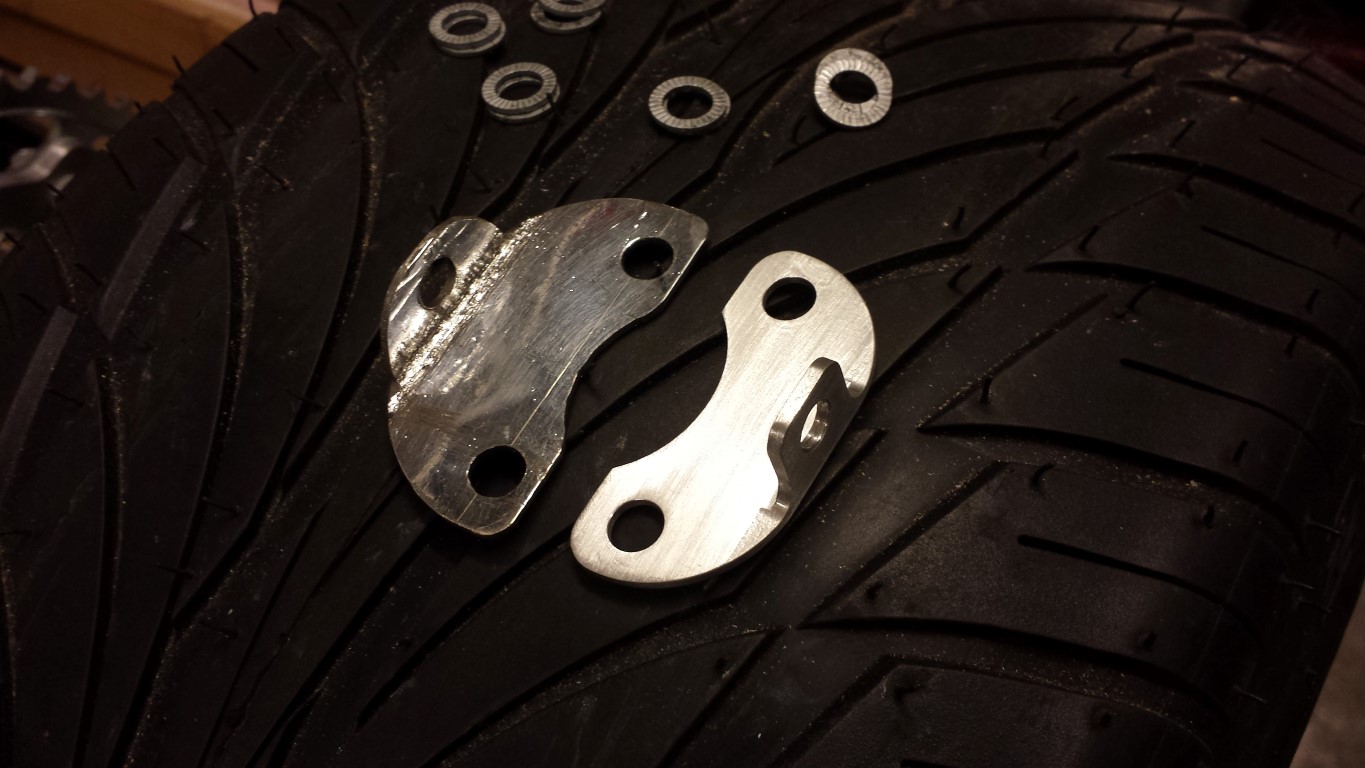
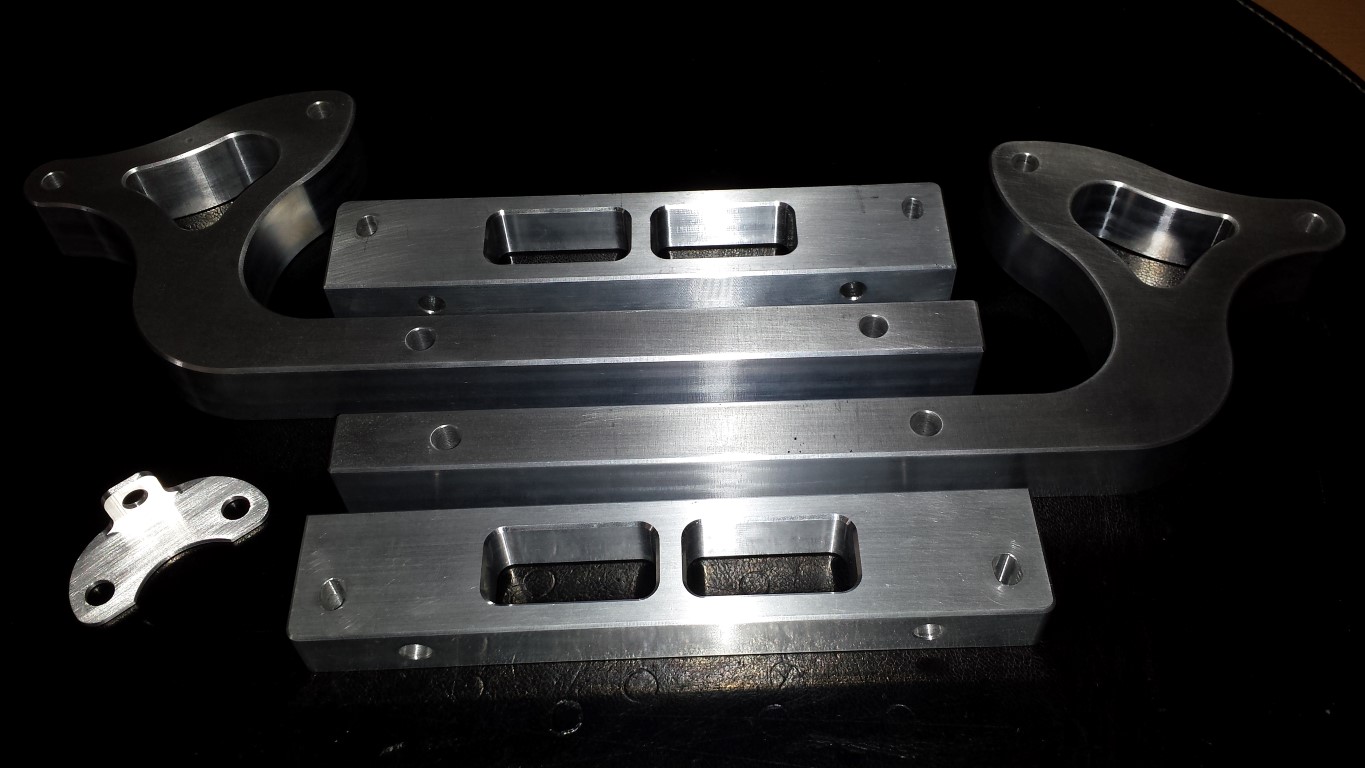
Difference between my own handmade plate and the new plate for the RPM sensor. Makes mine look pretty bad.
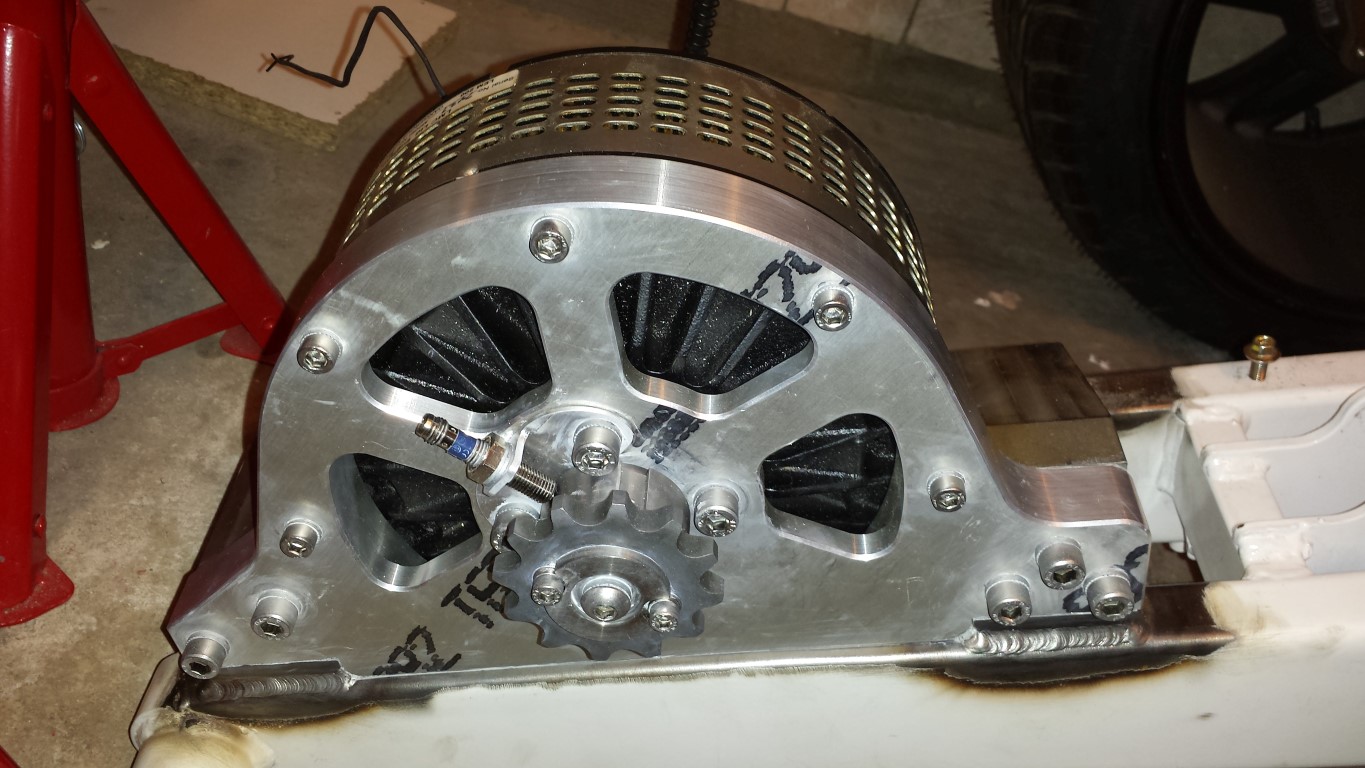
Here are all the stainless steel bolts in the motor mount and the plate for the RPM sensor fitted.

The motor back on the rear swing arm, also with the new stainless steel bolts. Looks a lot better than with the black steel bolts which were already rusting.
The inside bolts on the adaptor for the rear sprocket are also stainless steel now. Needed fine metric for this. I think there's a lot of tension on these bolts now though, don't know if this will cause any problems. Apparently they're just a tiny bit thicker than the original bolts or something. Really needed a lot of force to fasten them. Also added the last 2 cap nuts.
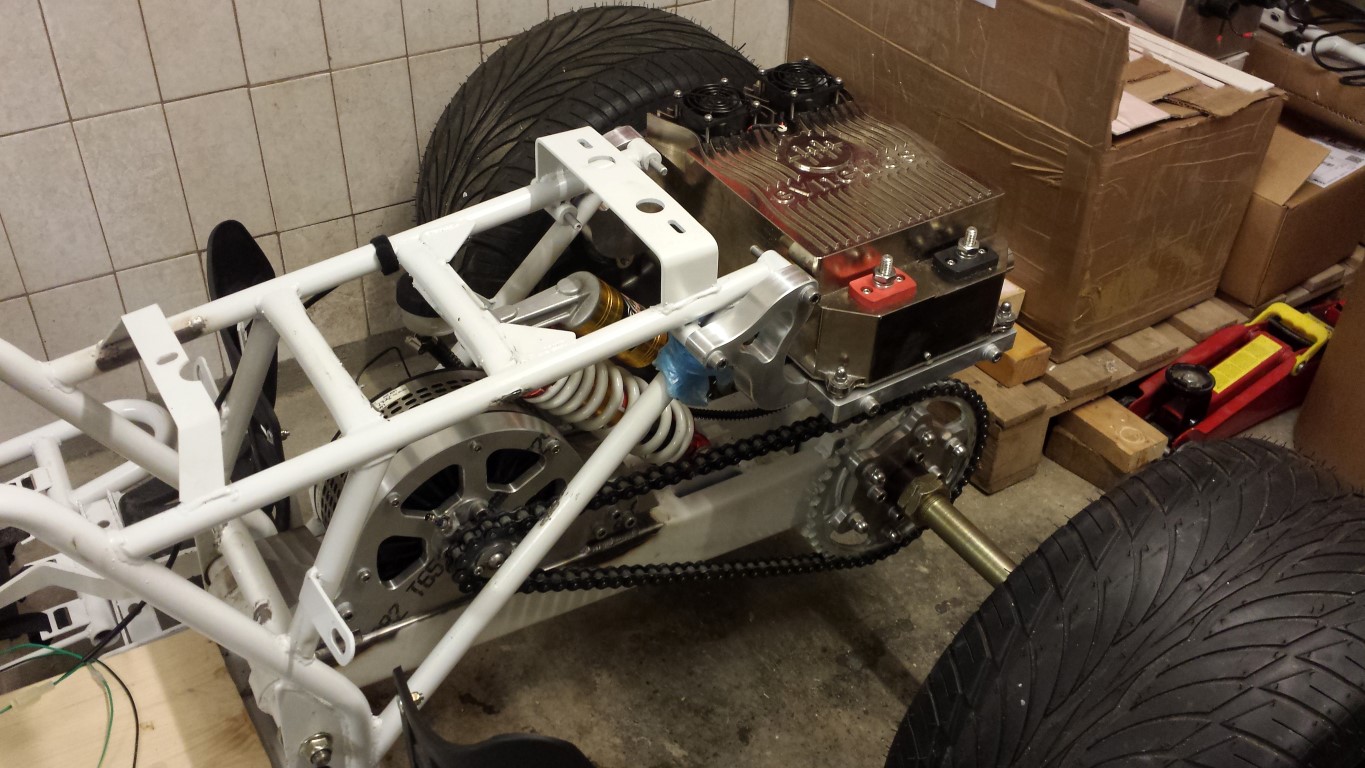
And now the mounts for the controller. I'll really keep saying this, great company who made this (Geraets Metaalbewerking). It really turned out very nicely. A lot better looking than the mounts I originally wanted. And it's definately strong enough, I think it can take at least 10x the weight of the controller.
Here you can see it fitted on the quad bike with the controller already on it.
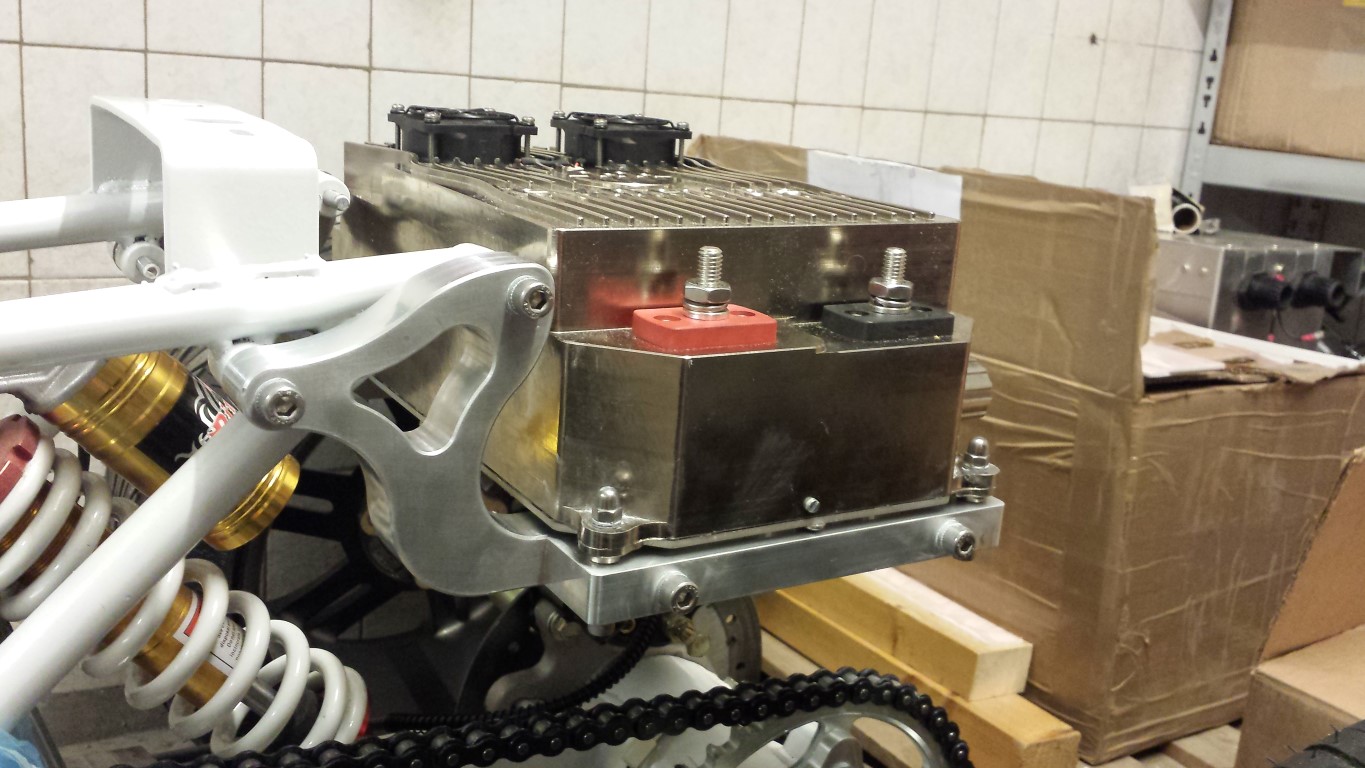
But it's all still loose, I first have to grind off a bit of the 2 front mounting points so the mounts will be sitting straight. Otherwise there will be too much tension on the mounts or the frame if I were to attach it like this. But it'll all be good, another day tomorrow. Here you can see that they're not sitting straight right now.
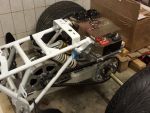
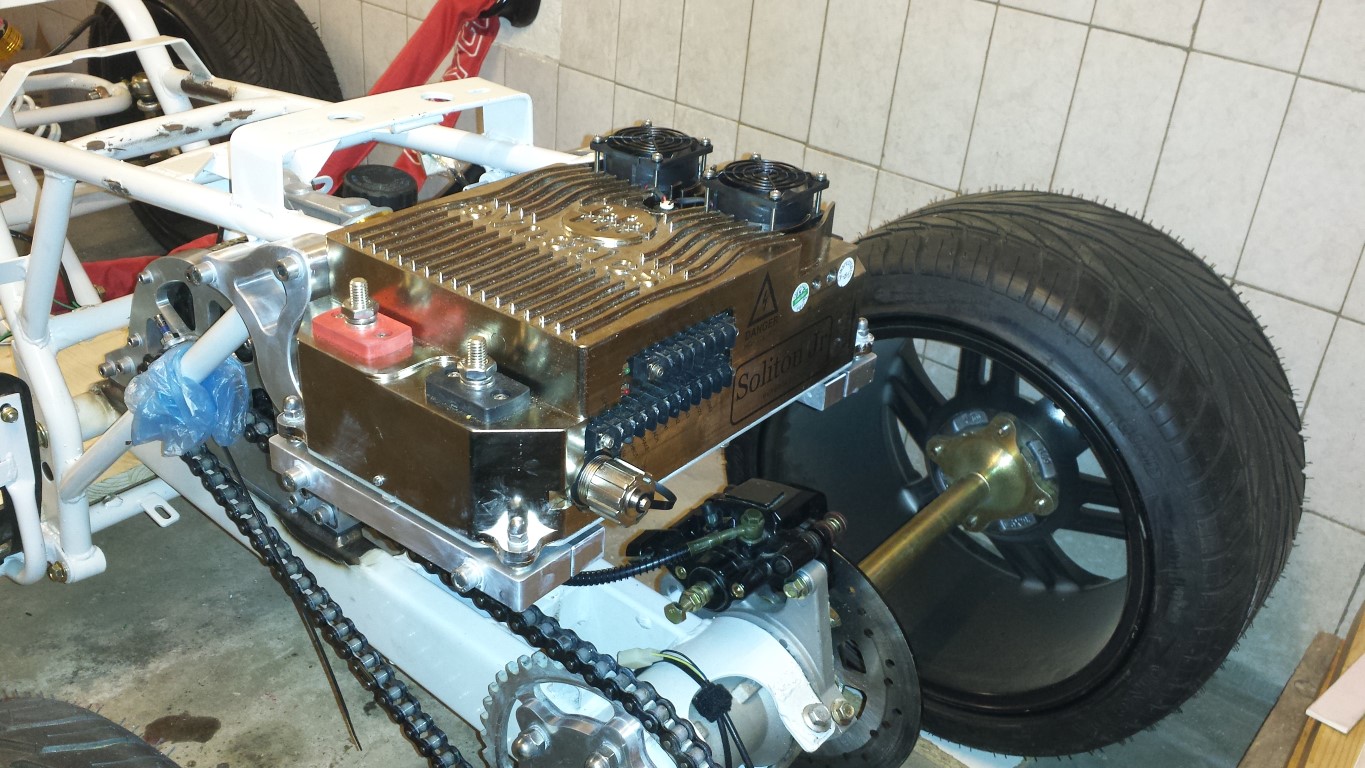
Here's the whole picture again. Rear end of the quad bike is pretty full now.
I also lubed the chain. And the rear swingarm's bearings didn't have much grease on them so I greased them some more. There's still something squeeking near the rear axle though when I turn the wheels, I think the bearings. But I'll be replacing them by SKF bearings anyway so I'll just leave it like this for now.
This weekend I'll definately have my first testride.