
 Nederlands
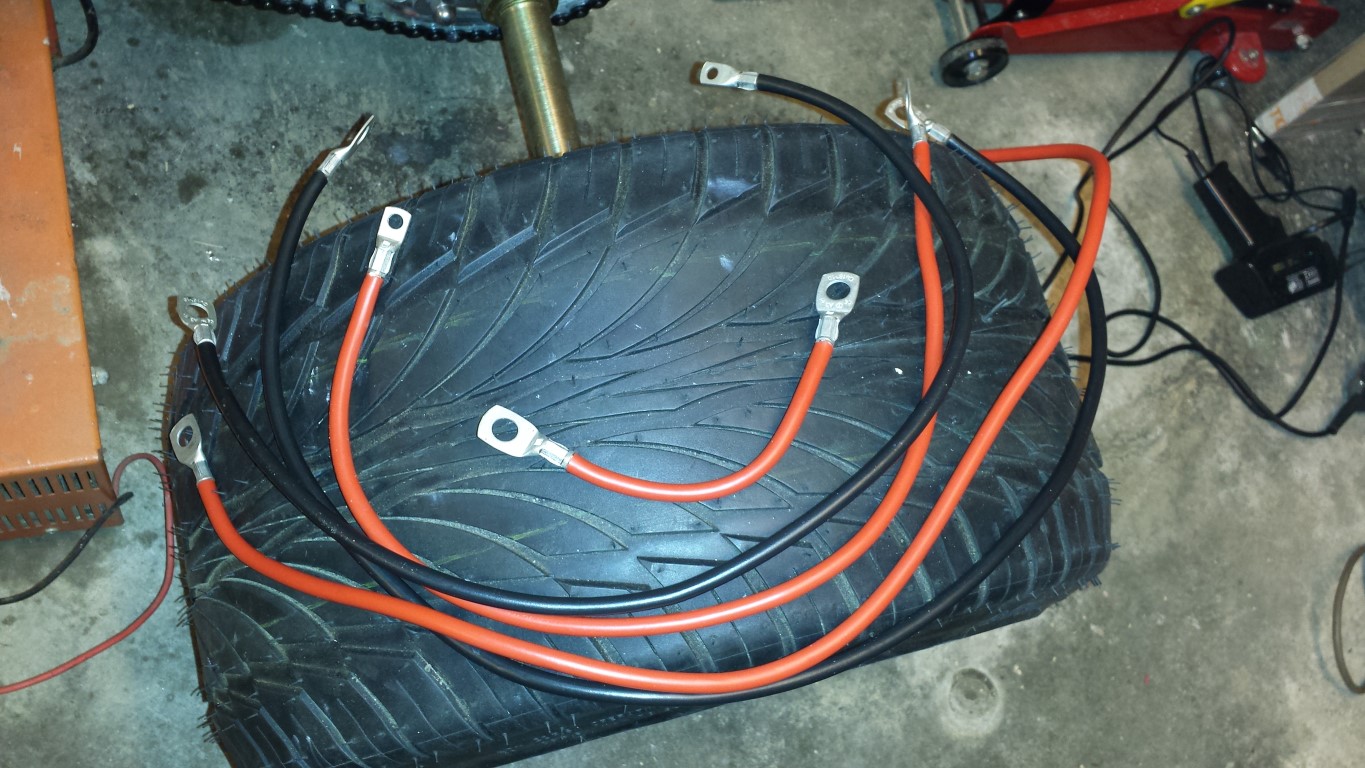
Blog / General
Posted on 15 September 2013 at 12:10 am (CET)
Category: General
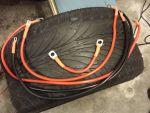
Today I made some thicker cables so I can test with some more power tomorrow. Top speed won't really be high with just 20-24V but will probably have some more torque since I can push more amps through these cables.
Was quite some work to make them the right size and to put the cable shoes on them. But I bought an hydraulic crimping tool a while ago specifically for this so it went reasonably well.
Also put some heat shrink around the cable shoes. Might be using these cables more often when I'm bored.
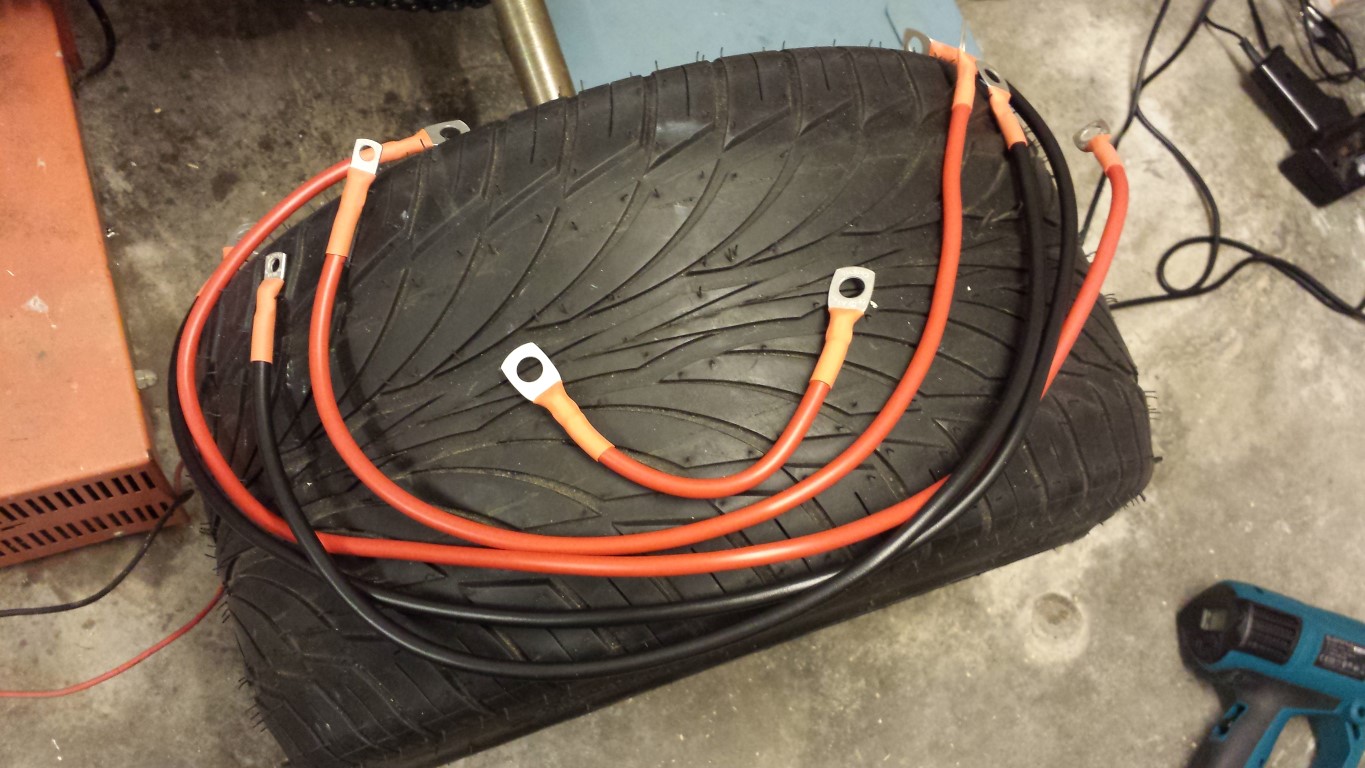
Then I had a whoopsie moment. Was planning to place the sensorplate for the display on the shorter cable. But I already put both cable shoes on it so I couldn't get the cable through the sensor anymore. Since I didn't have any extra cable shoes of this size I just cut the cable, placed the sensor and soldered it. I just couldn't get the cable hot enough so it's pretty badly soldered. Only the outside really, on the inside there's no solder and the wires are just pressing against eachother. For longtime use I definately wouldn't accept this. But just for testing tomorrow it should be fine.
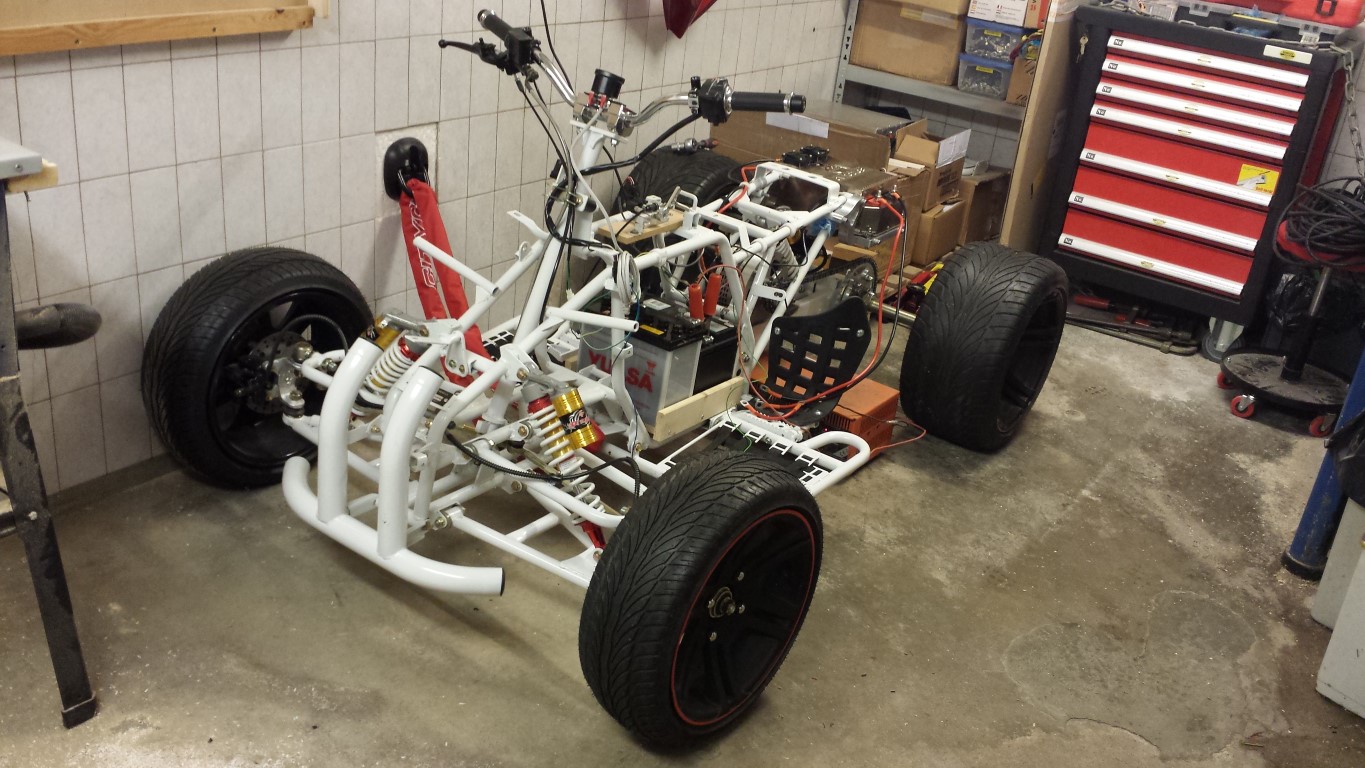
The 2 car batteries are also on, I'm fully charging one of them now. Tomorrow I'll just have to put a strap around them to keep them in place. The Chinese really did make a good frame. Both of the batteries just fit exactly in width. There really is no space left between them, not even 0,1 mm I think. Like they knew I was going to do this when they welded this frame.

So tomorrow will be another exciting day hopefully without problems. In any case the quad bike's ready, just still have to fully charge the 2nd battery tomorrow and connect the cables.
Posted on 14 September 2013 at 10:00 am (CET)
Category: General
See here the biggest moment of the project up untill now.
It's alive!
Just on low power ofcourse with such small wires, 20V 50A maximum so 1kW. But I didn't really see 50A, think the wires are just too small for that and the 9Ah battery of the quad bike was empty pretty quick.
I also saw that the wheels are quite unbalanced. It could be many things though so I don't know what is causing it exactly. Could be that the rear axle is bent just a little, common problem with Chinese quad bikes. Could also be something with the bearings in the bearing house. And the wheels themselves aren't balanced yet either. It's also a straight axle and there's no weight on it, could be that it's bent a little because of that.
Tomorrow probably with some more power and hopefully a short testride.
Posted on 11 September 2013 at 10:33 pm (CET)
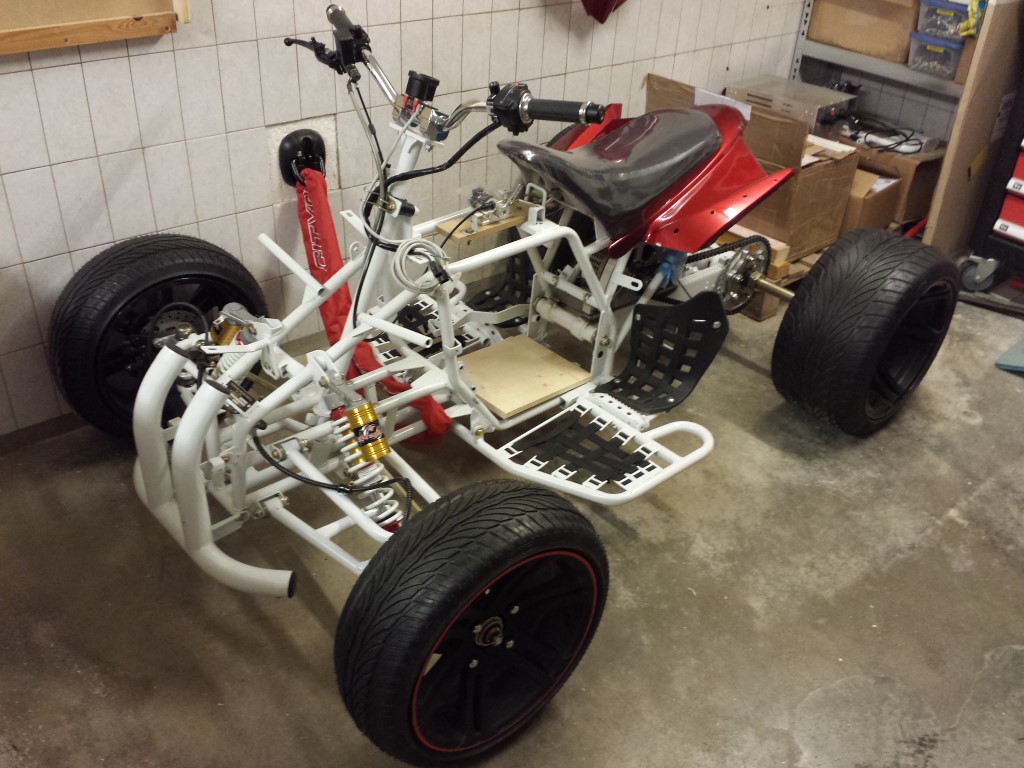
Today I also fitted the nerfbar and hielguards. Even though it won't be going fast, I think it's a bit safer than just having the foot pegs. Also fitted the saddle. Just had to place the rear fender as well otherwise the saddle would bend too much. Don't know how strong it is. Also screwed a wooden board on the frame for the batteries to sit on, just don't think I can fit 2 car battery's on there. But I'll see when it's ready. Also tightened the wheel nuts, almost forgot they were still pretty loose.
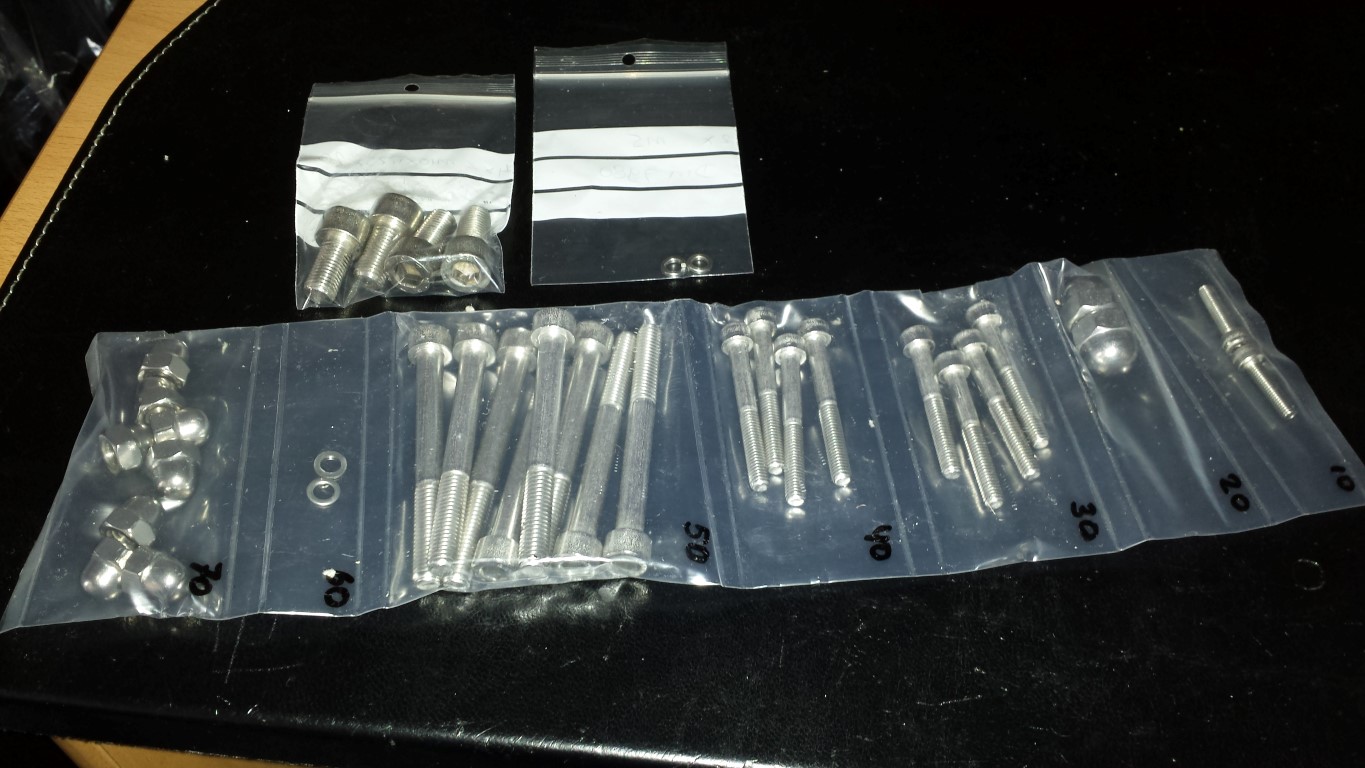
And I received some more stainless steel bolts, nuts and rings. Now I just still need the controller mounts.
Posted on 8 September 2013 at 11:03 pm (CET)
Category: General
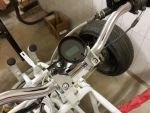
Today I continued preparing the quad bike for the testride. Temporarily fitted the display so I could at least see the voltage, current etc. while testing.

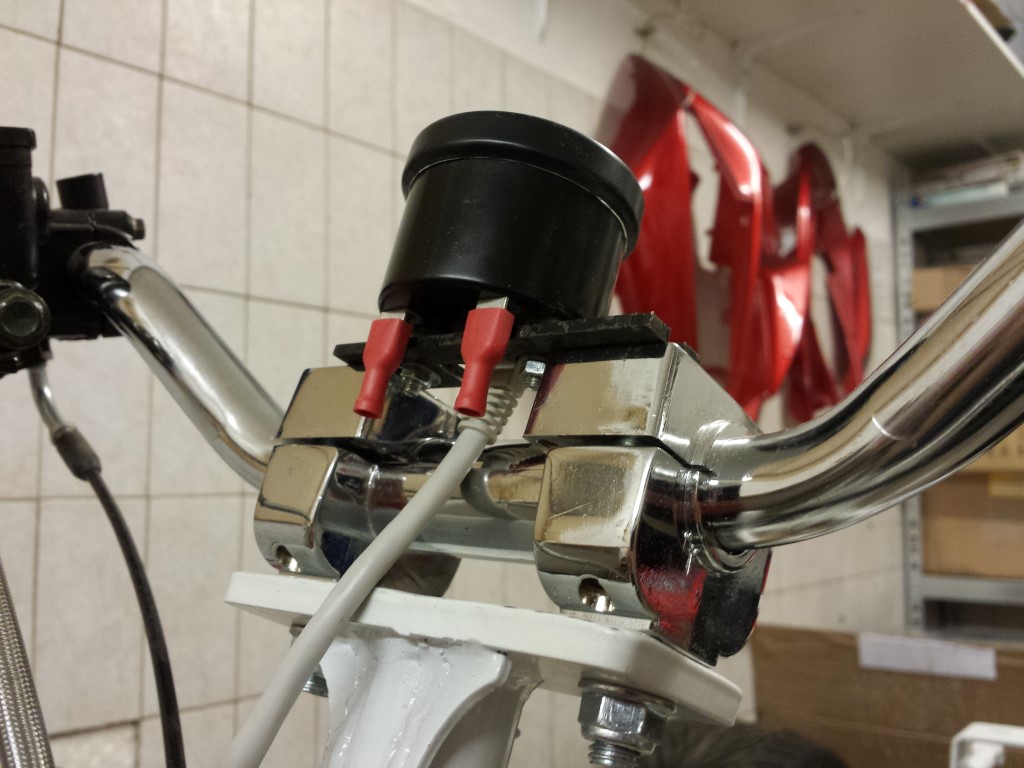
Works pretty straightforward, just plug in the UTP cable and you're done. There will still be a sensorplate somewhere on a cable of the batteries though.
Also adjusted camber and toe. At least by sight, when it's ready to go on the roads I'll really adjust it by measuring. For just testing on low speed it really doesn't matter, I just didn't like how it looked originally (positive camber and toe out). Would they actually drive the quad bikes like that in China?
Posted on 7 September 2013 at 12:30 am (CET)
Made some progress again.
These past few days I've been busy with epoxy glue on the battery boxes. Works pretty well, is very strong and fills reasonably good. Just not everywhere since the grooves are rather deep in some places. But might be able to just use filler for that before it gets sprayed. In any case it's sturdy enough now.
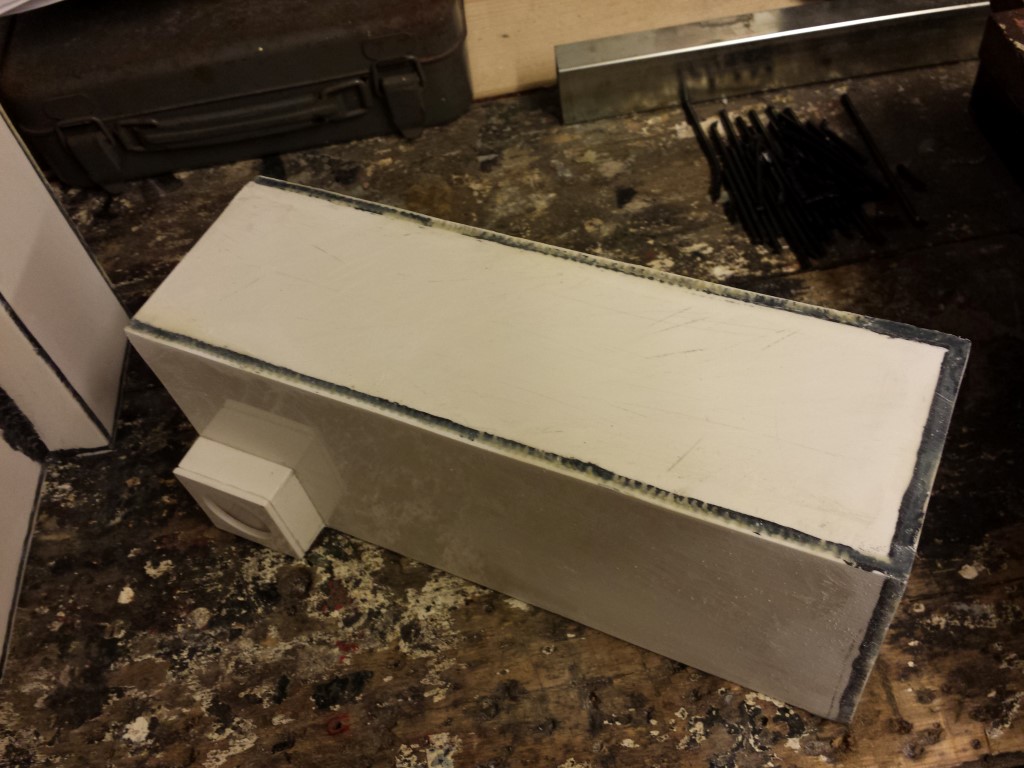
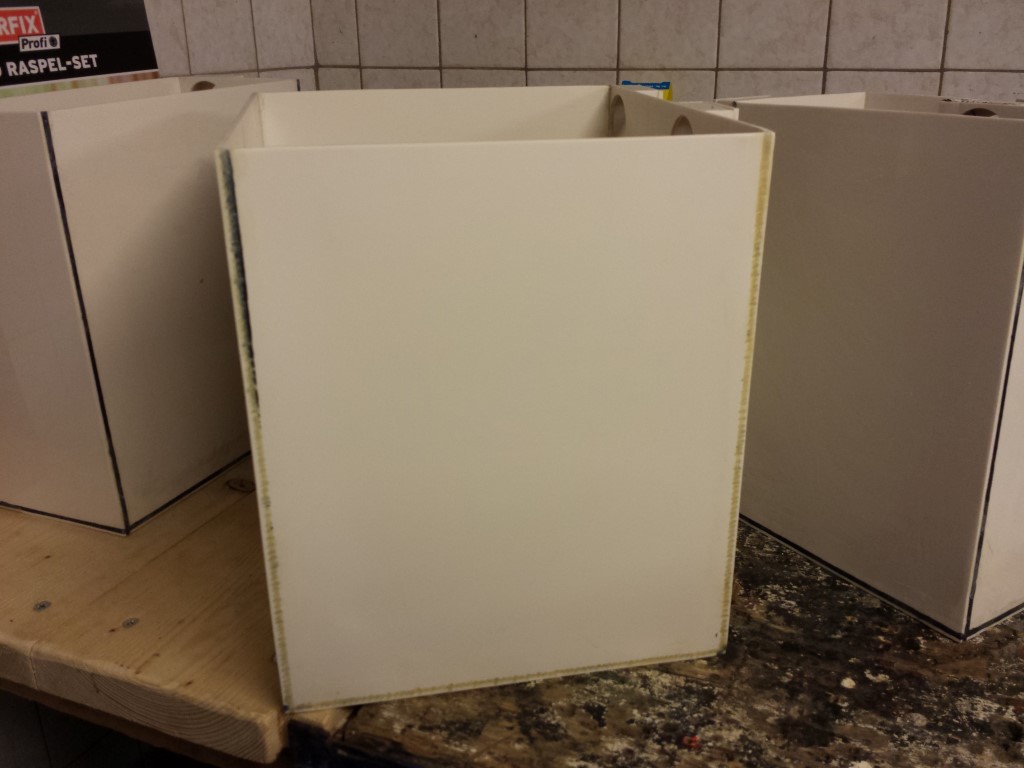
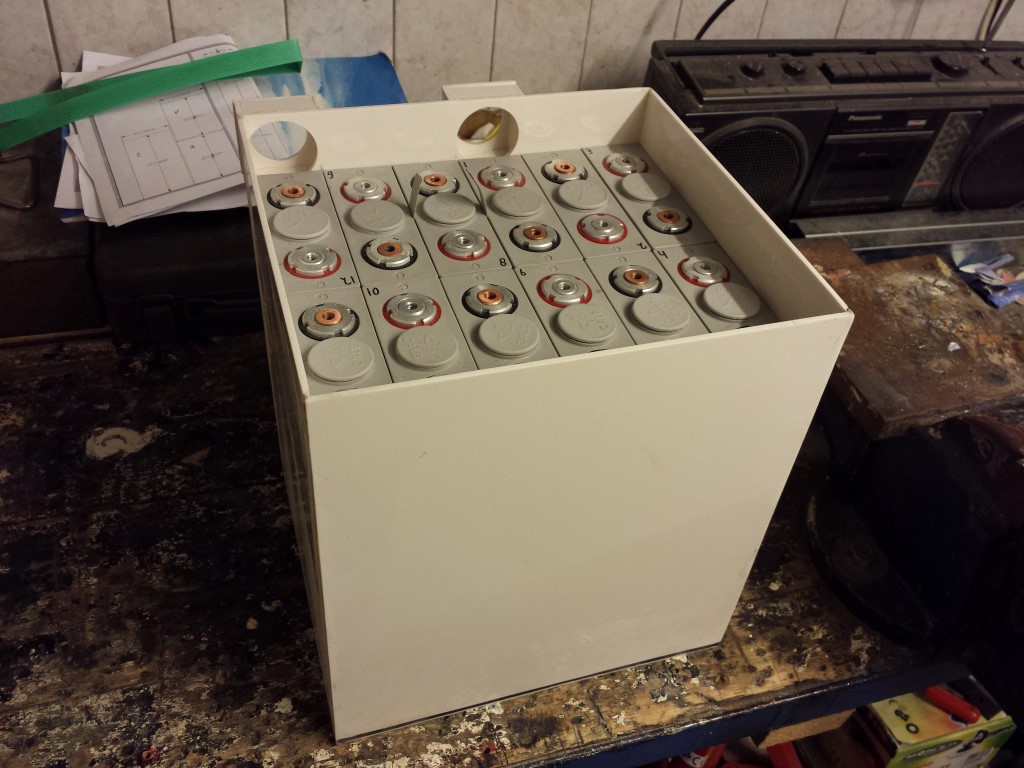
Today I tried fitting the batteries in all the battery boxes again. I got some green plastic straps from someone of the China Quad forum during a club meeting but unfortunately these were just a bit too thick (0,9 mm). But coincidentally I received a package today with some smaller gray plastic straps around them (0,65 mm). It were 2 straps with just the right length to make 4 pieces out of them.

In the biggest and smallest battery box they fit perfectly without having to modify anything. In the bigger one which has 6 batteries I had to file the top of one of the batteries a bit. The plastic enclosure is thick enough anyway and the top part kind of sticks out a bit on them all. Ofcourse I first put some tape on the terminals. Accidentally causing a short circuit with the file doesn't seem fun to me. But it worked, the strap fits in this battery box as well now, can still get the battery out with a little force.
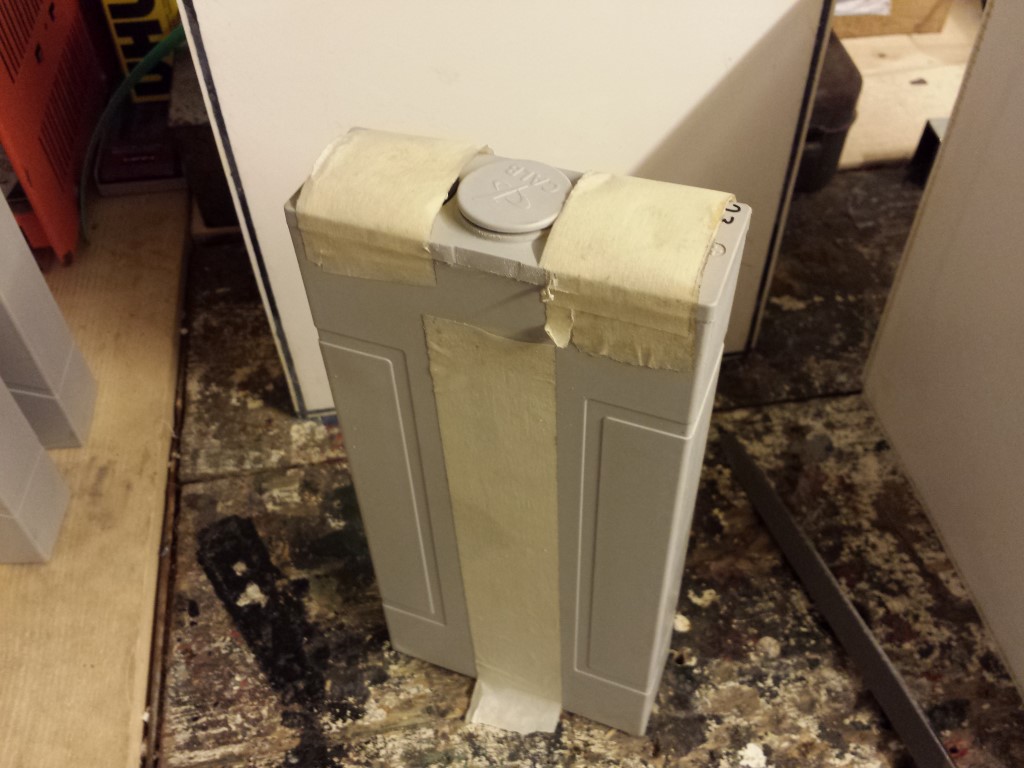
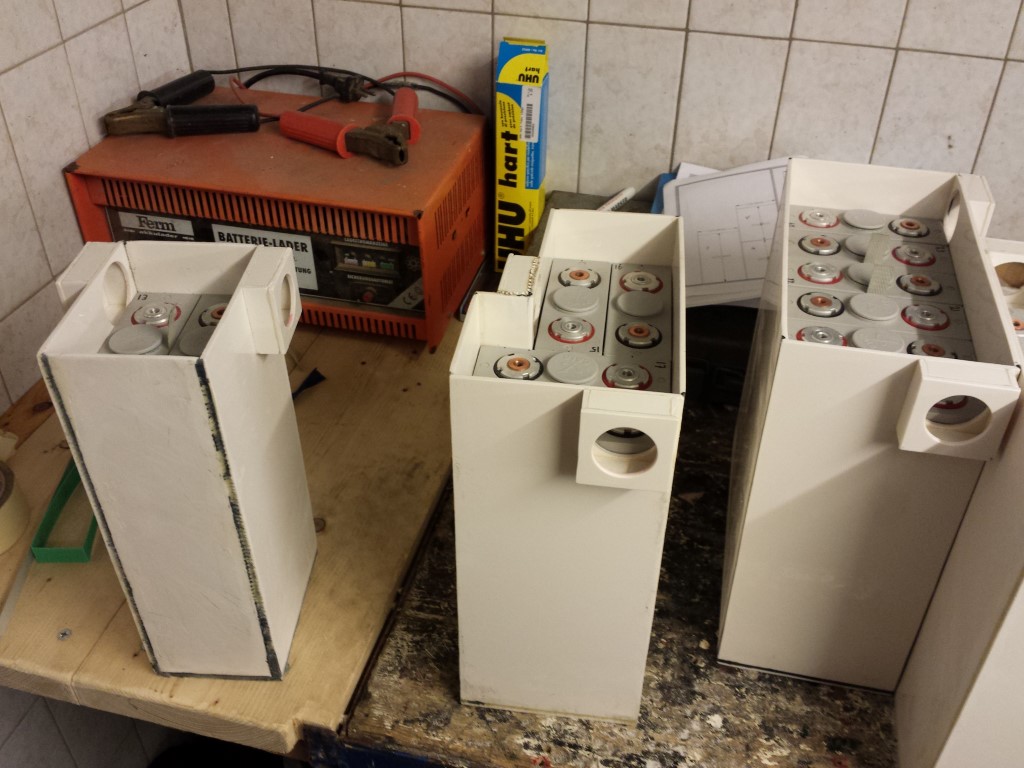
But then the battery box with the corner in it. Been messing around with this box since the beginning and ofcourse it gave me some more problems now. Without a strap the batteries barely fit. There just wasn't enough space for a strap so I also filed the top of the batteries quite a bit. But unfortunately the problem isn't at the top but at the bottom of the battery box. There's just no space left there at all for a strap and I can't file the bottom of the batteries. So I have no idea what to do with this. For now I just left them in without a strap. Can still get them out by placing the battery box upside down but ofcourse this won't work once it's fitted onto the quad bike. I will try and find a solution for this later.

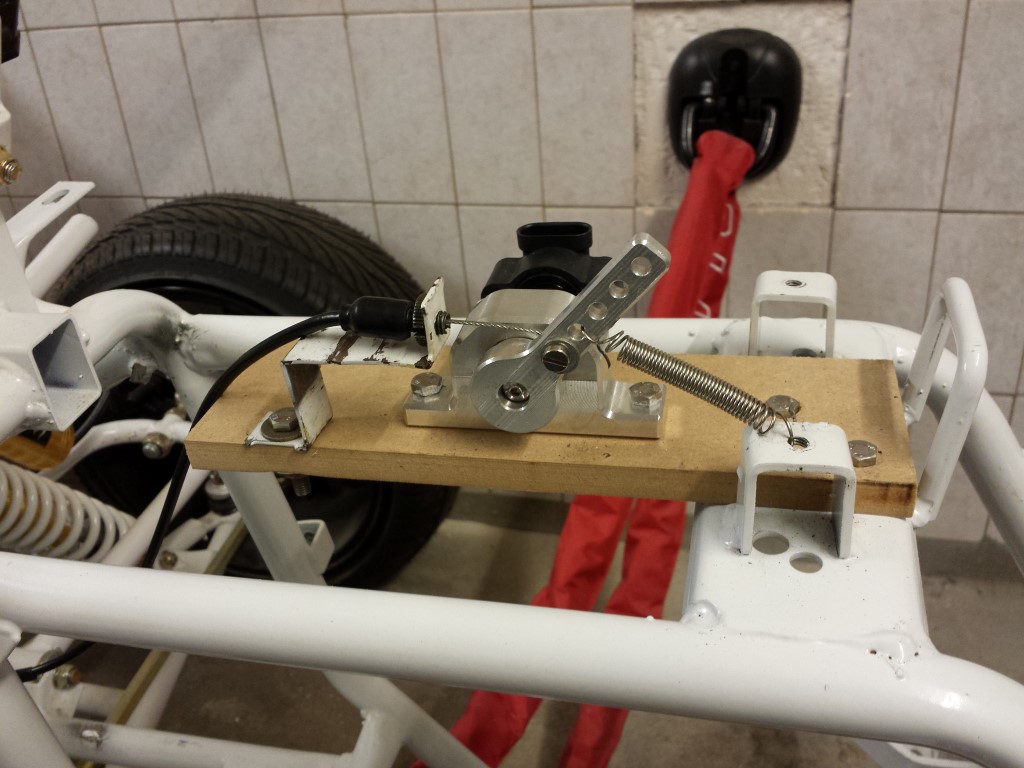
For the rest I also temporarily fitted the hall sensor and placed the throttle cable on it. This is only for the testride which will be soon, eventually I'll make something different for this and also in an enclosure so there can't get any dirt or water in there.
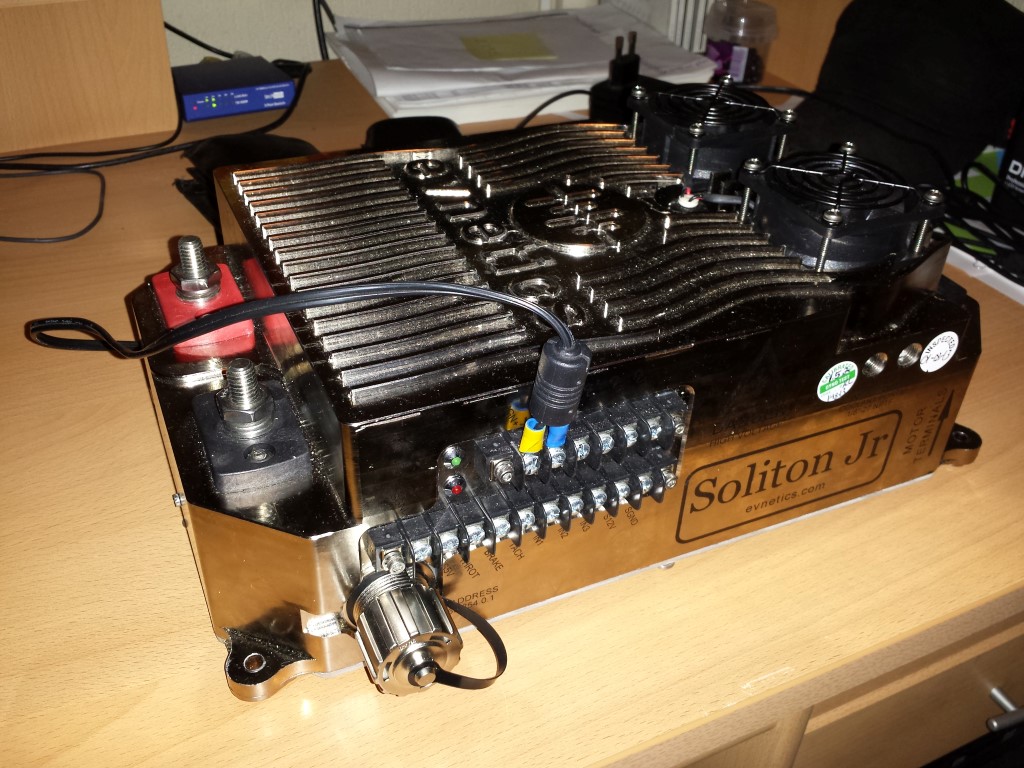
Now I just need to wait for the controller mounts, if all goes well they should be done wednesday and then I can finally attach the controller to the frame.
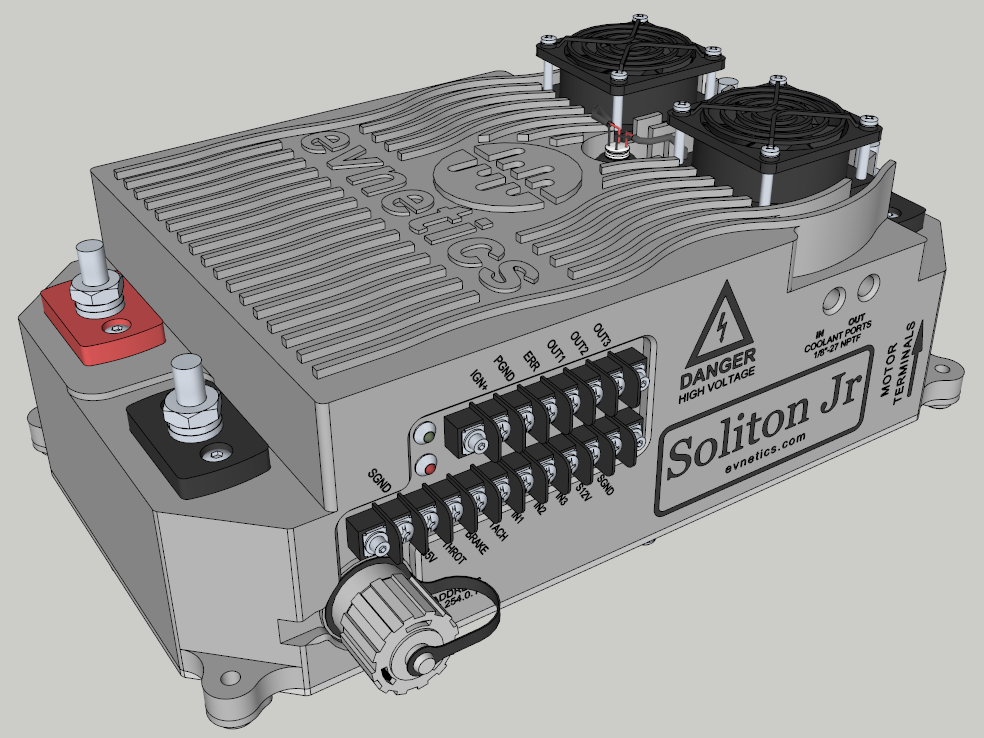
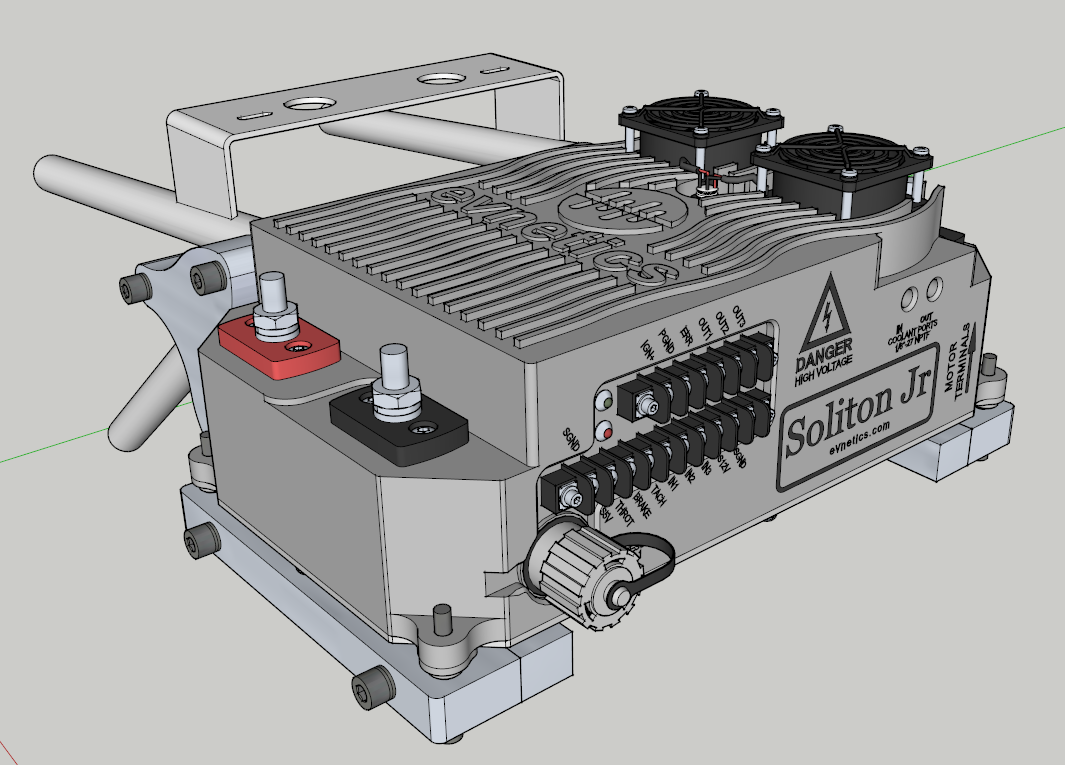
Was a bit bored meanwhile so I tried to replicate the controller in SketchUp. Think it turned out pretty good. I just can't get it to shine so it's very gray now.
And here on the mounts. Hopefully it actually fits this well.
That was it for today.