Nederlands
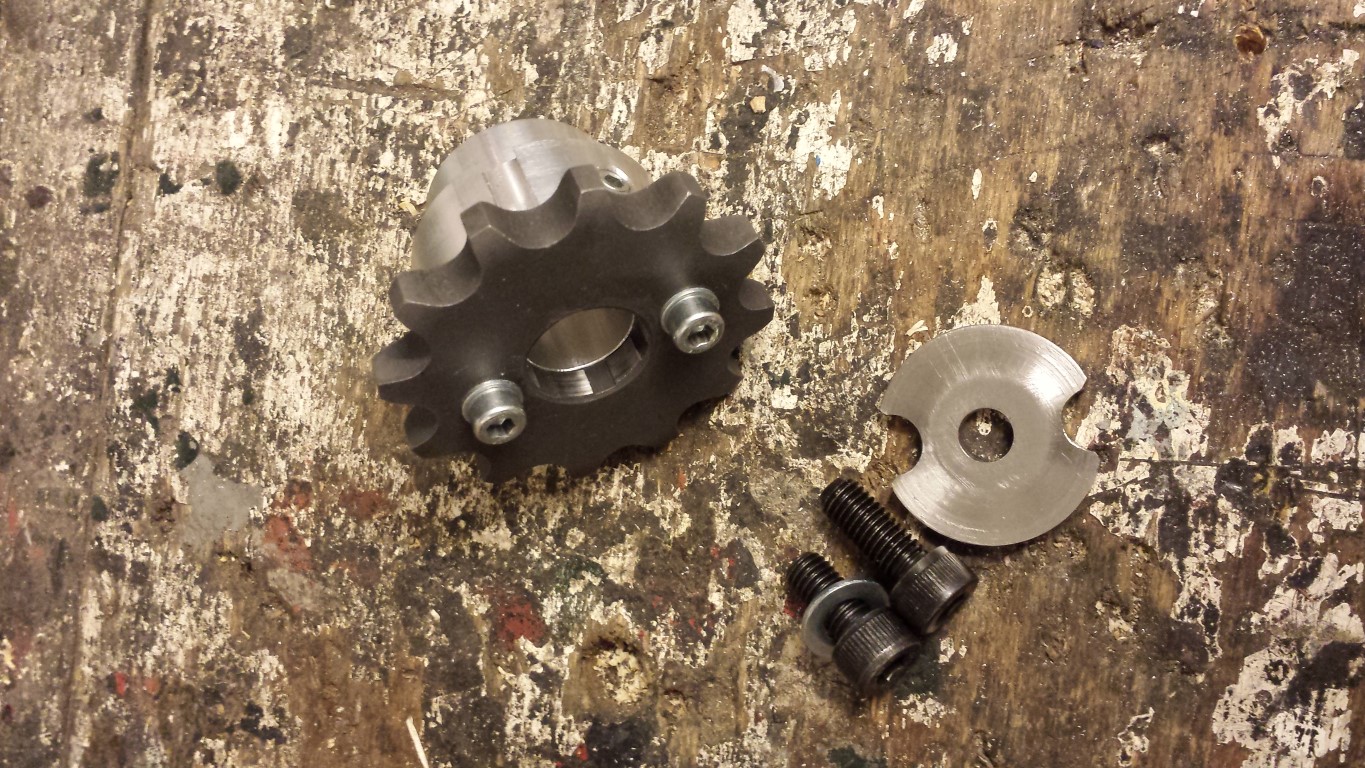
Blog / General
Posted on 23 May 2013 at 11:35 pm (CET)
Posted on 23 May 2013 at 11:35 pm (CET)
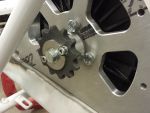
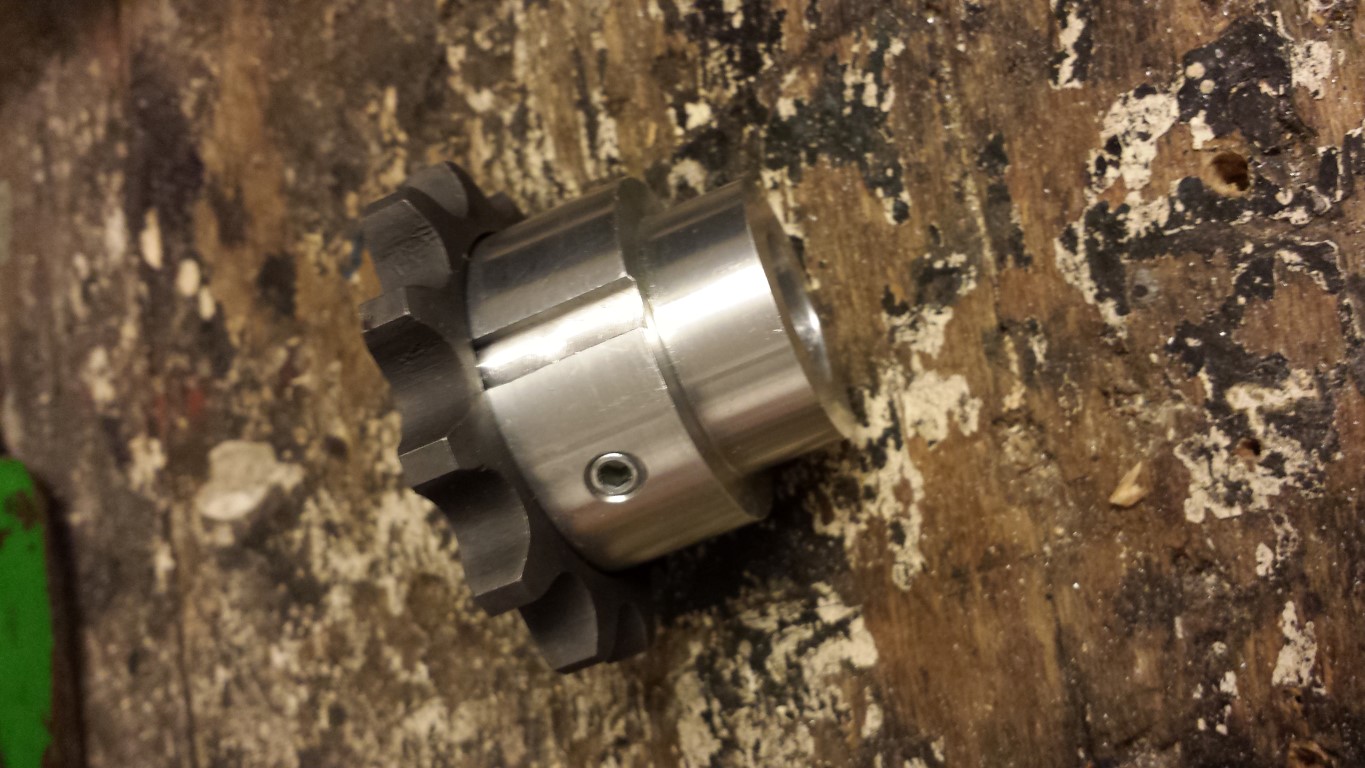
Today I was able to continue building. I received the adaptor and sprockets. They all fit perfectly.
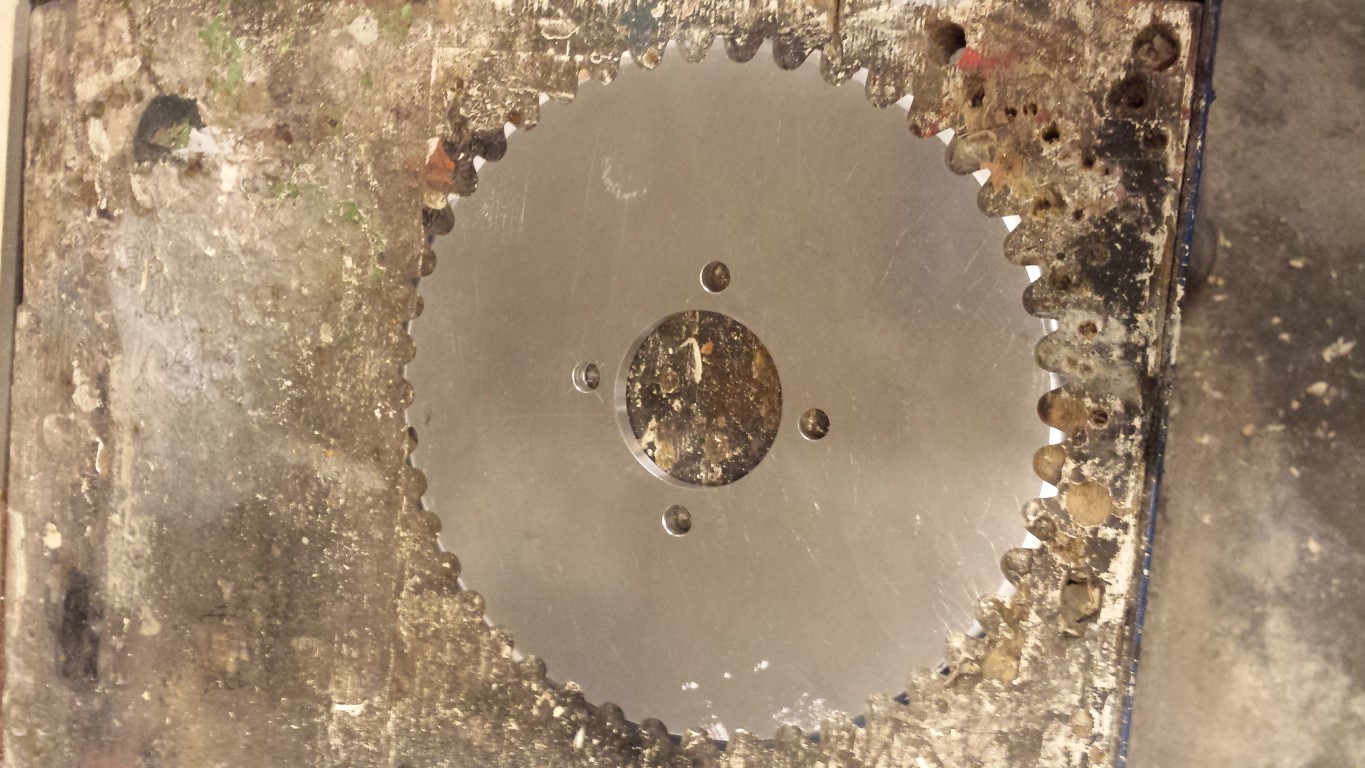
Also checked how the chain would fit. Could shorten it quite a bit.

Took a while to shorten it since I don't have the tools for this but I succeeded anyway.
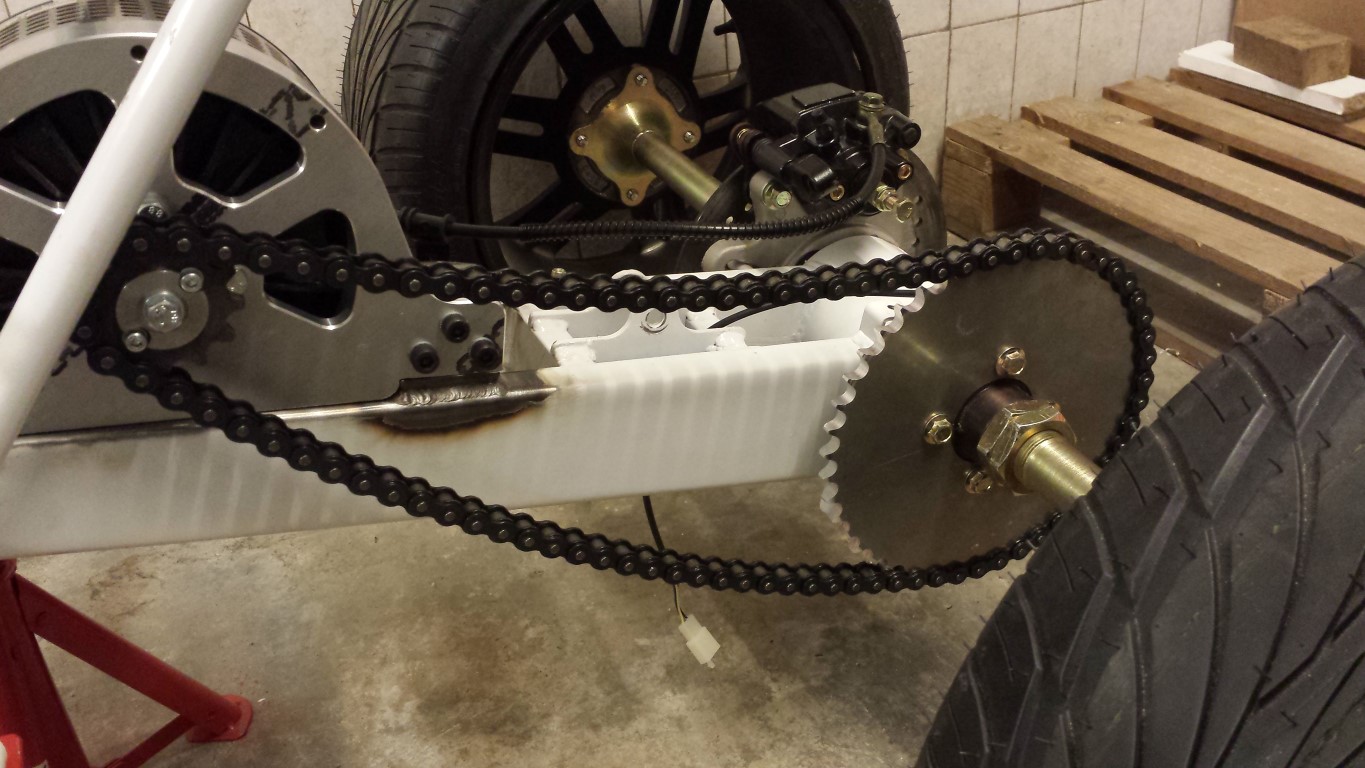
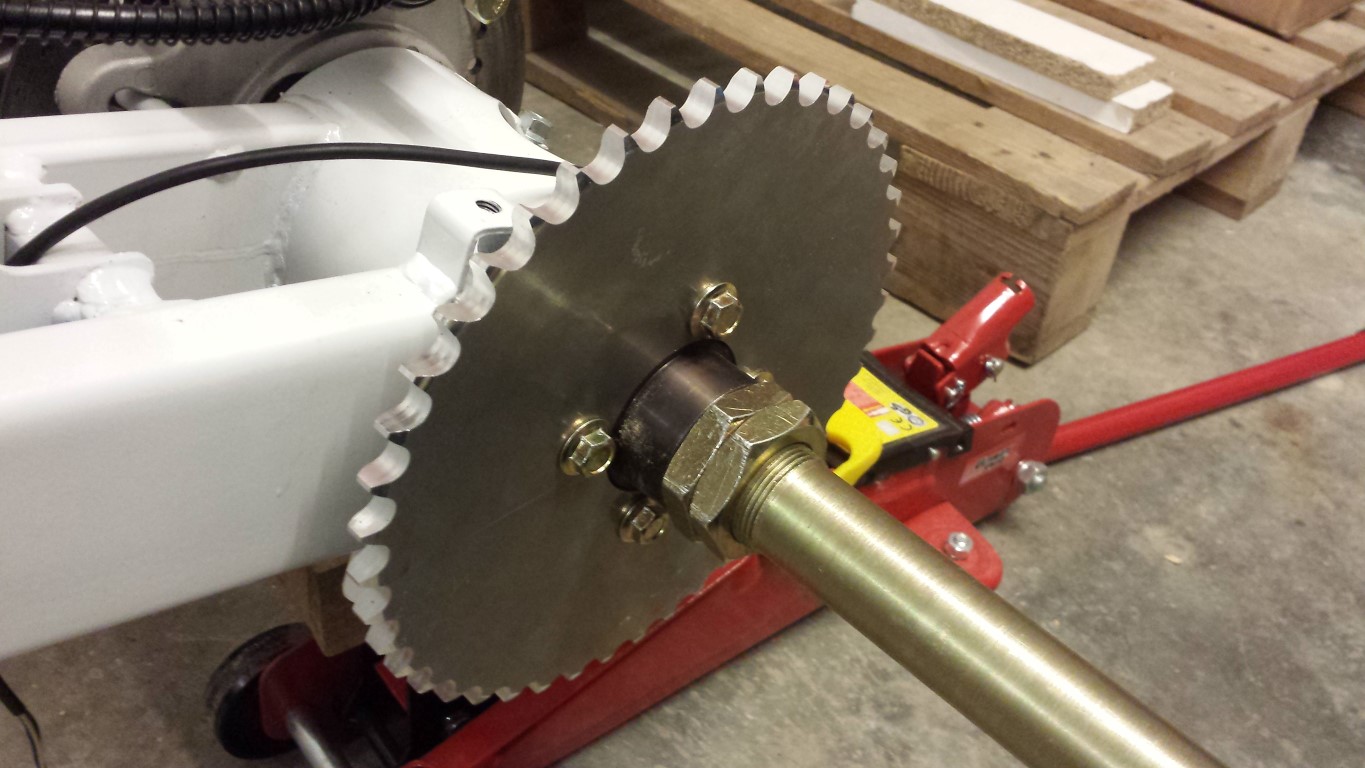
Now it just needs some more tension but it was getting a bit late already so I'll do this tomorrow. Could be that I still have to take 1 link out, not really sure if I still had the bearing house in the front position. It has quite a bit of play right now. But from what I can tell the chain is sitting in a straight line, didn't even have to adjust the adaptor. It just sits all the way on the axle.
Posted on 22 May 2013 at 12:14 am (CET)
Posted on 22 May 2013 at 12:14 am (CET)
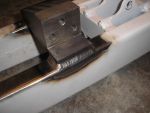
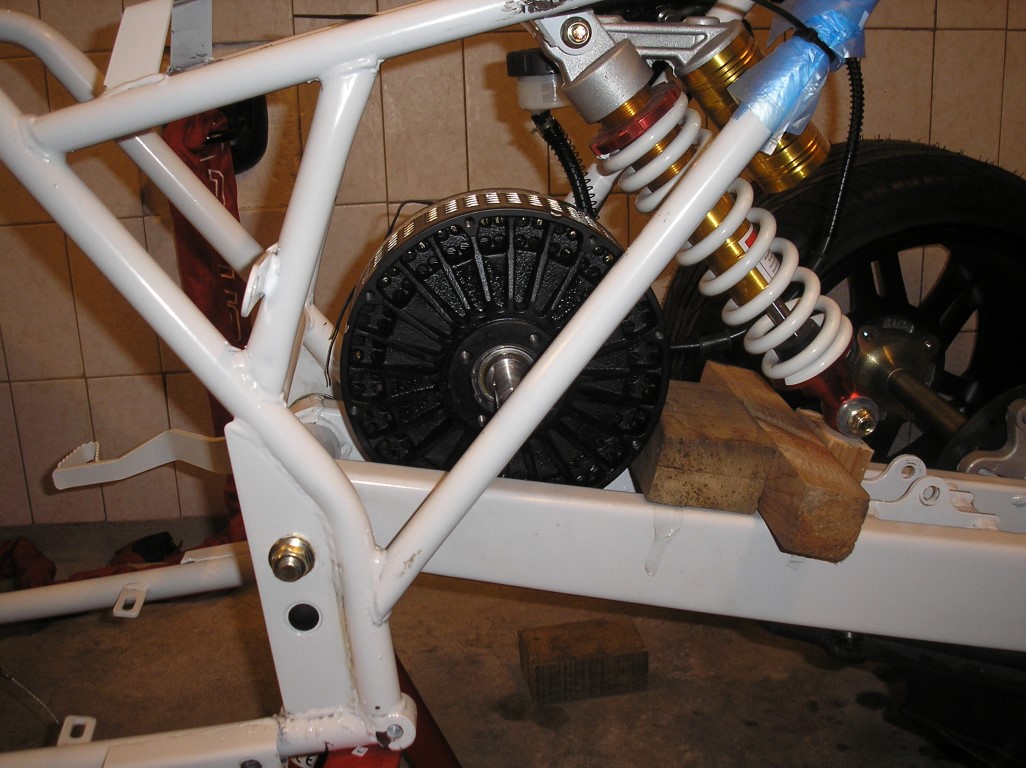
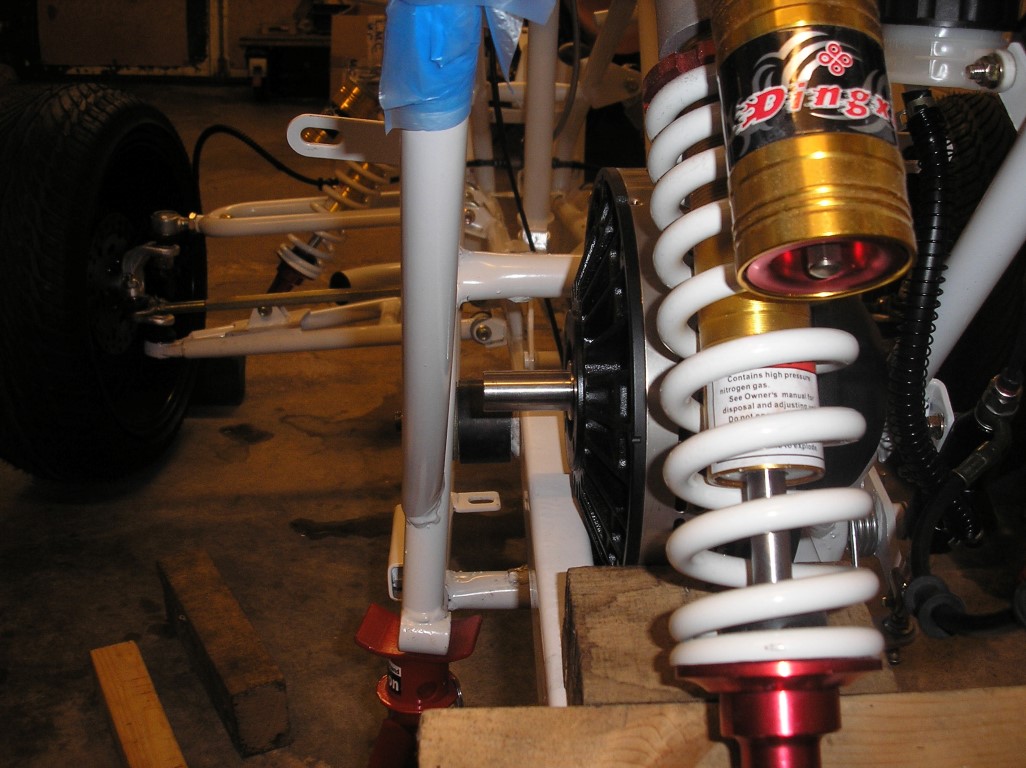
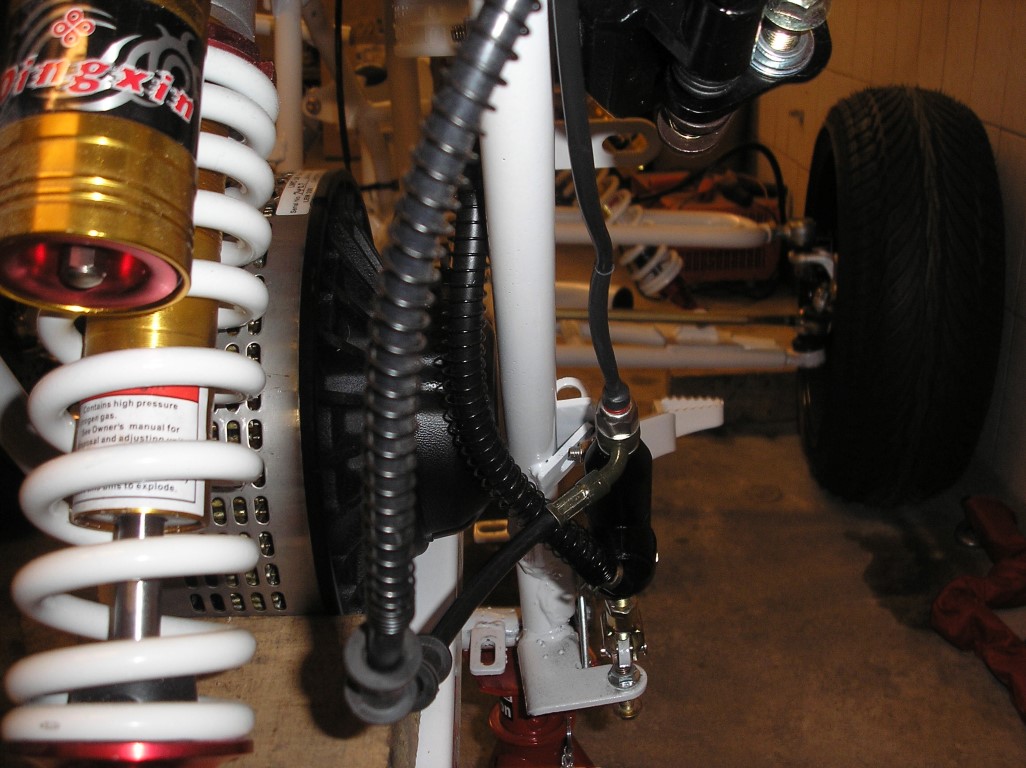
Good news after today! The motor is finally attached to the rear swingarm. The blocks were TIG welded onto it and it looks very nice. The welder also said that this weld would never crack. And even if it did, I could return to him and he'd repair it for free. So I think it's safe to say that it's definately sturdy enough. He did say though that the original welds on the rear swingarm weren't so great and those could crack some day, but well it's a Chinese quad bike so you never know what to expect.
Here are some pictures.
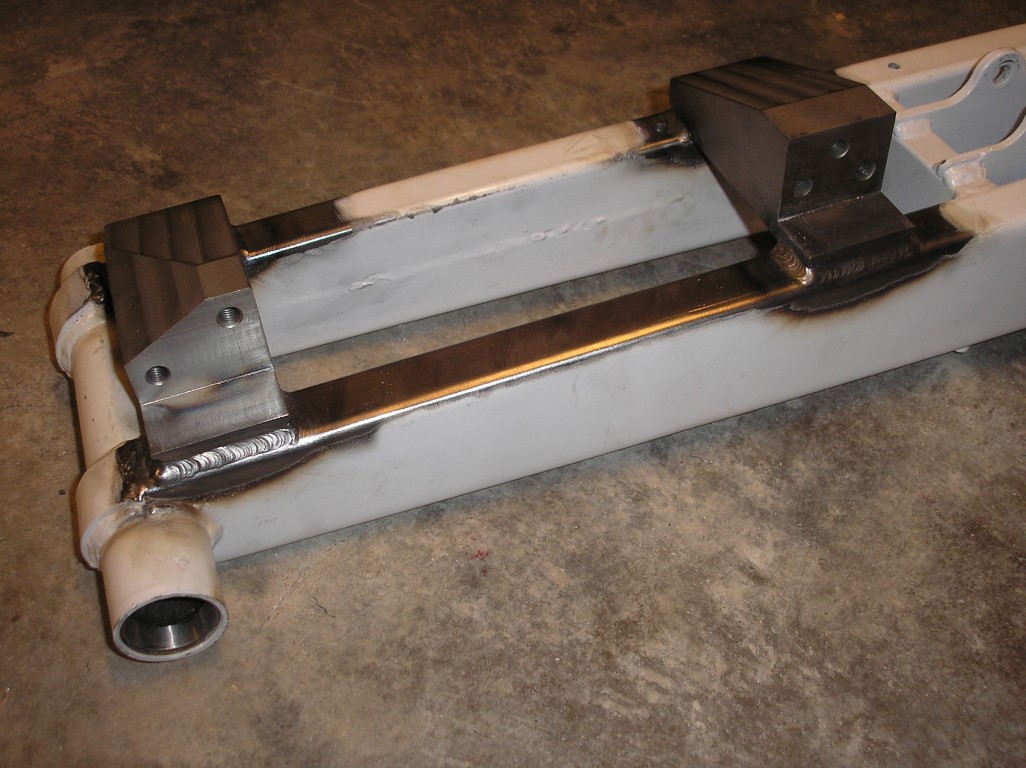
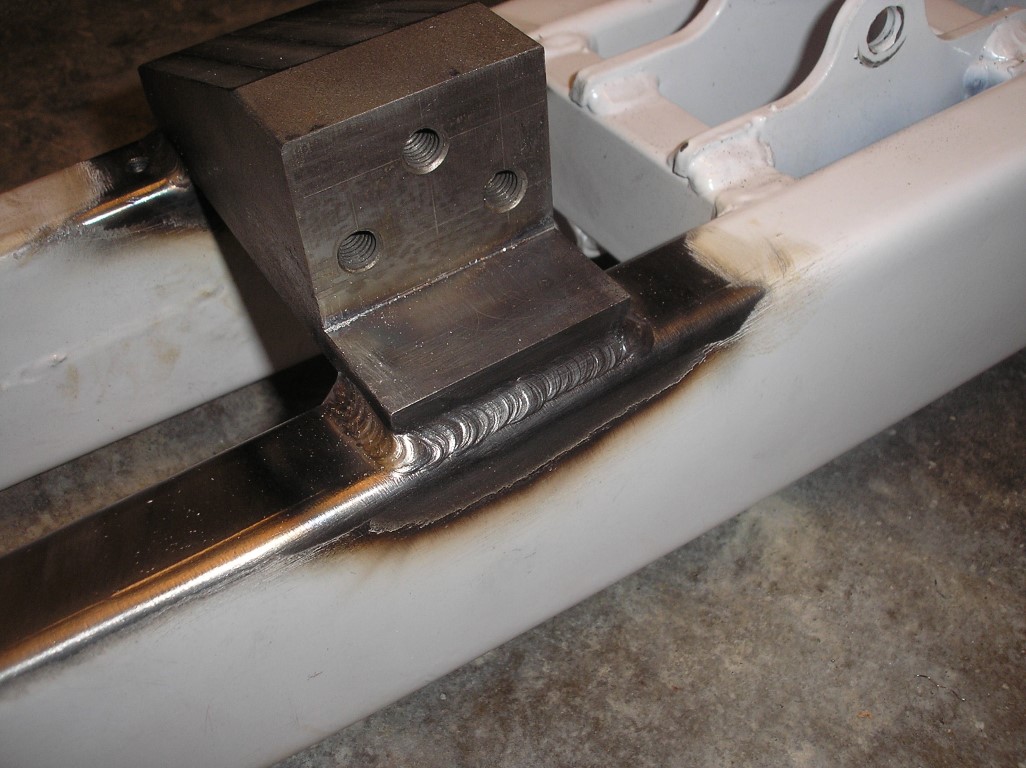
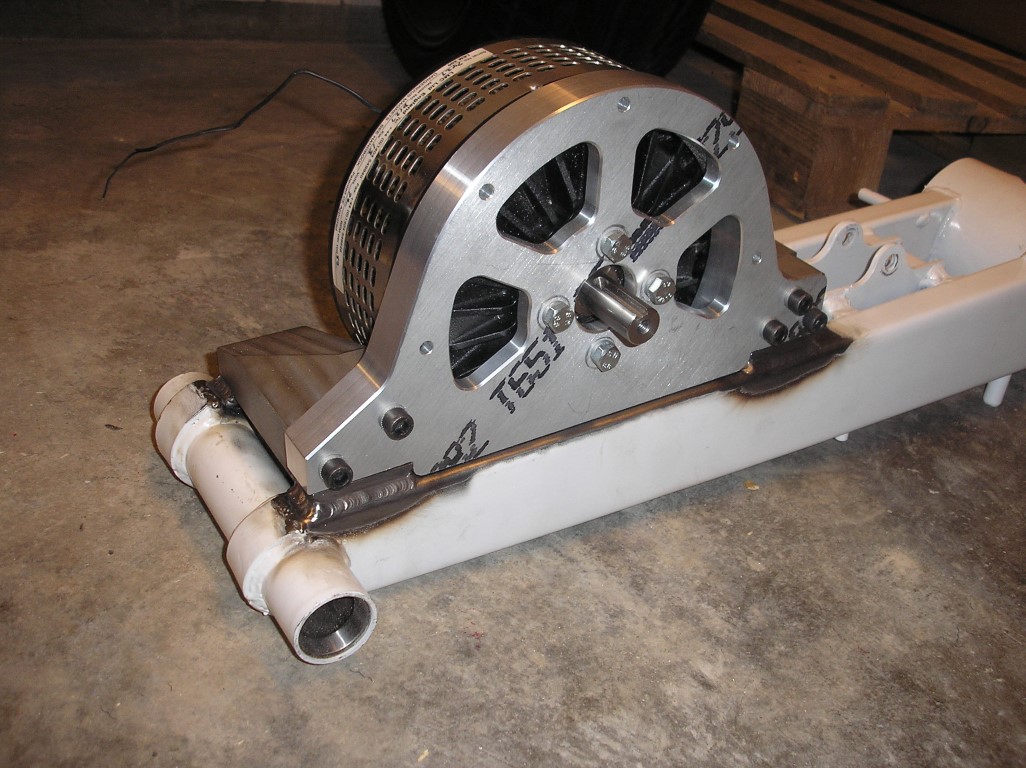
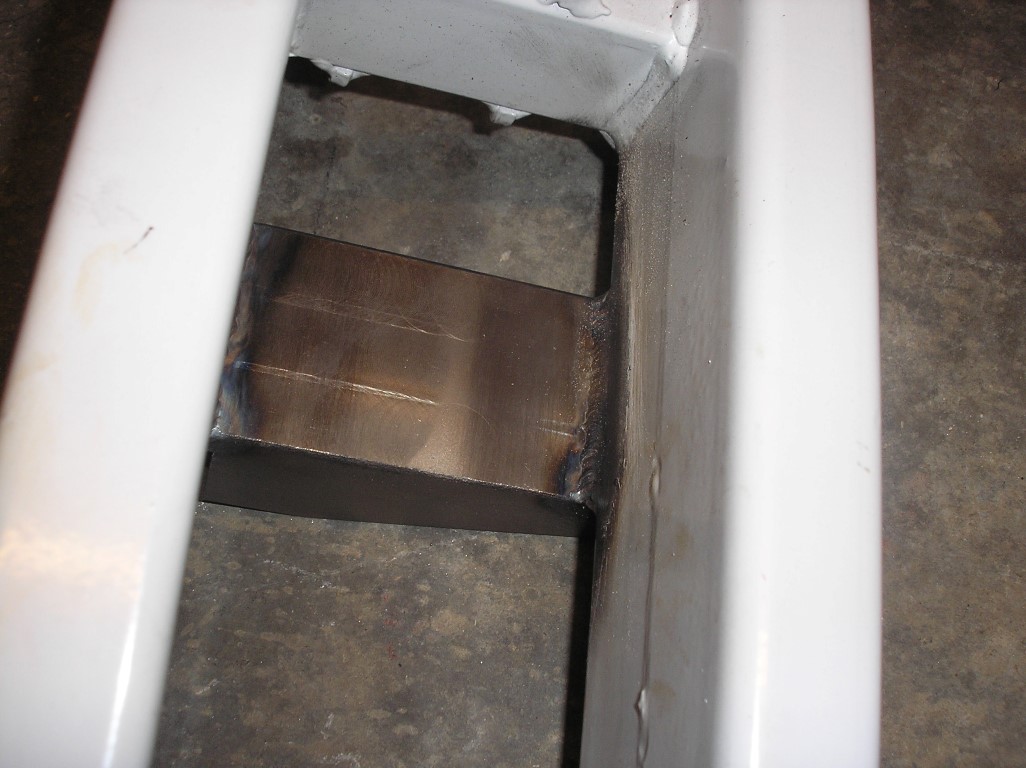
On the bottom the rear block was welded entirely as well, only the front block is welded about halfway since he couldn't reach it that well. But it's sturdy enough anyway. Don't really expect to ever get any problems with this.
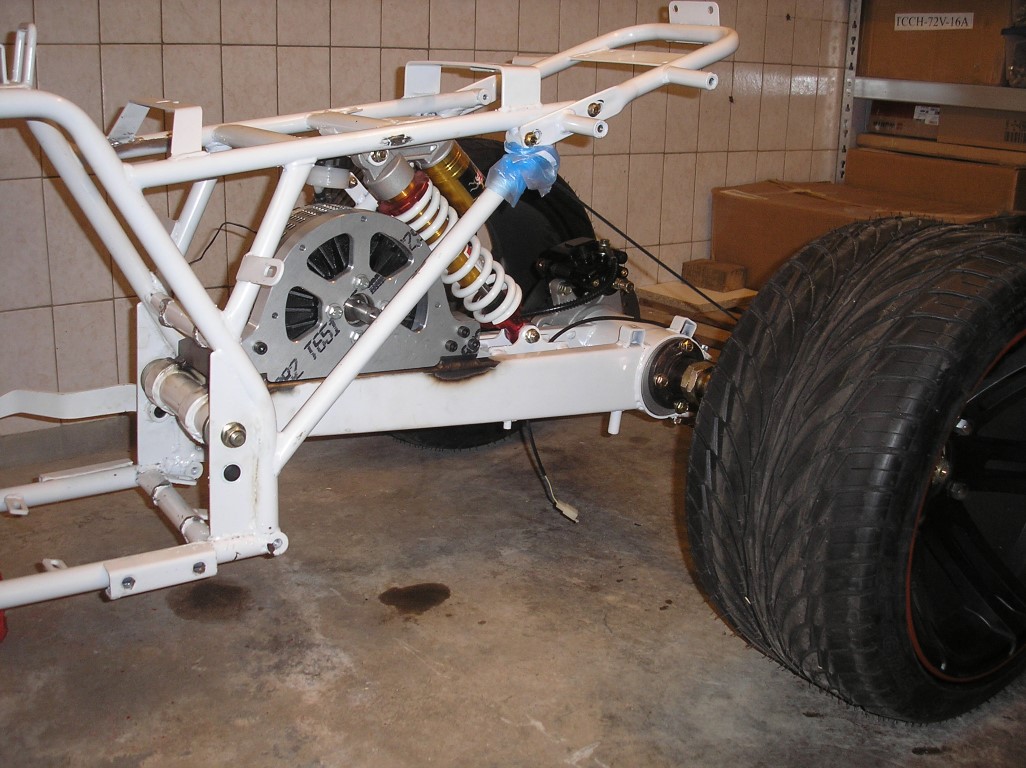
I also attached the rear swingarm with motor back to the frame again. And then I came to the conclusion I was very lucky with the welding. Between the motor and suspension is only about 2 mm of space. Thought I'd have a lot more space there. But I'm in luck, it's just enough. And when the suspension compresses the space only gets bigger so no problems with that either. This way I only have more space to place the charger and the batteries so it's all good.
Now to wait for the adaptor and sprockets.
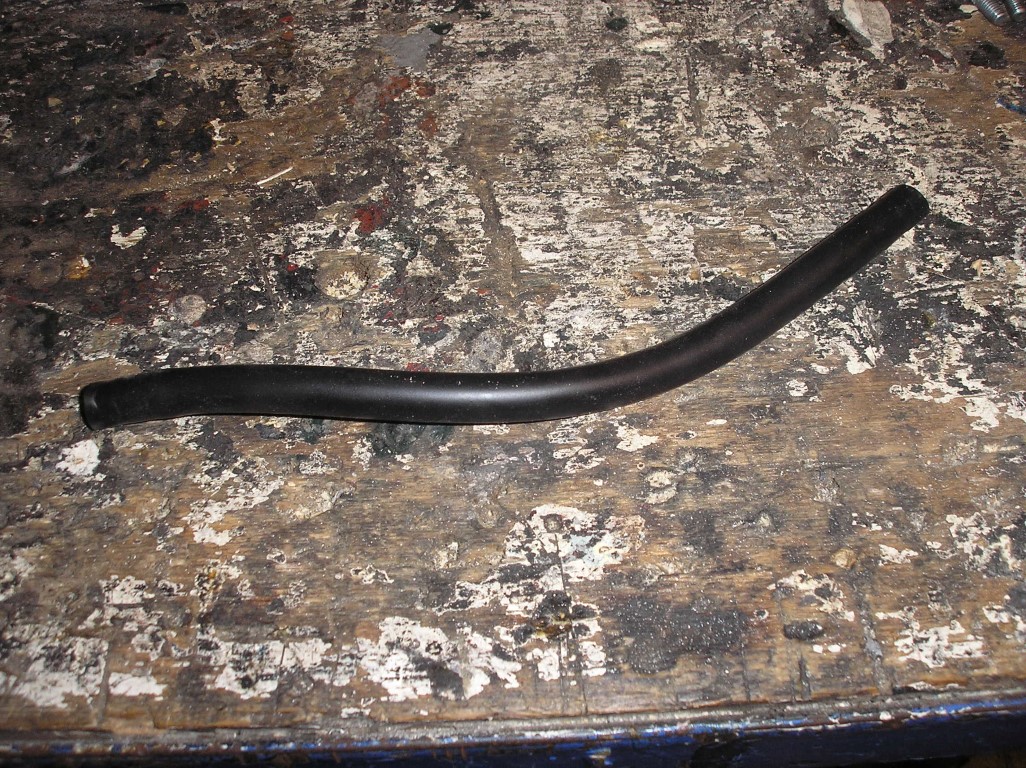
When I wanted to attach the rear swingarm to the frame again I suddenly saw some brake fluid on the floor. The hose between reservoir and brake pump was all wet. So I removed it to take a look. It's very small rubber en apparently not really resistant to dot 5.1 brake fluid. For now I replaced it with a fuel hose but I'll have to get something else for this.

Posted on 8 March 2013 at 12:14 am (CET)
Category: Electric motor, General
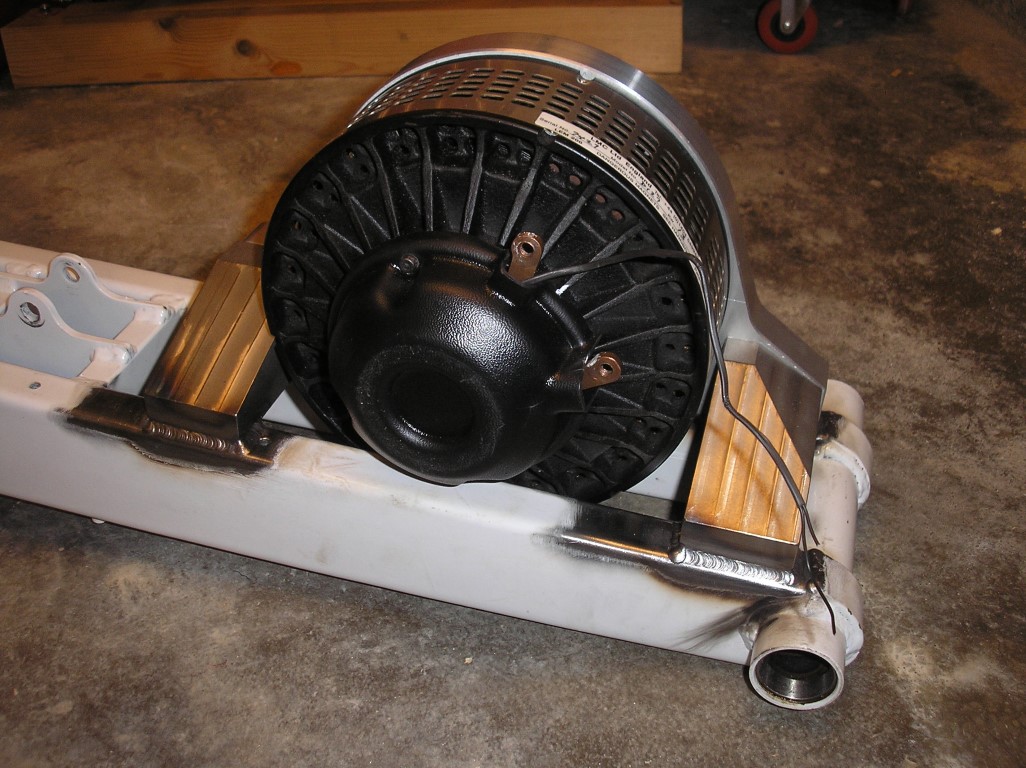
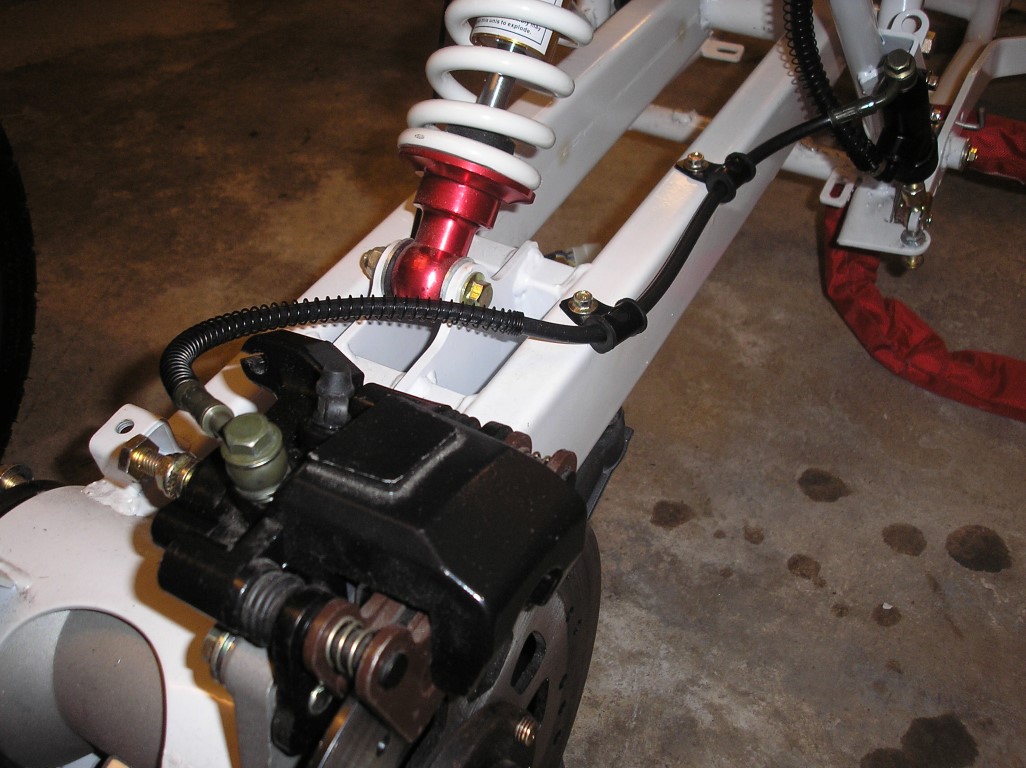
Tonight I detached the rear swing arm partially and fitted the motor. I knew that it would be a close fit but it really only has a few millimeters to spare.
Seen from the side it all fits well, some space left even.
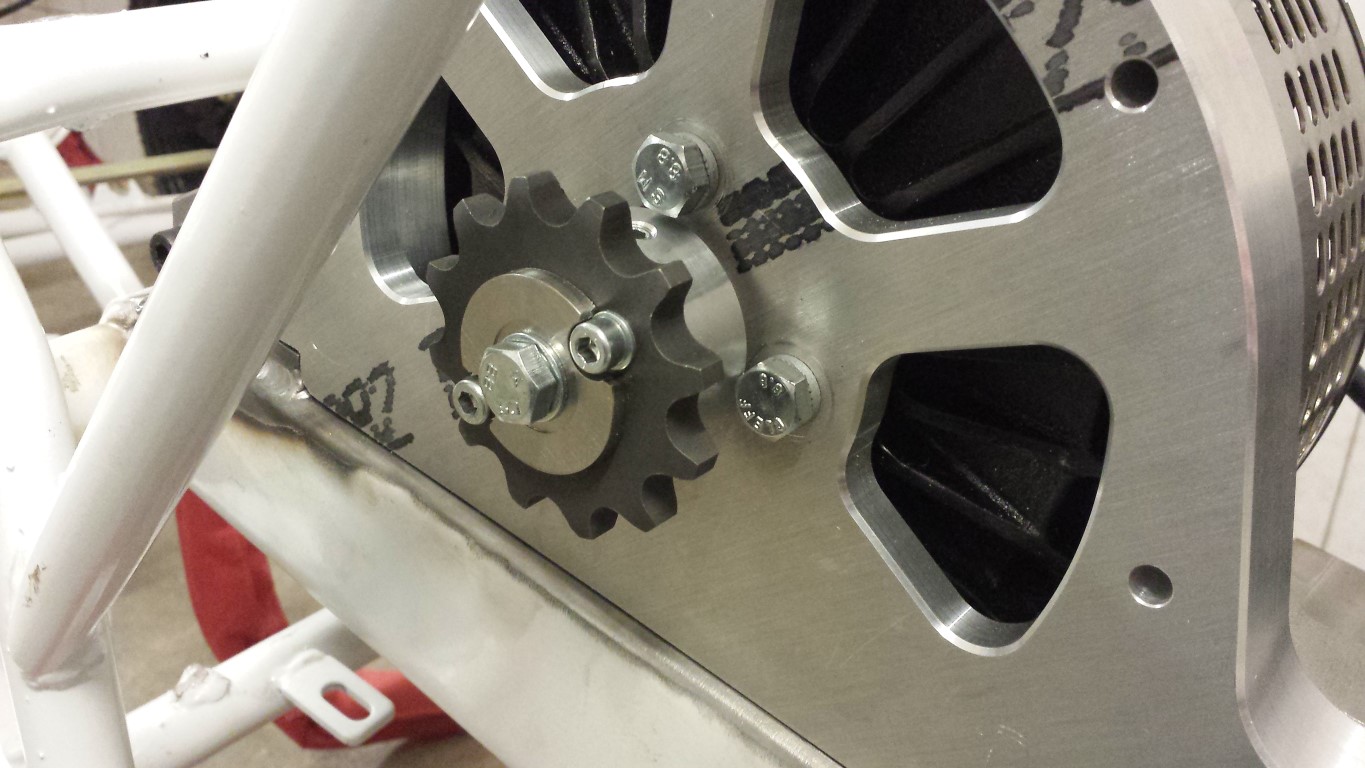
Seen from the rear, not a lot of space but I think it's enough to still be able to mount the sprocket on there. The sprocket will stick out of the axle just a bit to get the chain aligned with the rear sprocket.
But then on the other side, I think it's 2-3 mm of space there. It's just barely enough as long as there won't be any play in the swingarm.
I'm happy that it fits just like I planned. Now I have to get some mounts made.
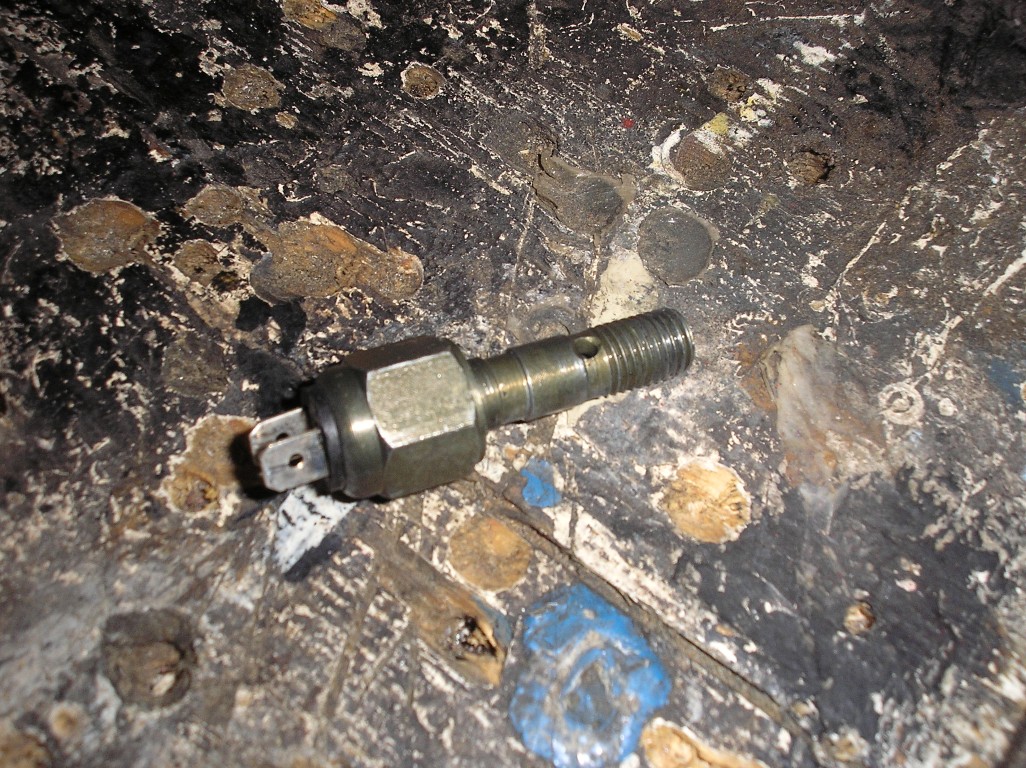
I also still received the new banjo bolt with sensor for the brake lights. So I replaced this one as well.

Posted on 3 March 2013 at 07:35 pm (CET)
Category: General
Posted on 3 March 2013 at 07:35 pm (CET)
Category: General
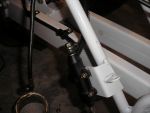
Seeing as the enclosure for the controller is all done now I checked if it would fit in the place where the exhaust silencers once were. There's enough space up to the brake calipers but the brake line is in the way though. I was able to turn this around so it would point down a bit instead of up. On the picture it might seem as if it's very tight but it actually isn't, it's just nicely rounded. Think it's even better than original now, not much movement when the suspension compresses.
There's enough space now since the brake line is at the same height as the brake caliper.
I also broke down the old brake and clutch lever, cut off the parts for the levers and rounded it off nicely. I only kept the mounts for the mirrors.
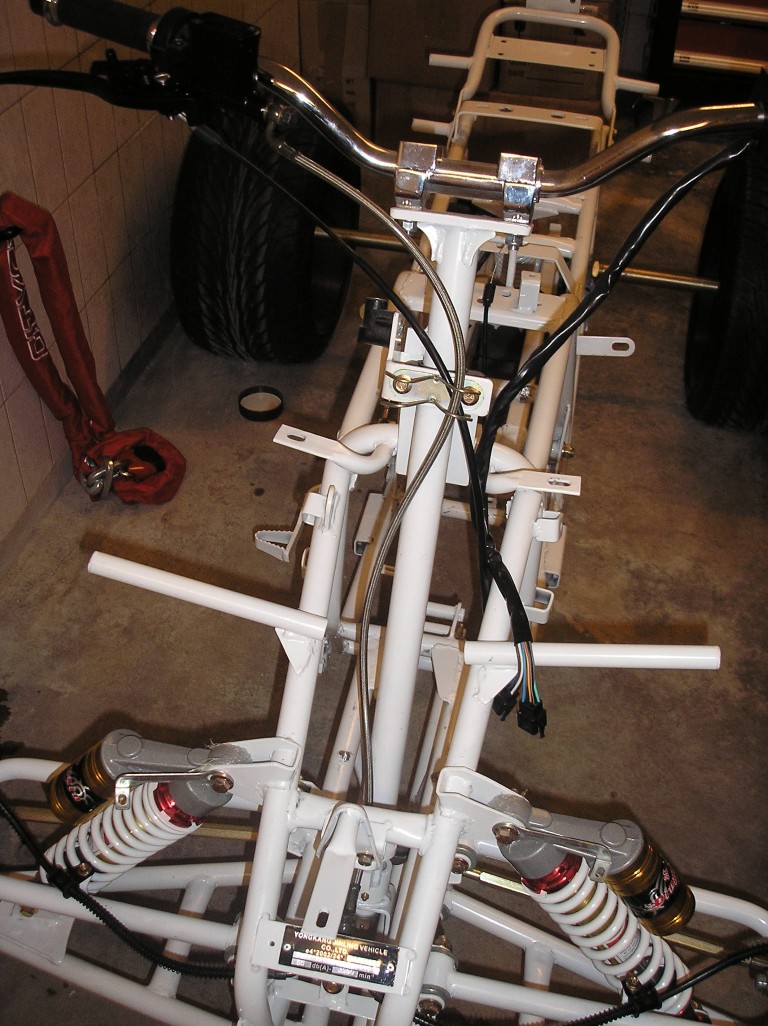
And they still fit well on the handlebar, just have to respray them in black.
Posted on 24 February 2013 at 12:20 am (CET)
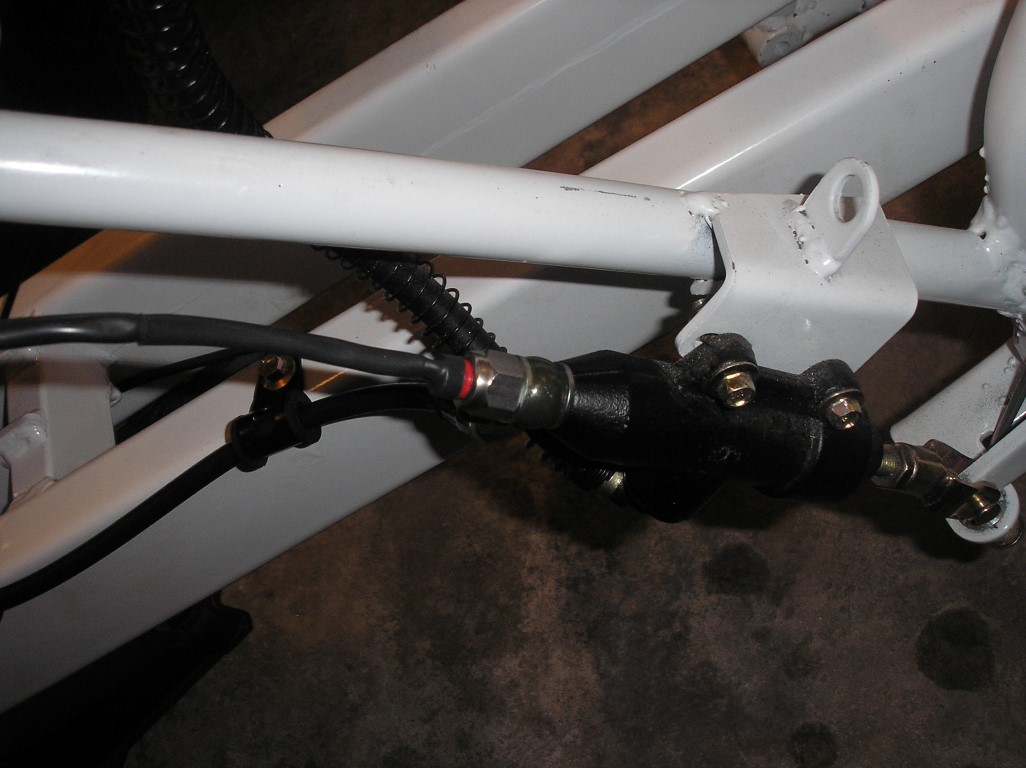
Today I split the braking system. Took me quite some time since I was having a hard time getting all of the brake fluid out of the system with the hose I used for this. But I succeeded, that's what's most important ofcourse.
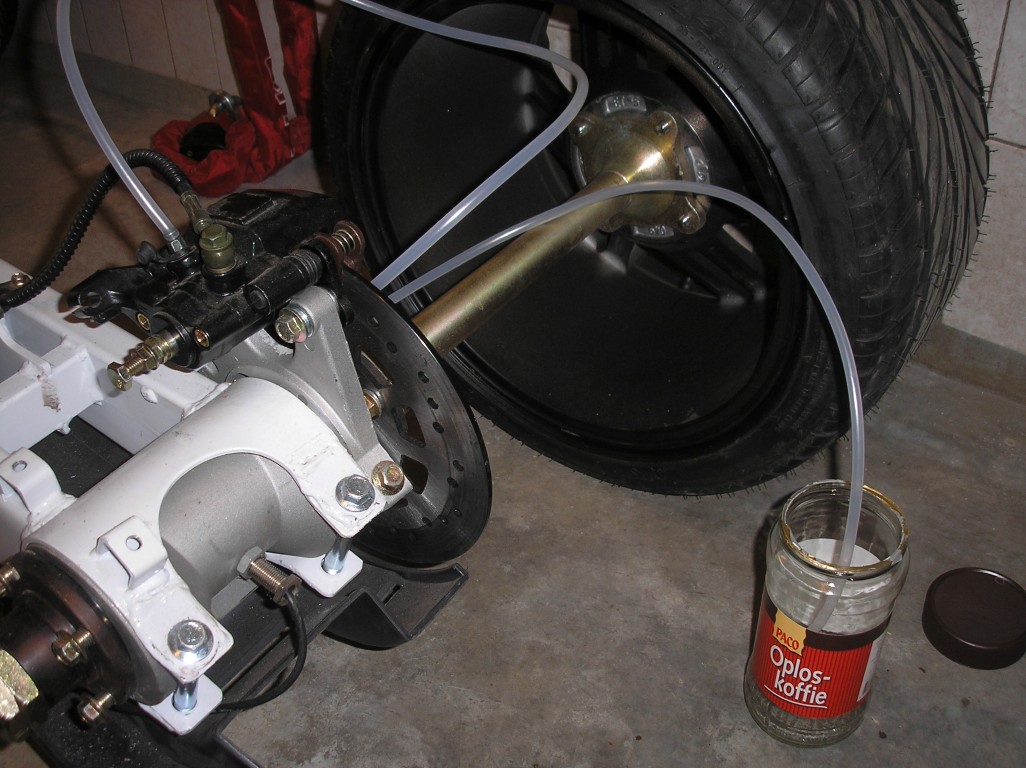

I moved the brake line of the rear brakes to the other side of the swingarm, the electric motor should fit nicely in there now.
Just still have to buy a different banjo bolt with sensor for the brake lights to place on the rear brake pump. Can't reuse the current one as it's for a double brake line. For now I just placed a normal banjo bolt on there.
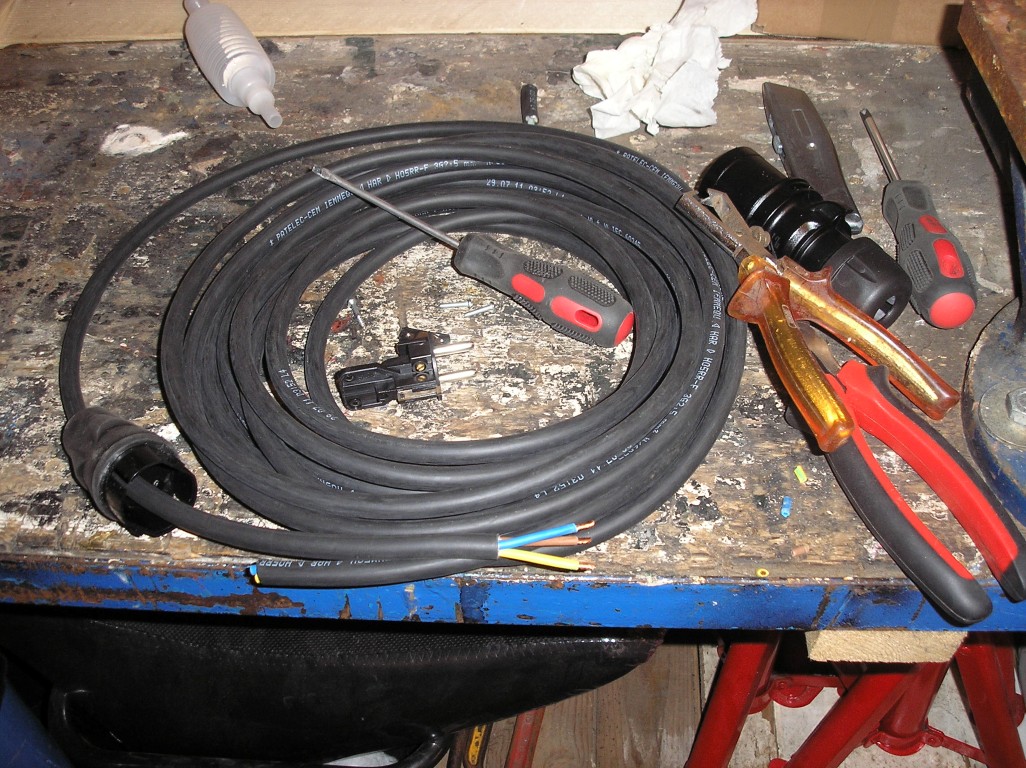
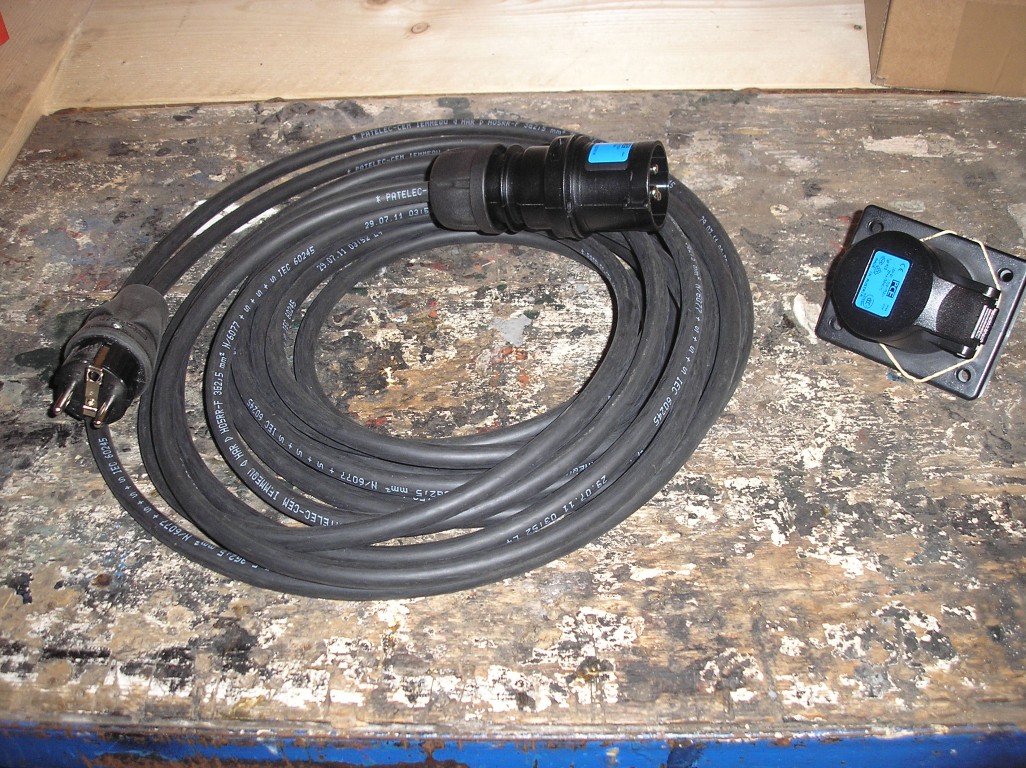
Since I had some time left I also made the charge cable already.