
 Nederlands
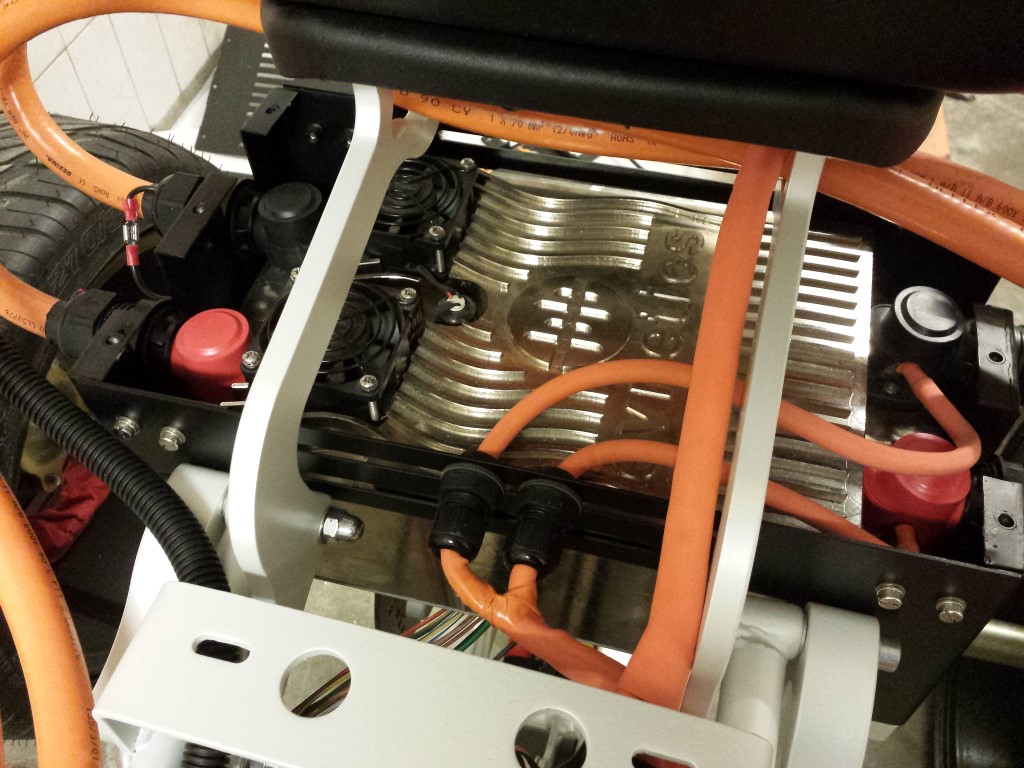
Blog / Controller

Posted on 16 January 2015 at 11:37 pm (CET)
Posted on 16 January 2015 at 11:37 pm (CET)
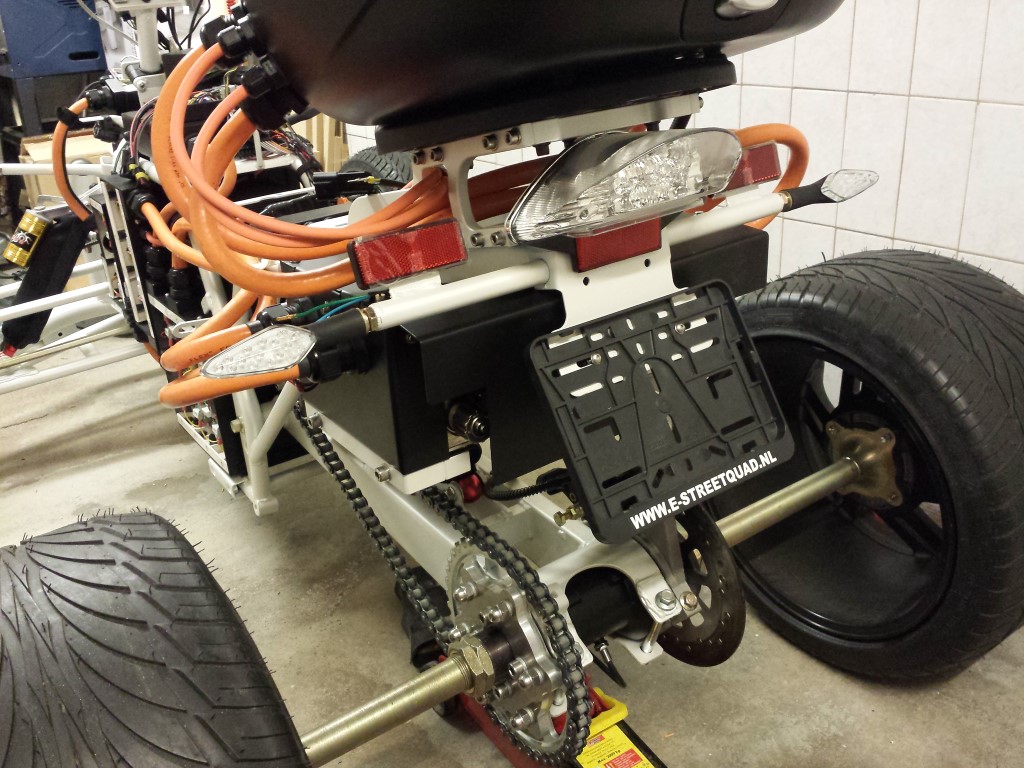
I have all of the connections on the controller and motor covered up now. should be safe enough like this.
Also placed the last part of the enclosure on the controller. Doesn't look very pretty but for now it'll have to do. It's important for the road approval test at the RDW.
After that I already attached the rear lights and license plate holder. It all barely fits between the controller's enclosure and top case.
A long while ago I already made the charge cable but I had to get a different plug for this back then. I still hadn't put that one on yet so I've done that as well now. It's not suitable for charge stations, I won't make use of them anyway. Will just be charged from an outlet at home.

And then some more good news, charging the battery pack for the first time went perfectly as well. The battery cells were all still close to full so it didn't need much time. The BMS disables the charger when it has to so no problems there either. Only thing not working is a button I want to use to enable and disable the charge process. Just still have to add an extra relay to it so that's an easy fix.

Posted on 13 January 2015 at 01:10 am (CET)
Category: Batteries, Controller
Posted on 13 January 2015 at 01:10 am (CET)
Category: Batteries, Controller
The problem I had yesterday where no power was going to the motor moving forward is already solved. The controller just needed a bit more voltage, the 12V battery was not enough. Today I connected the whole battery pack to the controller and tried again. The motor always gets power now, moving forward and in reverse. For the rest I also had no problems anymore, everything's working perfectly now.
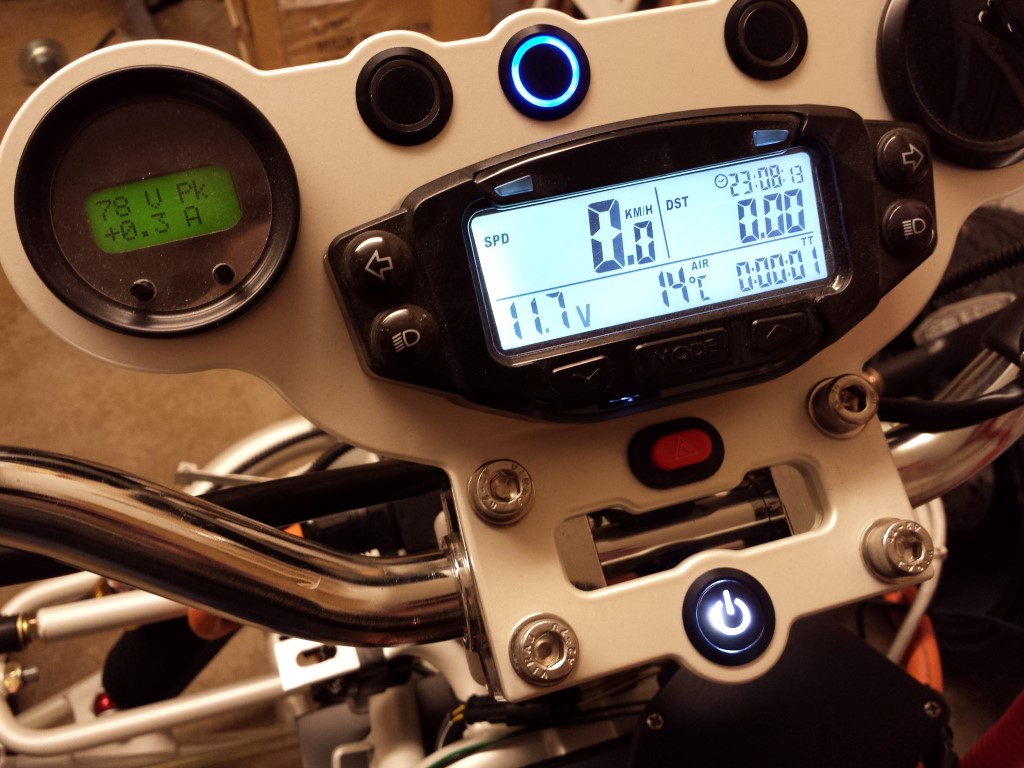
Since there was almost 80V present now I changed the settings of the controller again to see how much power would come from the motor. Tested again with the wheels off the ground and I was very surprised. I only still had 1/8th of the available power but I could already feel really good how strong the motor is. More power I won't test with the wheels off the ground, this will happen during the test ride soon. The coming days I'll be preparing everything for that. So it's going to be very exciting.
Posted on 19 October 2014 at 12:26 am (CET)
Category: Controller, Wiring (HV)
Posted on 19 October 2014 at 12:26 am (CET)
Category: Controller, Wiring (HV)
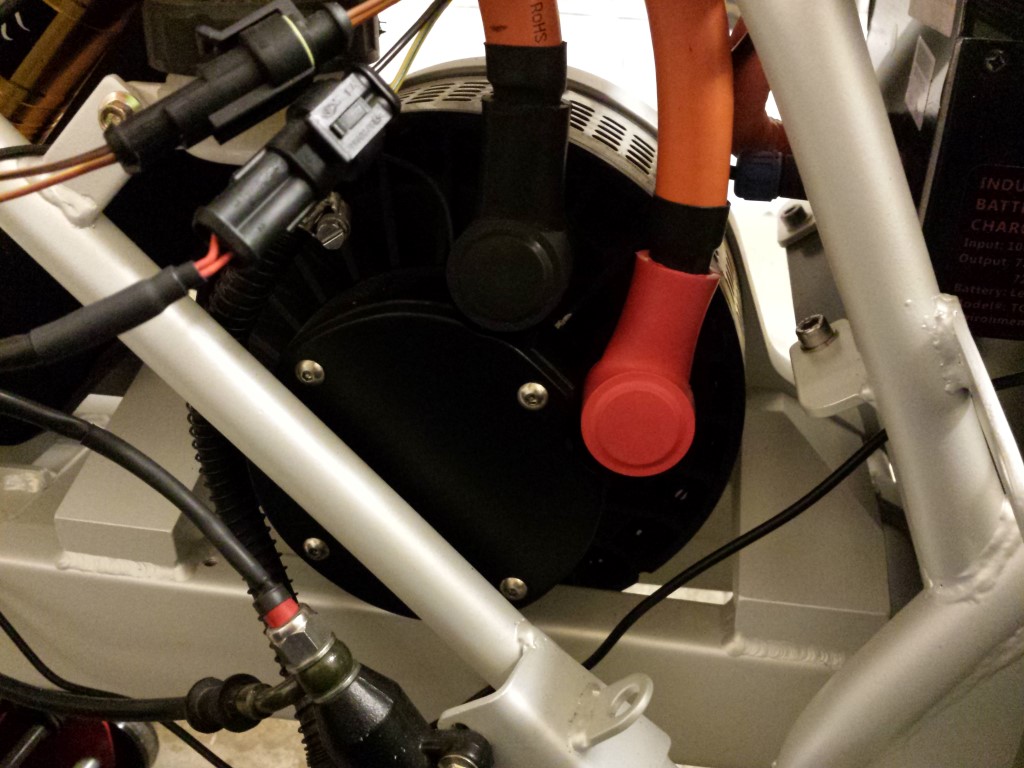
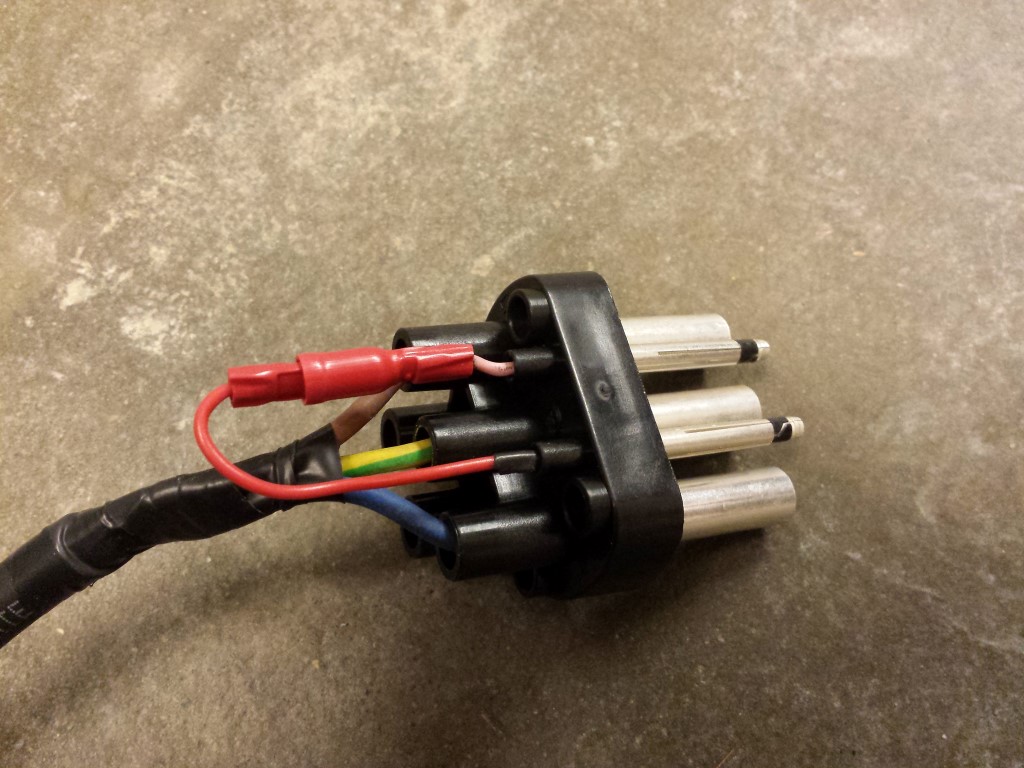
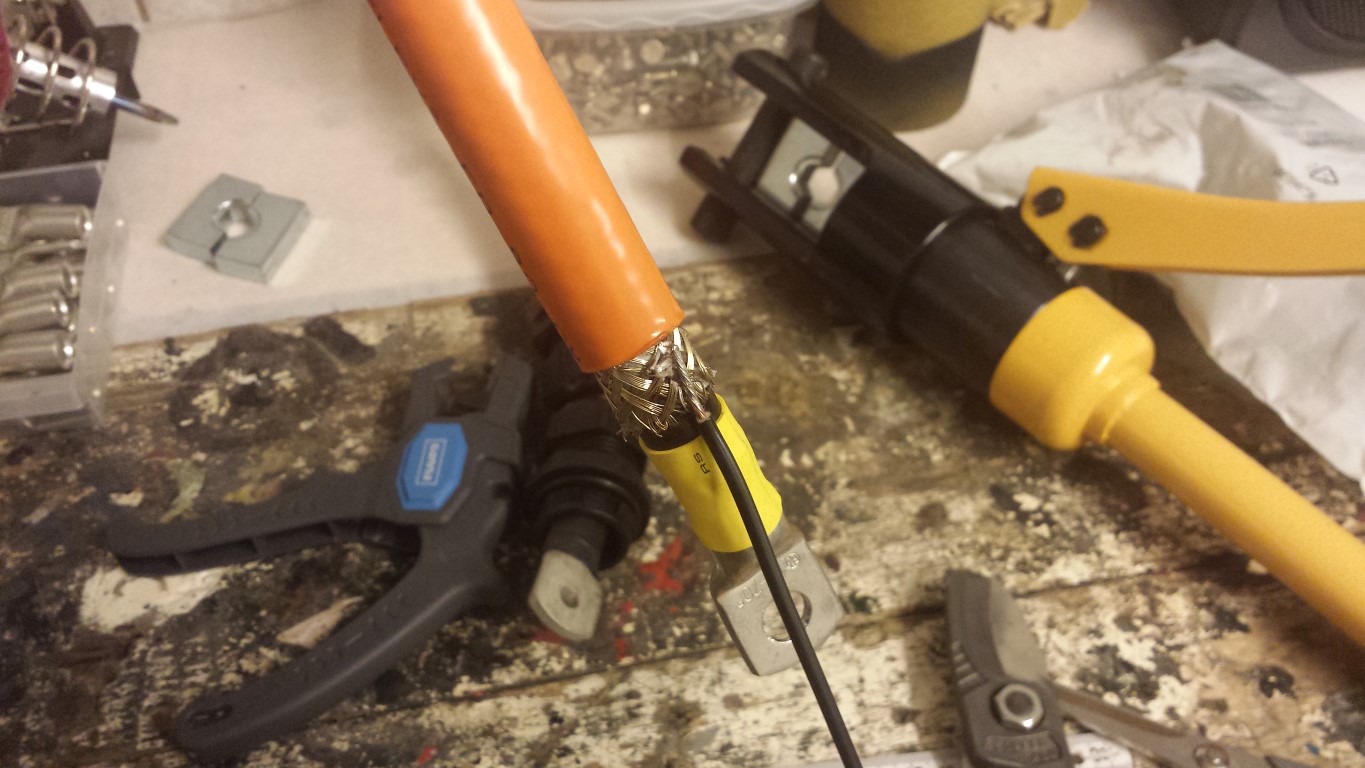
The wires between the whole battery pack and the controller are also done now. These were a bit harder to make because of the extra shielding in these wires.
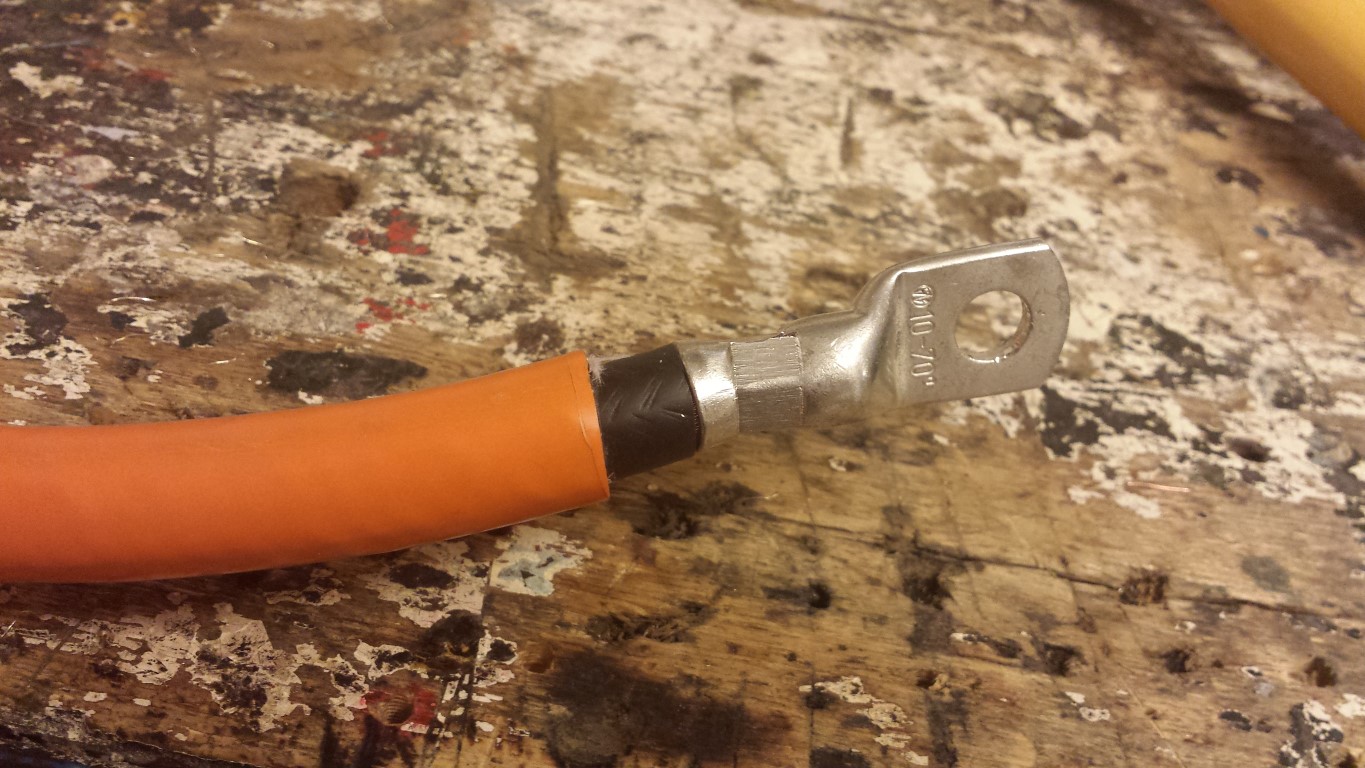
First I did the same as with the other wires, stripped and crimped a cable lug onto it.
After that I stripped it to the shielding and soldered a small wire onto it. This has to be earthed to the controller's enclosure. The shielding should ofcourse not touch the cable lug so to be sure I used some extra heat shrink.
Some more heat shrink on it to seal it good again.
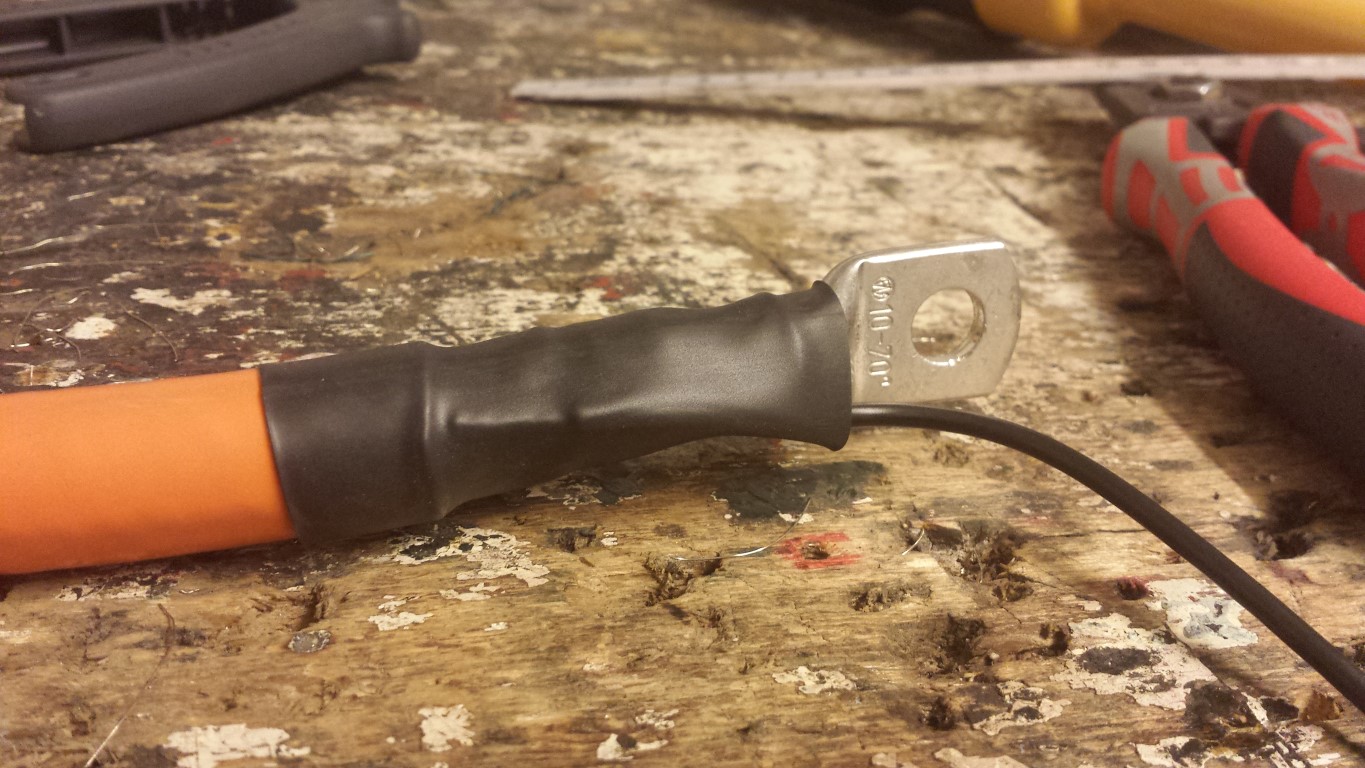
For the controller's enclosure I already made the wires for earthing quite a while ago. So now I could just connect the shielding of the wire to it. It's a lot of work but it's the only way to get it approved at the RDW (safety inspection).
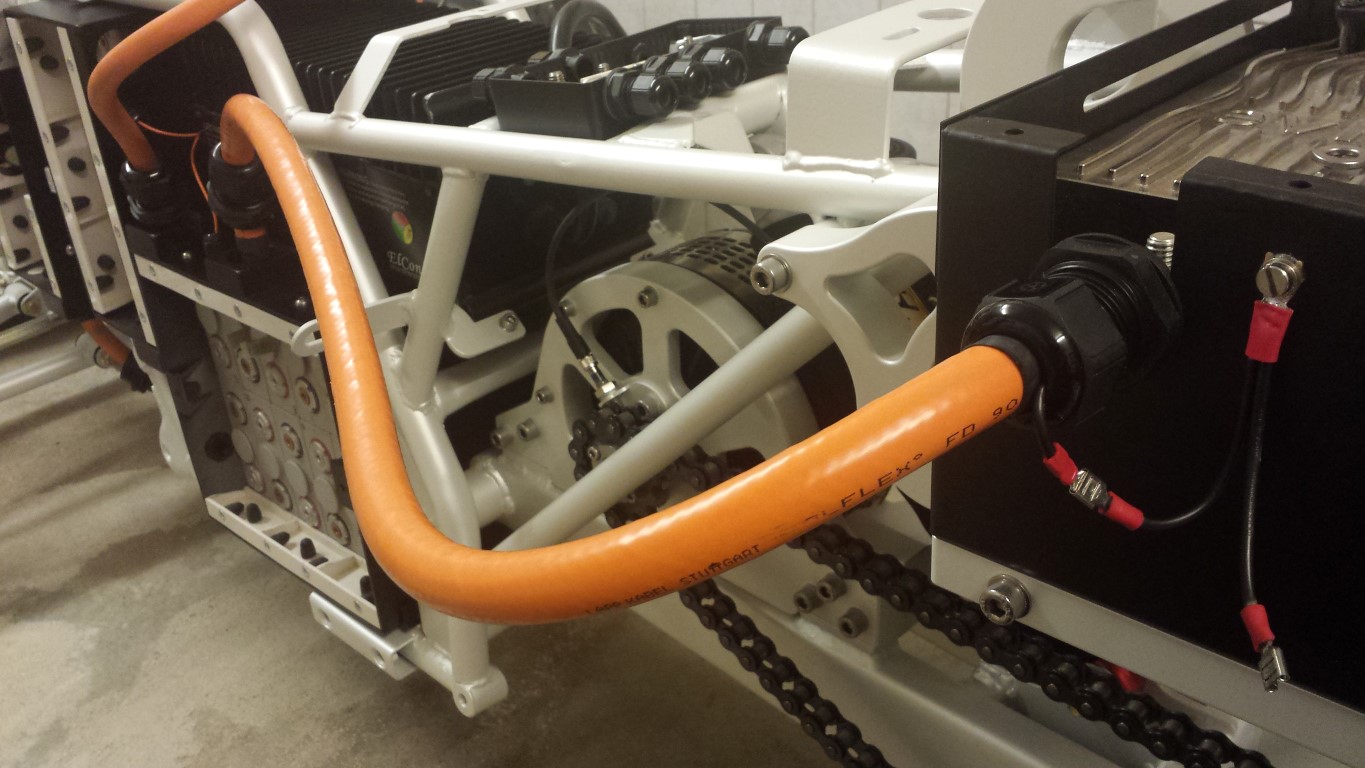
Did this all with the other wire as well. And after that I also attached the top case again.
These 3 things I'll have to attach somewhere in the top case. These are the 2 contactors for being able to drive forward and reverse, the 12V battery and the DC-DC converter. Think I'll have to glue in some plastic mounting points. And I also have to make some holes in it for cable pass through.

Also made some wires already that go to the 2 fuses for the charger and DC-DC converter. I'm just short on orange heat shrink, can't really continue with this untill I have some more.
Tomorrow I'll continue again, it gets more fun every time now.
Posted on 29 September 2014 at 11:50 pm (CET)
Posted on 29 September 2014 at 11:50 pm (CET)
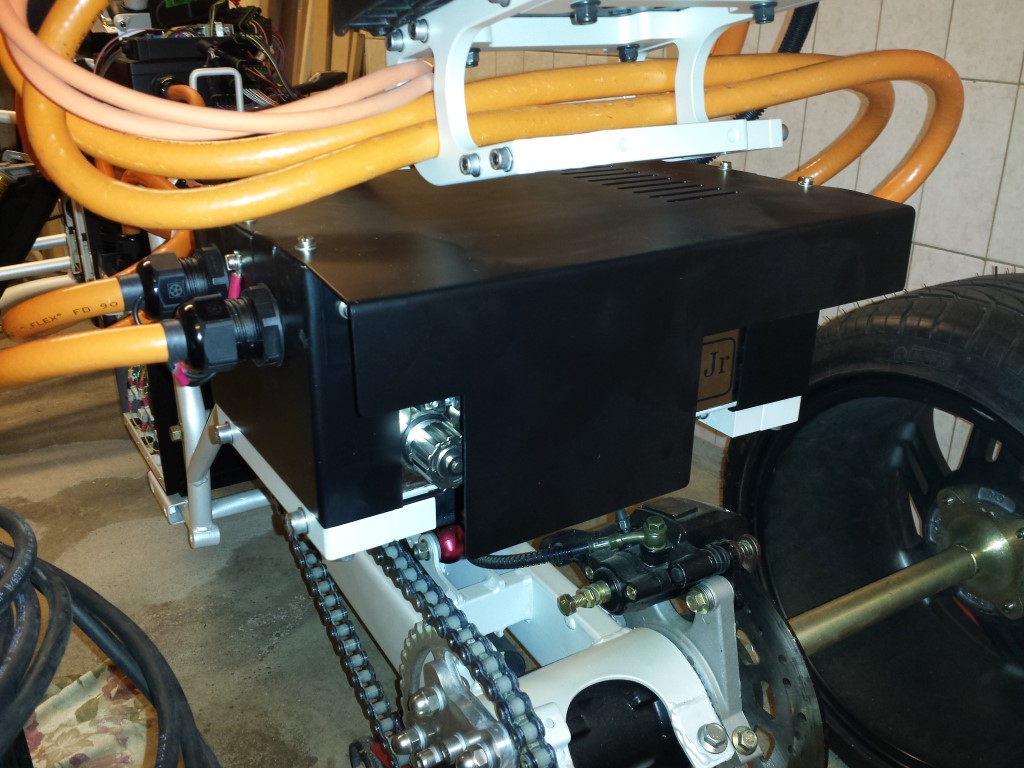
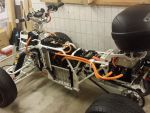
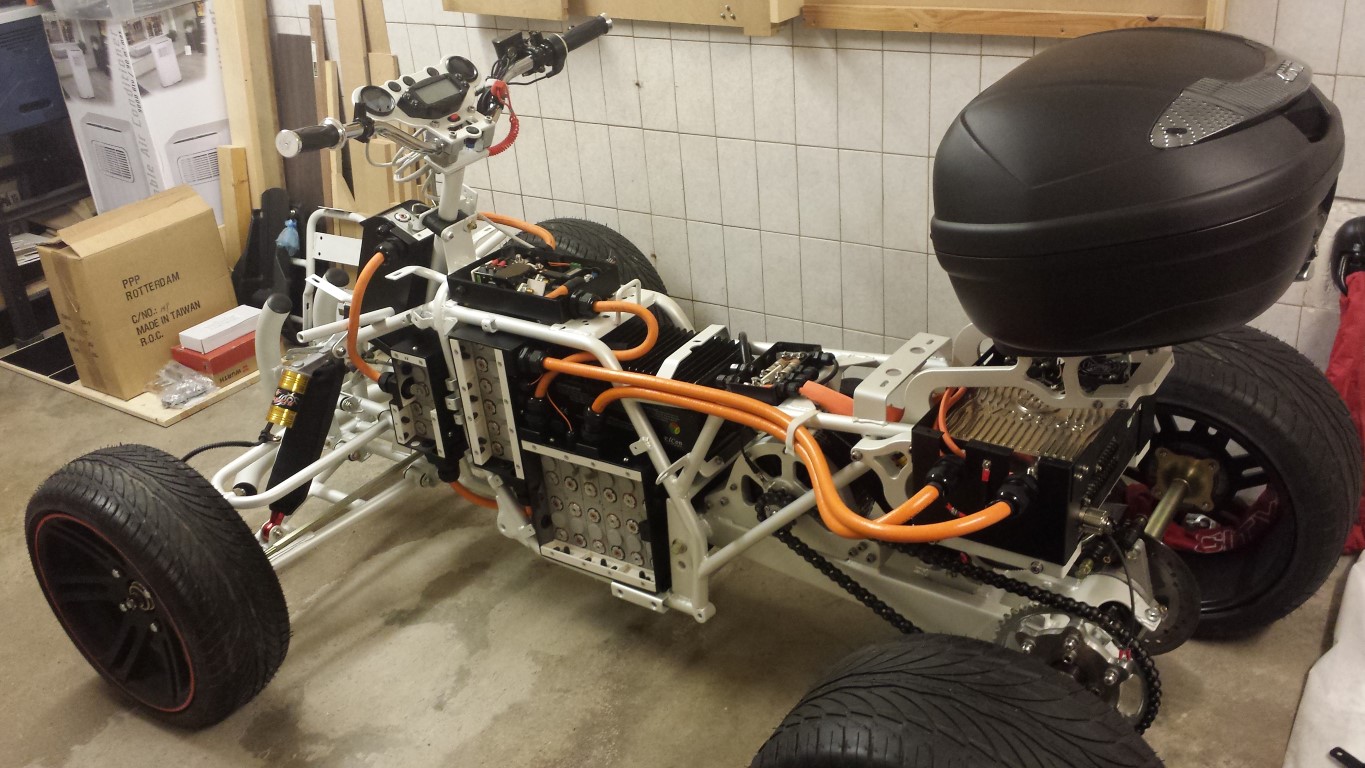
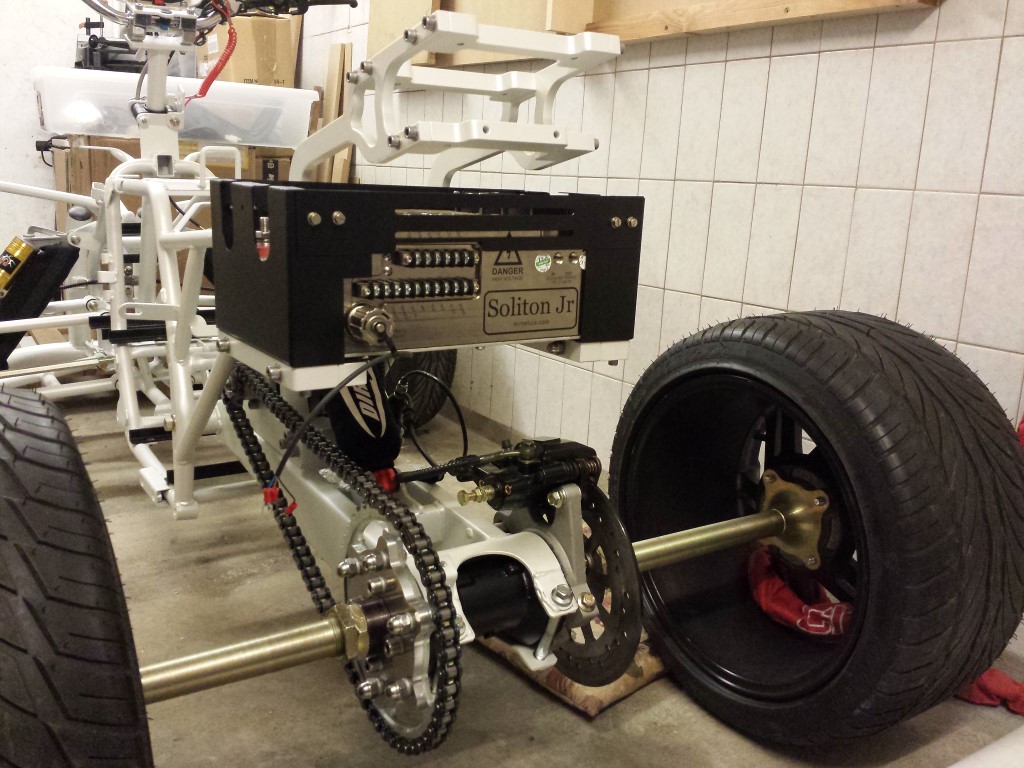
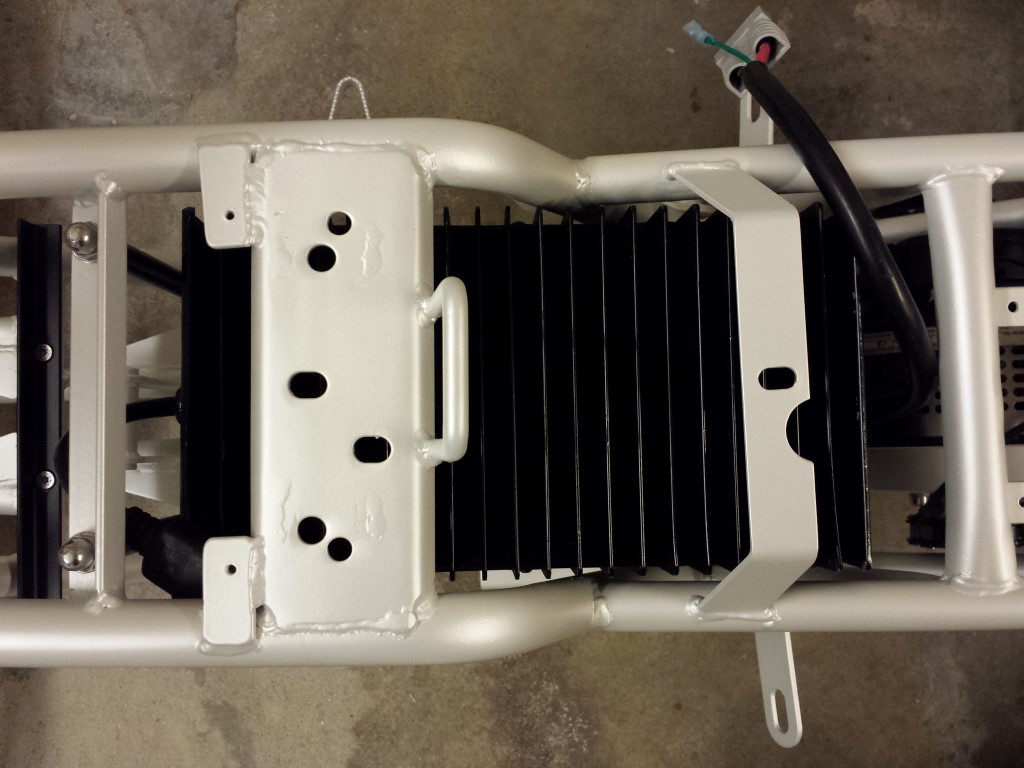
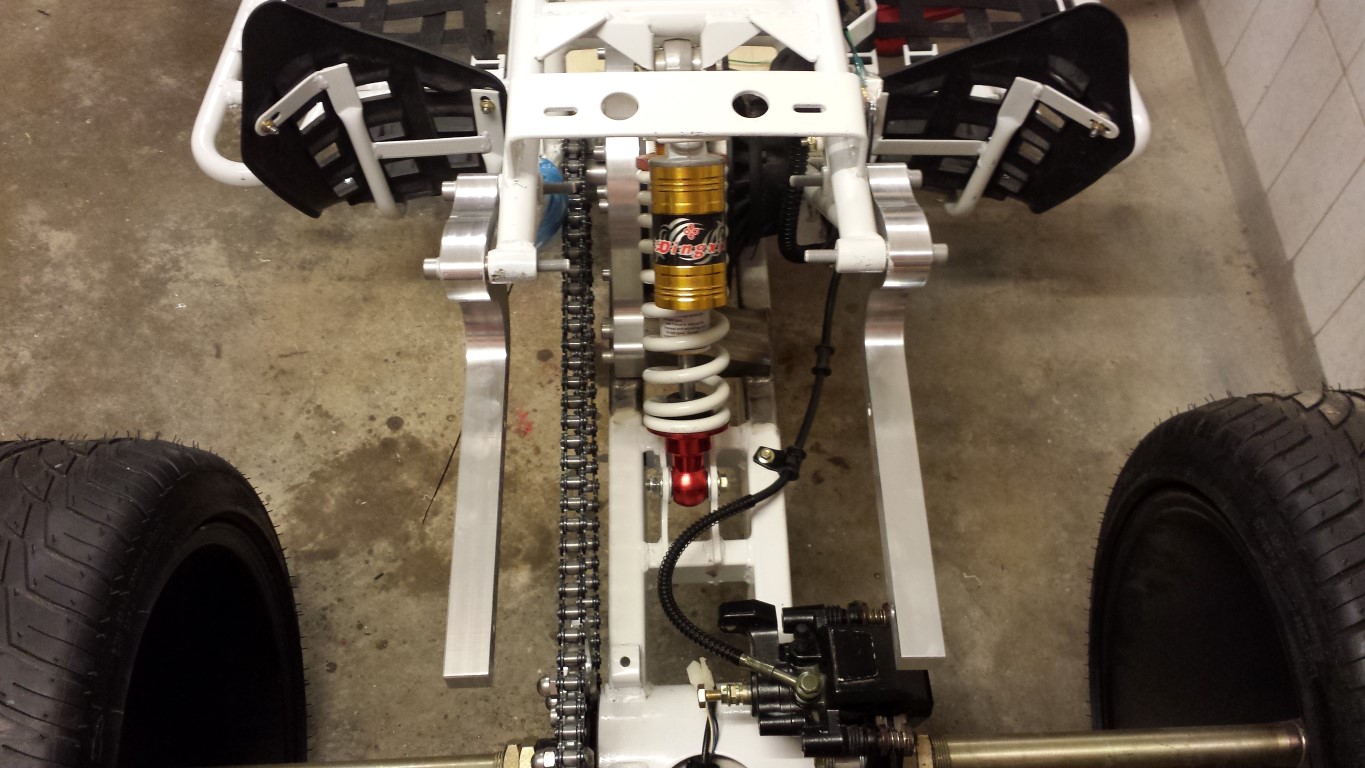
Today the mounts for the controller and top case were placed. I still really like the look of them.
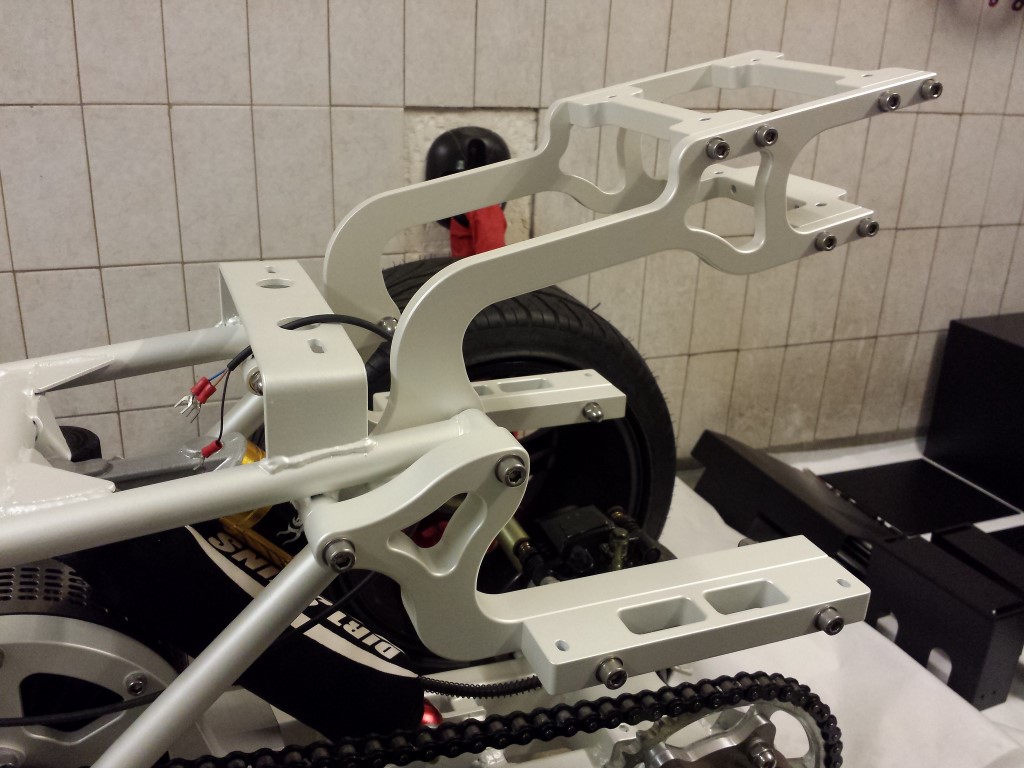
I also put part of the temporary aluminium enclosure around the controller and placed it on the mounts. While it's an ugly enclosure I think it looks much better than before now it's matte black. It still is a shame that the controller itself won't be visible for now though, untill I can make something else for it.
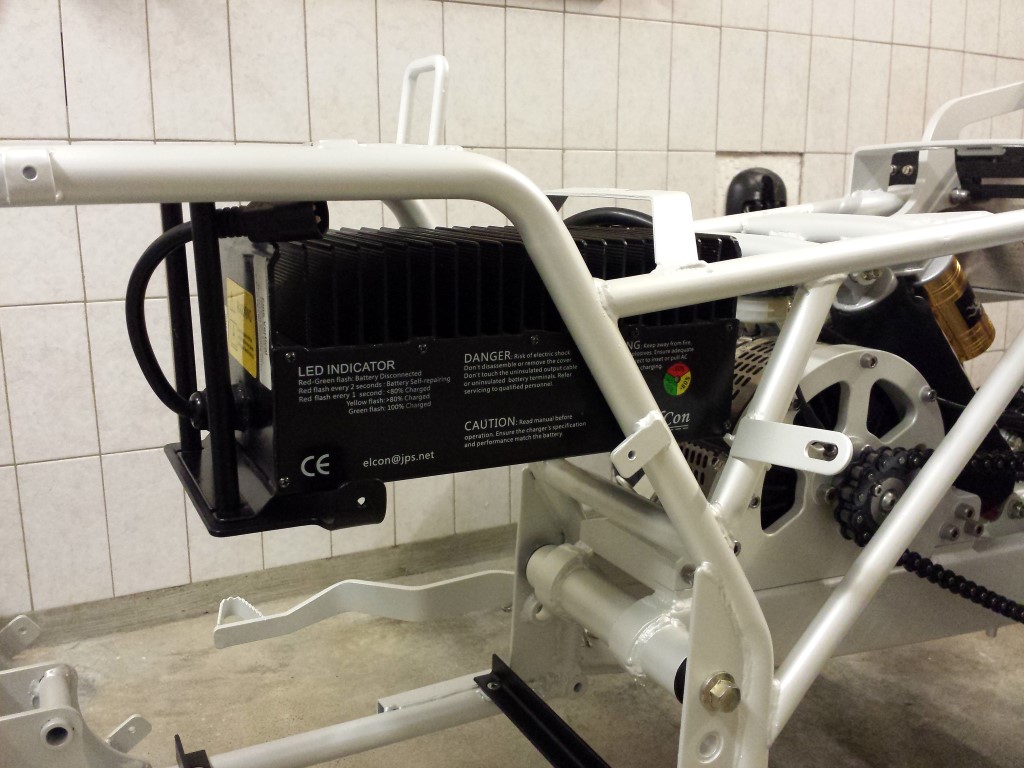
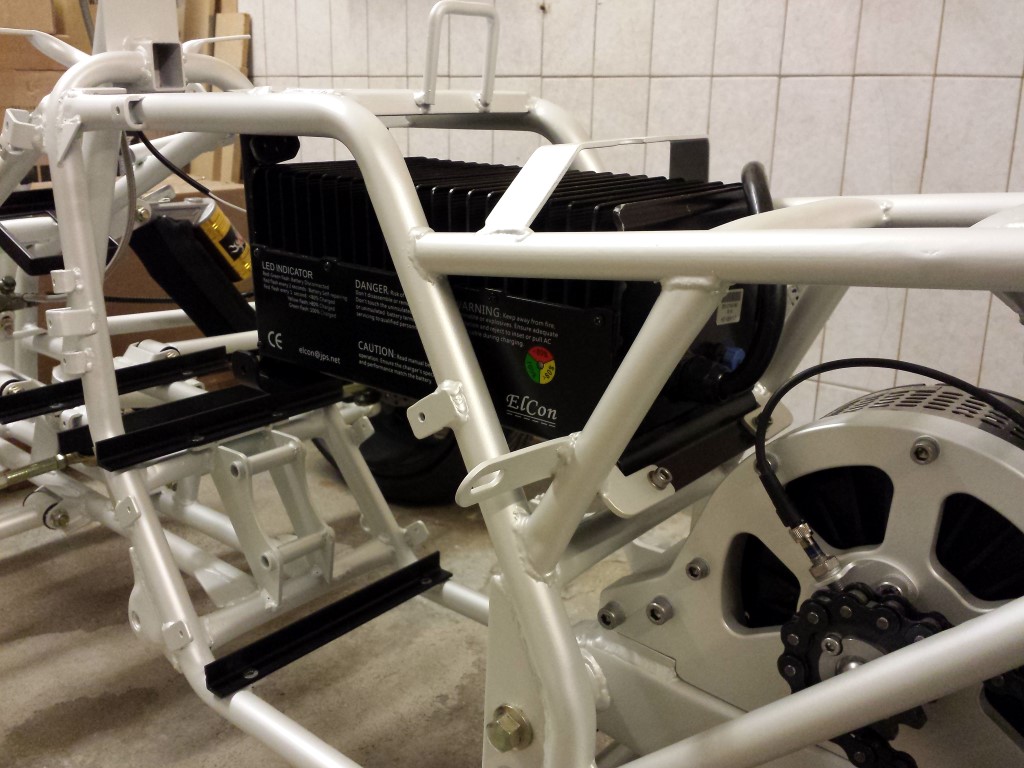
The charger is also attached. This is hanging nicely in there as well now.
I think I'll start with charging the batteries one by one at the same level tomorrow. Meanwhile I can continue filling up the other boxes with components and connecting some wires again.
Posted on 14 September 2013 at 12:02 am (CET)
Category: Controller
Posted on 14 September 2013 at 12:02 am (CET)
Category: Controller
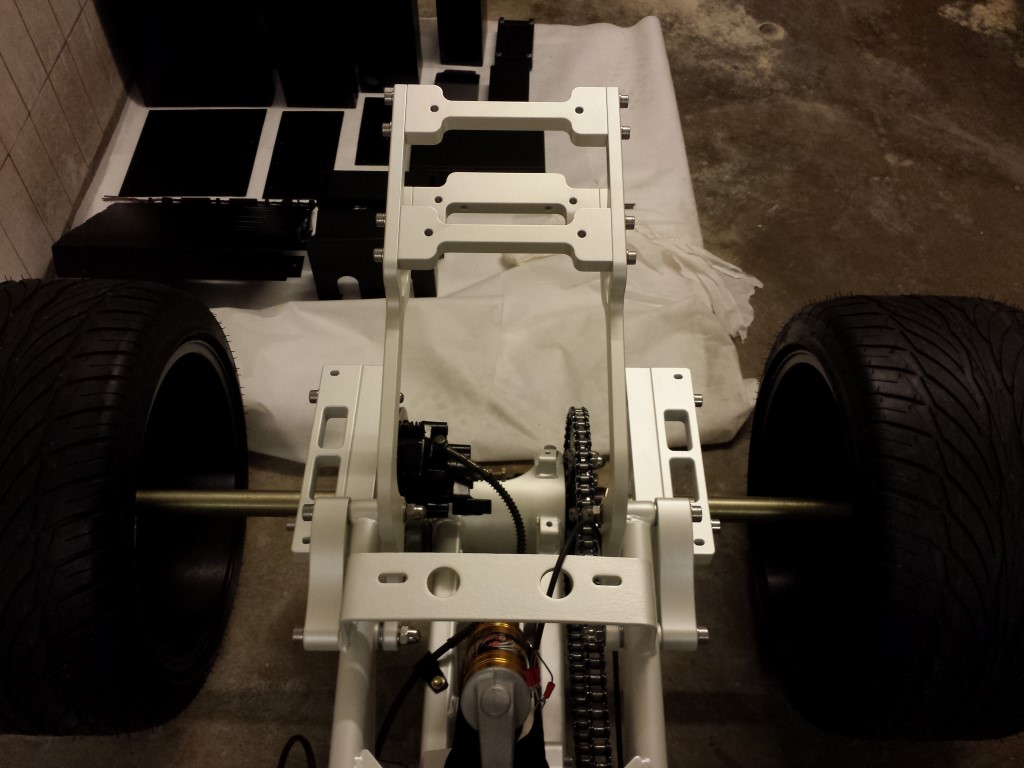
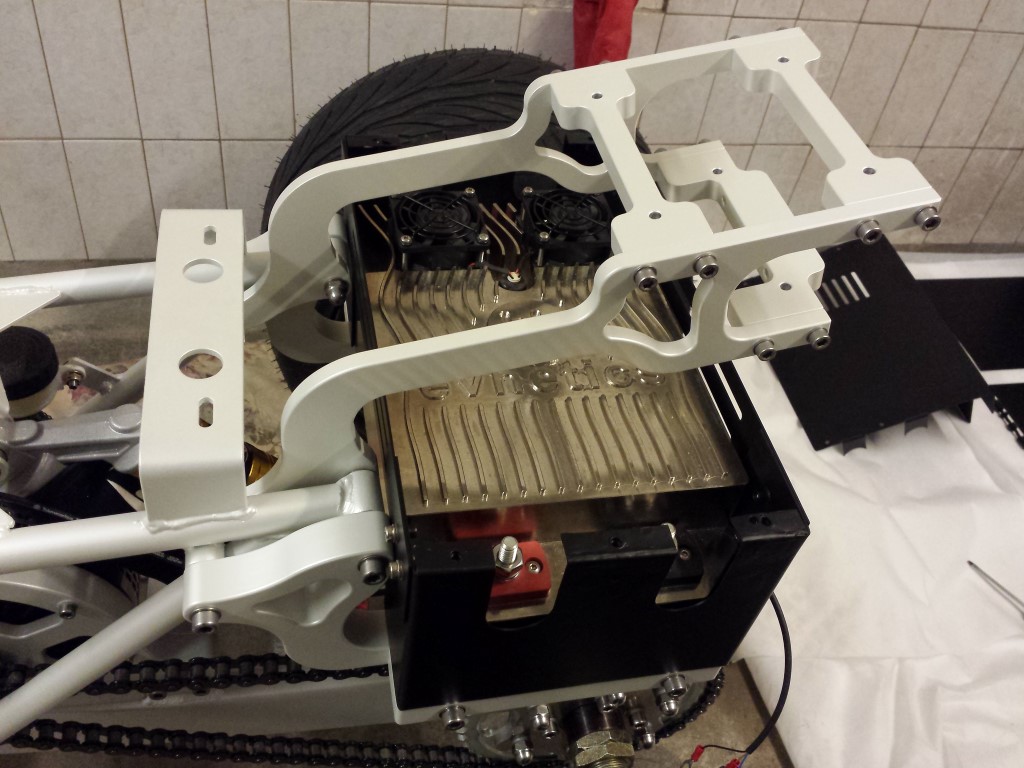
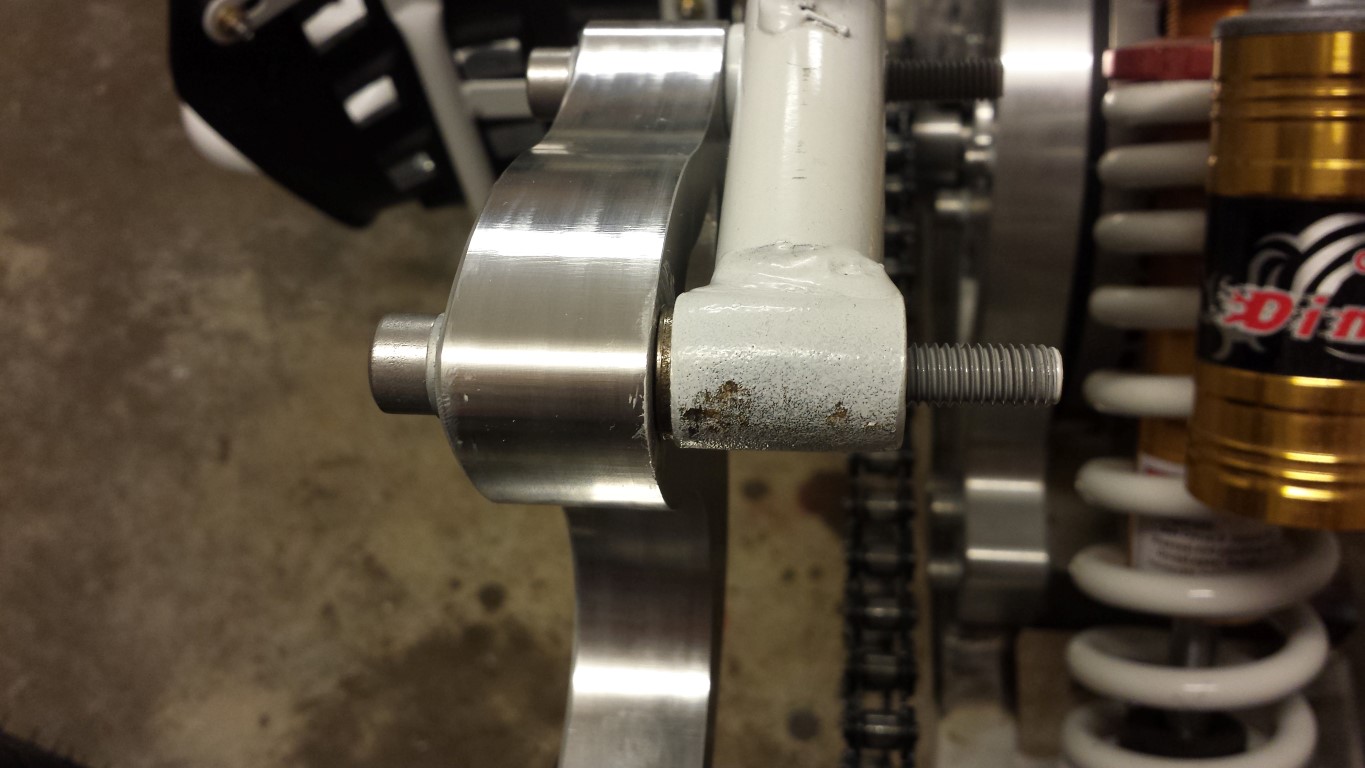
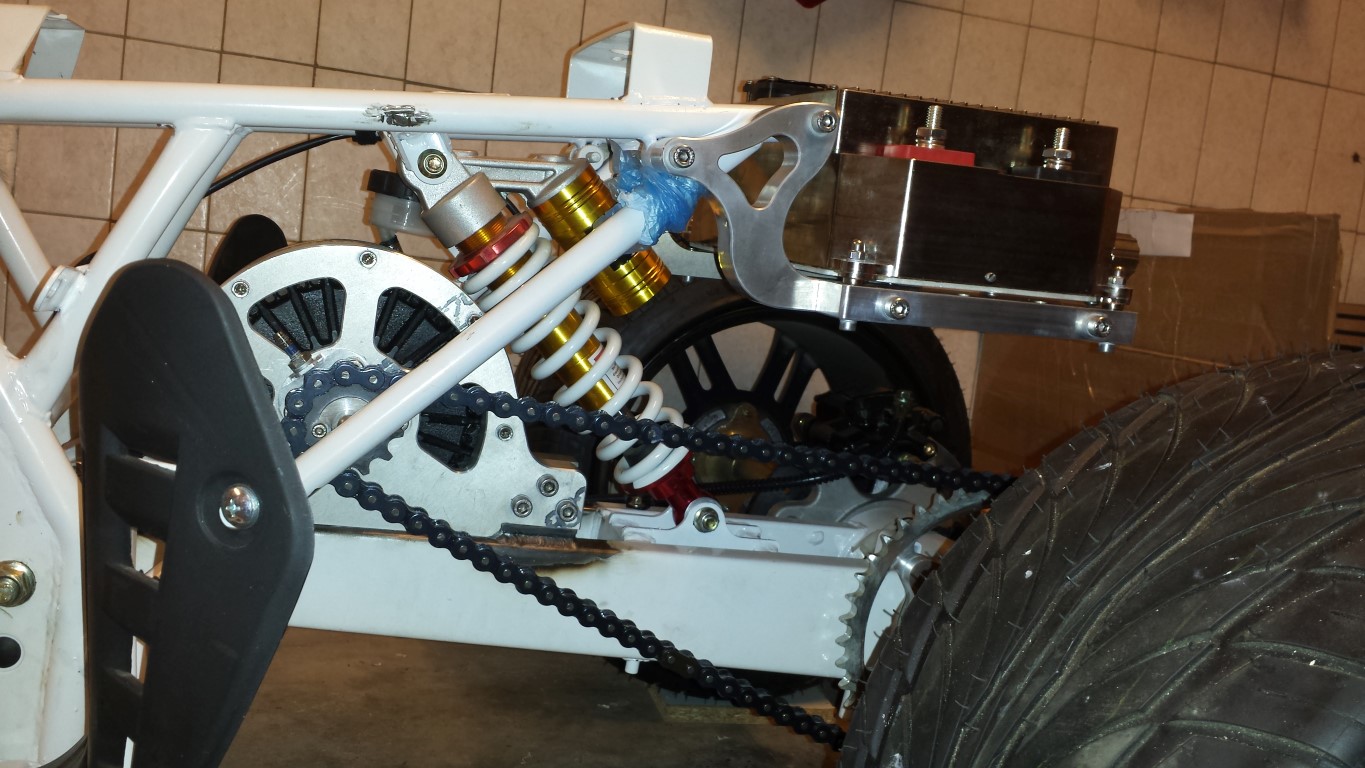
Today I wanted to grind off a bit of those 2 mounting points so the mounts would be sitting straight. But I found out this wasn't possible since those 2 points were already even with the frame. So I found another solution, just adding a ring on the other 2 points and they sit perfectly straight now.
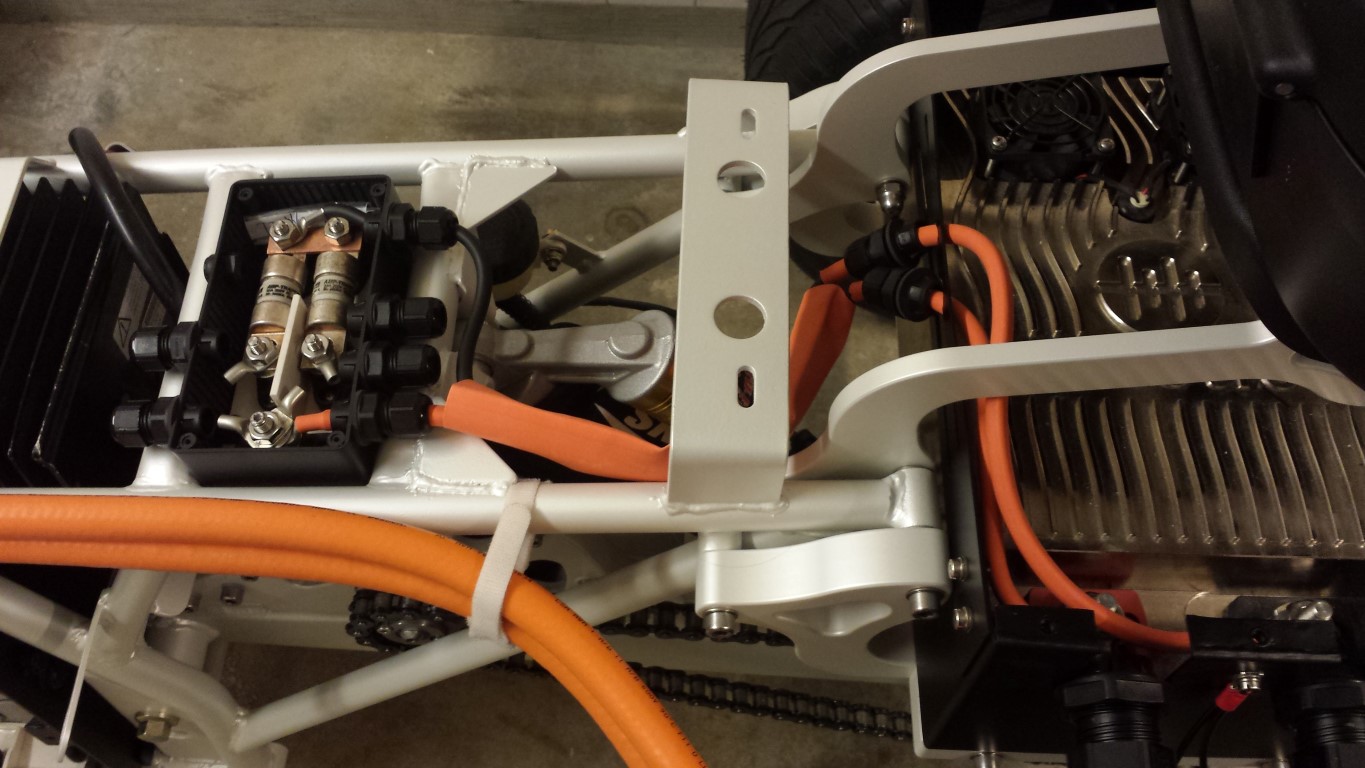
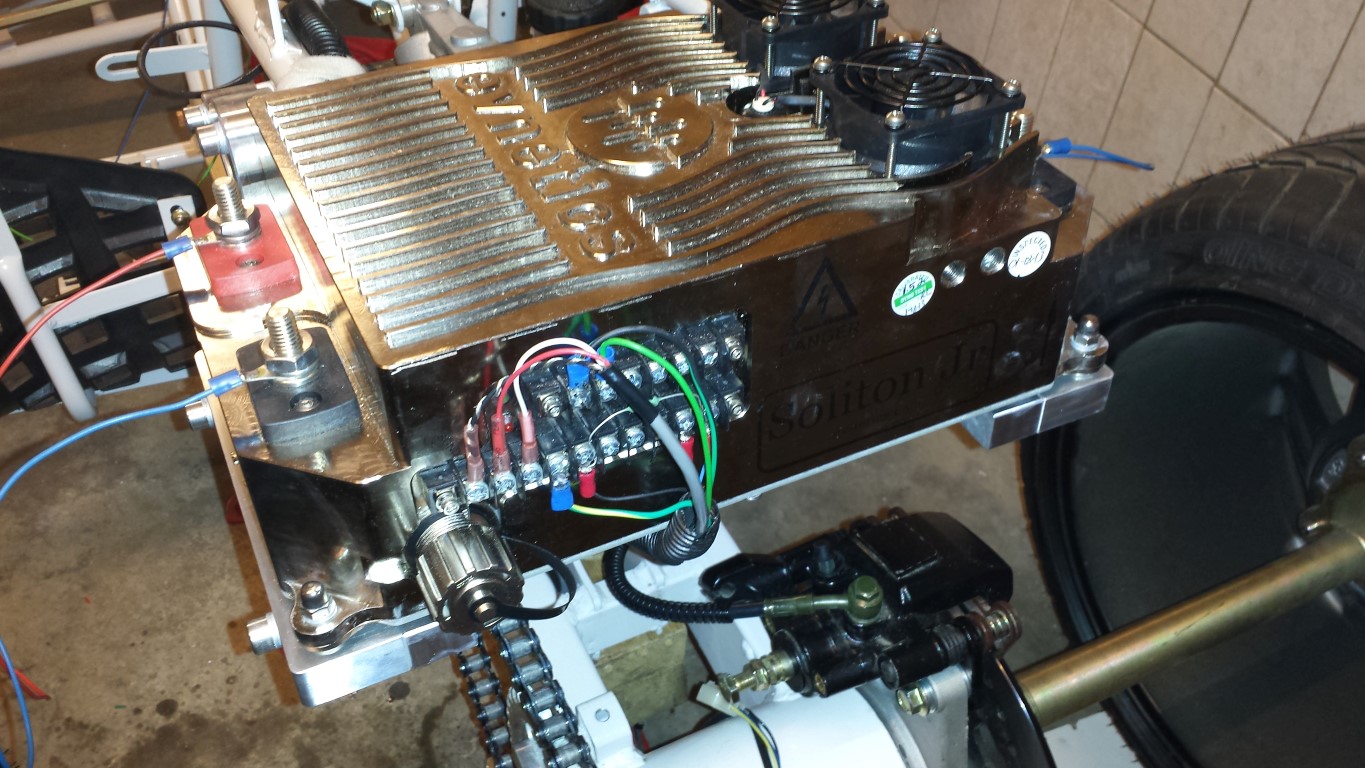
Another picture now everything's really attached. Eventually the aluminium enclosure will be placed around the controller. Can't leave it open like this later on with the lithium batteries, quite deadly if you'd touch the 2 terminals where the cables of the batteries are connected to.
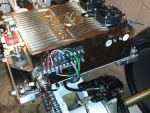
Today I spent most of the time on the wiring to be able to start testing. Cut almost everything out of the old wire harness and tidied it up a bit with a piece of wire loom. Otherwise the wires could cause some problems if they'd hit the chain.
And something else happened today but I'll save that for tomorrow.