
 Nederlands
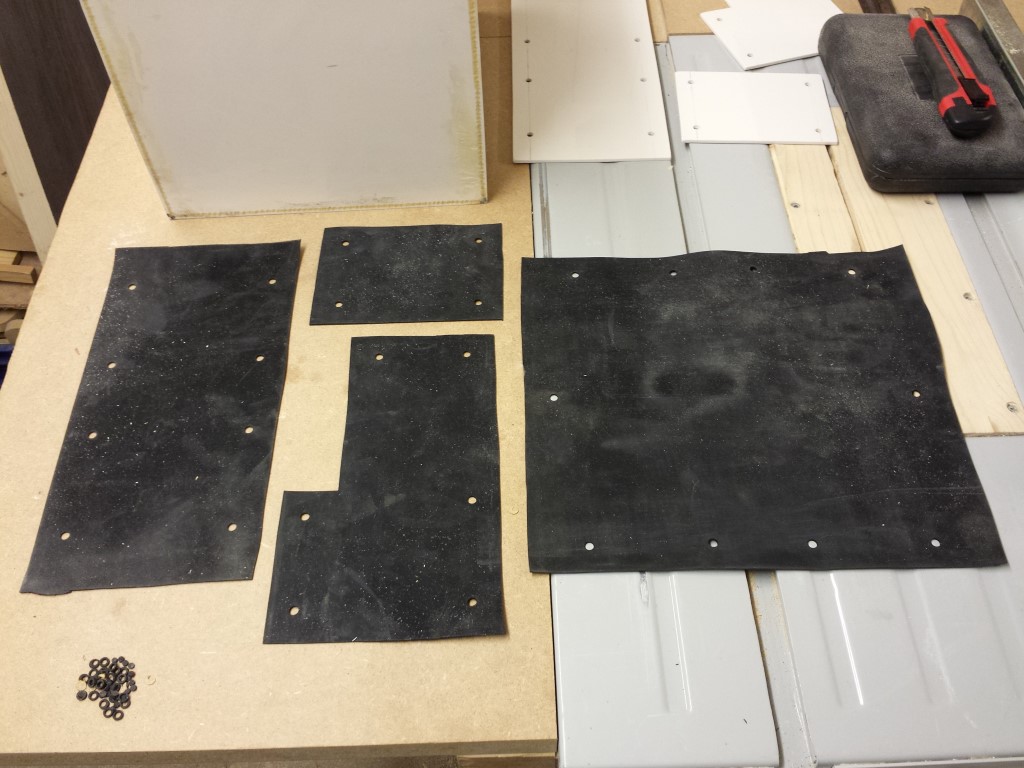
Blog / Batteries
Posted on 29 April 2014 at 11:31 pm (CET)
Category: Batteries
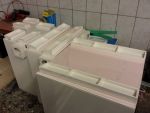
Some progress with the battery boxes again. Added EPDM rubber between the boxes and the covers, used a hole punch set to easily cut the holes into it.
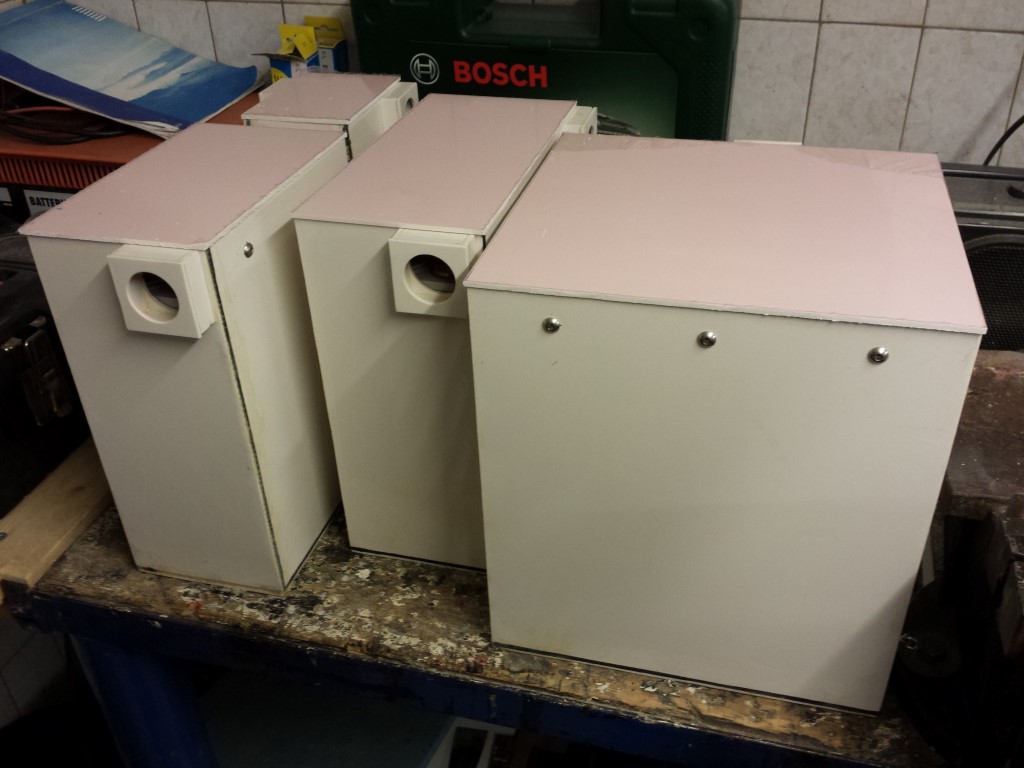
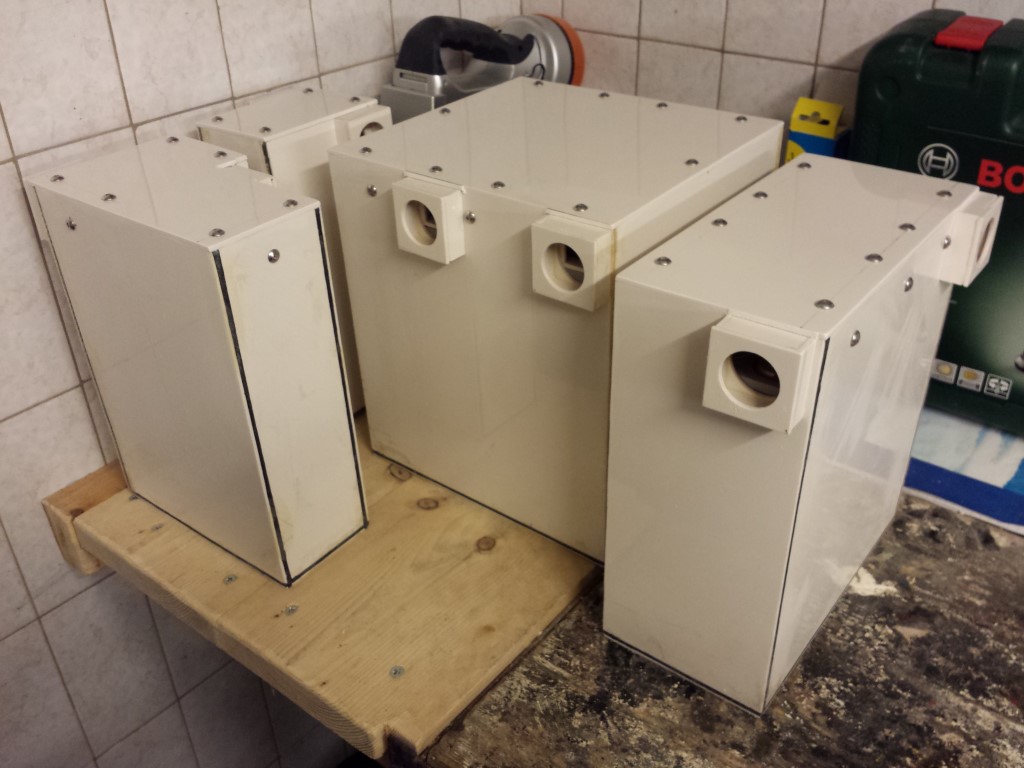
And everything attached again, also added the cable glands. Wanted to see what it'd look like. The battery boxes are completely water- and dustproof like this.

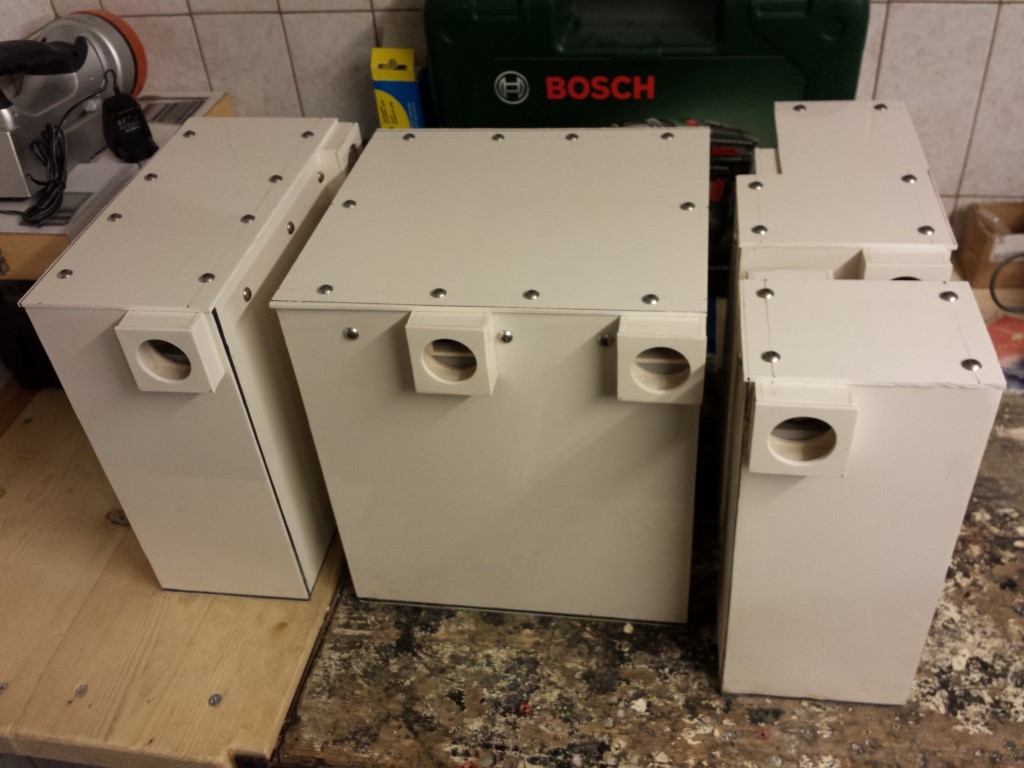
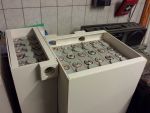
I also placed them all in the frame for now. I'll have to find a good way to attach the battery boxes firmly onto the frame now. I was thinking to place some aluminium corner profiles around the boxes and make some mounting points on there. But I'm not sure if that can be done. These profiles can only be 1,5 mm thick, otherwise they won't fit in the frame anymore.

And a complete picture of it. Others place very big engines in their frames, I just place some plastic boxes in it.
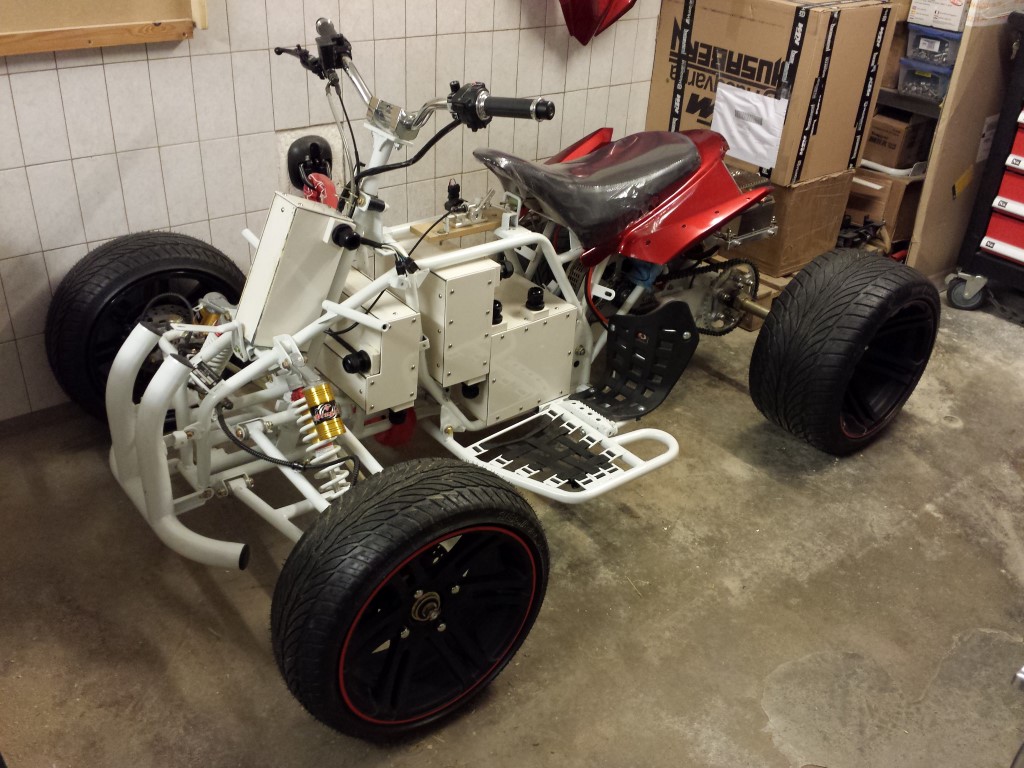
Think it'll be quite a challenge to properly attach everything.

Posted on 18 April 2014 at 10:46 pm (CET)
Category: Batteries
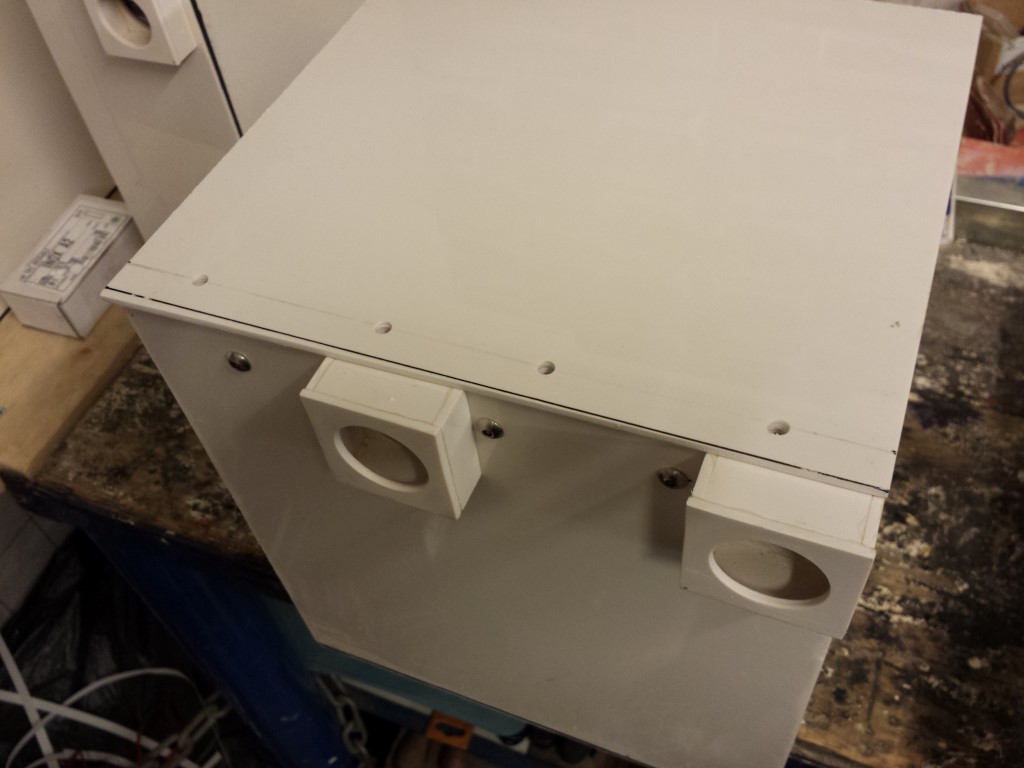
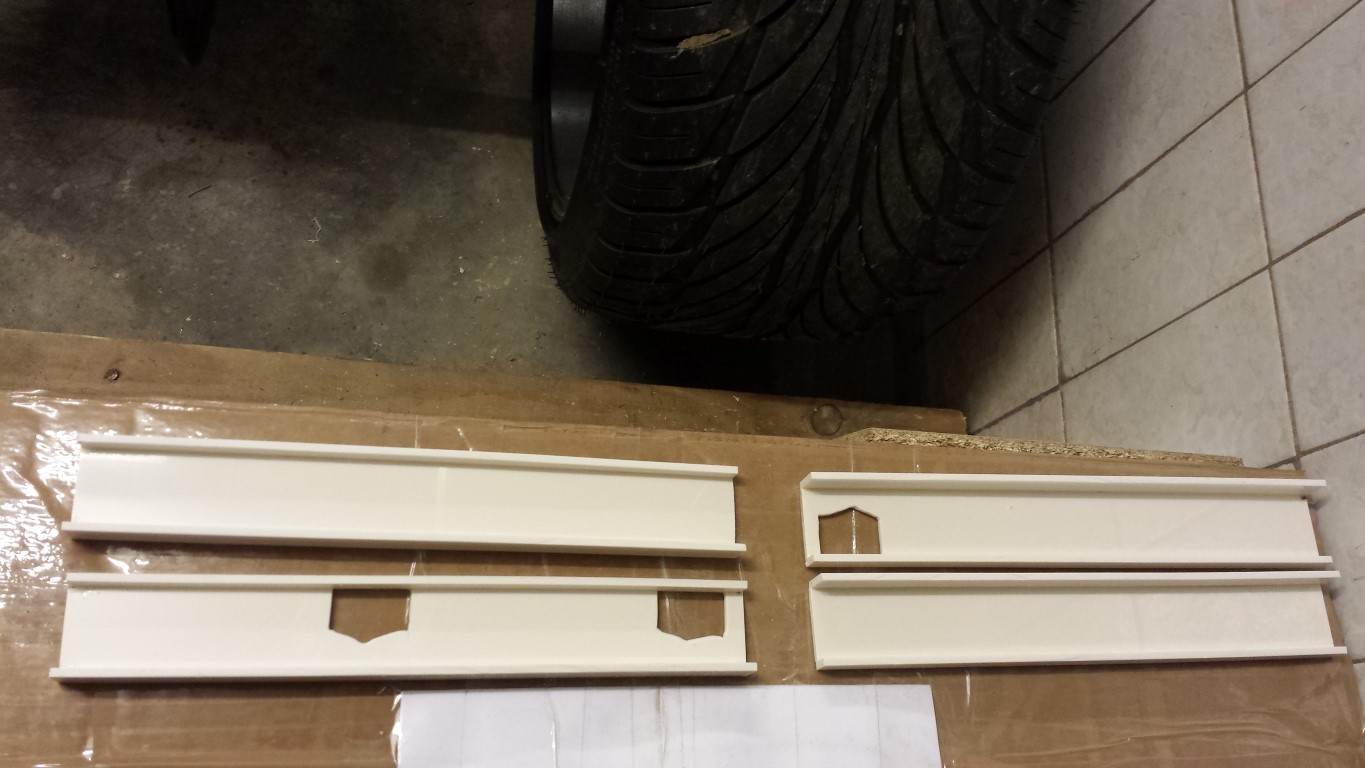
This past week I've been busy finally finishing the battery boxes. Went pretty good, the covers are now attached. Just need to tidy them up a bit, spray them and add some EPDM inbetween and then they're really done.
First I sawed some new plates for the covers. The ones I already made didn't really fit anymore since I took apart the battery boxes back then and widened them a bit. I made these a bit bigger now so I could make them perfectly even with the boxes after attaching.
Just like with the clamps I drilled the holes through the covers and clamps to get everything properly aligned.
Then I made the holes in the clamps a bit bigger, added rivet nuts in there and placed rubbers on them. I also still glued those 2 extra pieces in the big battery box so the cover would stay closed on those places as well.
After that I could attach the covers on the battery boxes.
Also filed the covers already so they're even with the battery boxes, looks pretty nice now.
Don't have to do much with these battery boxes anymore now. The next step is finding a way to attach them to the frame.
Posted on 13 October 2013 at 10:45 pm (CET)
Category: Batteries
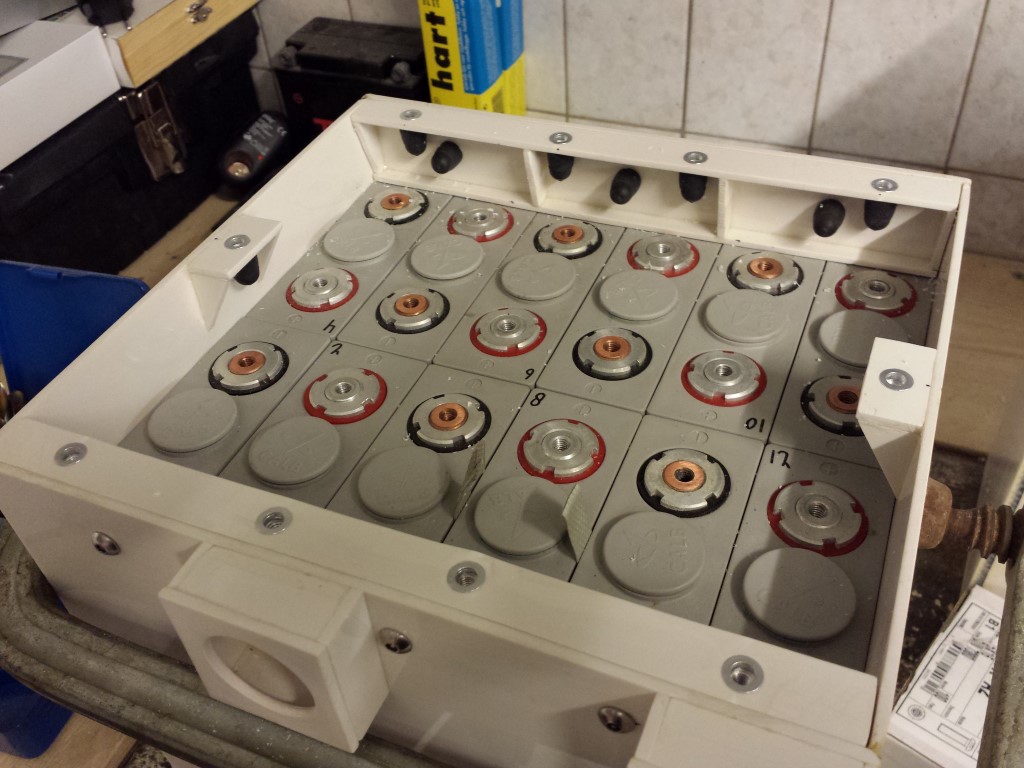
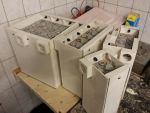
The clamps are now all attached to the battery boxes. Was pretty exciting, didn't want to make any mistakes now I'm this far with the battery boxes.
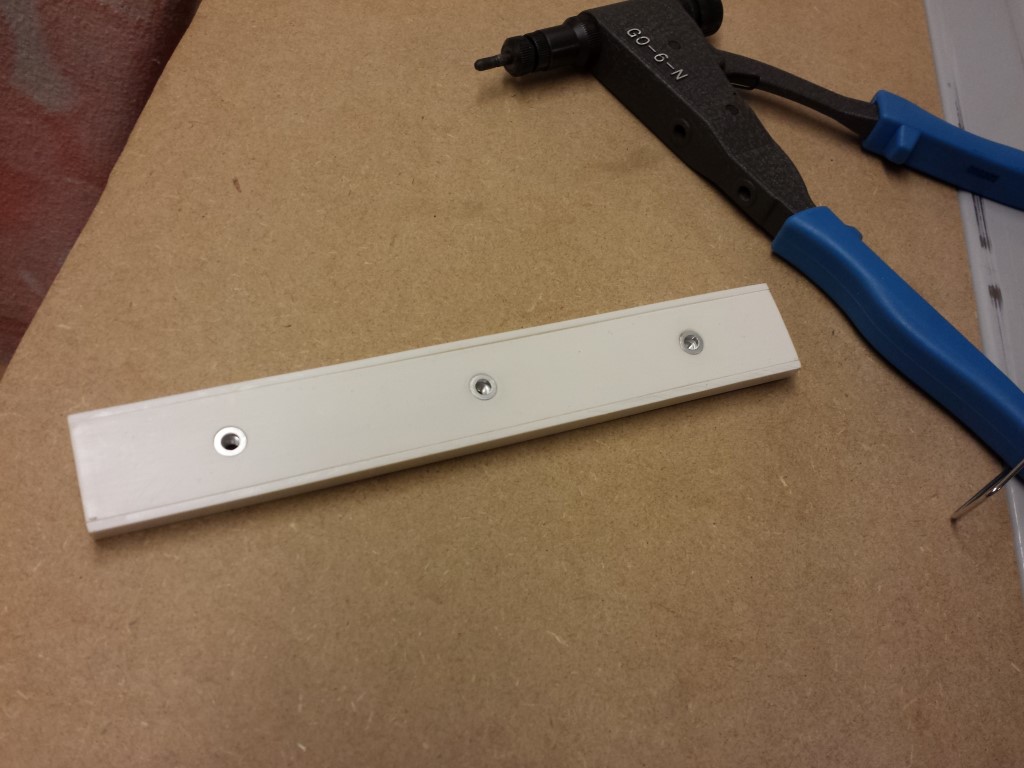
First I marked where the holes should come exactly.
Drilled holes through the battery box and the clamps so the holes would be perfectly aligned.
Made the holes on the clamps a little bigger and countersunk for the rivet nuts.
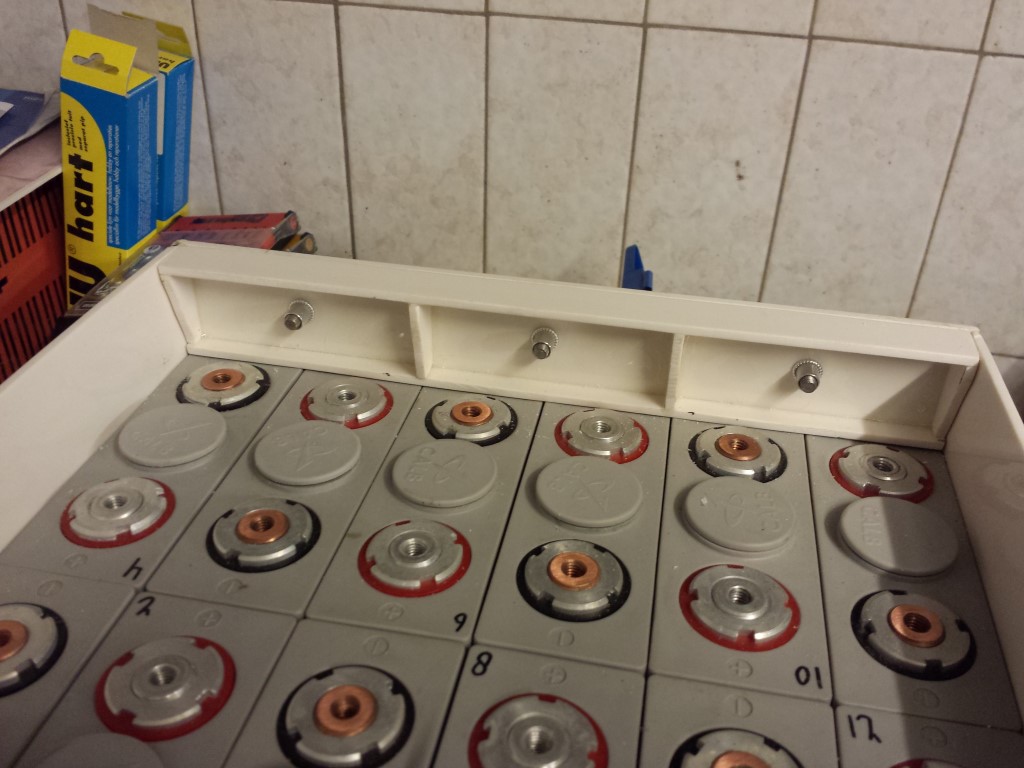
Rivet nuts in. Did I already tell how great I think these things are?
Bolts in, it all fits well and is firmly attached. The batteries won't be going anywhere.
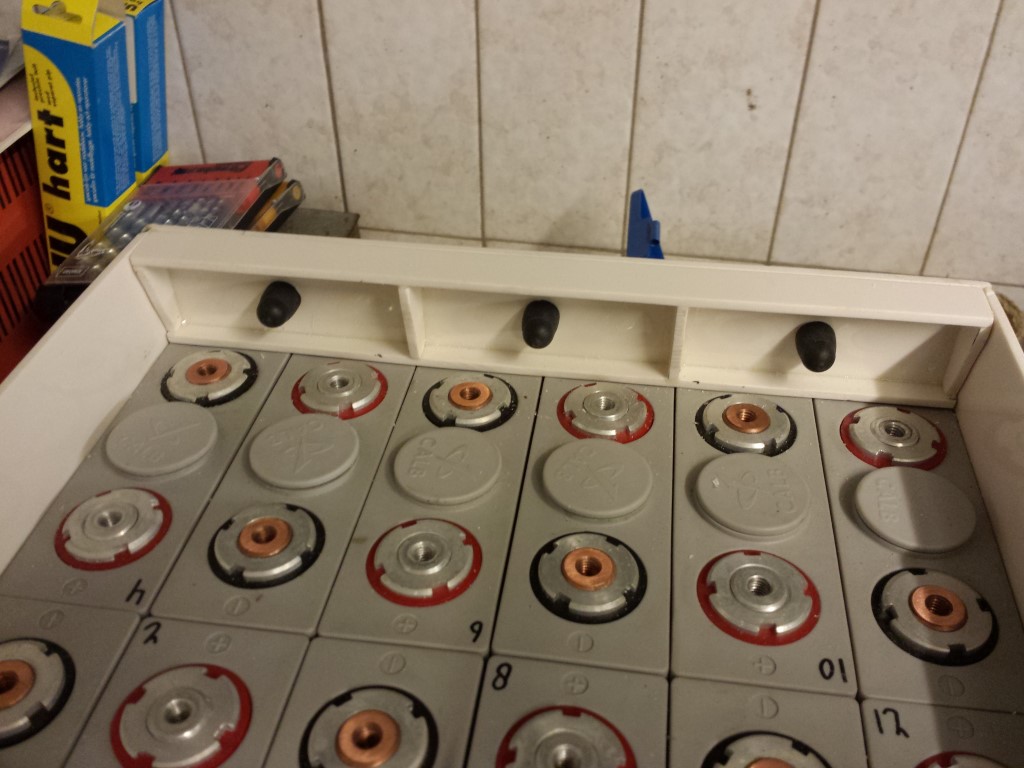
But ofcourse I won't leave any metal so close to the batteries, so rubber caps go on there. This also makes the rivet nuts waterproof.
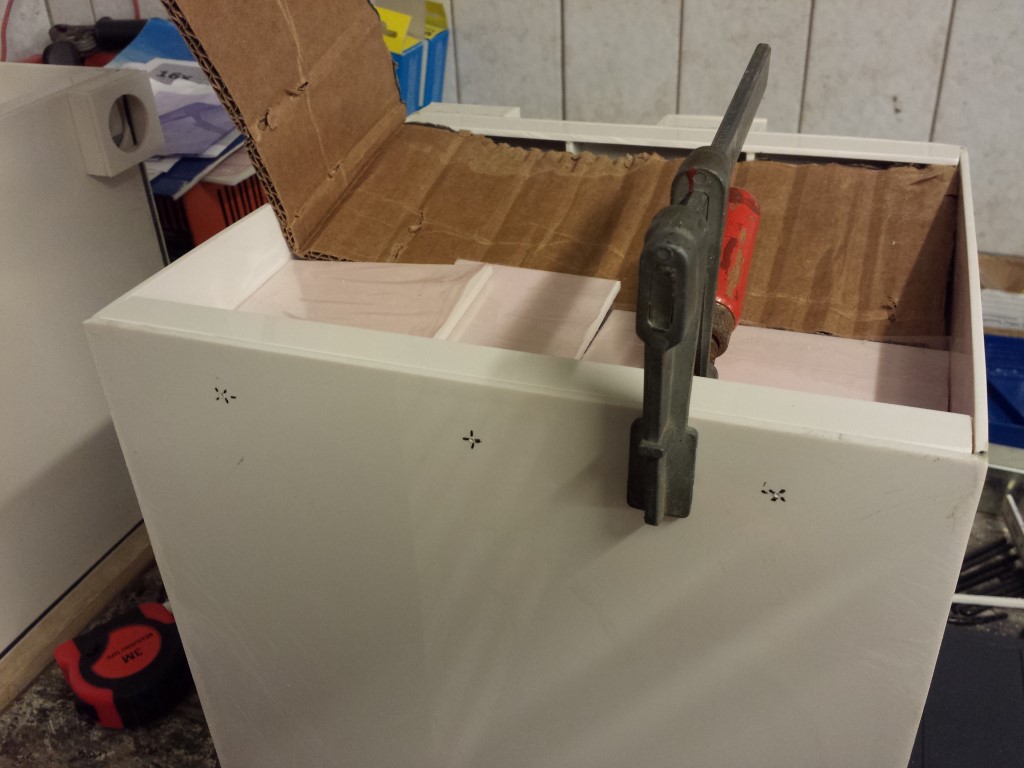
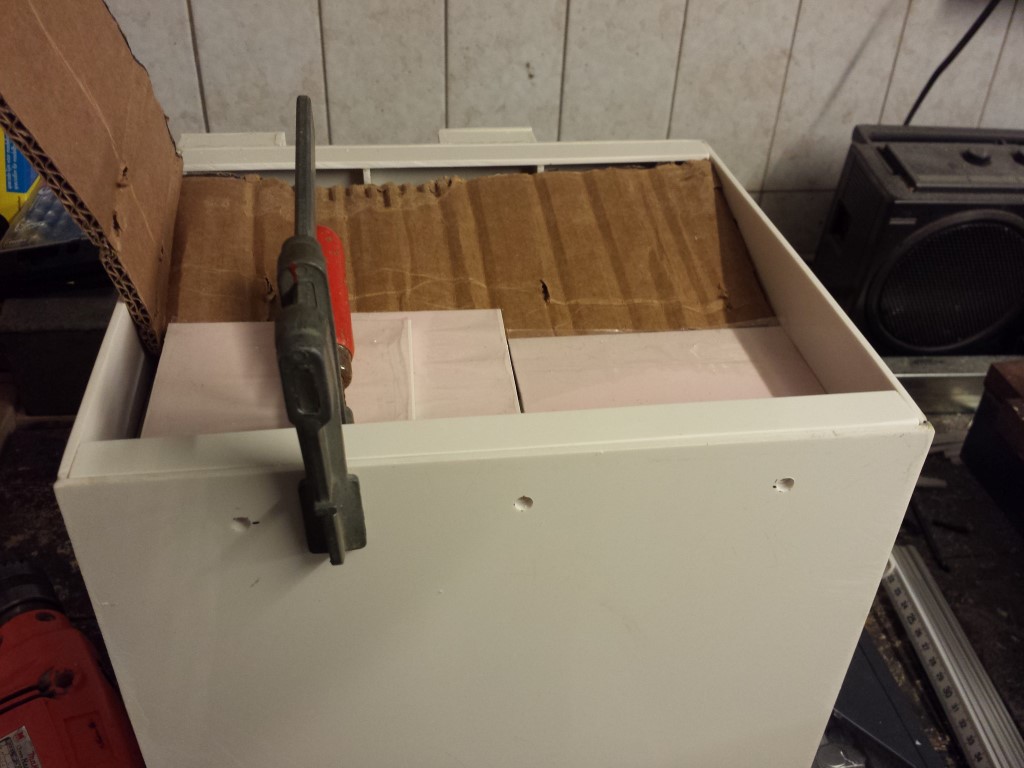
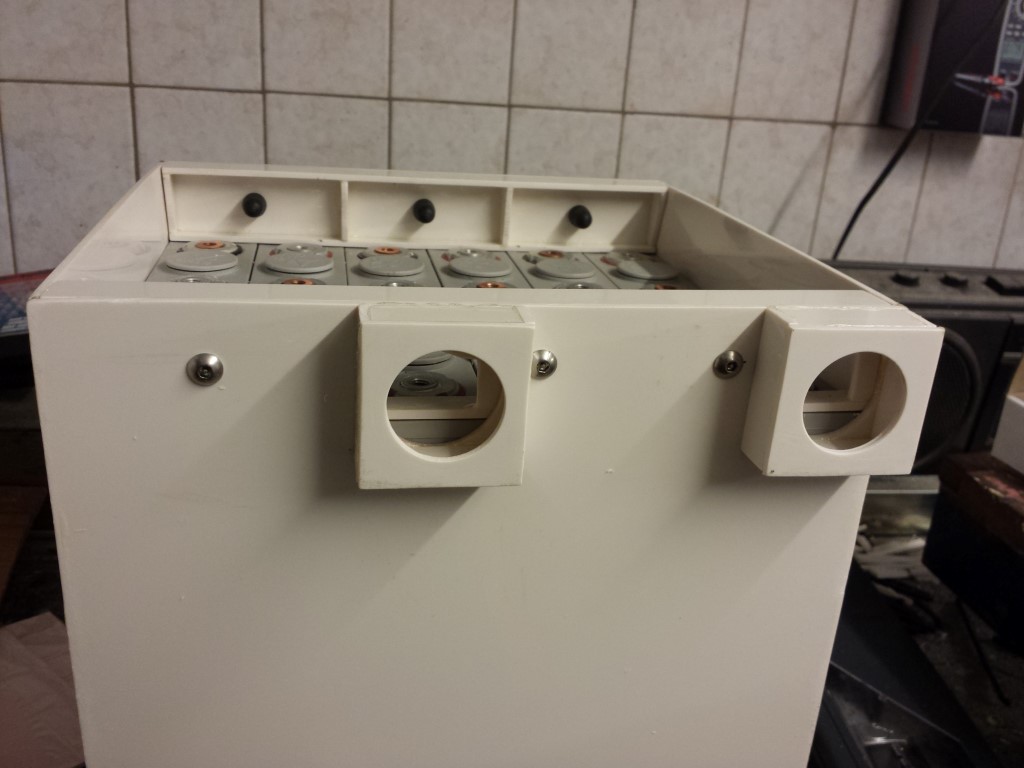
Here from the outside. Only had to move the fastening holes a bit where the pieces for the cable glands are. For the rest it's 2 batteries for each bolt everywhere.
Unfortunately I had to deviate a bit from the drawings. In the smaller battery boxes I could only use 1 bolt to attach the clamps (but again 1 bolt for each 2 batteries). Otherwise it wouldn't be possible to firmly attach the cover since I want to use 2 bolts on each clamp for that (4 in the bigger battery boxes). It's sturdy enough anyway, especially when the cover still gets attached to them.

Total picture, the clamps are attached everywhere now.

Next step, attaching the covers. Will be done the same way with rivet nuts. But I don't know if I have time for it again this week. Otherwise probably next weekend.
Posted on 12 October 2013 at 11:34 pm (CET)
Category: Batteries
Today I could continue again.
The small partitions are all sawed and glued. Think it'll be sturdy enough like this.

Tomorrow I'll tidy them up a bit and make the fastening holes in them. The battery boxes are finally nearing the end.
Posted on 6 October 2013 at 11:00 pm (CET)
Category: Batteries
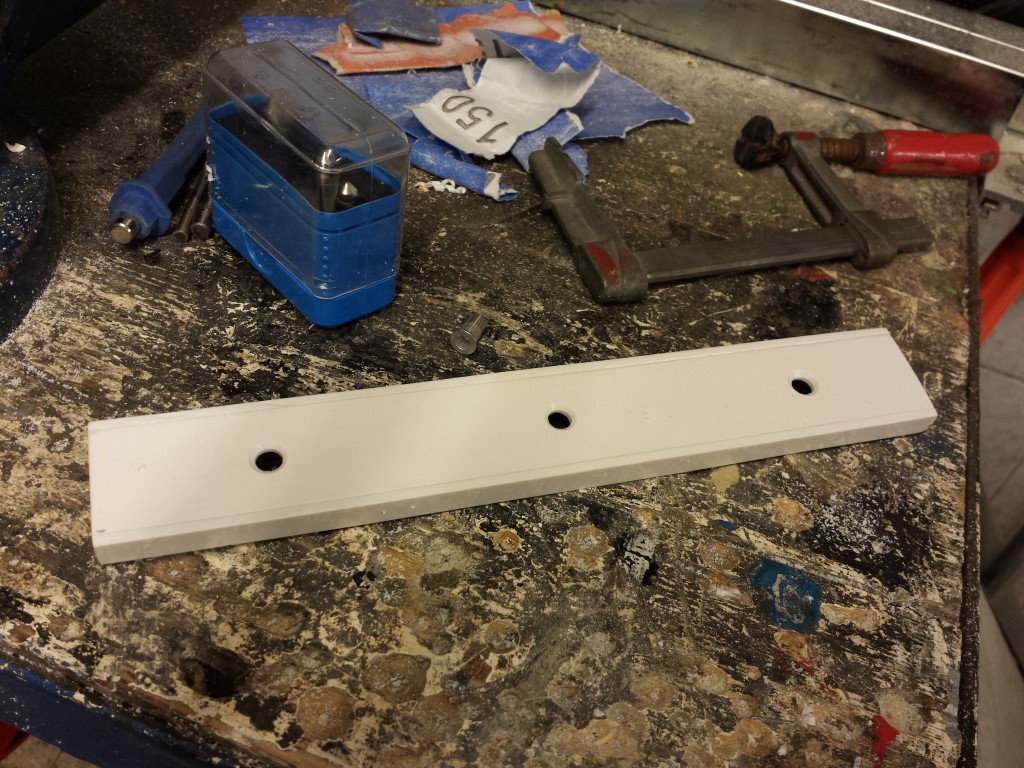
Today I made the clamps for the 2 bigger battery boxes. I had to make openings in these for the cables to pass through. Unfortunately my router bit broke so I just did this with a small saw and filed it a bit. Doesn't look as nice as it could have but these won't be visible anymore anyway once the battery boxes are closed.

Don't think I'll have much time this week though so I'll probably continue next weekend.