Blog / Wires to controller and top case attached
Wires to controller and top case attached
Posted on 19 October 2014 at 12:26 am (CET)
Category: Controller, Wiring (HV)
Posted on 19 October 2014 at 12:26 am (CET)
Category: Controller, Wiring (HV)
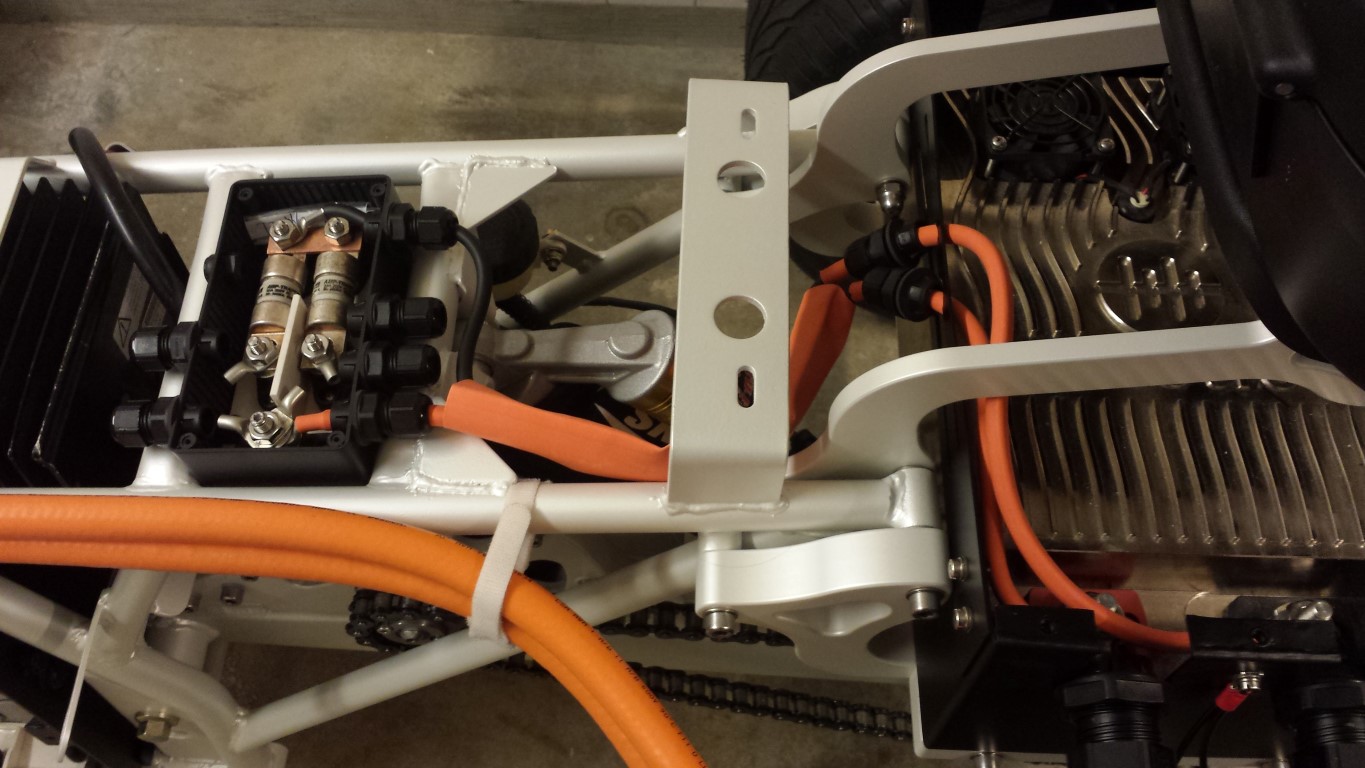
The wires between the whole battery pack and the controller are also done now. These were a bit harder to make because of the extra shielding in these wires.
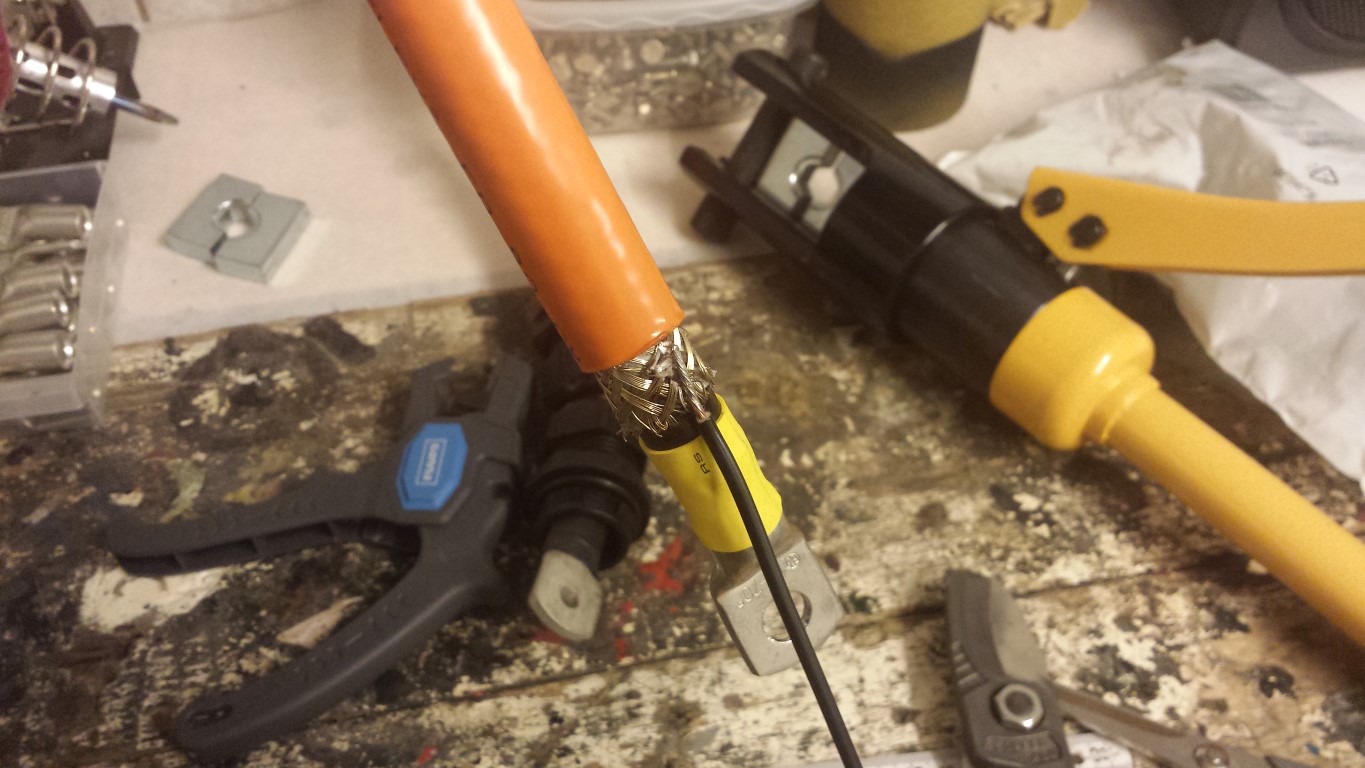
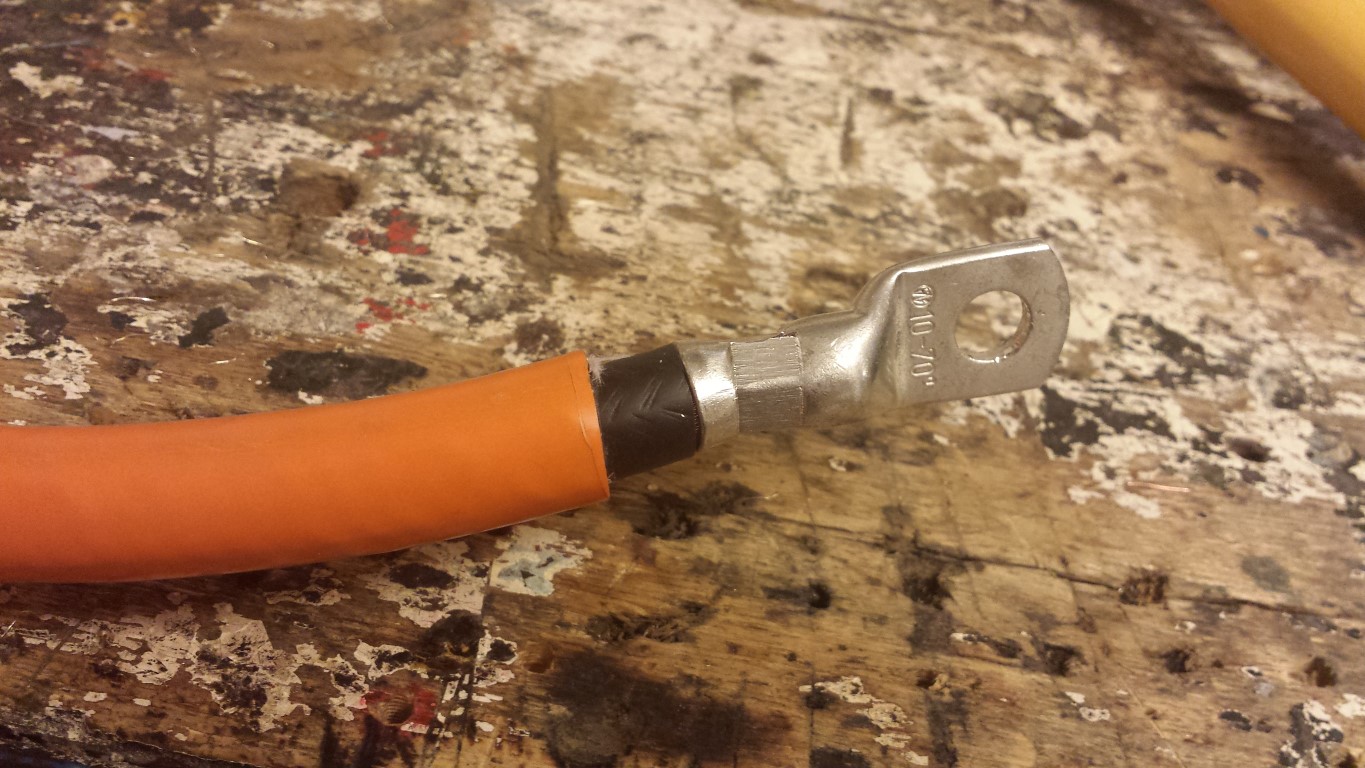
First I did the same as with the other wires, stripped and crimped a cable lug onto it.
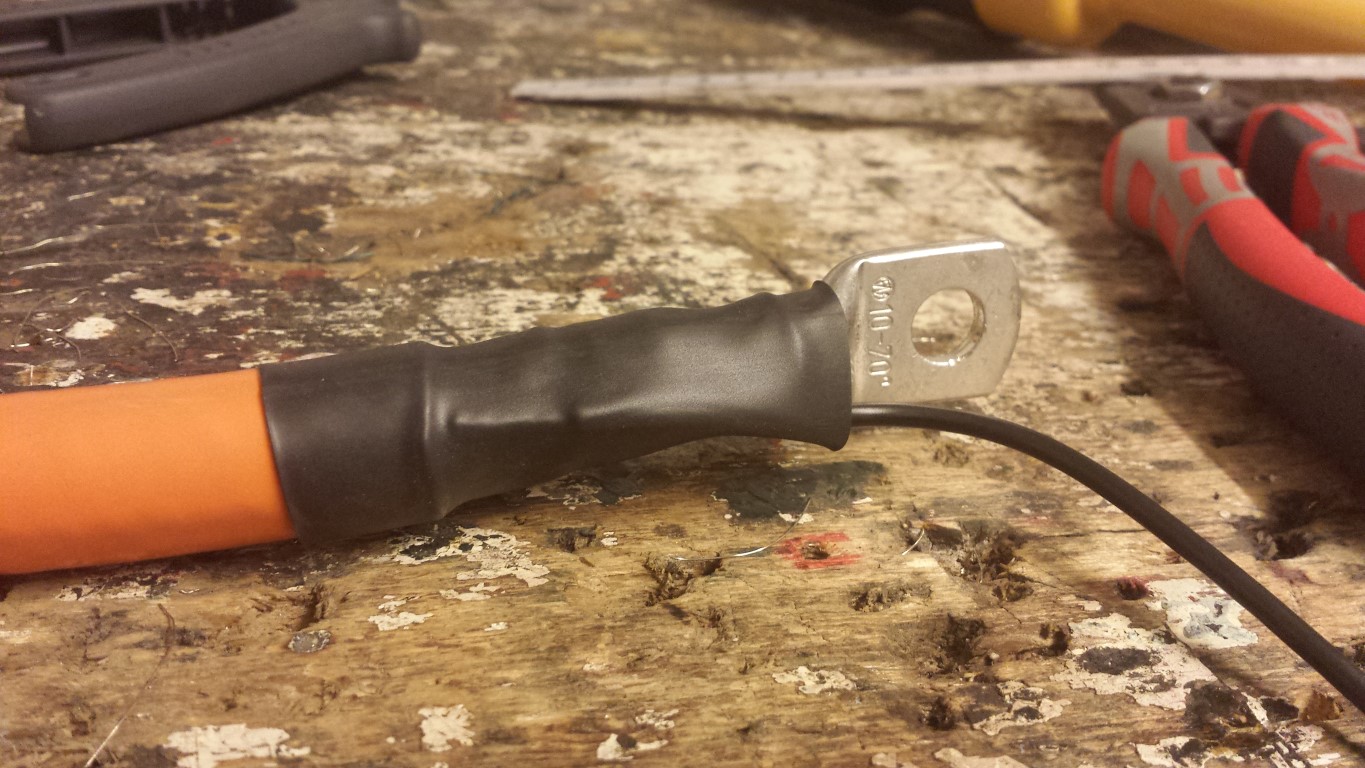
After that I stripped it to the shielding and soldered a small wire onto it. This has to be earthed to the controller's enclosure. The shielding should ofcourse not touch the cable lug so to be sure I used some extra heat shrink.
Some more heat shrink on it to seal it good again.
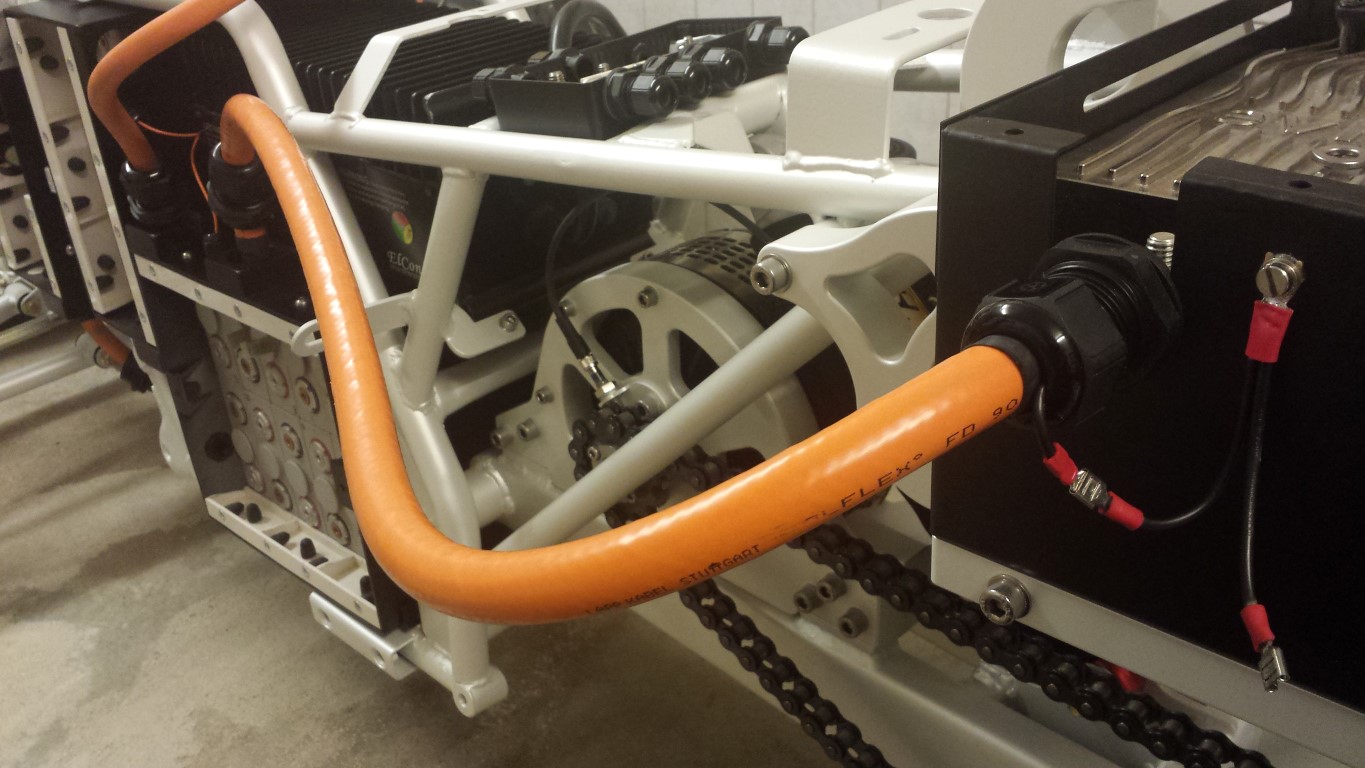
For the controller's enclosure I already made the wires for earthing quite a while ago. So now I could just connect the shielding of the wire to it. It's a lot of work but it's the only way to get it approved at the RDW (safety inspection).
Did this all with the other wire as well. And after that I also attached the top case again.
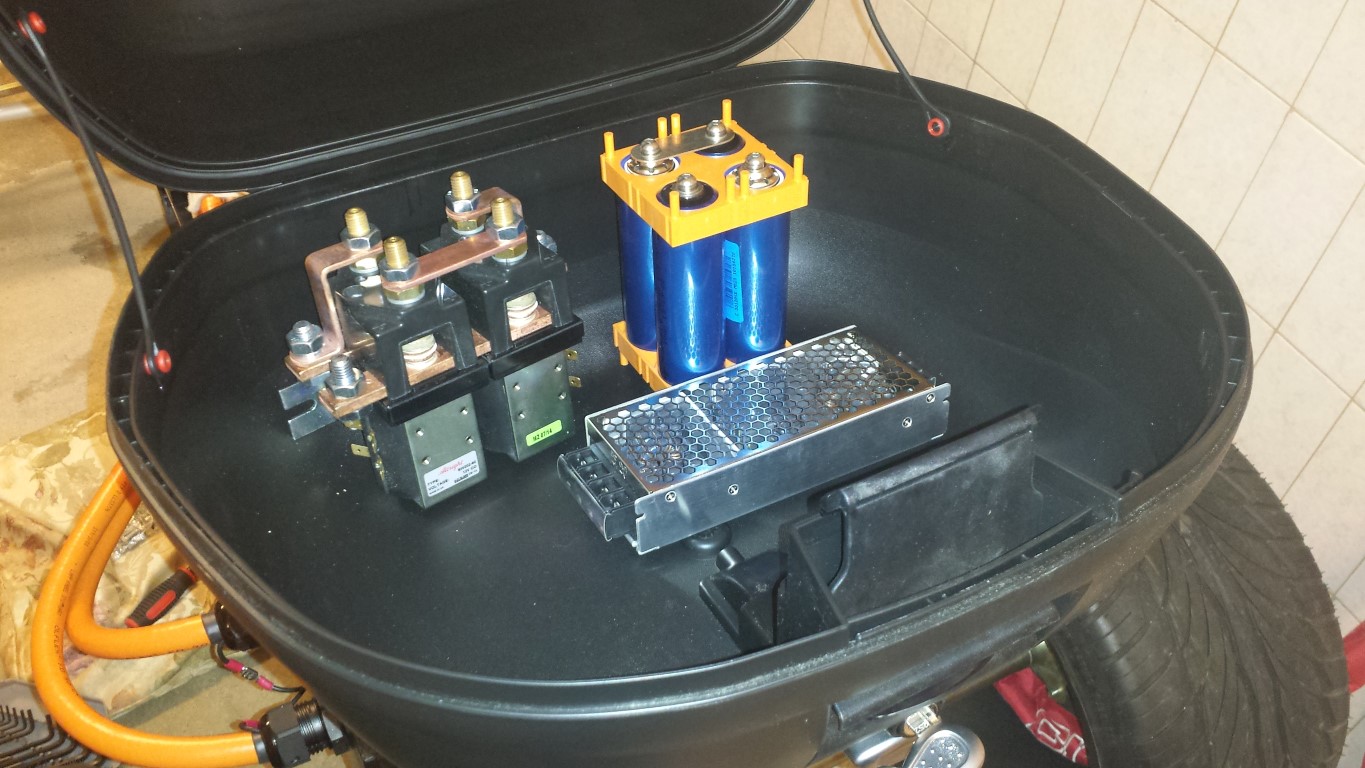
These 3 things I'll have to attach somewhere in the top case. These are the 2 contactors for being able to drive forward and reverse, the 12V battery and the DC-DC converter. Think I'll have to glue in some plastic mounting points. And I also have to make some holes in it for cable pass through.
Also made some wires already that go to the 2 fuses for the charger and DC-DC converter. I'm just short on orange heat shrink, can't really continue with this untill I have some more.
Tomorrow I'll continue again, it gets more fun every time now.

 Nederlands