
 Nederlands
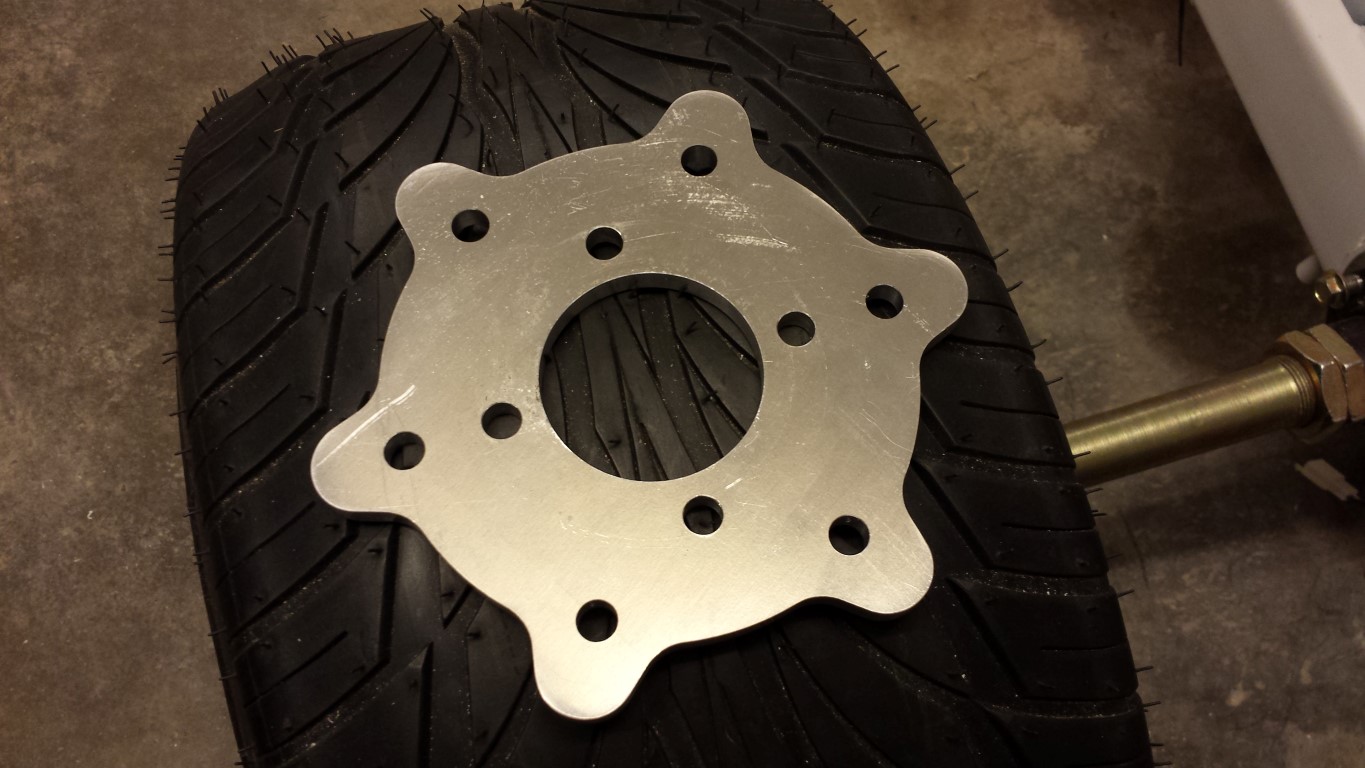
Blog / Adaptors done and fitted
Posted on 23 August 2013 at 10:59 pm (CET)
Category: Electric motor, Parts
Today I received both adaptors and ofcourse I already fitted them. The metalworking company (Geraets Metaalbewerking) did a very good job, it all looks great and fits perfectly.
What used to be a rear sprocket has now become an adaptor for the new rear sprocket.
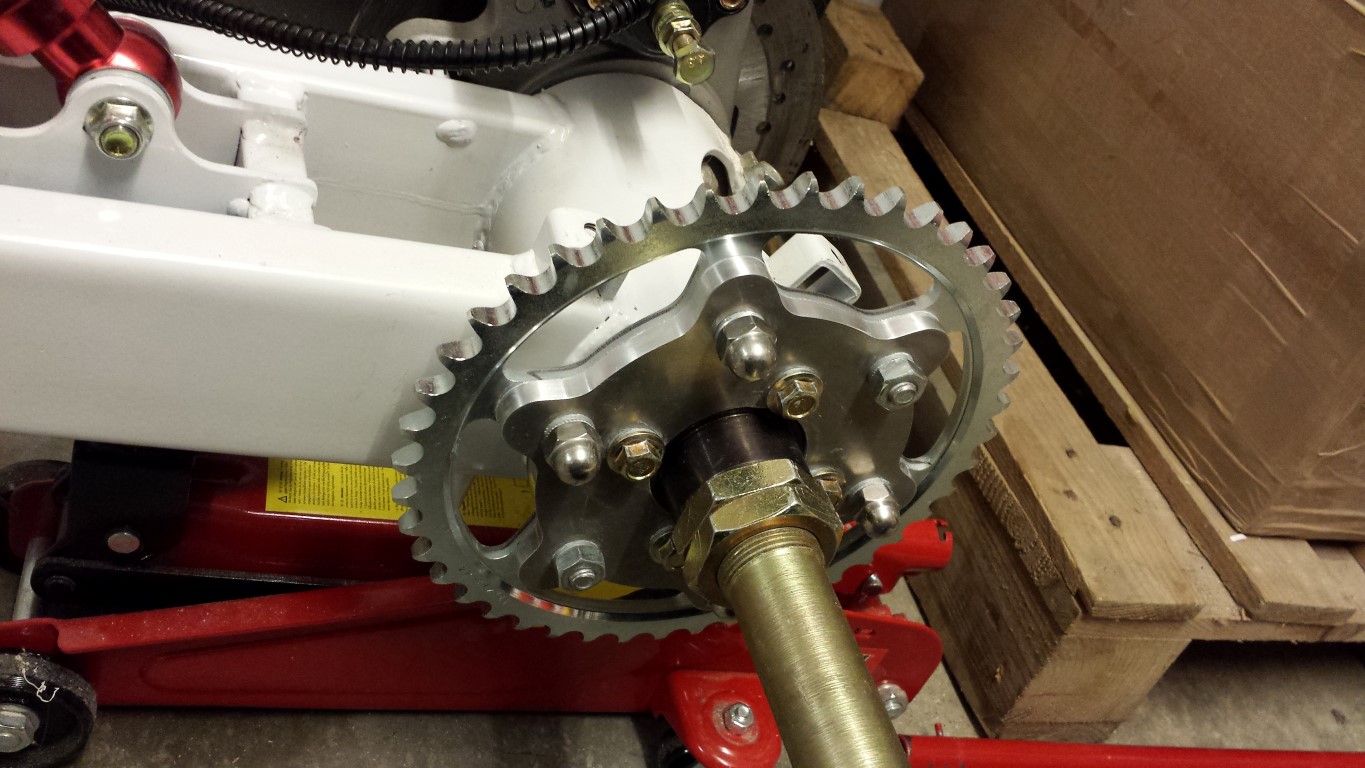
With this adaptor the rear sprocket can be placed a bit more inward so that the chain will run perfectly straight. Here you can see how the adaptor fits on the rear sprocket. They really made a lot of effort to perfectly align all the edges with the sprocket. It looks great.
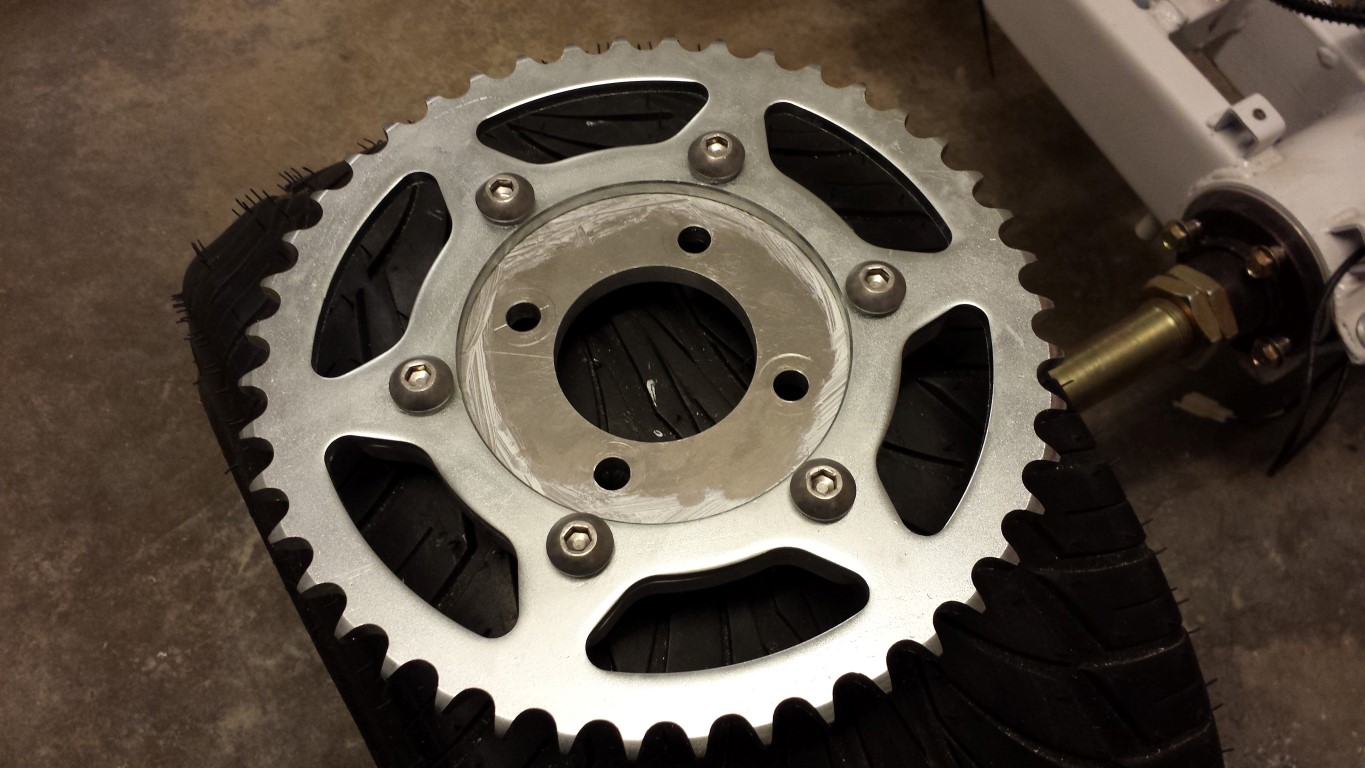
And here with the bolts and nuts on it. Everywhere where different materials are touching eachother I used anti-seize paste to prevent corrosion. Sprocket is steel, adaptor is aluminium and bolts/nuts are stainless steel. Without the paste this usually wouldn't work out so well.
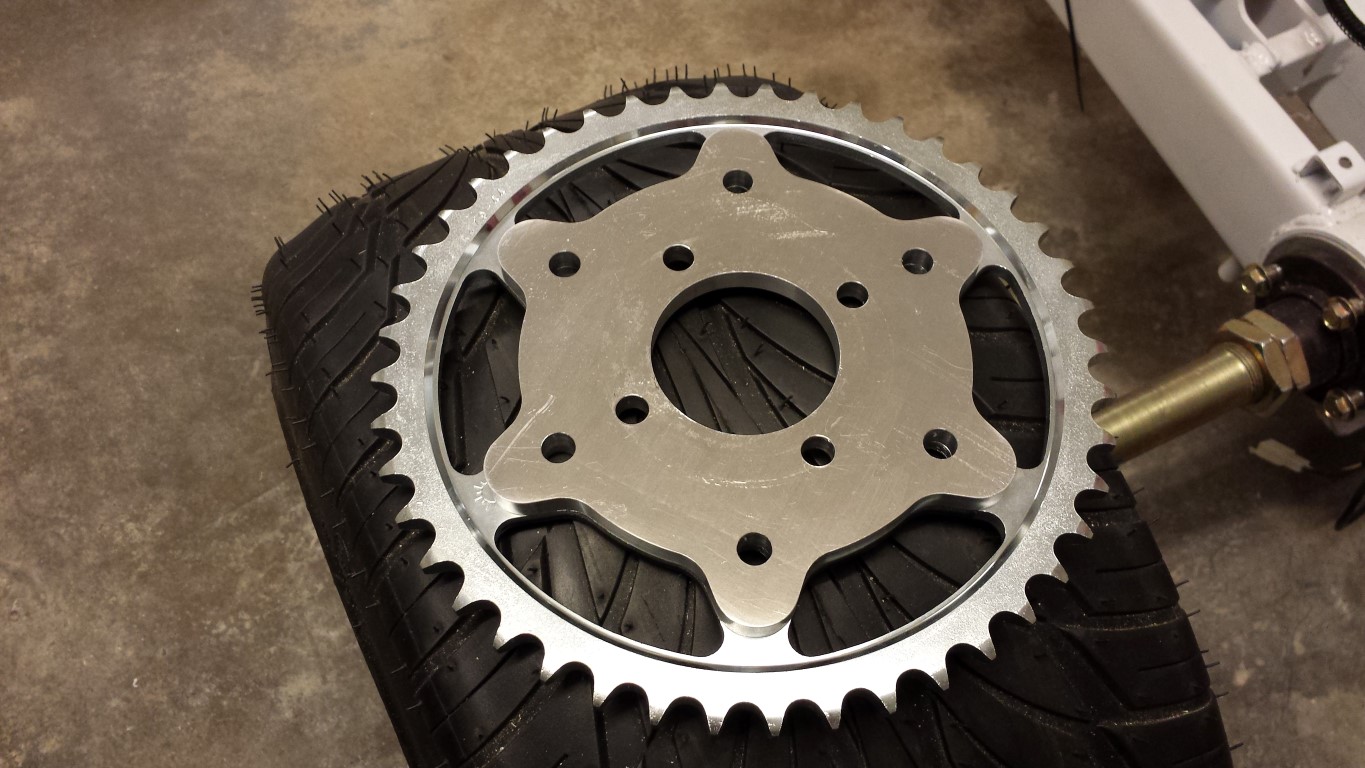
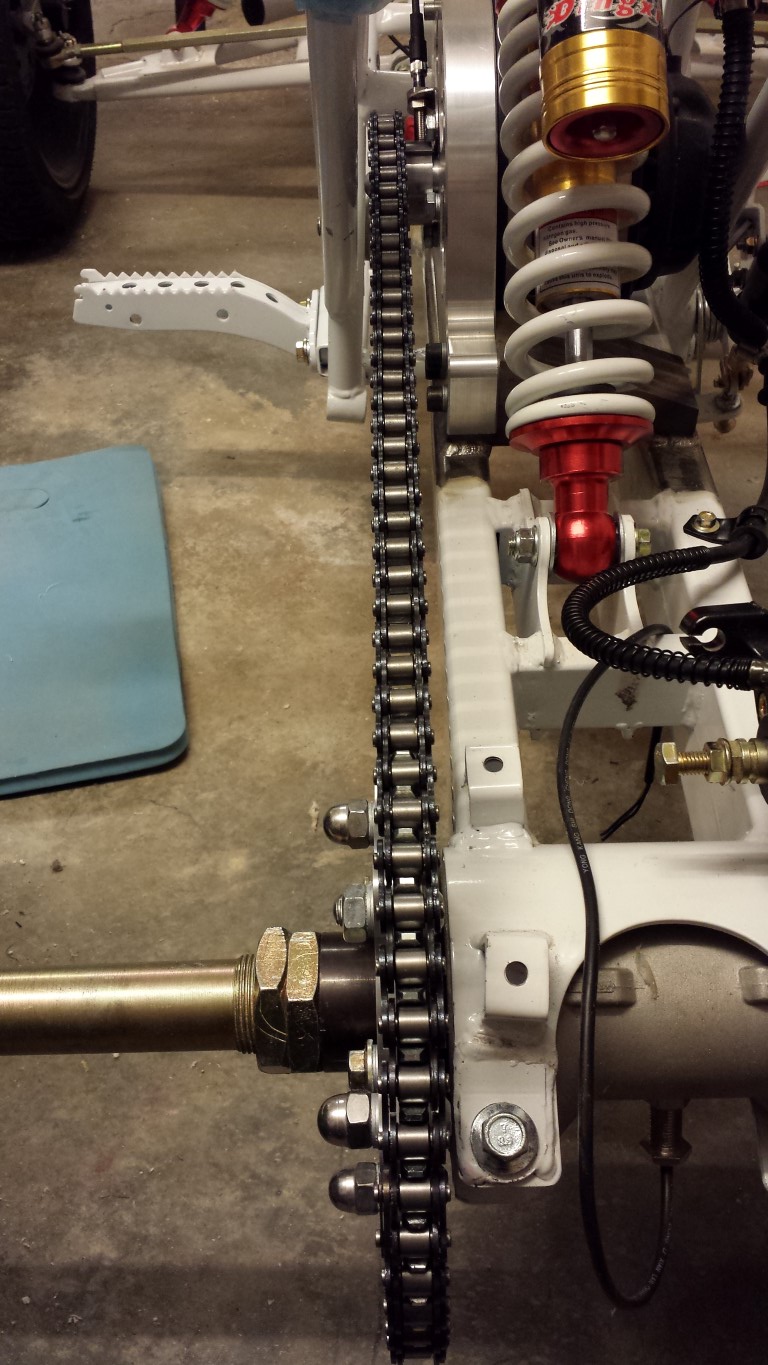
Here's the adaptor with the rear sprocket attached to the rear axle. It all fits very good, I was only missing 2 cap nuts. I will replace these later when I have to order some more fastening materials. Also need to get new ones for the 4 bolts on the axle. I ordered bolts with 1.5 thread, but the original bolts are 1.25. Pretty odd since I even measured this beforehand but apparently I made a mistake.
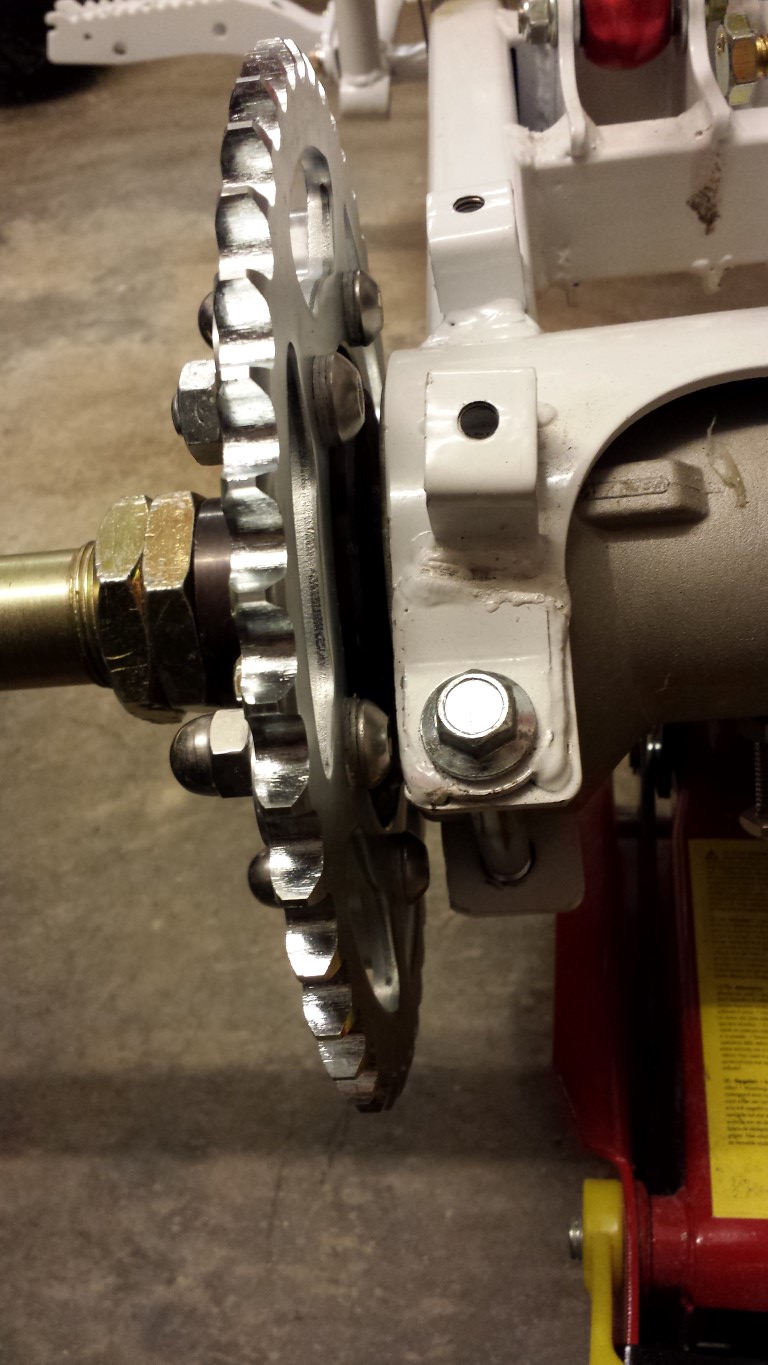
Already chose bolts with a low head to get the most clearance between the bolts and the rear swingarm which was definately a good choice. To be sure I even filed some of the welds that were sticking out. On some points there's like 1,5-2 mm clearance. So it barely fits. But it's mainly because of the Nord-locks that are inbetween. I'm really a big fan of these rings so I use them everywhere on parts that shouldn't come loose.
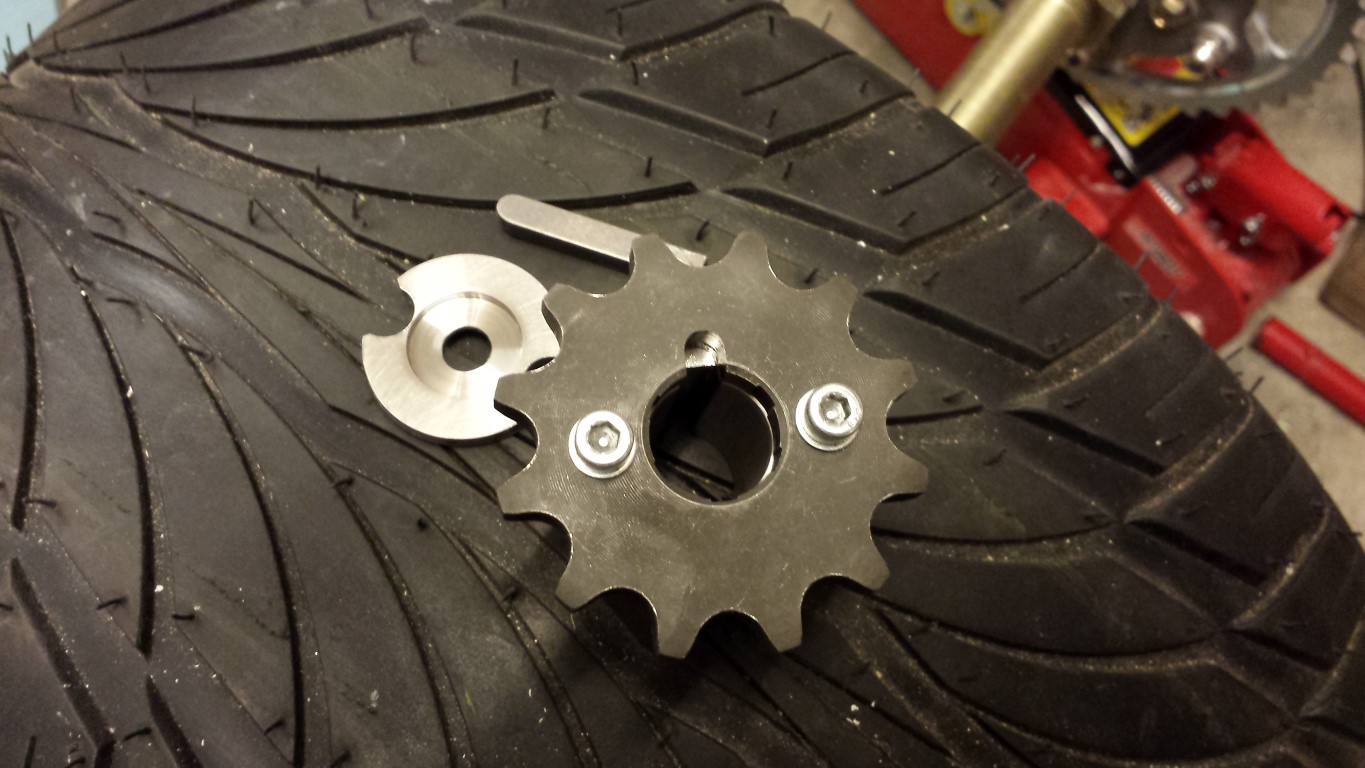
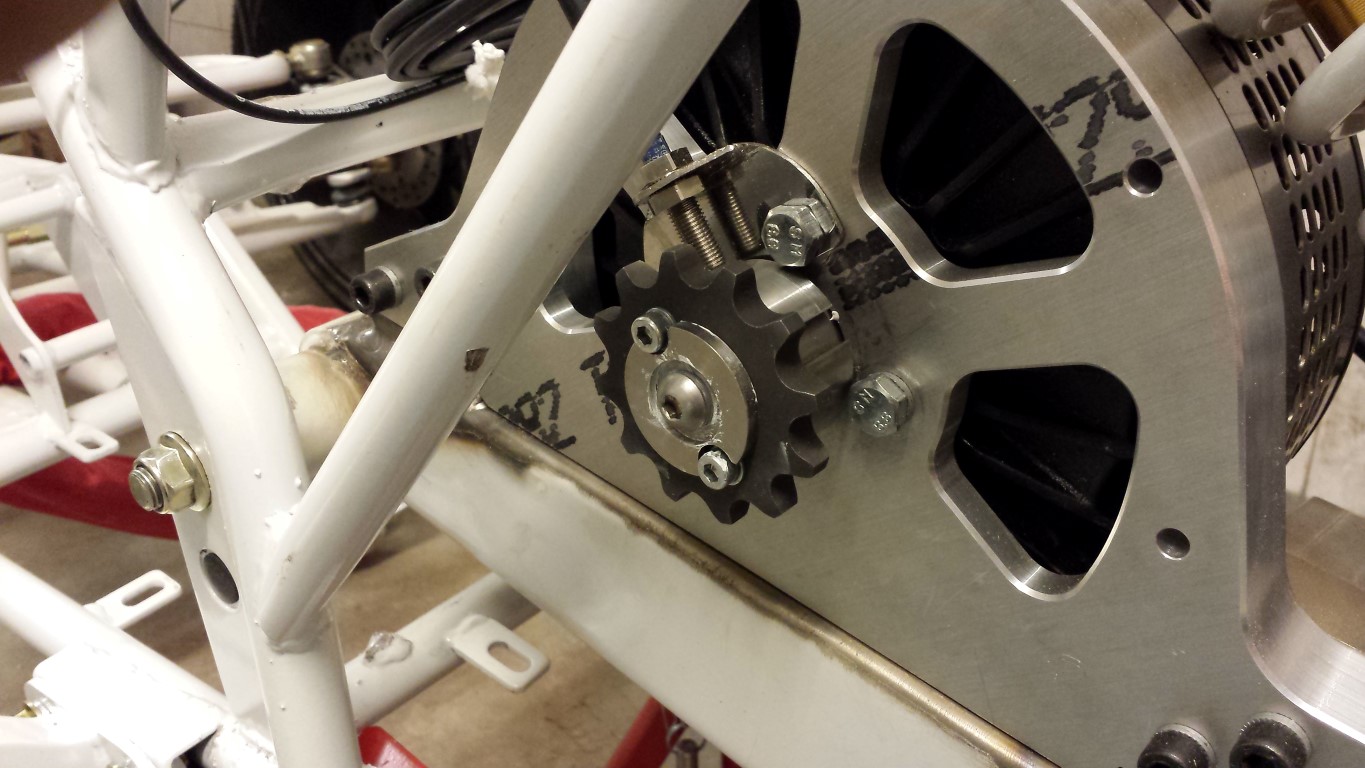
So rear end done, back to the front. The adaptor for the front sprocket has been modified quite a bit. The grooves for the sensor weren't equal and the side where the sprocket attaches to had to be rounded off a bit. There's also finally a keyway in there. And that ring has been made a little deeper in the middle so the bolt that comes on there has some more clearance with the quad bike's frame. So now it finally is exactly the way I wanted it from the beginning.
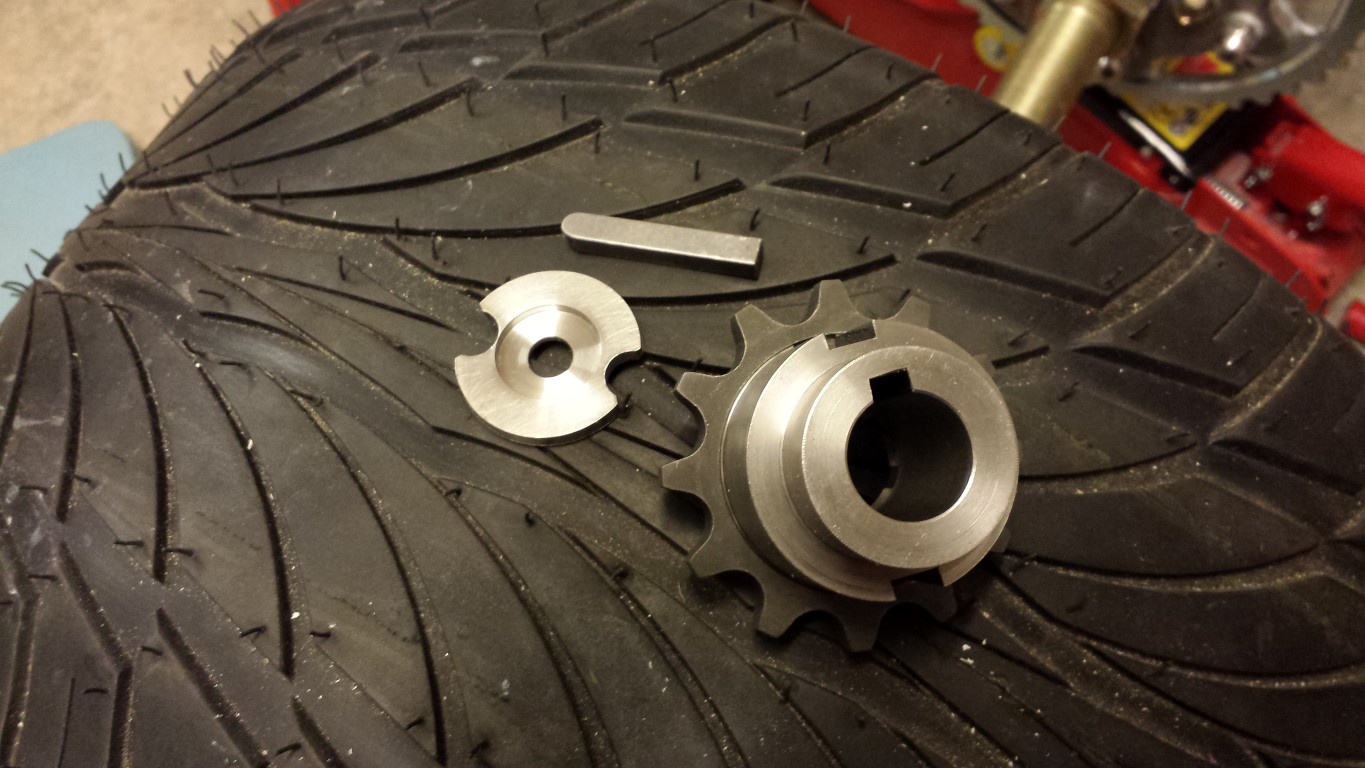
The keyway is also in the sprocket itself for some extra strength. I thought the 2 bolts alone wouldn't be enough with all the force that will be on here. The sprocket was very hard so they did this with a small router bit instead of broaching. Because of this it's rounded on the top but this doesn't matter at all for the key. And you won't see this anyway with the ring on there.
Here's the whole adaptor with sprocket attached to the motor's axle. There's still a very minimal amount of play though between the axle and adaptor, not sure if this will be a problem.
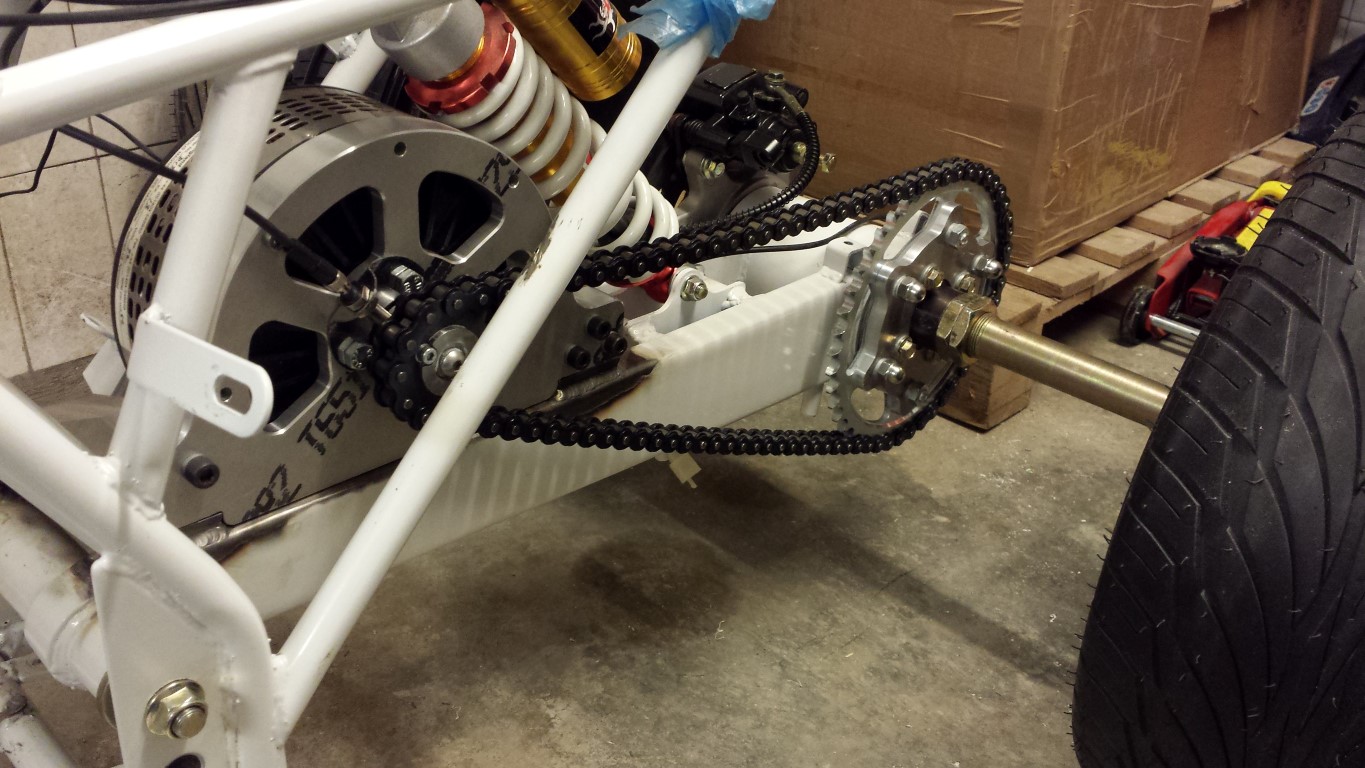
And with the chain on it again. I measured and turned it around a few times, the chain is sitting perfectly in the middle of the sprockets. This means it runs perfectly straight which is what I was hoping for.
Here a complete picture of what it looks like right now. Ofcourse I wouldn't really say something negative about it myself but I really do think it looks very nice now.
So I'm happy to say that this part of the project is finally done. The next step will be the controller mounts. Just still have to measure a few things and check if everything is right, then I can also have them made at the same metalworking company.