Blog / May 2014
Posted on 31 May 2014 at 11:55 pm (CET)
Category: Batteries
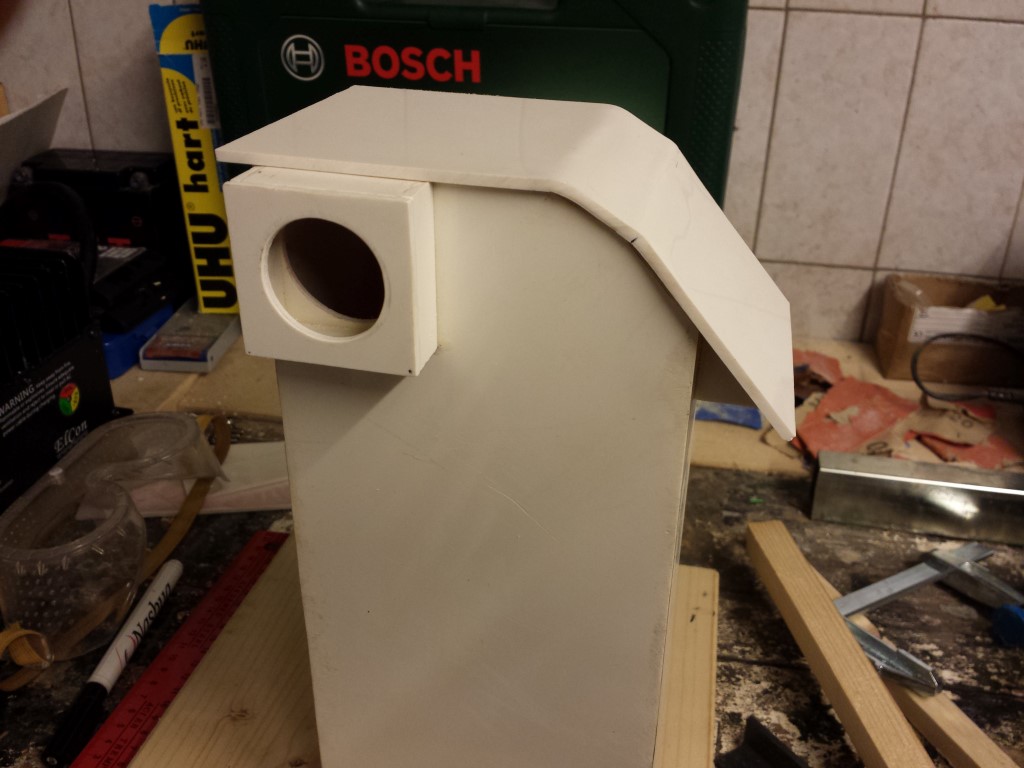
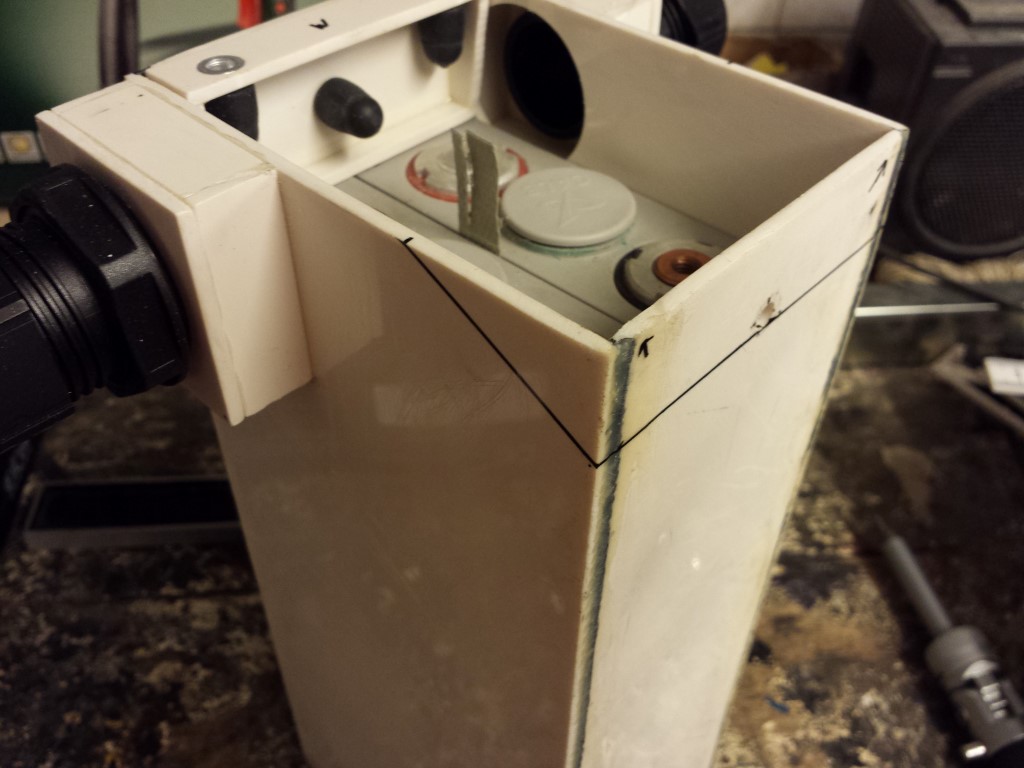
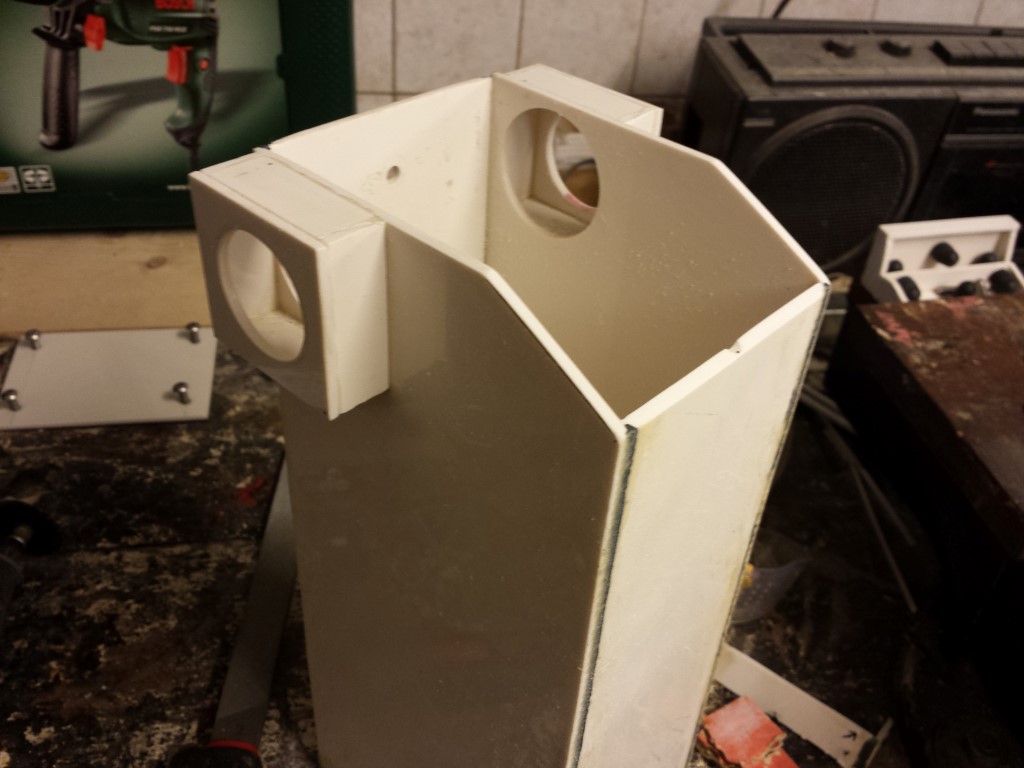
Today I modified that small battery box a bit since this one didn't fit very well below the carbon front fender. First I just cut a small part off to try.
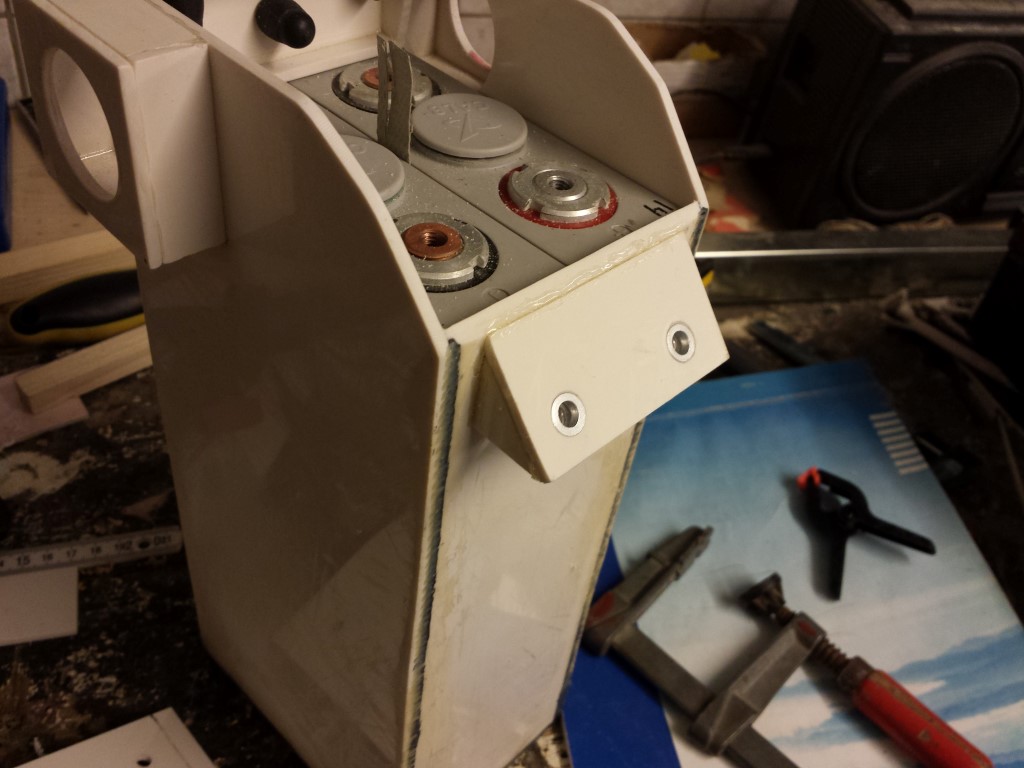
But this just wasn't enough, so I had to cut off some more. Because of this I had to move the mounting points for the cover to the outside and there's also no clamp for the batteries on this side. But this isn't really a problem for this box since this will be placed almost straight up, the one clamp on the other side should be enough.
Also made a new cover since this had to be a bit longer. The bending went pretty well.
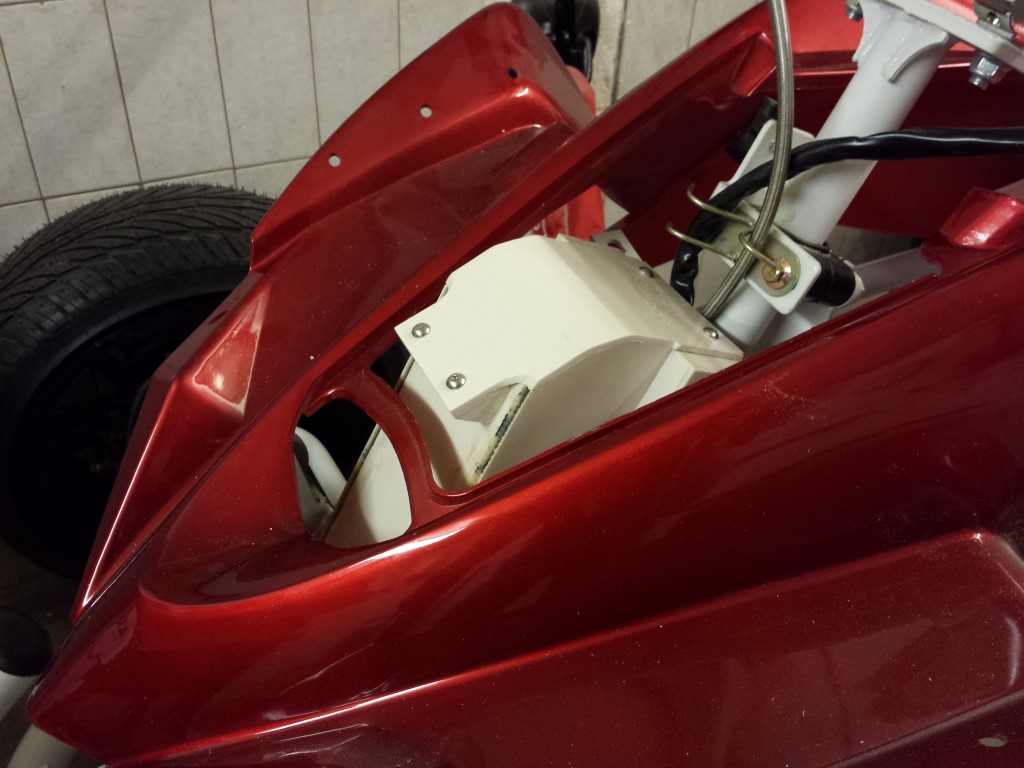
After that I made the holes in it, attached it and evened it out nicely. Then I tried fitting it again. Fits reasonably good now. Still not perfect but I can't cut anything off it anymore. If it won't work out like this I'll unfortunately have to modify the carbon fender a bit. But I think it'll be fine.
And ofcourse also a new layer of EPDM rubber inbetween.
Also rounded off the corners on all battery boxes where the steel corner profiles will come up against since the corner profiles are a bit rounded on the inside as well. So tomorrow I can finally start making the corner profiles to size.
Posted on 29 May 2014 at 12:29 am (CET)
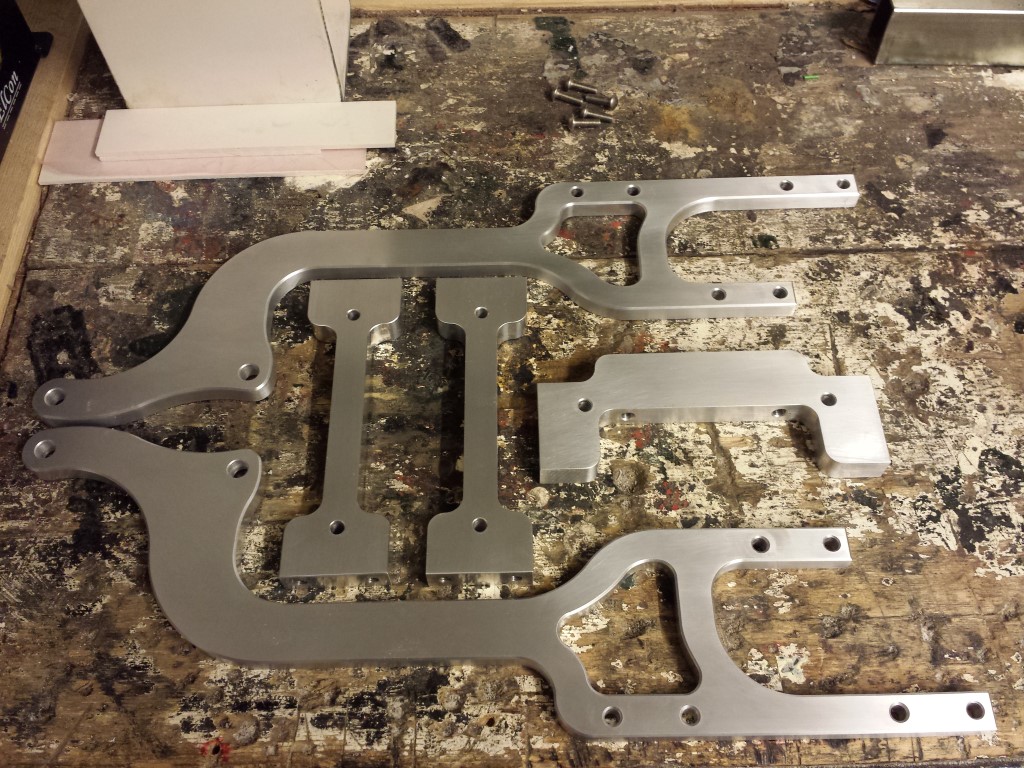
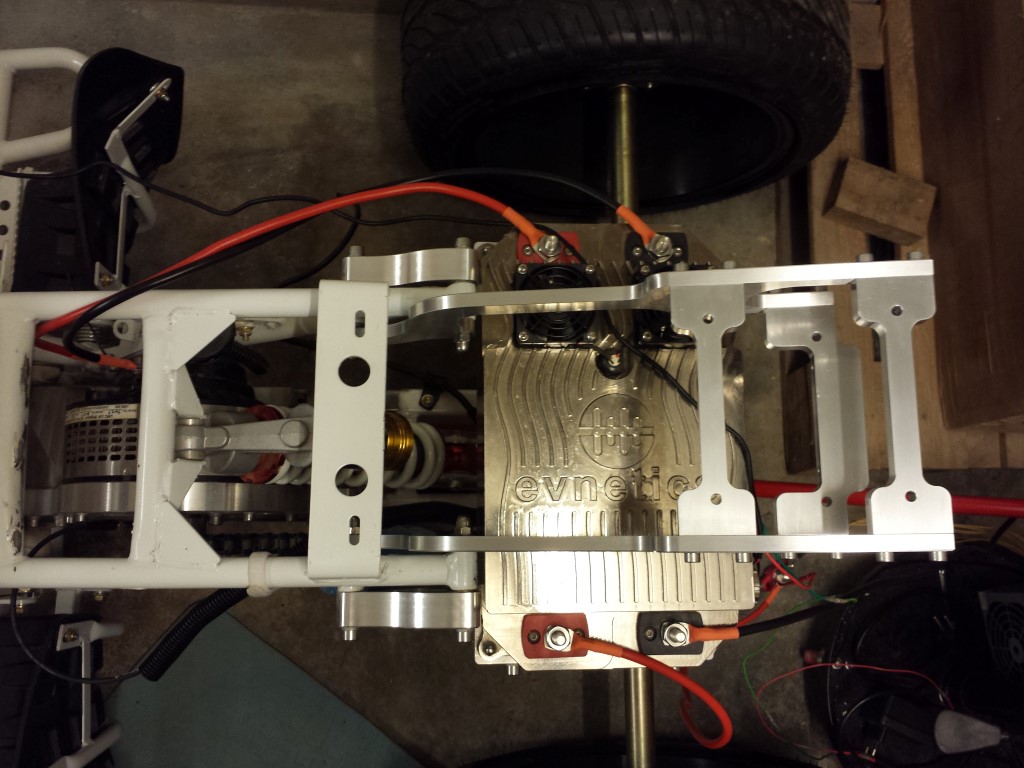
Some good news again today, the mounts for the top case and rear lights are done. They're really nice looking again thanks to Geraets Metaalbewerking. It's always amazing to actually see something like this made from a drawing. Here are all the parts together.
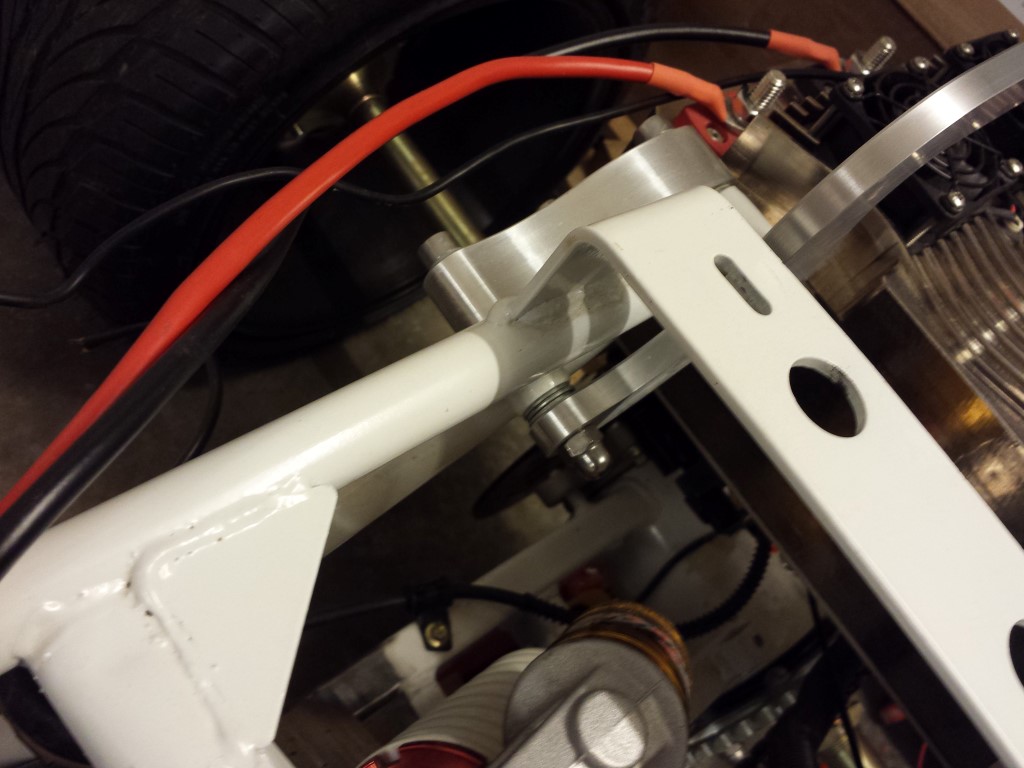
Attaching them was a bit difficult, the mounts weren't the problem but ofcourse the Chinese welds again. Had to add quite a few rings again to get the mounts straight and make them fit. But it's not that bad, I think I just need to get some longer bolts now since the nuts are barely on there.
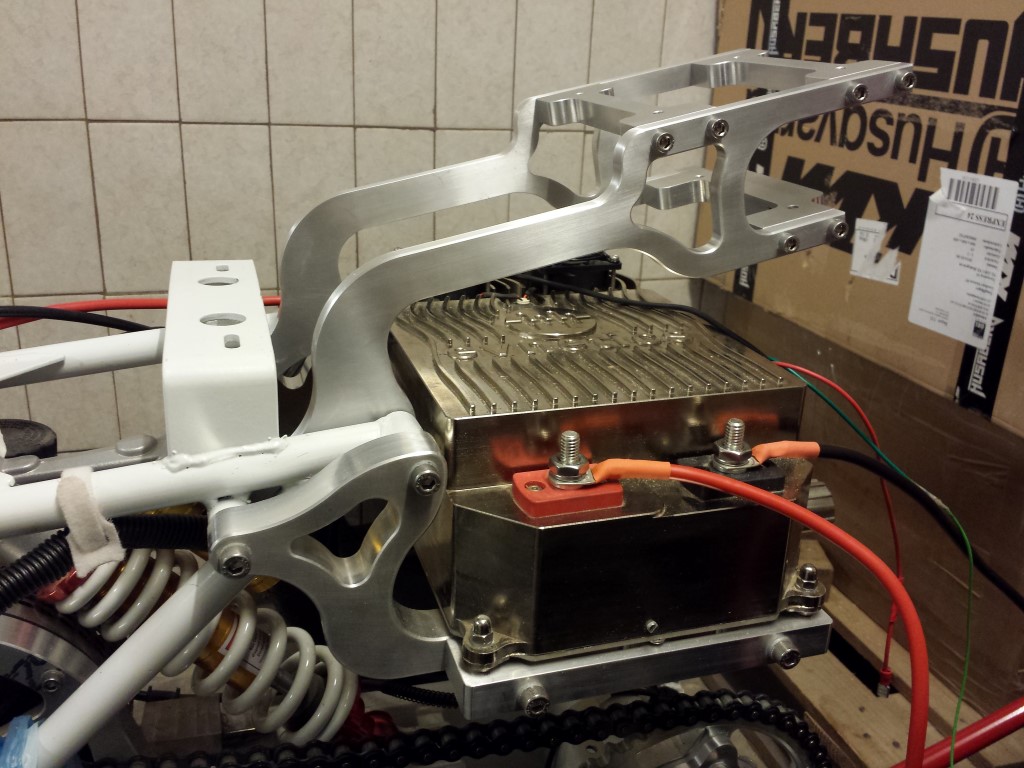
But eventually they were nicely attached to the frame.
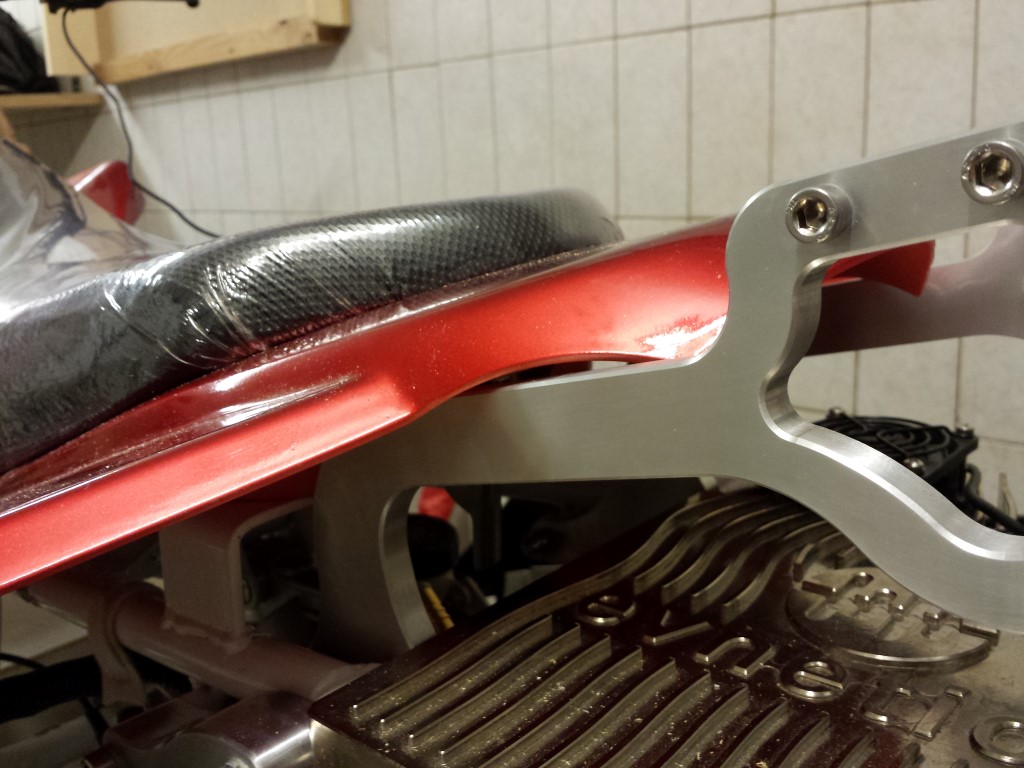
And with the fender it just barely fits, it was meant to be this way but it was still pretty exciting if it would actually fit or not.
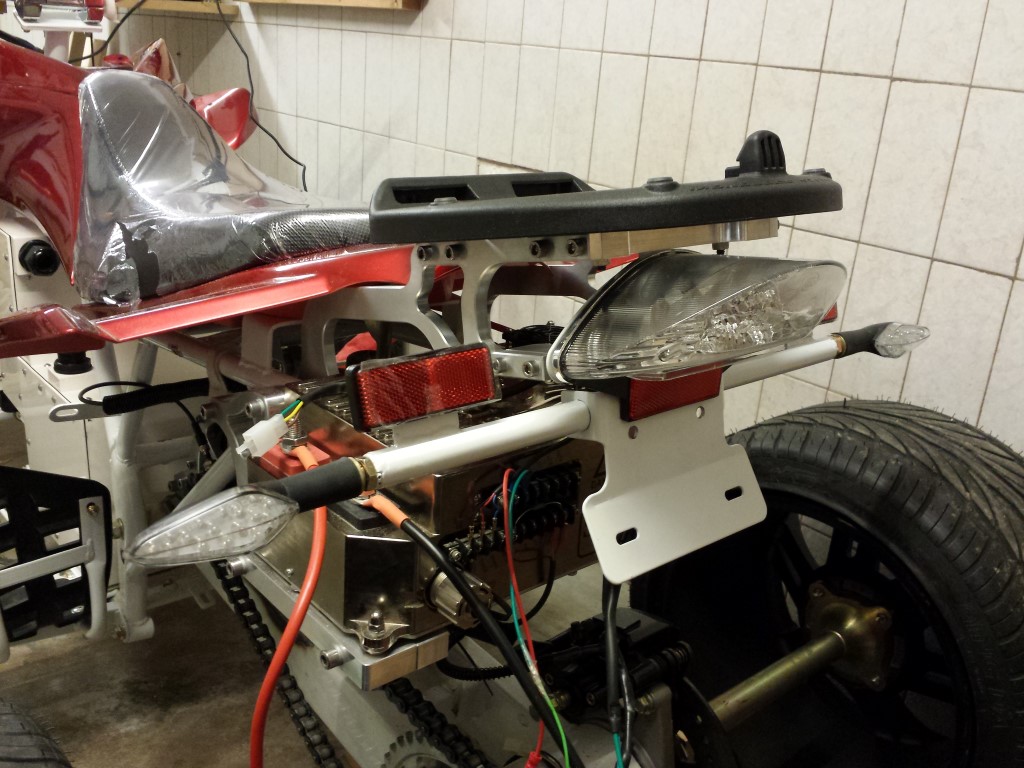
The lights and mounting plate for the top case attached. I thought I'd have to modify the rear light a bit so it could sit a bit lower but this is not necessary, fits just right with about 0,5 mm of clearance.
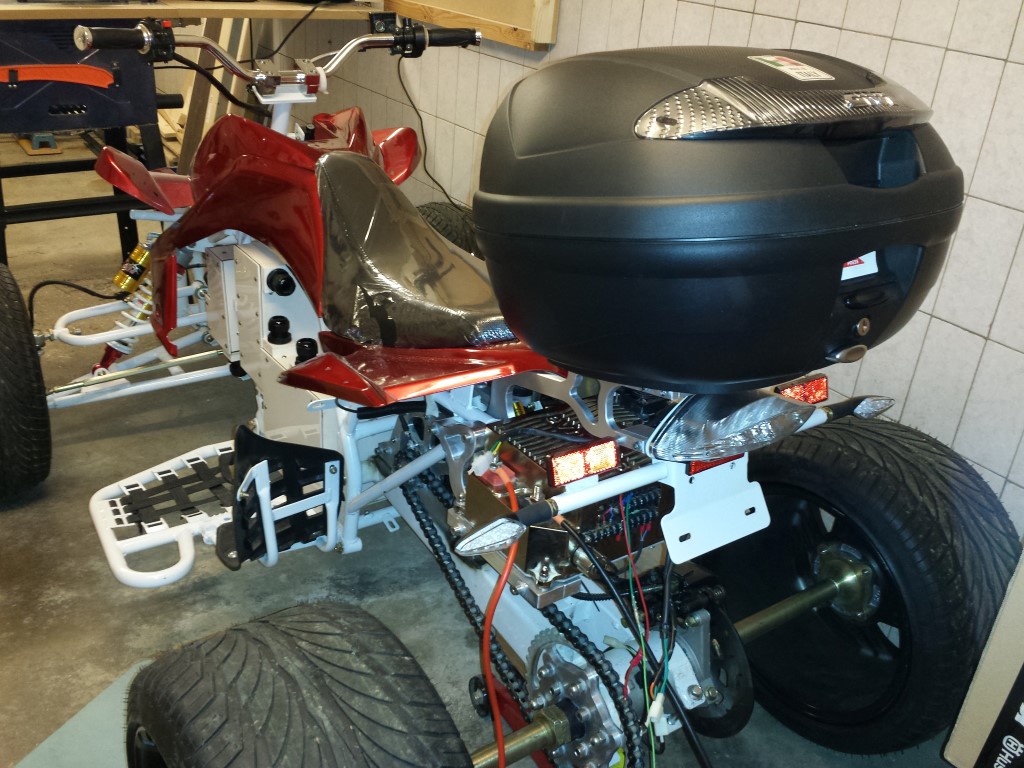
And then with the top case on there. Looks pretty nice, doesn't sit too high or too low. And also not too much to the rear which is usually the case with most of the top cases. It's also very firmly attached, if I try to move the top case the whole frame moves. So the mounts are definately strong enough as well.
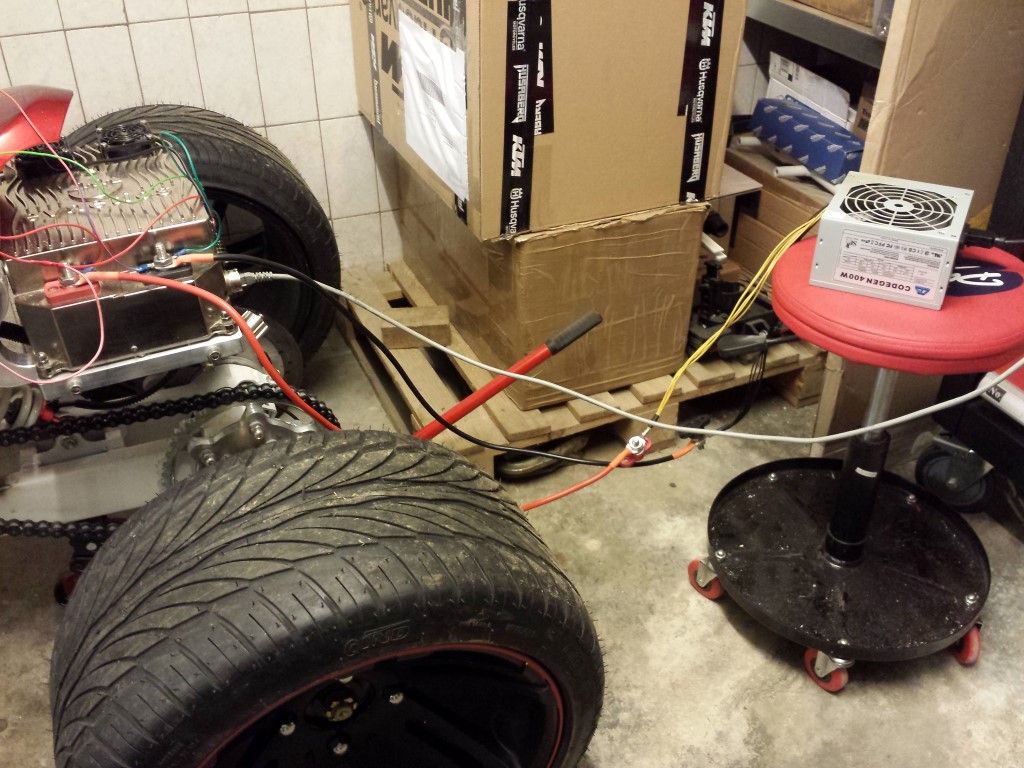
Meanwhile I also modified an old power supply of a computer to be used as a 200W 12V converter. I can now easily use this to test some things sometimes. Much easier than having to charge that small 12V battery every time which is always empty again after 5 minutes.
I've also been busy modifiying the small battery box, but I'll probably show that tomorrow when it's done. This weekend I'll start on making those steel corner profiles to size.
Posted on 22 May 2014 at 10:46 pm (CET)
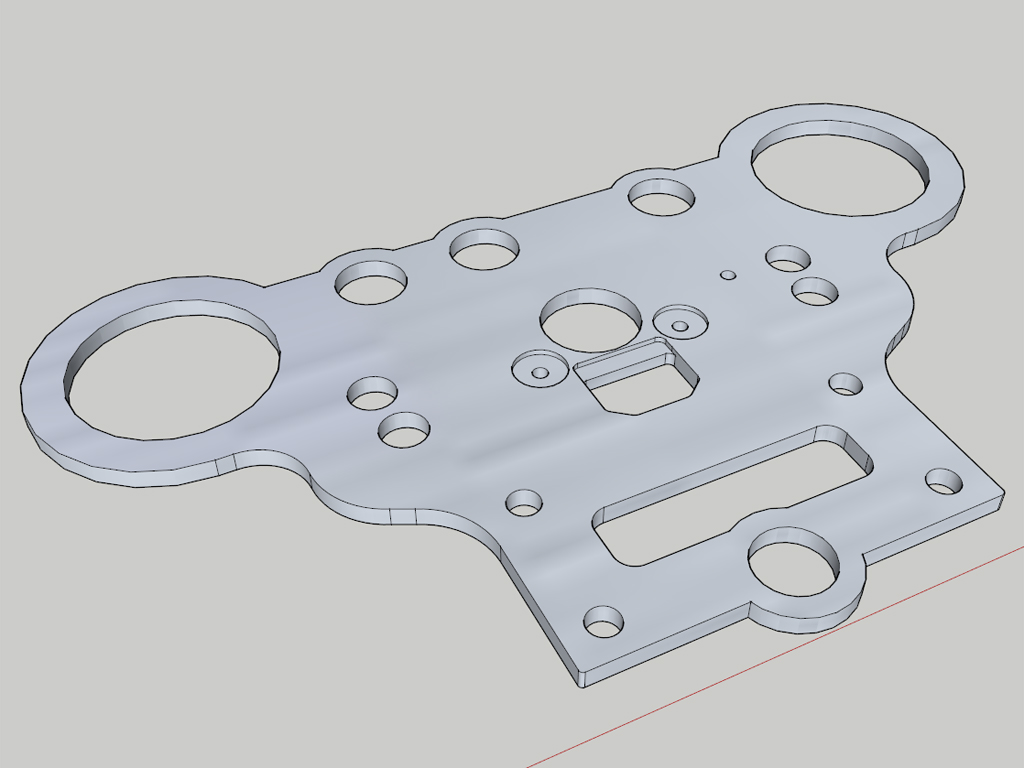
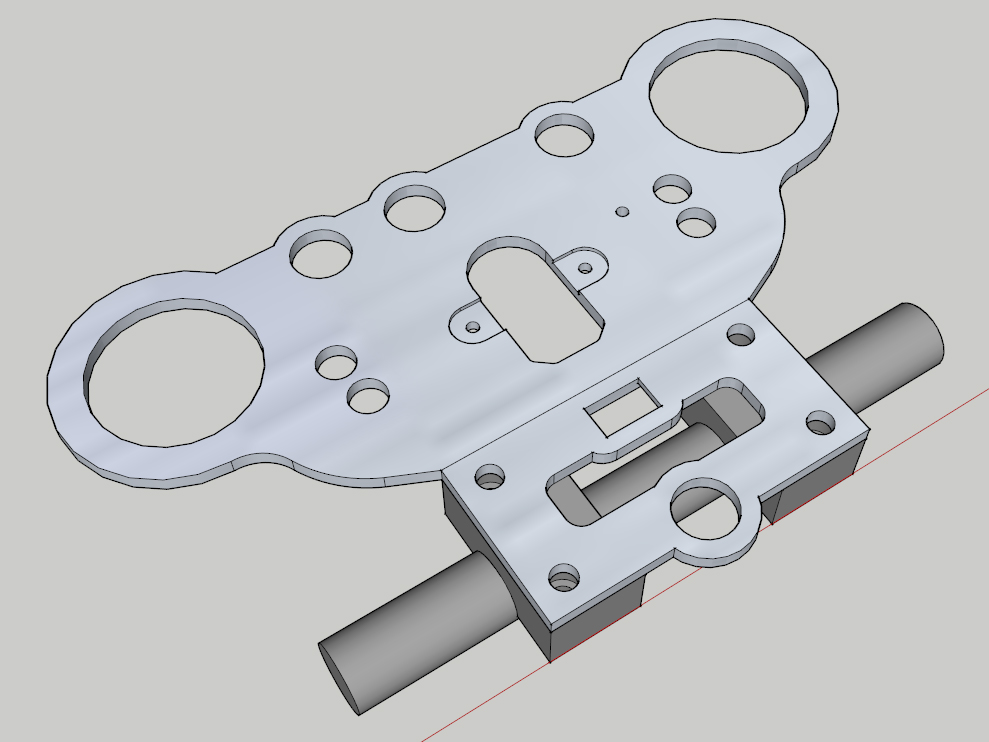
I've made some drawings again. These will probably be the last 2 aluminium parts that still have to be made. First is a mounting plate for all the gauges and switches. This will be mounted on the handlebar.
As usual I made a paper model of it to see how everything would fit.
It all fits pretty good, just the angle of the gauges isn't really that great. Would be better if the plate could be bent to an angle of about 20 degrees, would be looking straight at the gauges then when sitting on the quad bike. I modified the drawing a bit to make this possible. Also made some small changes to make it easier to route and added another hole for the hazard lights switch. The plate will be bent by about 20 degrees on that line in the middle.
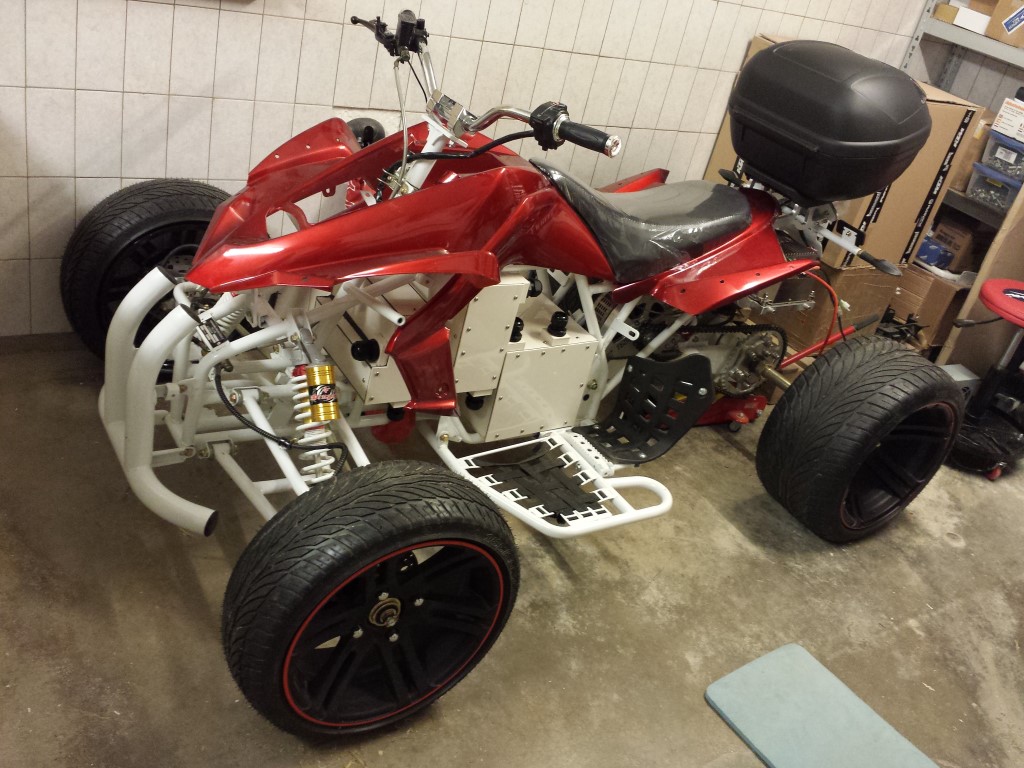
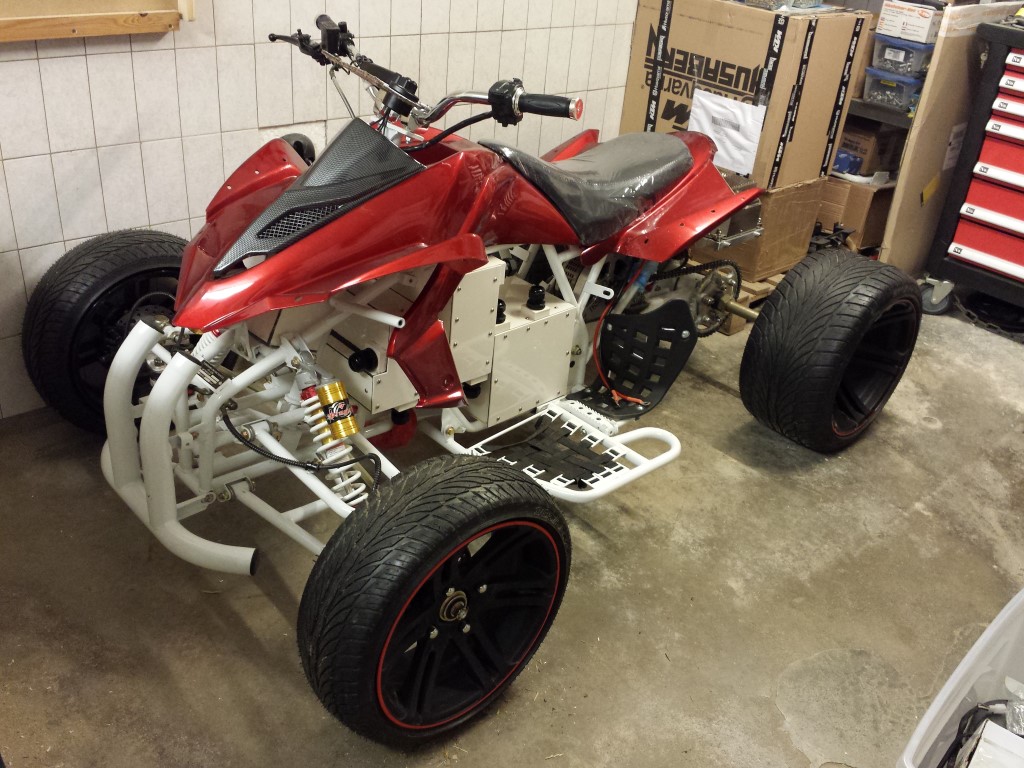
To be able to measure a few more things I had to place the fenders again. So here's a nice picture of the whole quad bike. It's actually starting to look like something.
I just ran into a problem with the battery box that's in the front below the carbon fender. It barely doesn't fit and the box is being pushed against the steering shaft which isn't a good thing. So I'll have to modify this box a bit, make it beveled on one side. Because of this I also haven't been able to saw the steel corner profiles to size yet since they'll have to be different for this box as well.
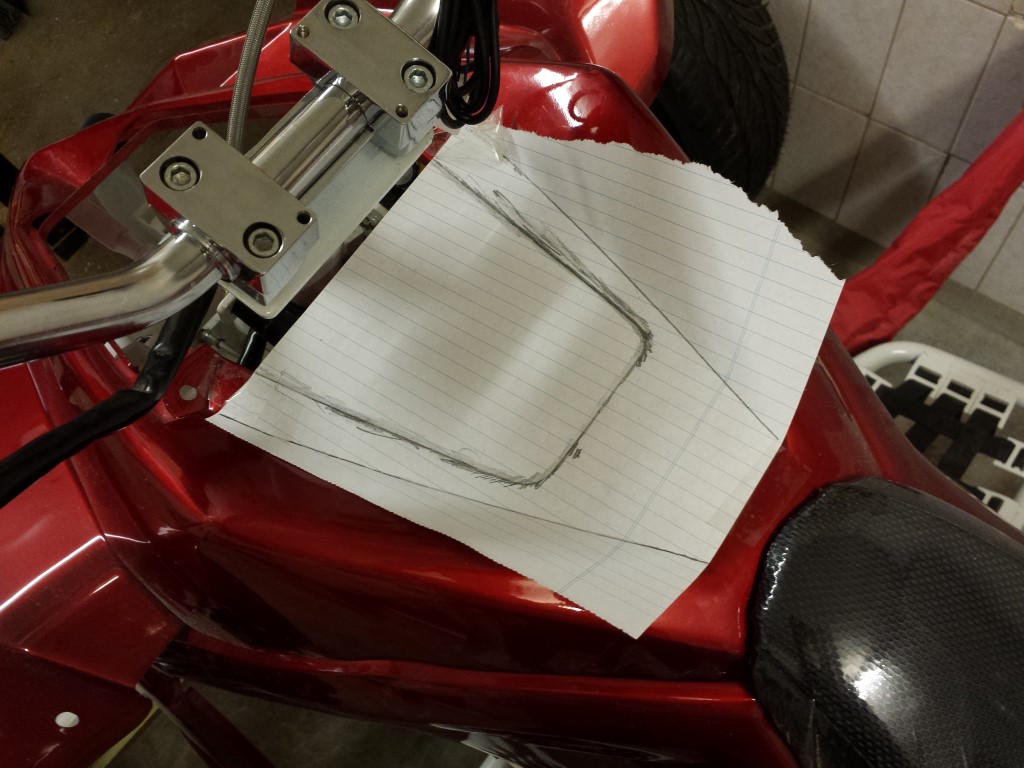
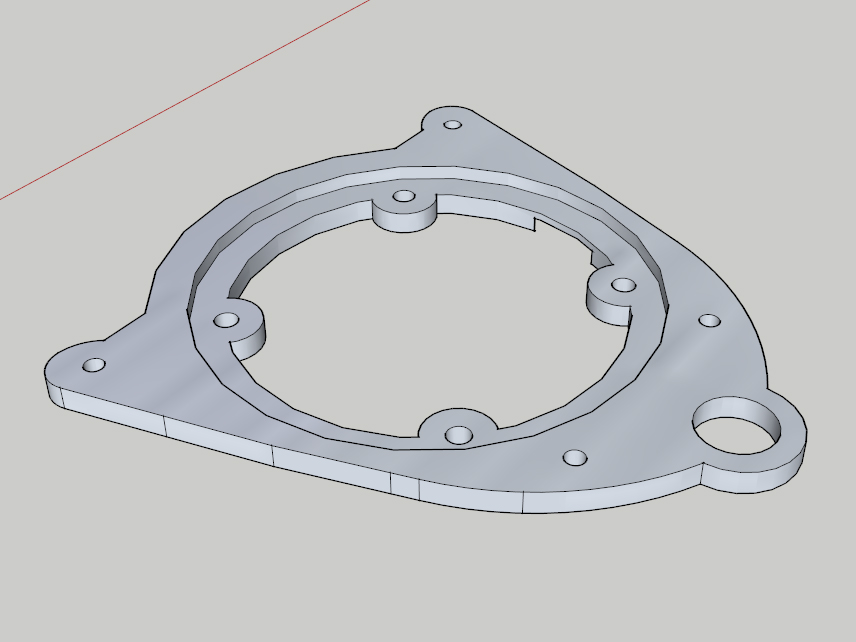
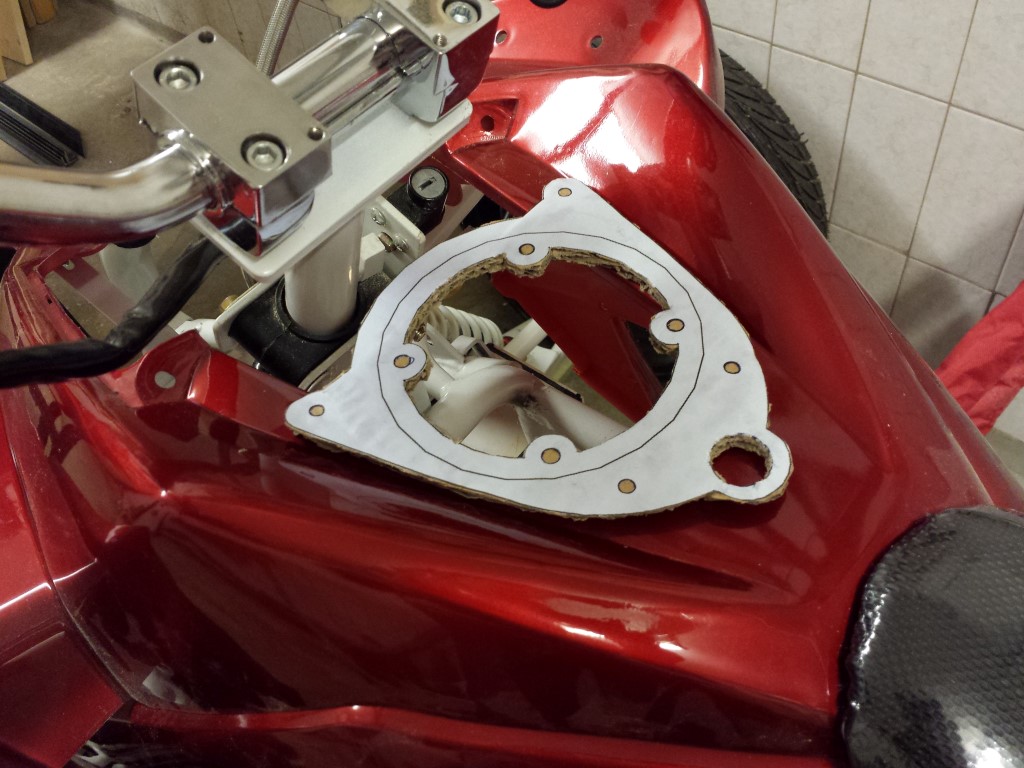
Then there's still the other plate. This one's for the charge inlet and will be in the same spot where the gas filler cap once used to be. For this I needed all the sizes of the fender which is quite tricky since the lines aren't straight but bent just slightly. I had the idea of just sticking a piece of paper on it and then try to find the lines with a pencil, worked pretty well.
Now I could easily measure everything while drawing without having to take the whole fender with me.
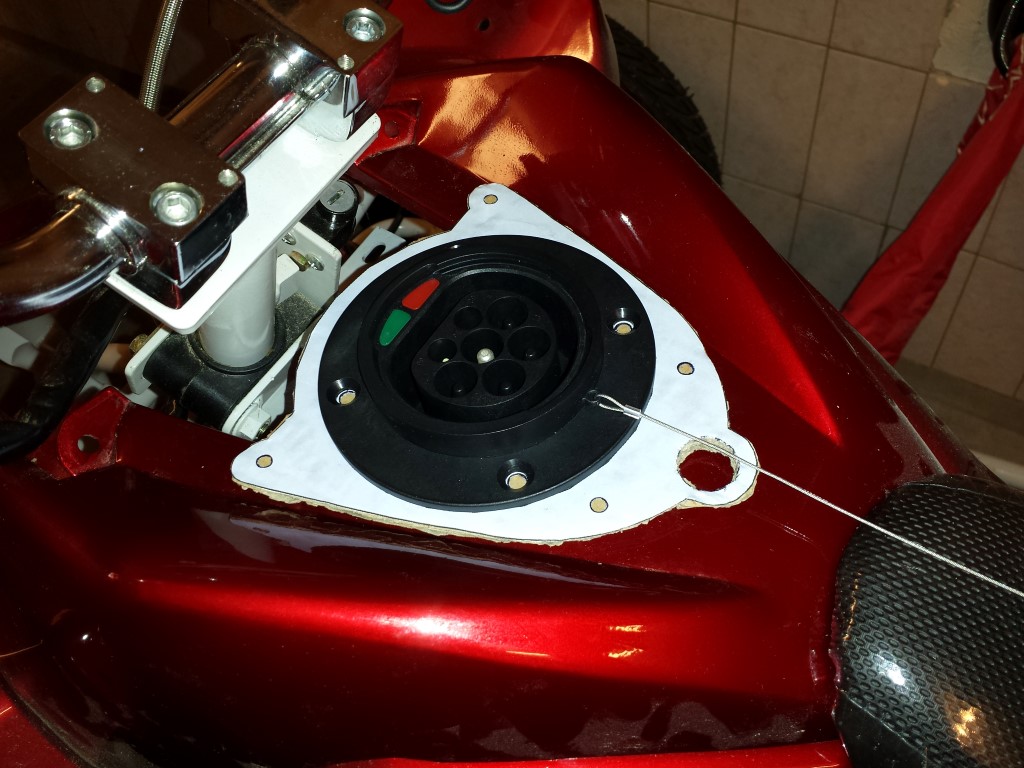
I again made a paper model of it and it all fits perfectly, no modifications needed.
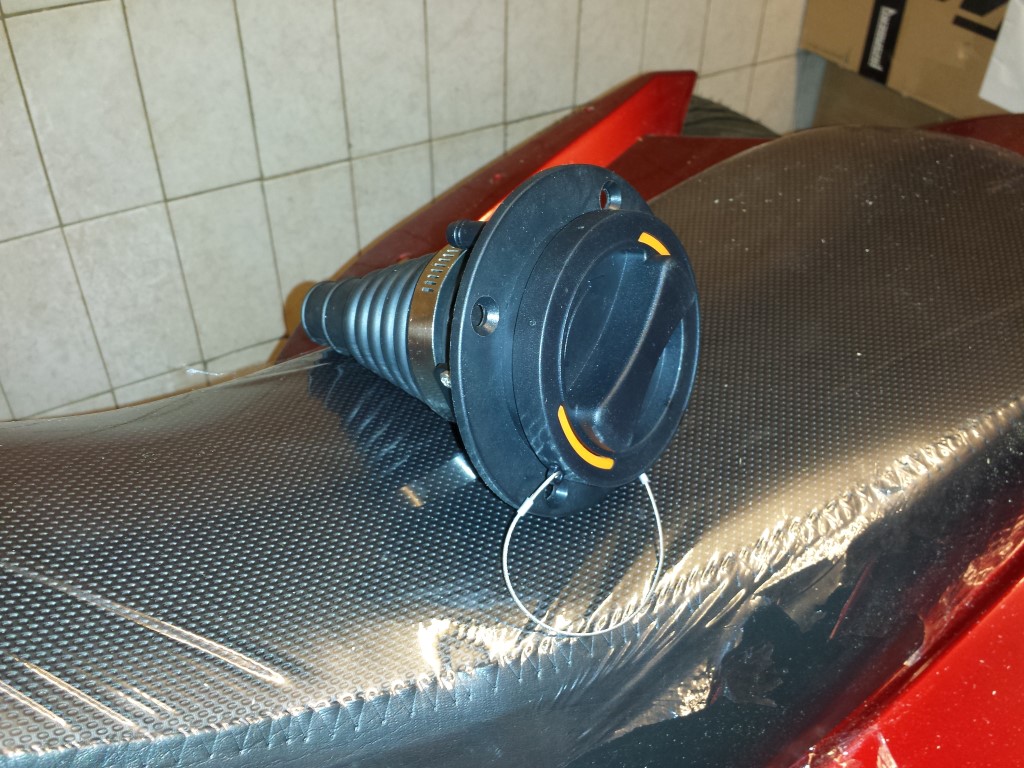
The charge inlet is new after some advice from Rebbl, this is a mode 3 type 2 (IEC 62196). It's the standard everywhere in Europe now for all electric vehicles. Last year or so I already bought a CEE inlet but meanwhile this won't be approved anymore at the RDW (our institute for road safety). So unfortunately I had no choice but to buy this one. But I'm quite happy with it now, it's much more solid, safer and also waterproof.
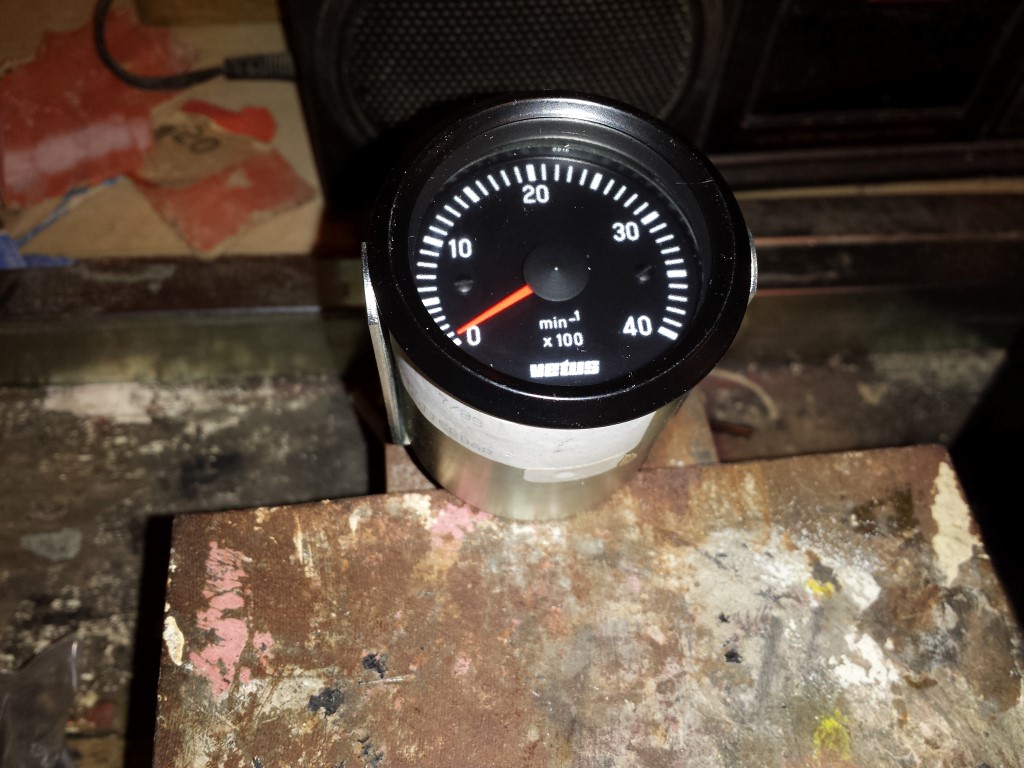
Also bought a new analog tachometer for a very cheap price. But unfortunately I can't get this one to work either. I was really sure it would work with this one since it normally gets connected to the alternator and also gets a pulse signal. But it doesn't do anything with the pulse signal that's coming from the controller. So I'll have to look for a solution again.
Posted on 16 May 2014 at 01:26 am (CET)
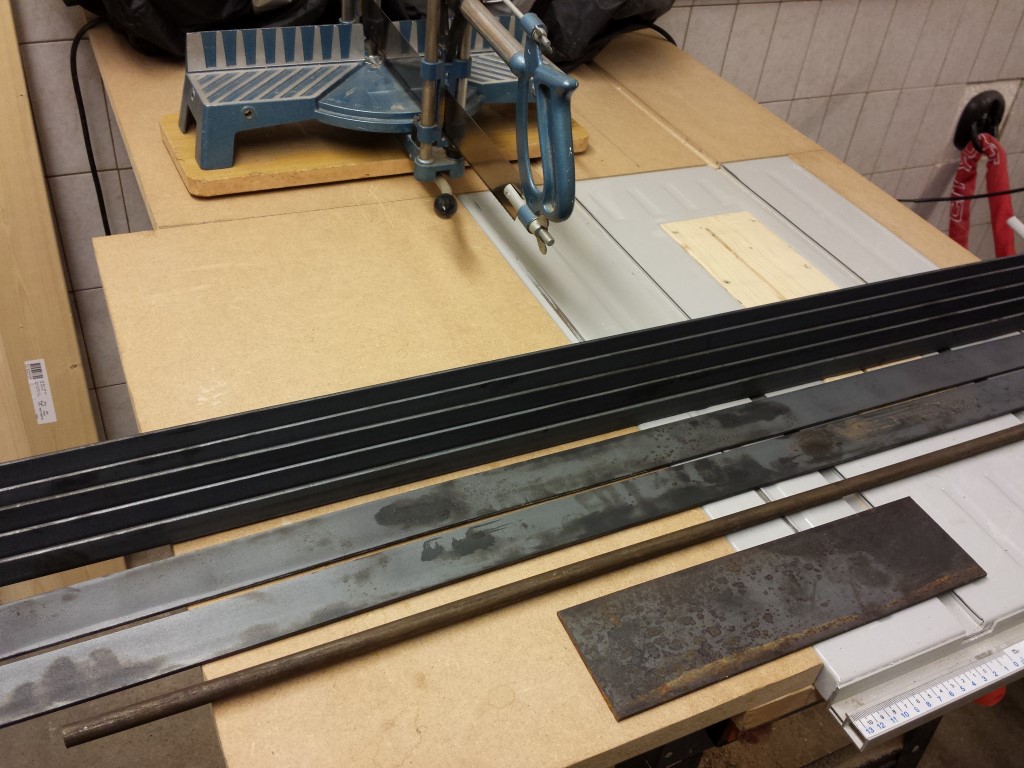
Another small update. A few days ago I already got the steel corner profiles, strips and a plate for the battery boxes and charger. It weighs quite much all together. Wanted to try and saw this by hand with a mitre saw but after half an hour I only sawed one profile so I stopped. Meanwhile I've bought an electric mitre saw which can be used for wood, aluminium and steel, will always be worth it's money that way. Tomorrow or this weekend I'll be able to continue again with sawing the profiles.
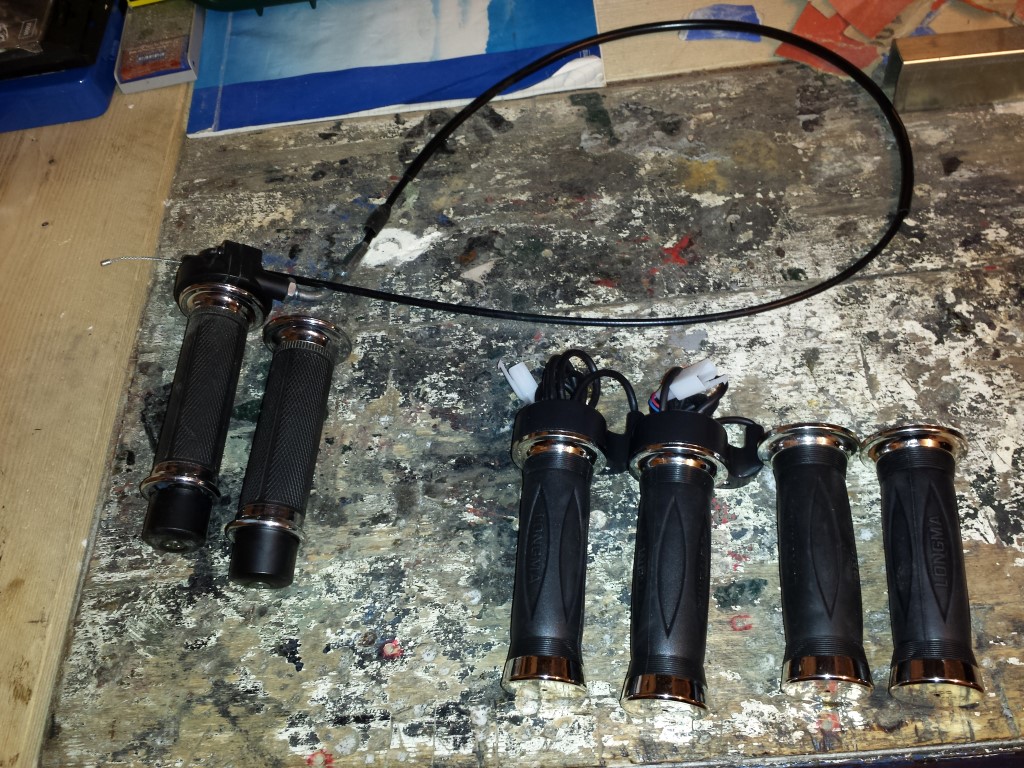
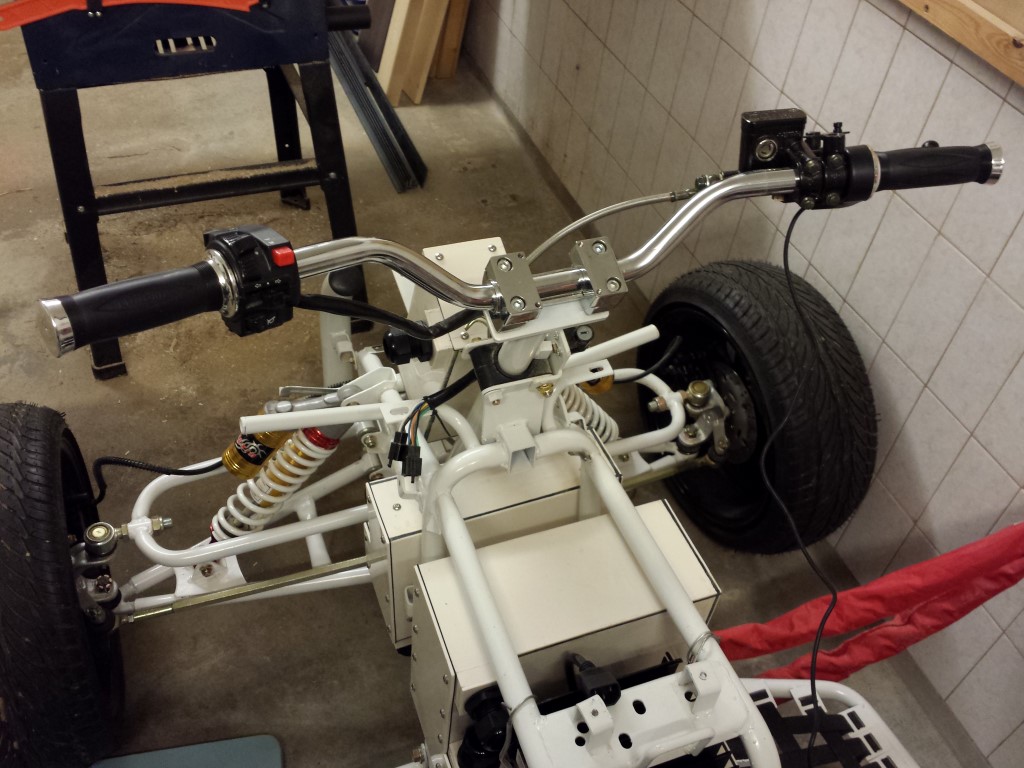
But that wasn't all yet, I also went shopping on Ebay (will have to be careful with this, already seen many nice things) and got a new throttle with grips. Not to make it look better or anything like that because they look pretty much alike and are still Chinese but this is one with a hall sensor built in. Now I won't have to use the seperate potentiometer anymore where the throttle cable was attached to. And also won't need a throttle cable anymore. That's probably the best thing because I still remember really well from my scooter era how annoying these throttle cables can be when they suddenly break. Now there's a cable going straight from the throttle to the controller, or like they call it drive-by-wire. They're a bit shorter than the original and closed on the outside so everything's moved a bit more towards the ends of the handle bar. Will have to wait and see if I like it this way, otherwise I could just cut off a small part of the handle bar on both sides. Also bought a 2nd set of these as backup, they're still Chinese ofcourse. Was pretty cheap anyway.
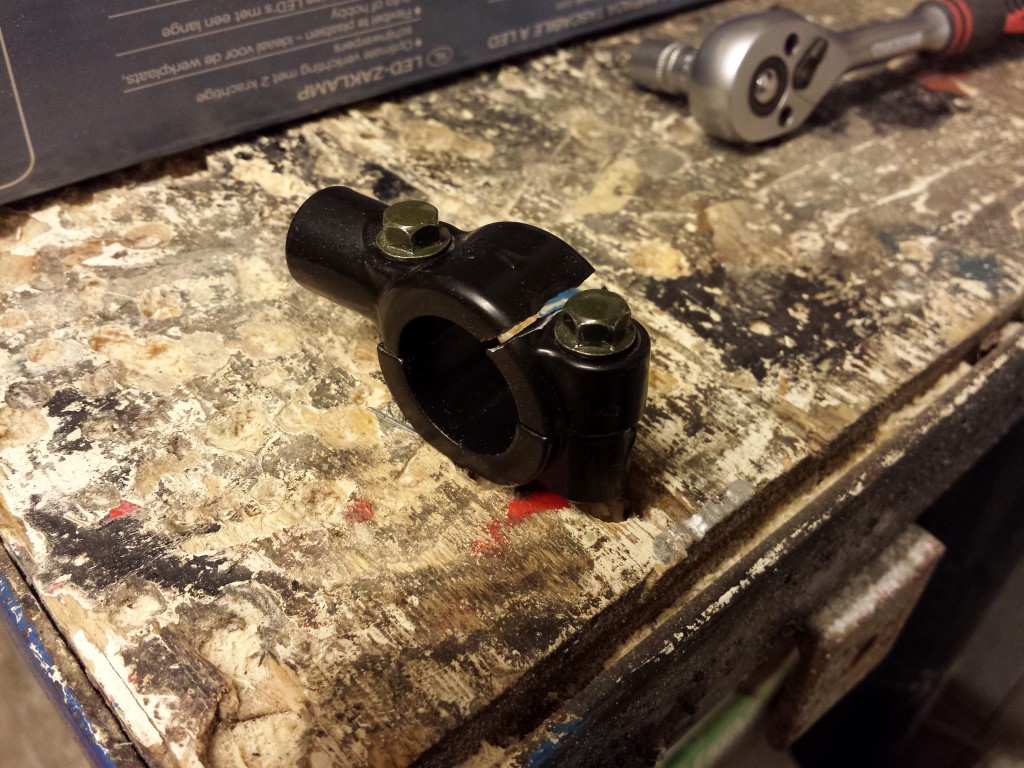
I also wanted to move the mounting points for the mirrors a bit, it went well on one side but on the other side not so much. This is what happens when you overtighten them just slightly.
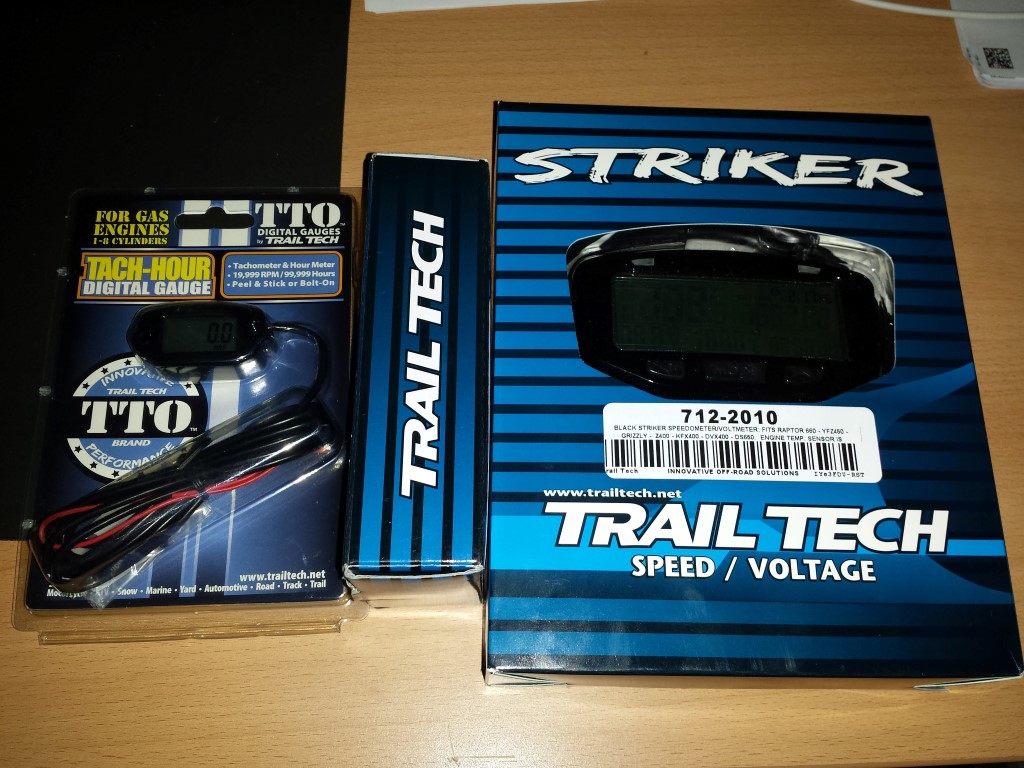
Also received a new digital dashboard today. Trail Tech Striker with seperate dashboard around it and a seperate tachometer.
It all looks nice and it's quite a bit smaller than I thought it'd be. But today I also tested that seperate tachometer and unfortunately it doesn't work. Normally its wire just gets wrapped around the spark plug lead to get the pulse signal but this can't be done with mine. The controller does have a function to pass on the pulses of the RPM sensor but when I connect to tachometer to this it unfortunately doesn't do anything. Already contacted Trail Tech about this en according to them this indeed can't be done since it's inductive and needs high voltage (like with an ignition coil). So I can't do anything with this unfortunately. Will have to see if I can send it back. The Striker dashboard I still haven't been able to test yet but I don't expect any problems with this, should all work well.
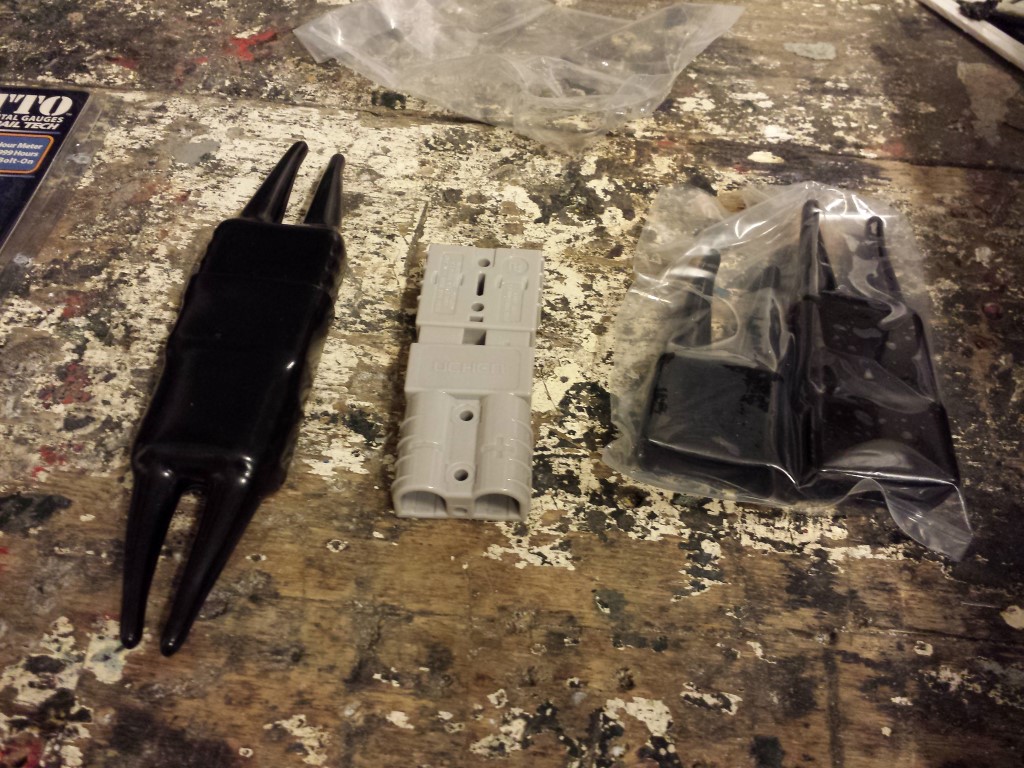
On Ebay I also still found some rubbers that go around the connectors for the charger and DC-DC converter. This way it'll all last a bit longer again if no water/moisture can enter.
Today I also found out that I received the wrong contactors a year ago (for reverse and another one to turn on and off). I ordered them for 72V with 12V coil but instead I now have them with 72V coil. No idea how this could have ever gone wrong because what use is a 72V coil when you're actually switching 72V as well? Seems pretty obvious that this should've been 12V but oh well. Going to contact that company where I bought them from and see what they can do. That was about it for today.
Posted on 3 May 2014 at 12:26 am (CET)
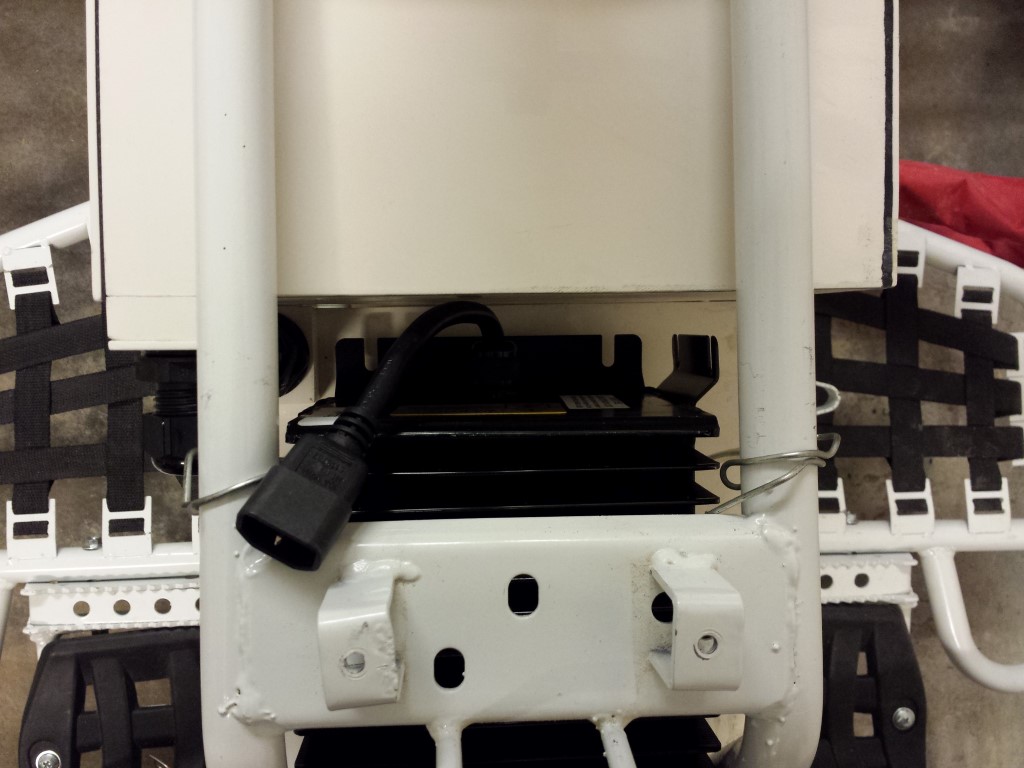
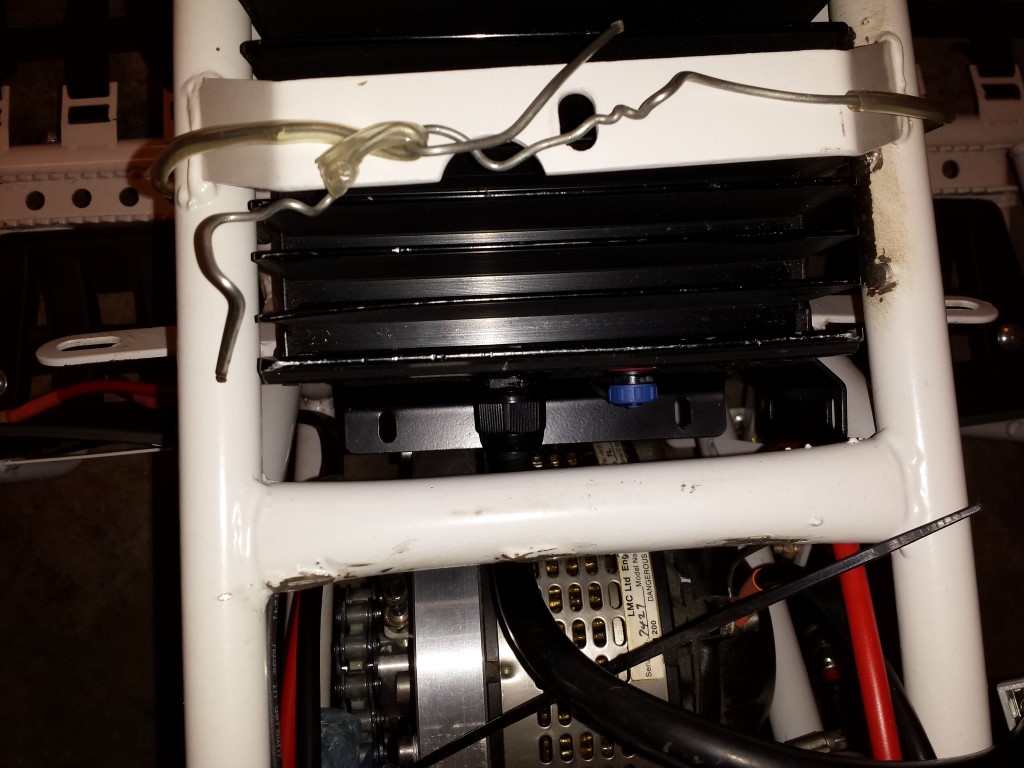
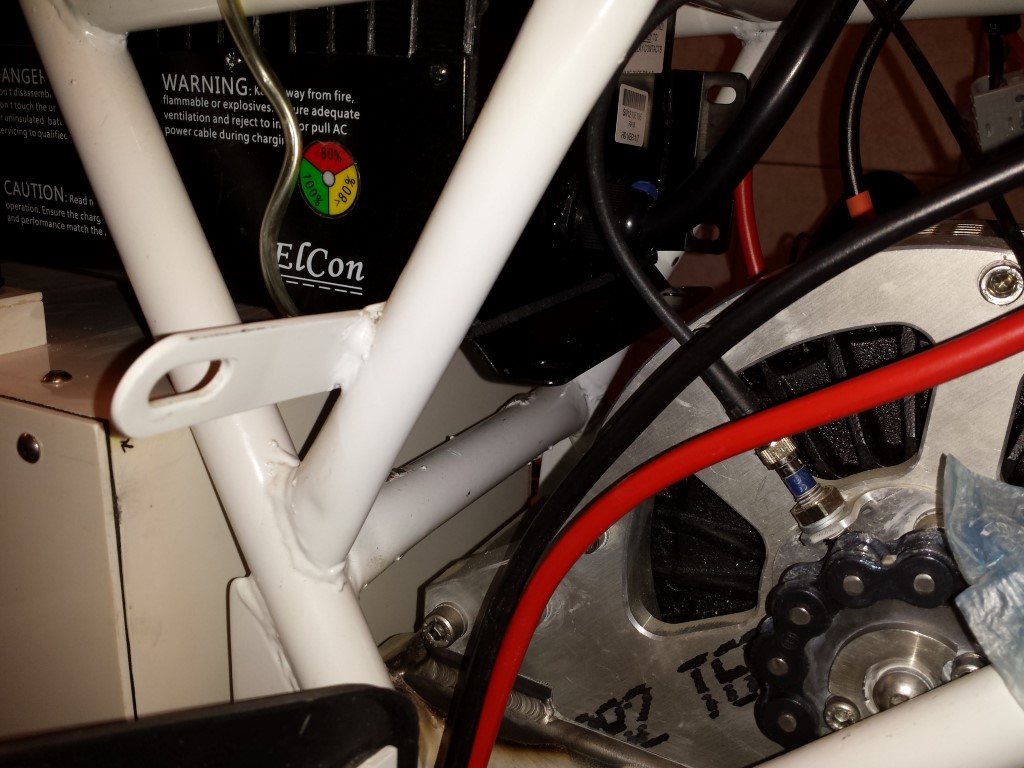
Besides the battery boxes there's still something else that has to be attached to the frame, the charger. Today I checked how it would fit and what I'll have to make for this. Thought I'd show how it'll be placed, don't think I've showed this yet.
It'll be placed as high as possible so I can still easily get the large battery box in and out without having to remove the nerfbar, pedals and heel guards. But I won't bother thinking too much about how to attach this. There are already 4 mounting points on there (also 2 on one side but I'll have to cut these off since they're in the way). On the front I can just weld a thick steel plate at the top between the tubes and place 2 long studs down there. On the rear I can weld 2 mounting points on that tube in the middle and bend the mounting points on the charger itself straight down. Will be firmly attached like that I think.
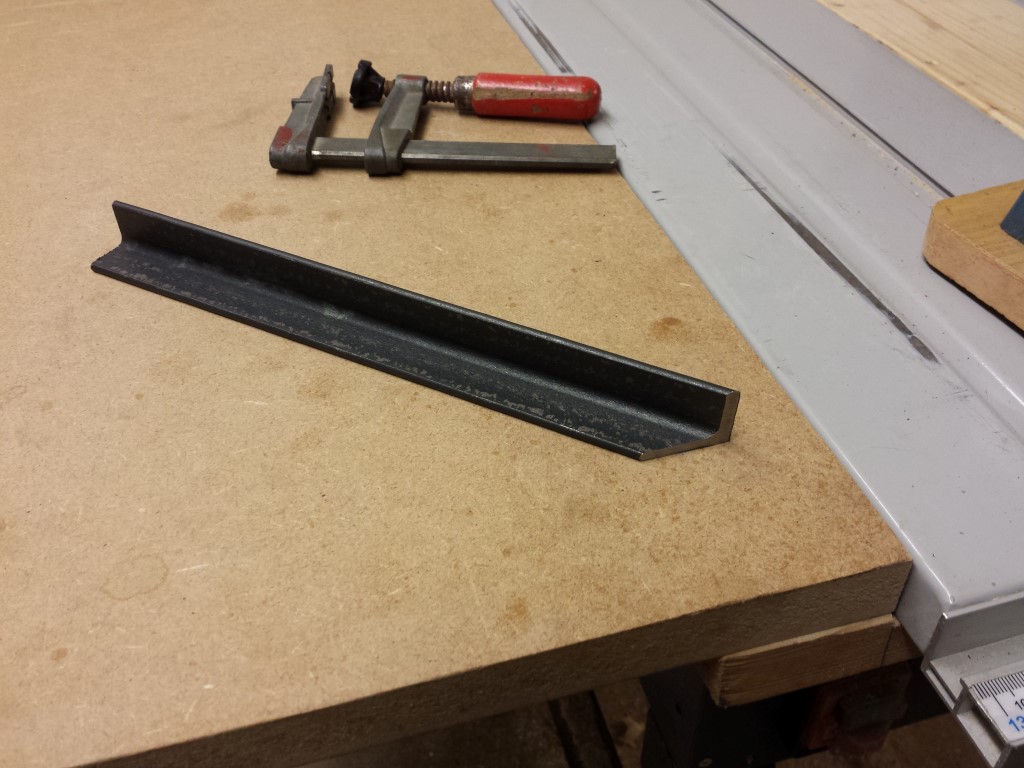
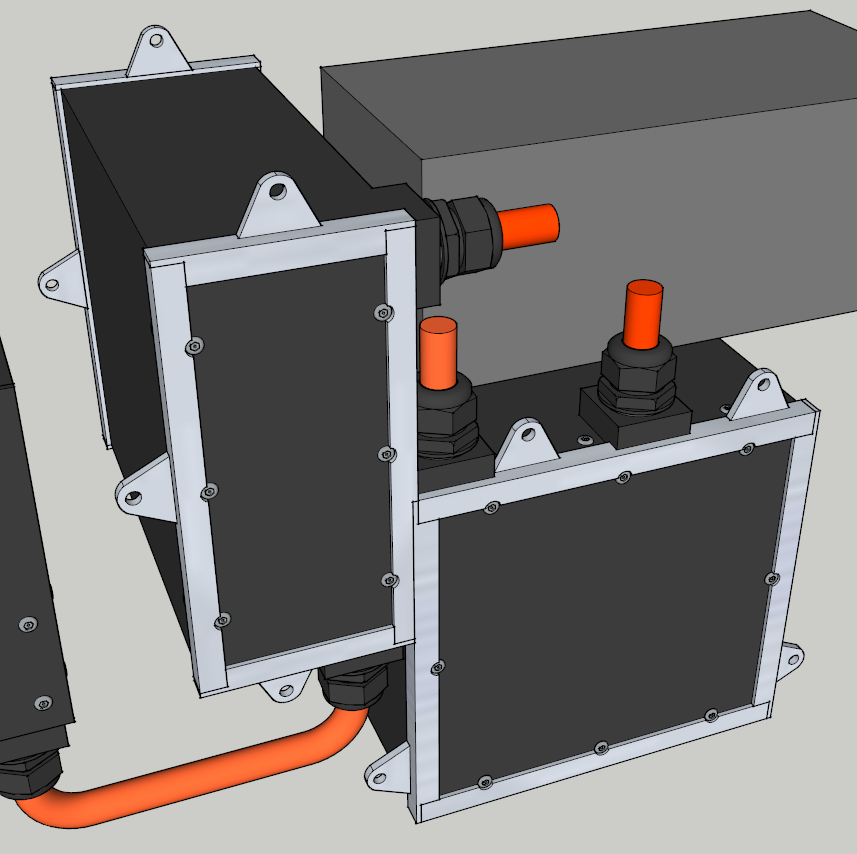
And the idea I have for the battery boxes is just some corner profiles of 3 mm thick steel welded together with some mounting points on there. There'll also be mounting points on the frame itself and they'll be firmly attached like that. I'm not really sure yet if it'll actually be like this but I think it will.

 Nederlands