
 Nederlands
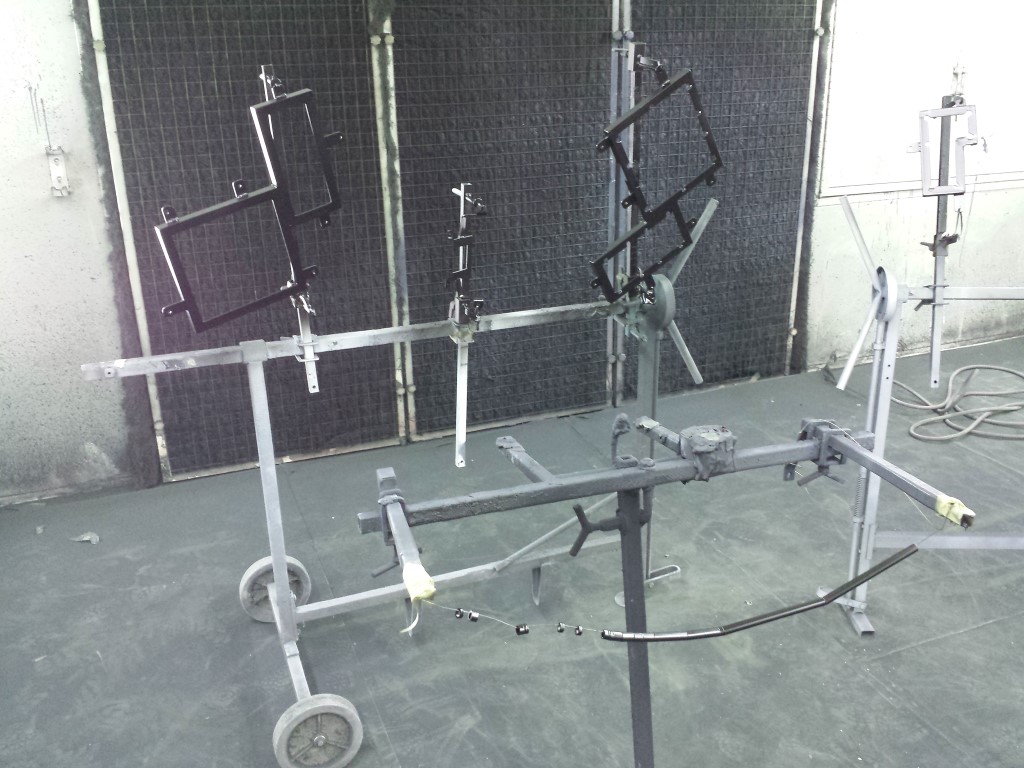
Blog / August 2014
Posted on 30 August 2014 at 06:07 pm (CET)
Today 2 layers of epoxy were sprayed on all of the sandblasted parts. Black epoxy for all the parts that will be matte black and white epoxy for all the parts that will be matte white. I was able to help with sanding some of the parts and mixing the white epoxy. But the spraying was ofcourse done by my sister. It really looks very nice already, would already love to take it all home.

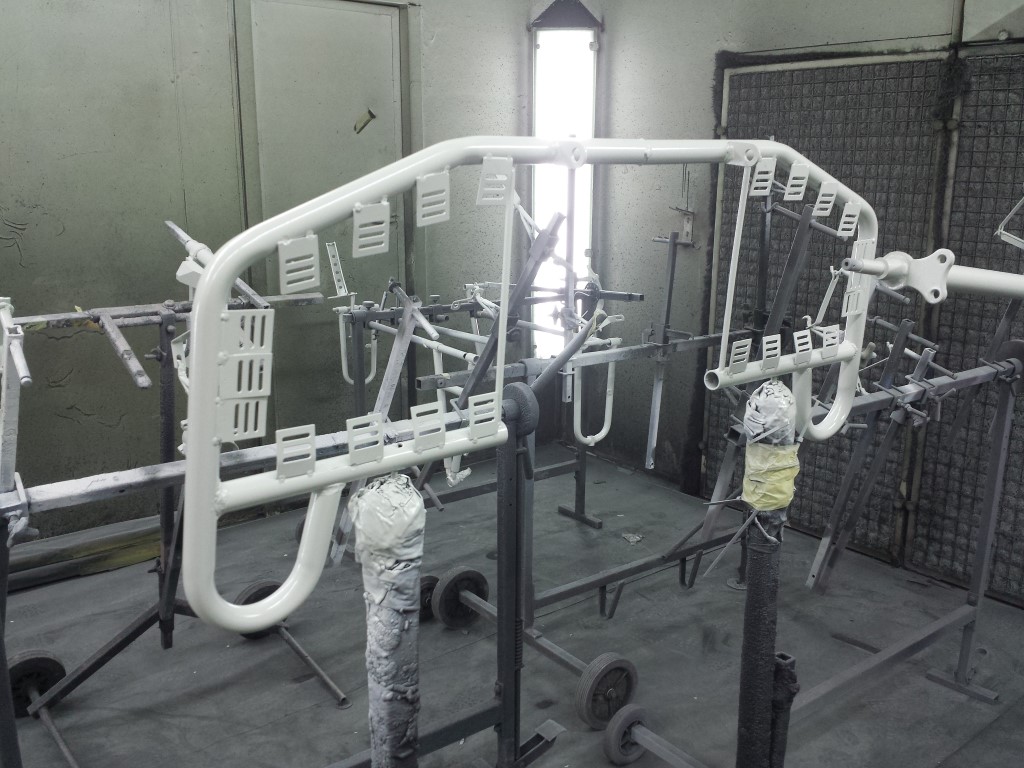
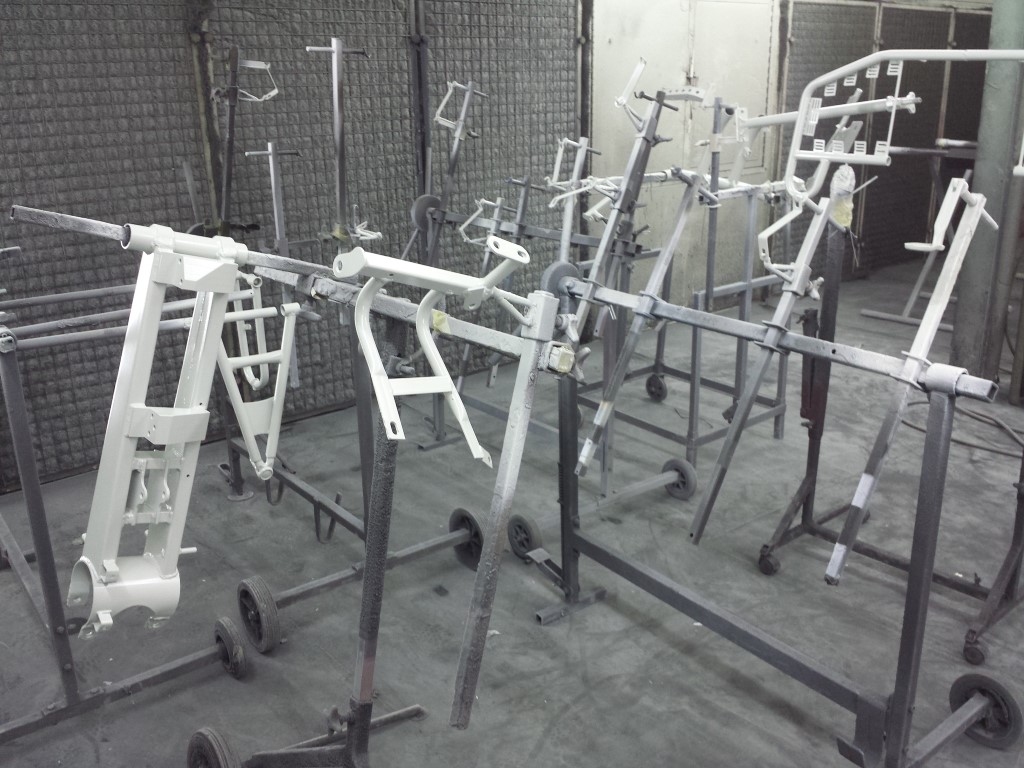
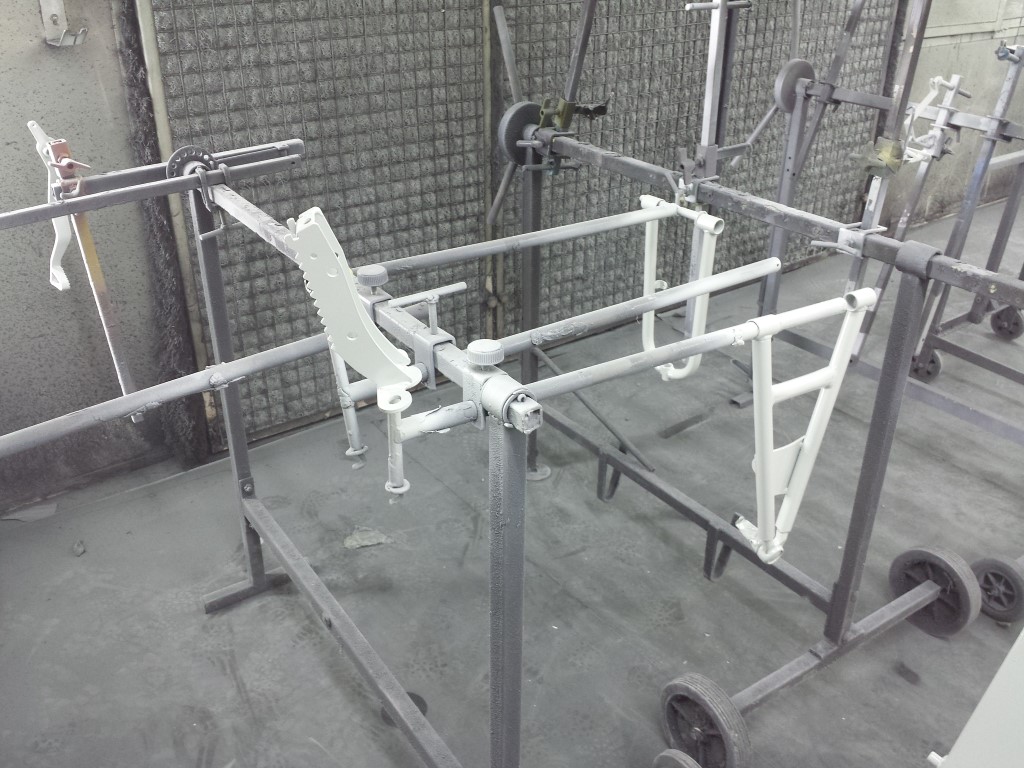
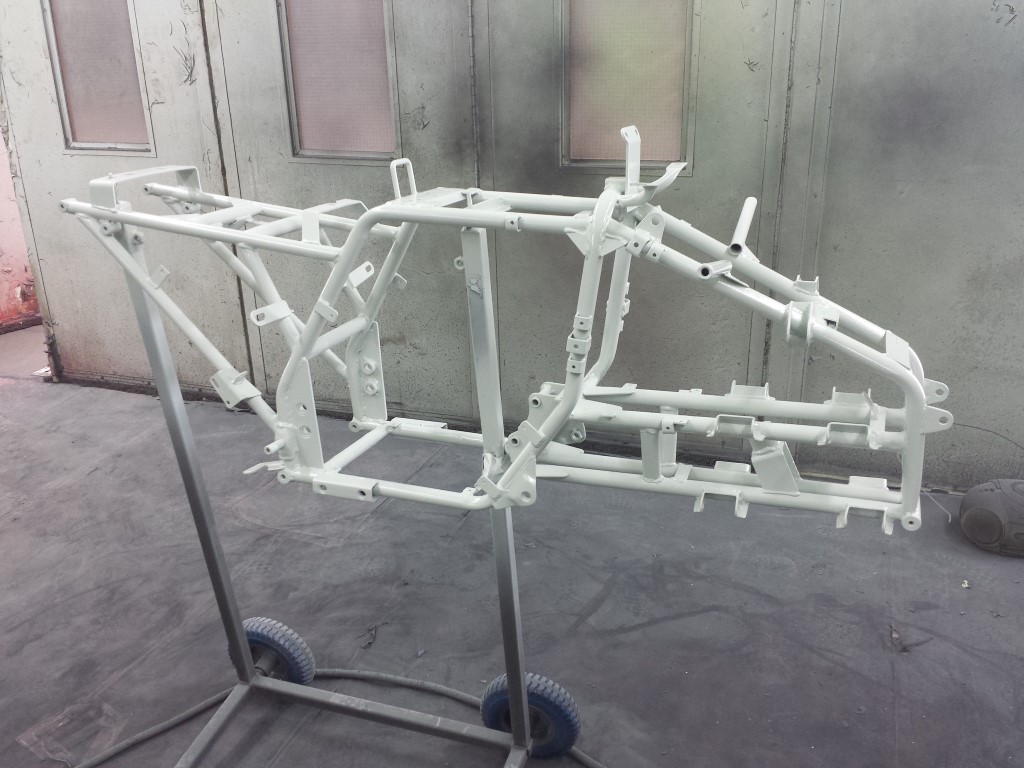
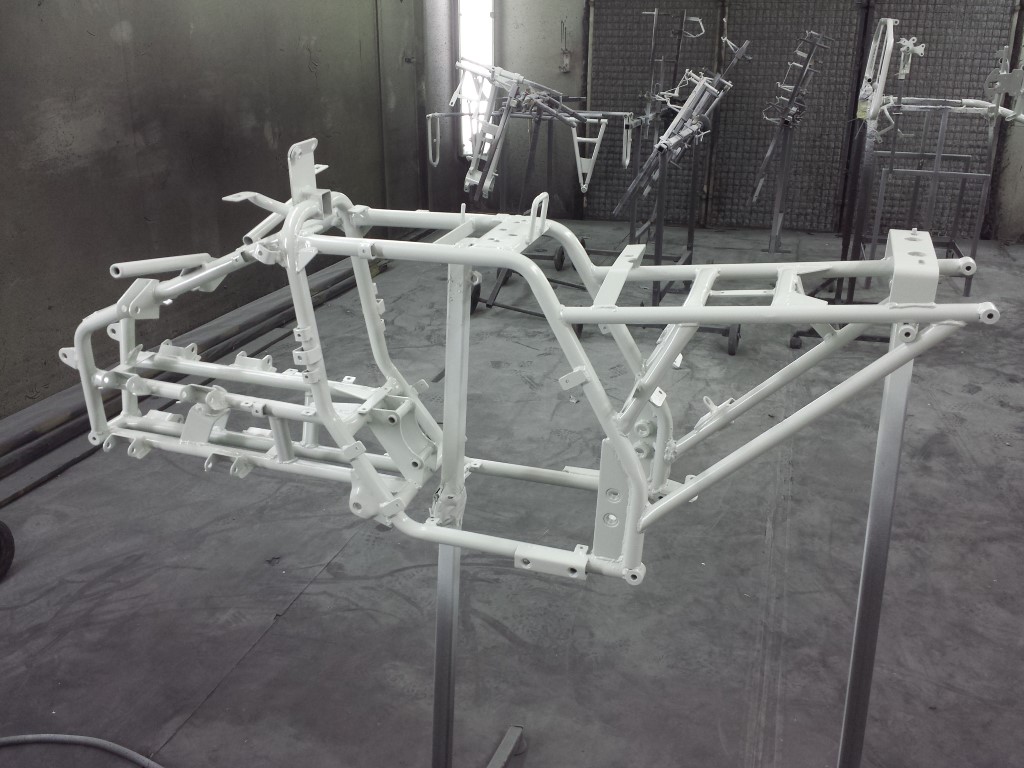
I'm really curious now how it'll look like when the actual spraycoats are on there but I have to be patient for that. Next Saturday all of the black parts will probably be done though. The white parts will come after that and are also some more work.
Posted on 26 August 2014 at 10:51 pm (CET)
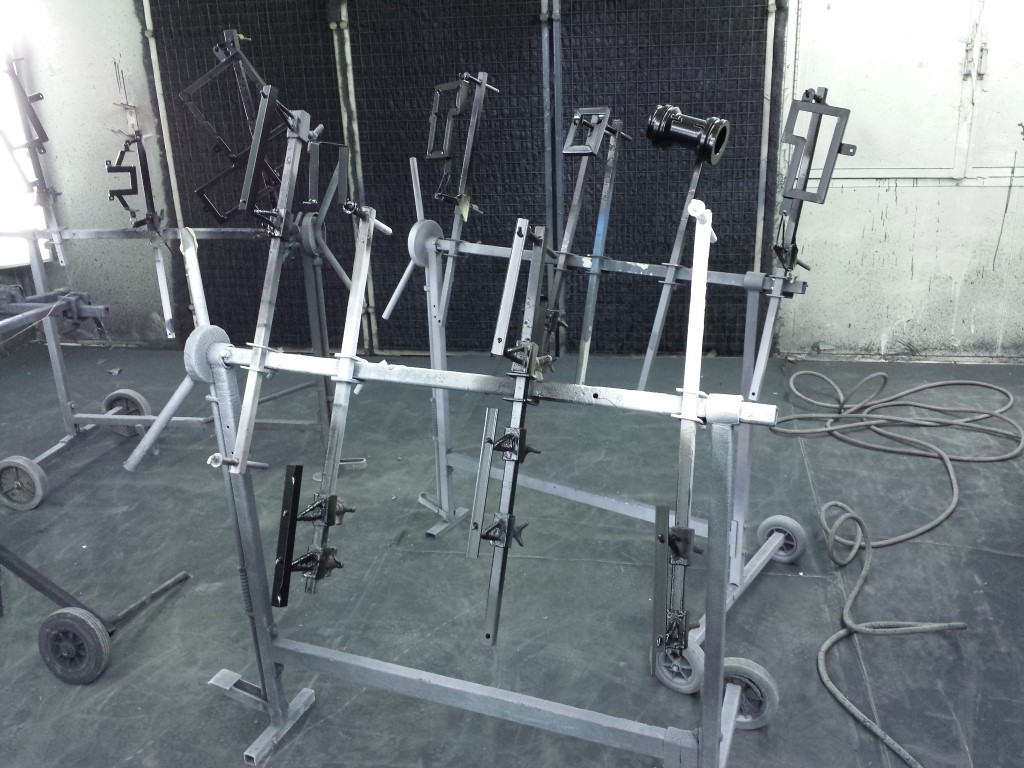
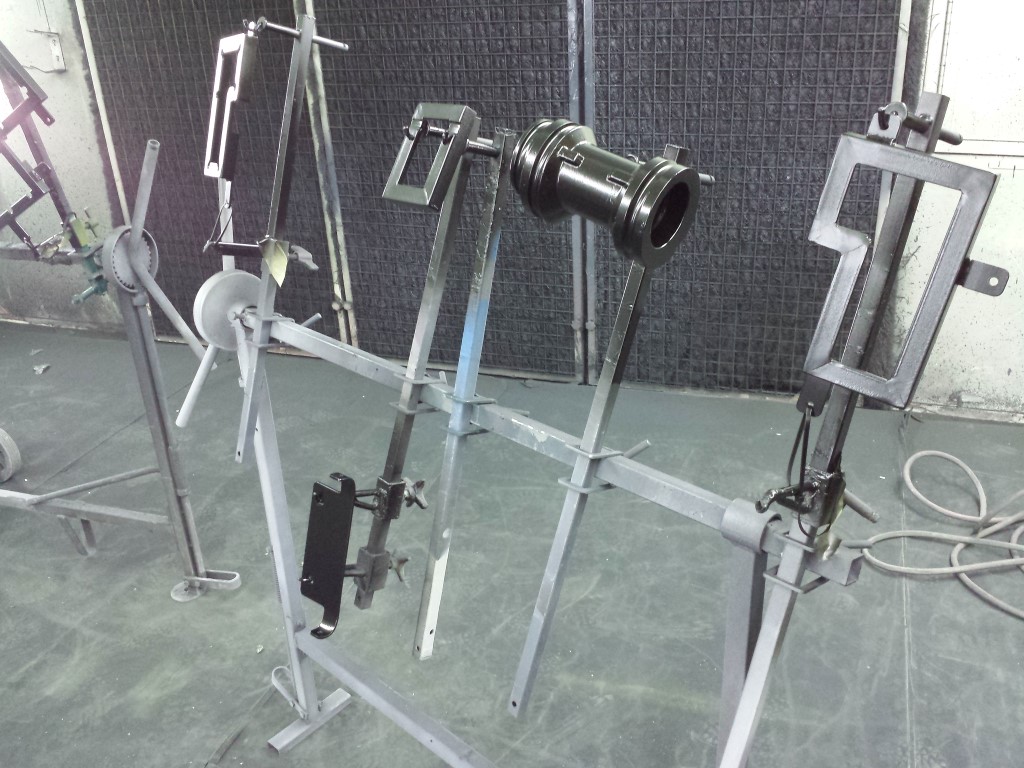
Tonight I went to the sandblaster. All parts of the frame are done and all look the same now. I already left them all at the company where my sister works so she can start spraying it all. We put all parts together there, already looks pretty nice. First a layer of epoxy will come on it all, then all the spray coats.
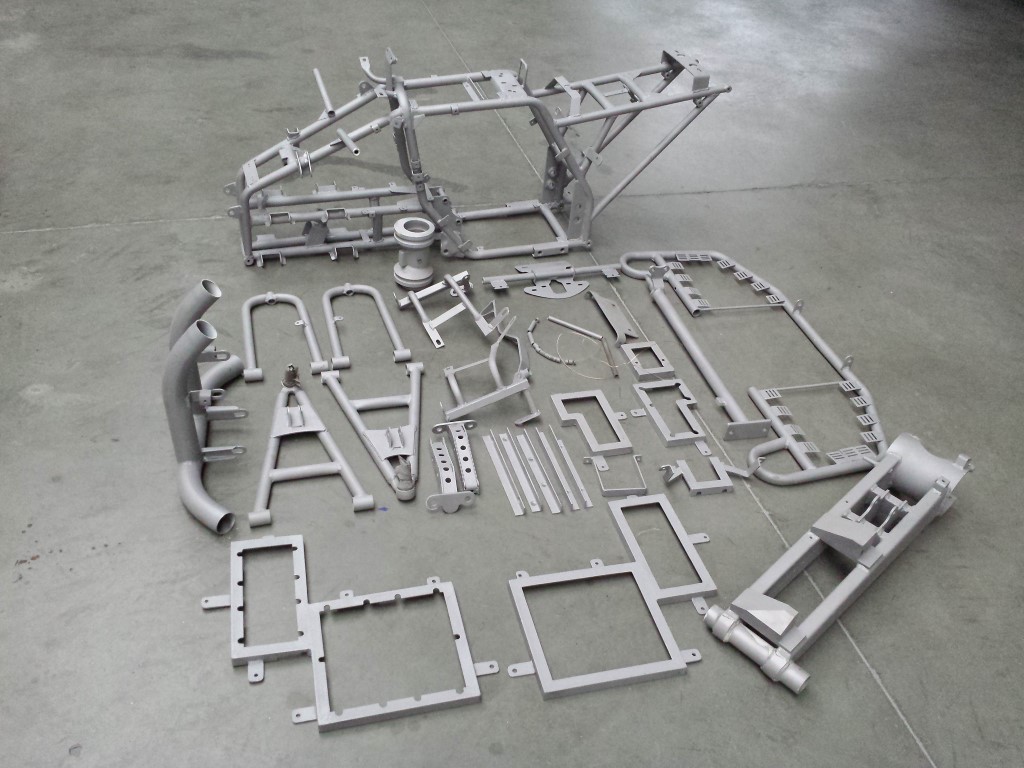

The spraying will probably take a few weeks since everything will have to be done inbetween work or outside of working hours and it's quite a lot of work. But at least I know for sure that the result will be very nice. The coming weeks I do still have some things to do, first I can finally start cleaning the whole workspace and prepare everything for when the sprayed parts will come back.
Posted on 26 August 2014 at 12:05 am (CET)
Category: Electric motor
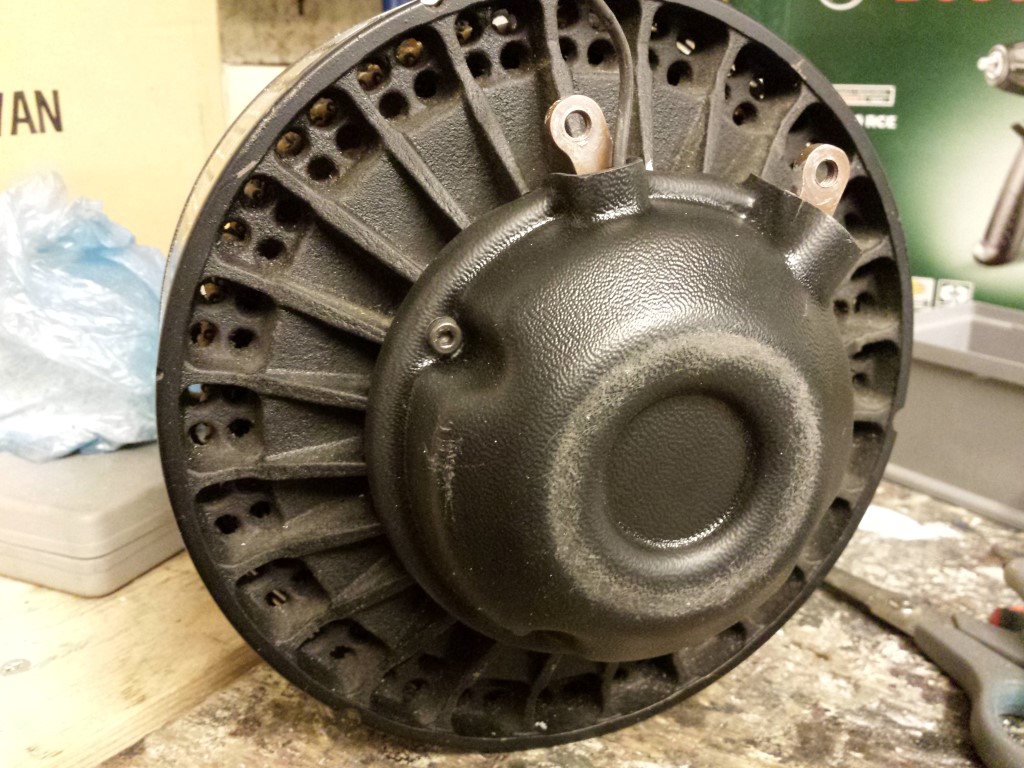
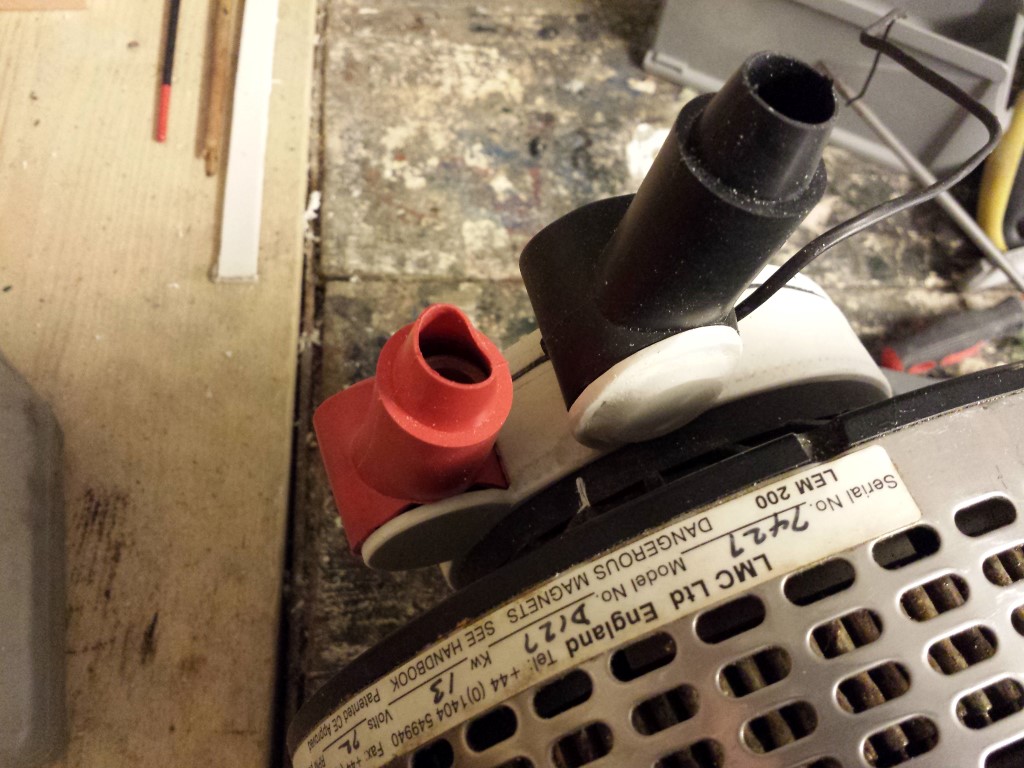
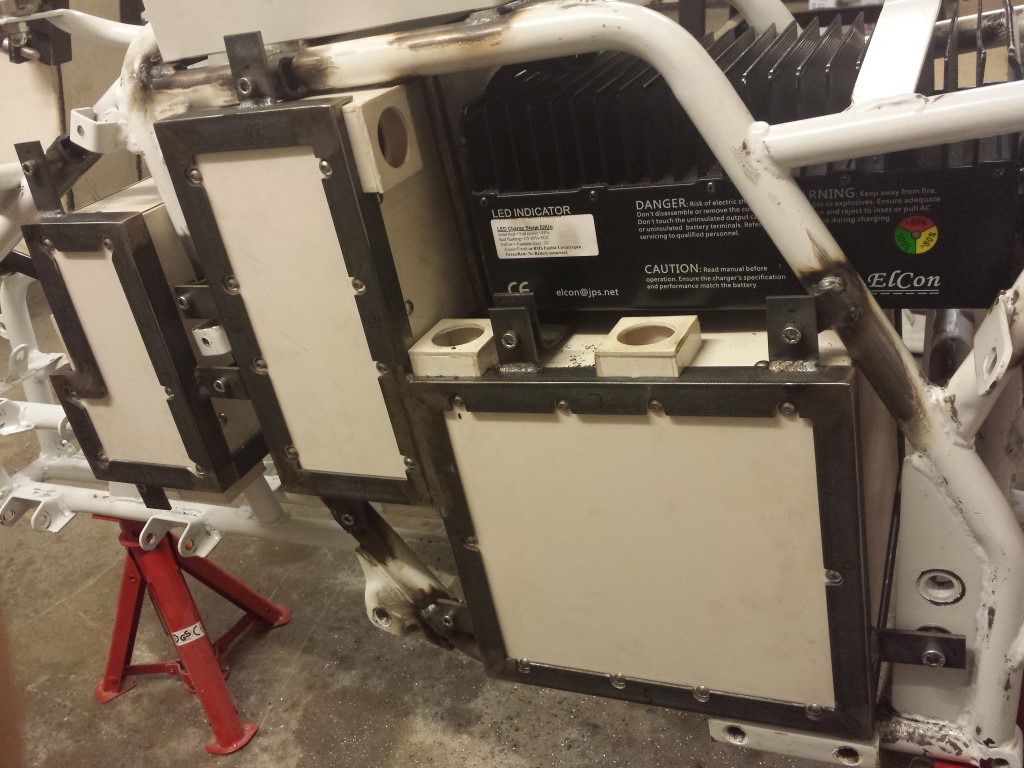
Past few days I've mostly been busy making a new protective cover for the motor. The original one which was on it I can't use since the cable shoes won't fit in there and it's definately also not safe to touch which isn't so good for the safety inspection of the RDW. This is the original one.
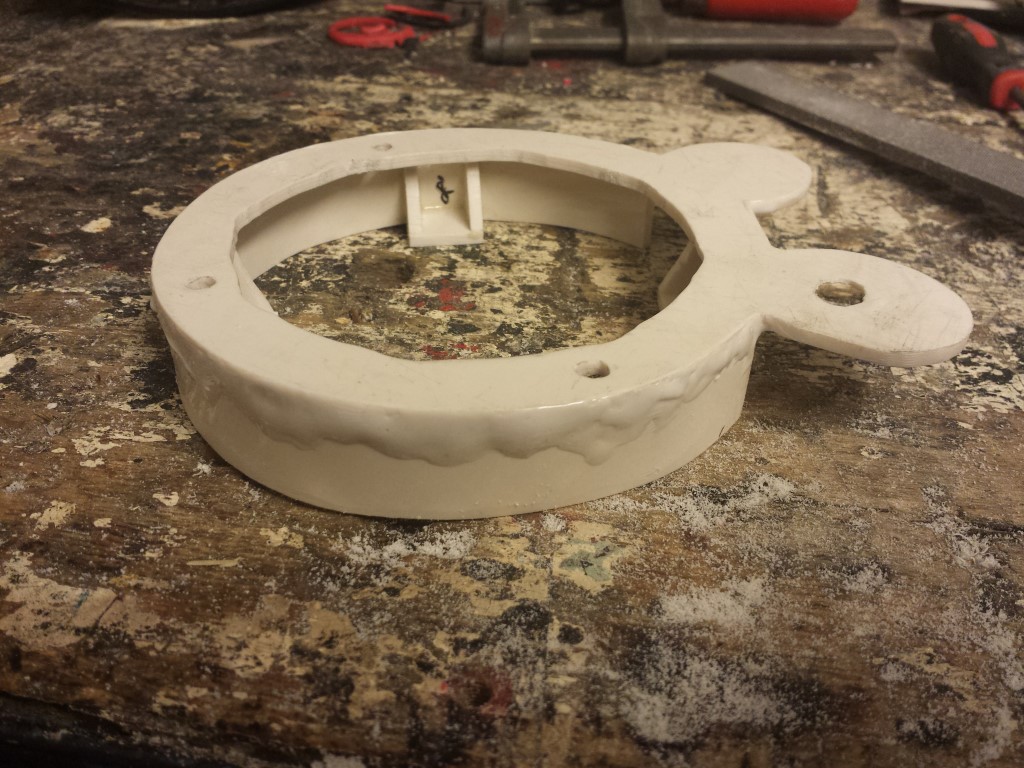
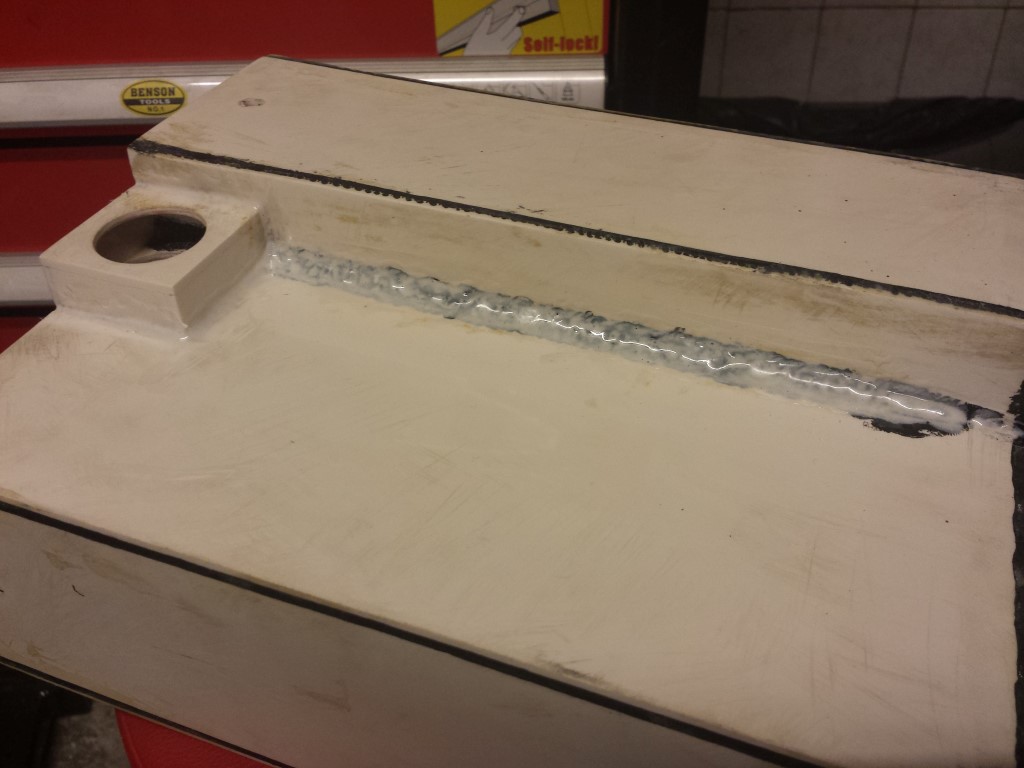
While making this protective cover I also wanted to try something new again since the epoxy I still had left had already become hard. I got a bottle of acetone en put this together with some pieces of plastic in a jar. Waited a day and then I had liquid plastic. All connections of the different pieces of plastic I just melted together with a soldering gun and filled up all openings with this liquid plastic. While it did need a bit longer to harden than glue or epoxy it has definately become very strong. And it also looks very nice after filing and sanding. I also used this to fill up some small gaps on the battery boxes.
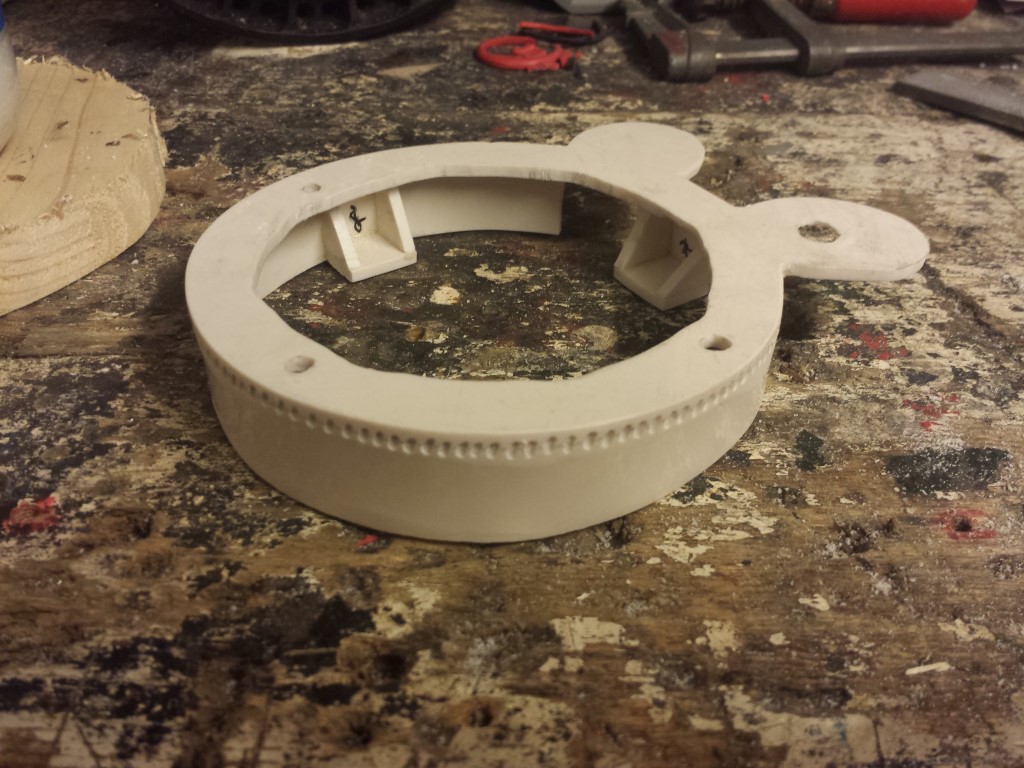
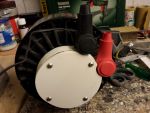
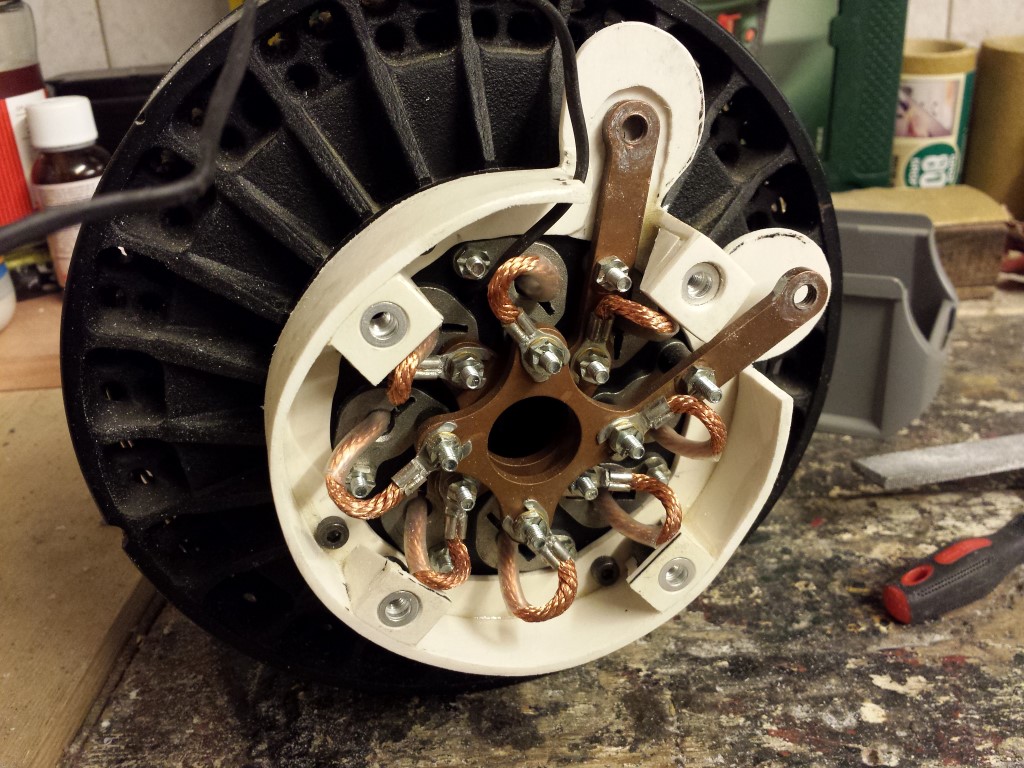
Took me a few days to get the protective cover all done but it eventually turned out pretty good. Here's the part that gets attached to the motor.
Then the cover can go on it.
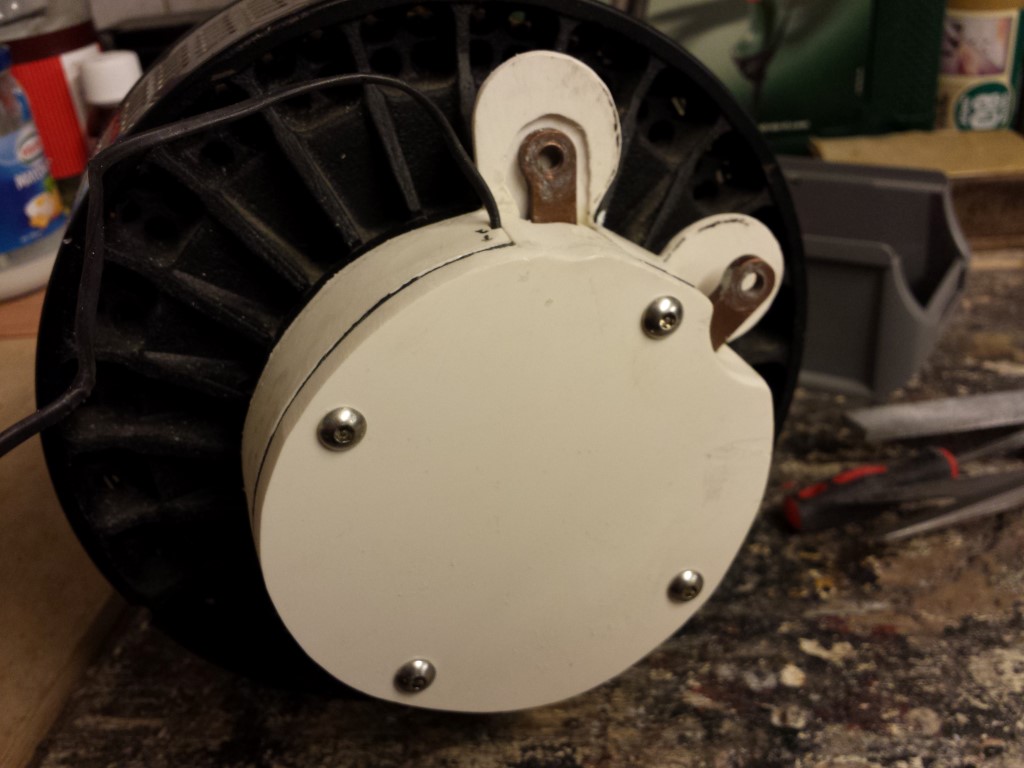
The cable shoes and rubber isolators I can just put on with a closed cover, so that's pretty nice.
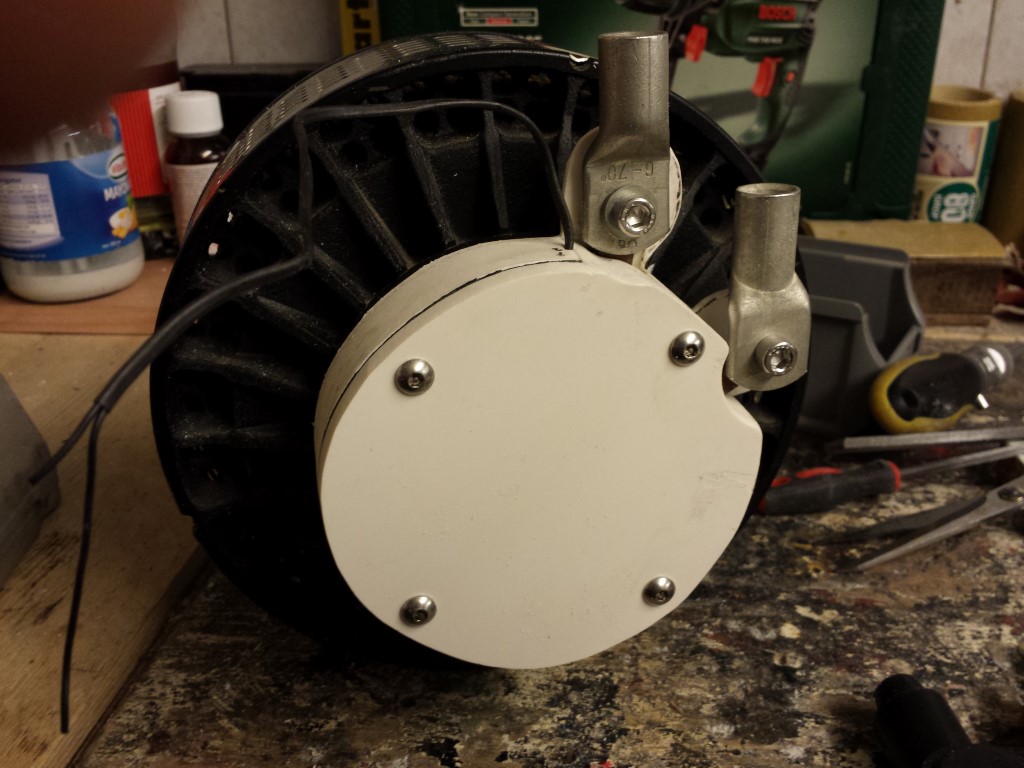
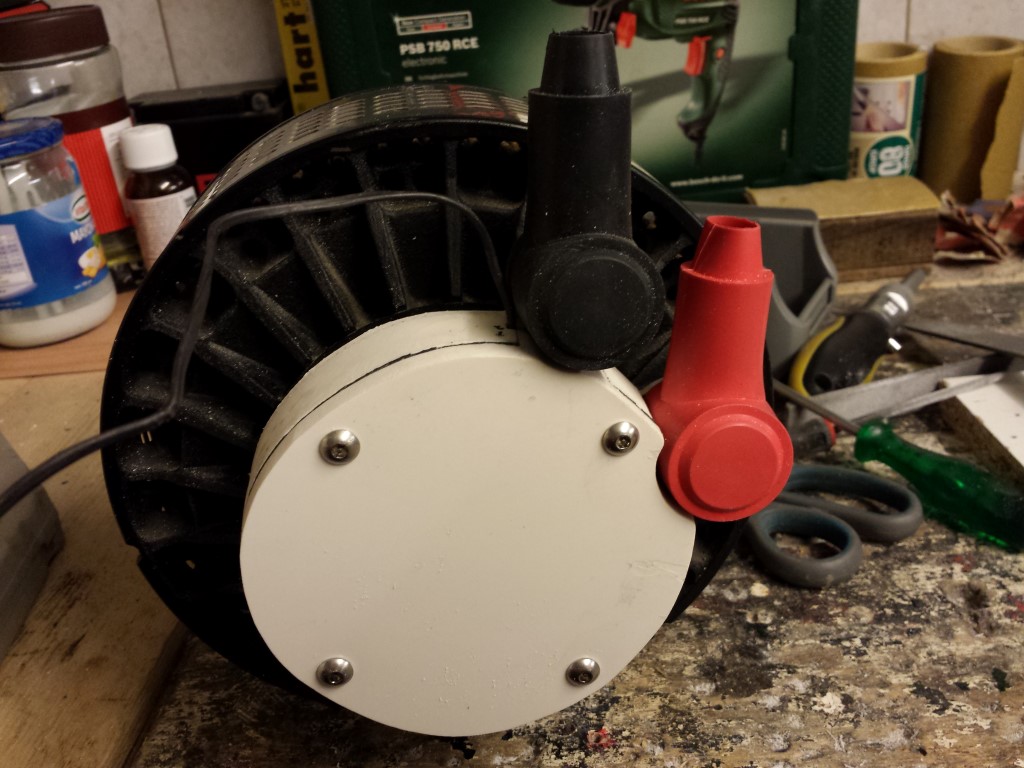
With this protective cover you can't touch anything high voltage anymore, not even from the rear. So this should be good enough for the RDW I hope. But I also think it's better myself and it's also a bit thinner than the original so there's a bit more clearance with the frame.
I also sanded all boxes one last time, so these are also finally all done now. Meanwhile all of the frame parts are with the sandblaster. If everything goes well I can already pick these up tomorrow evening, so it's very exciting. After that everything can be sprayed.
Posted on 11 August 2014 at 12:12 am (CET)
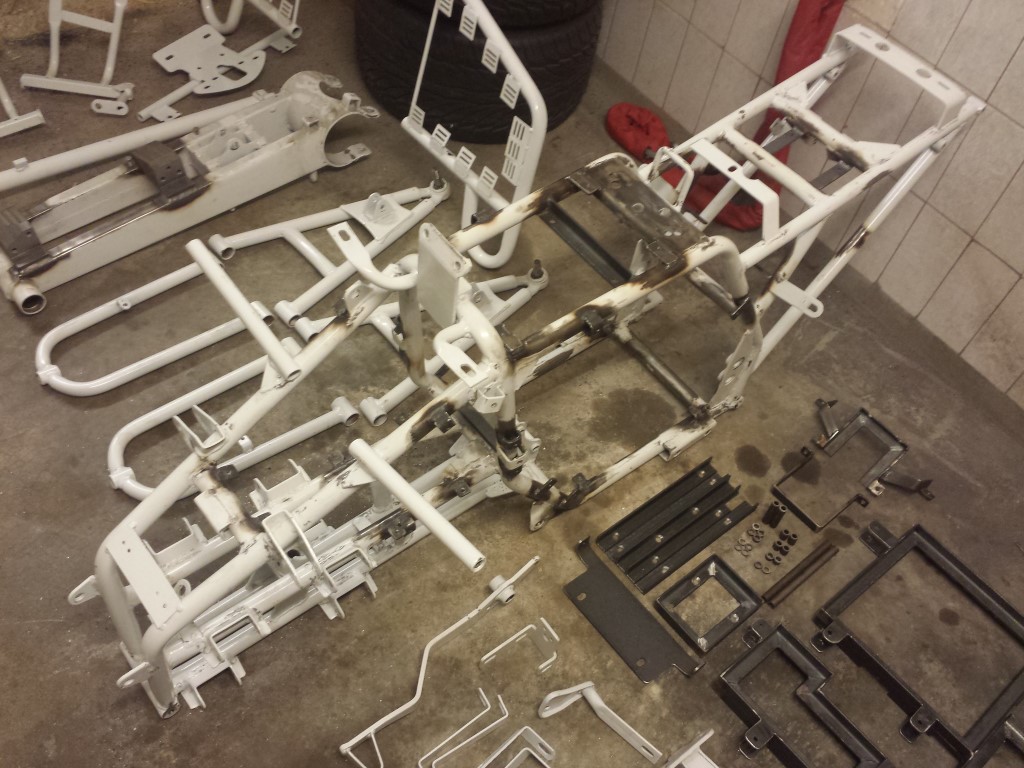
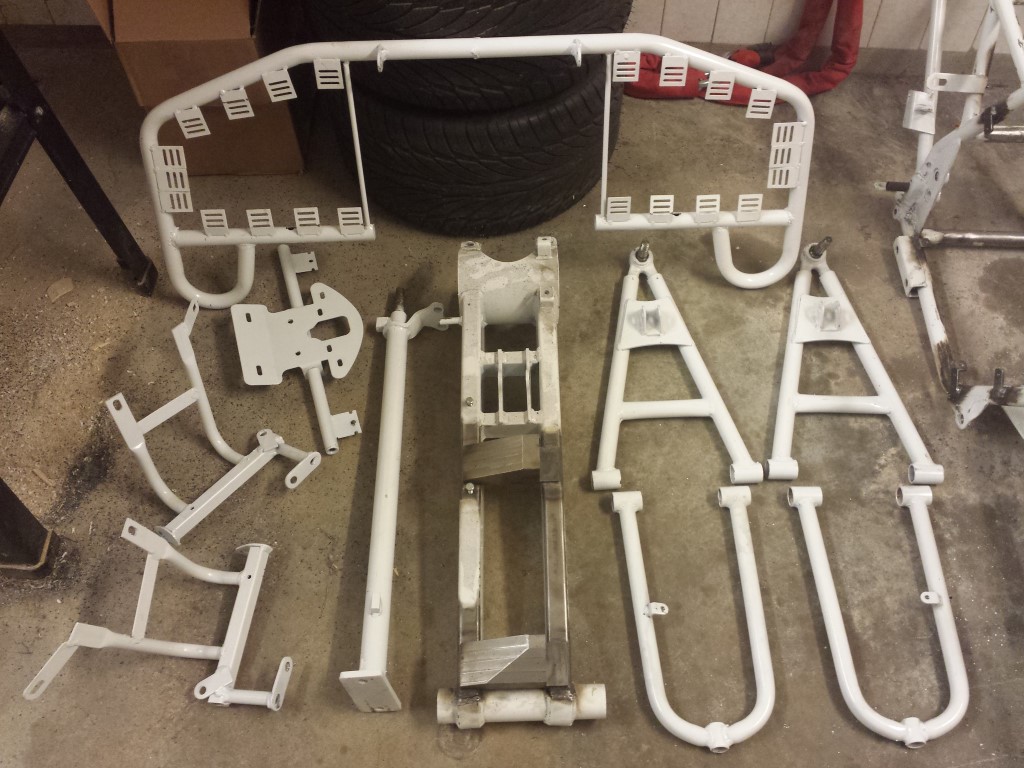
Good news, I finally have everything done for sandblasting. This weekend I worked really hard to get everything to fit and also rounded off all corners and sharp edges.
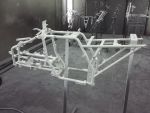
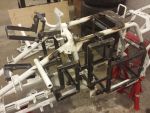
First some pictures with everything in, the mounting points still weren't made to size here and still no corners rounded off.
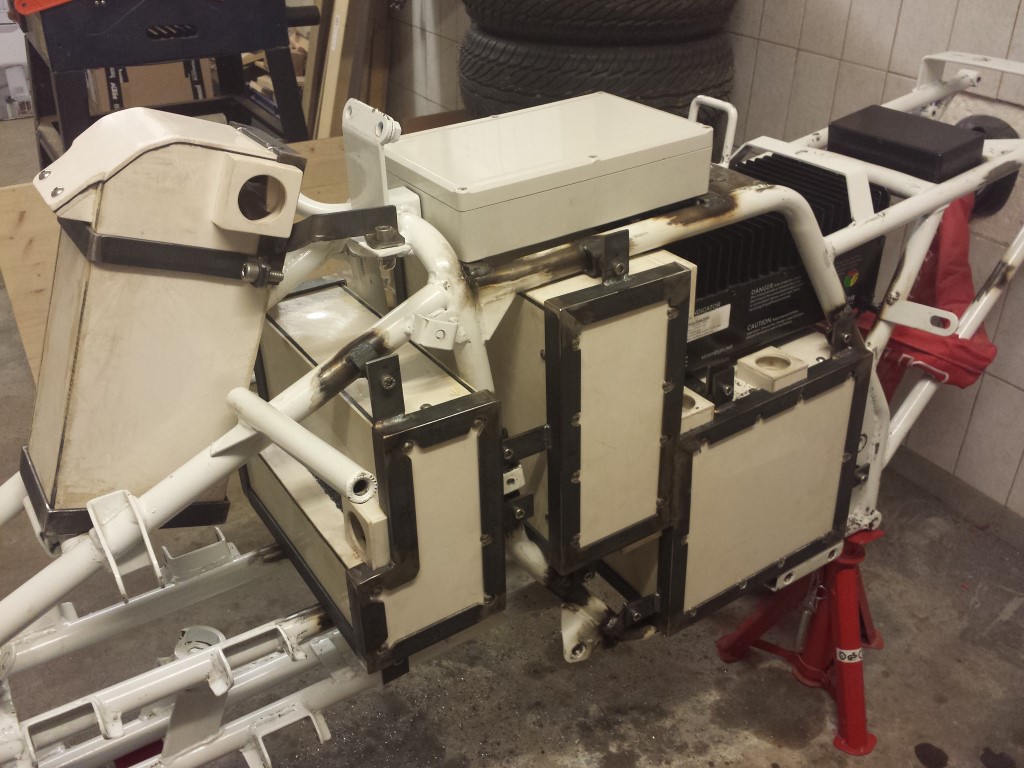
And here with everything out, looks pretty nice. And it's also very strong, I'm really happy that I decided to go with 3 mm steel instead of aluminium.

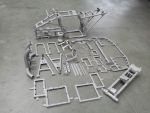
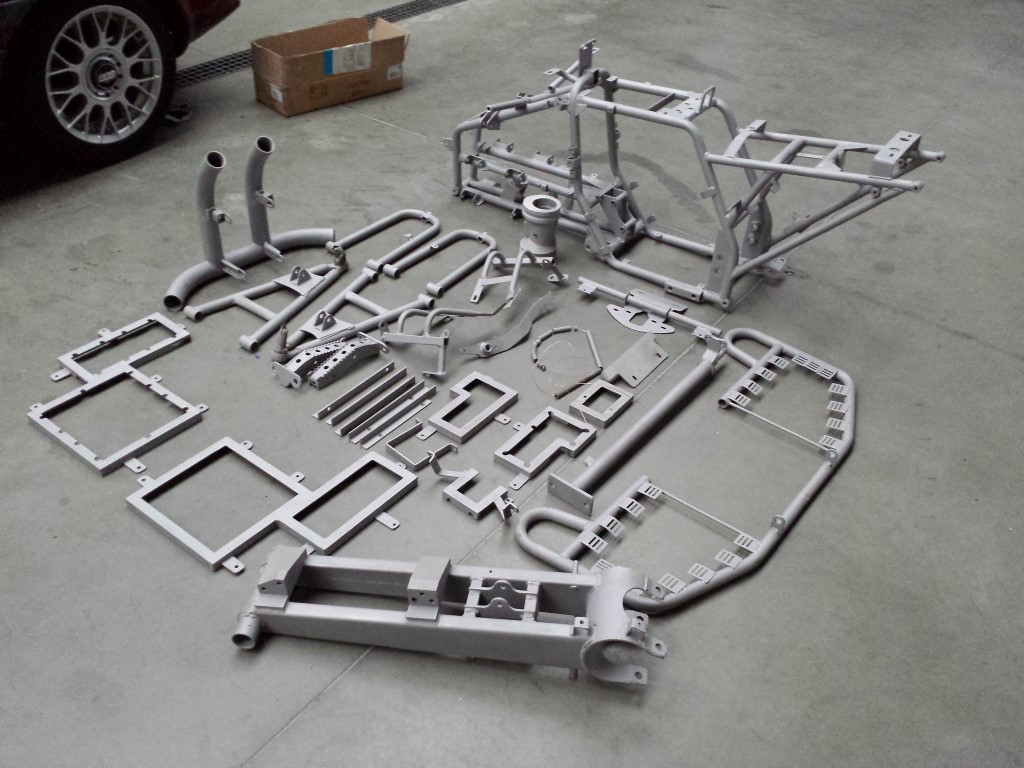
Then I took everything apart again and placed all parts that have to be sandblasted together. There are quite a few parts.
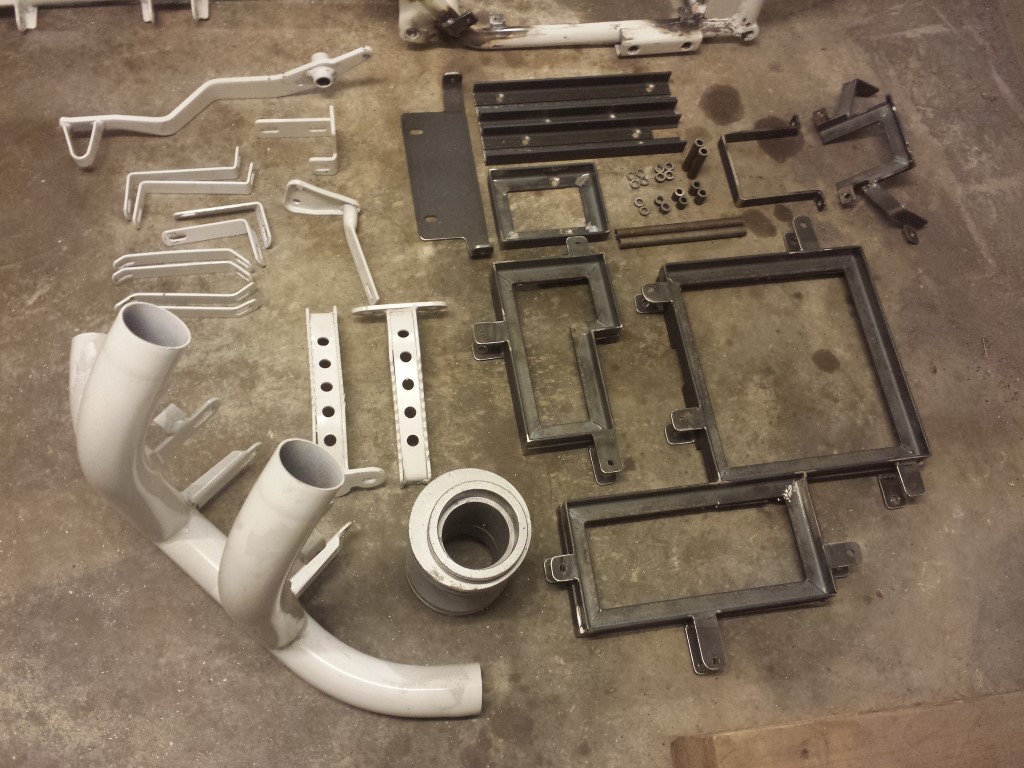
So these are also the last pictures with that ugly glossy white and all those bare spots. Hopefully I can go the sandblaster this coming week already, I'll keep you updated.
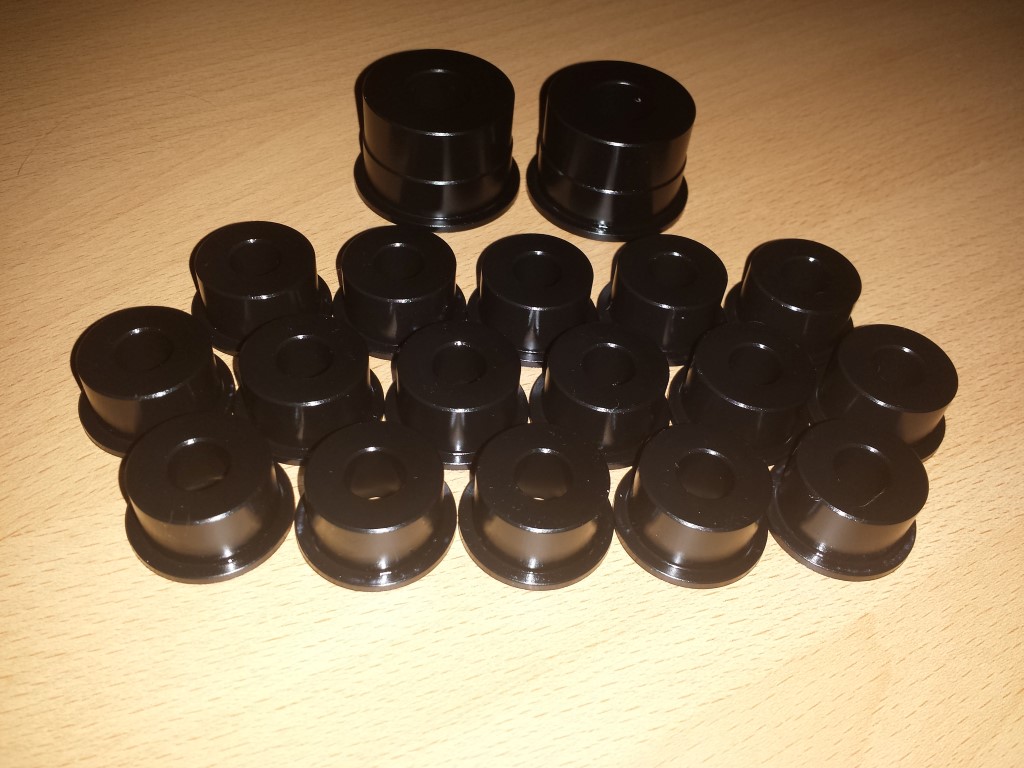
Meanwhile I also had some new bushings made of the material POM. The small ones are all for the front swingarms en the 2 big ones for the rear swingarm. These are replacements for the bad rubber bushings (front swingarms) and needle bearings (rear swingarm). POM is very suitable for this, it's very wear resistant and smooth. Many quad bike riders use this material as replacement and are very happy with it. I still don't know myself since I can't place them yet till everything is sprayed.
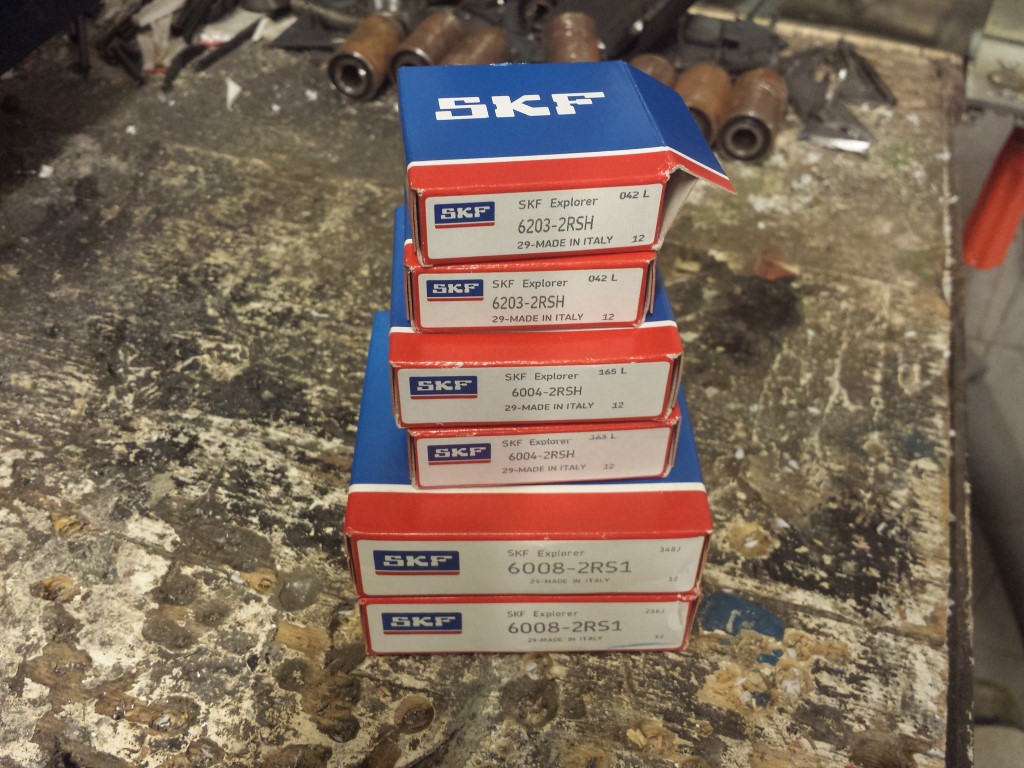
I also got some new bearings for the front wheels and rear axle of the brand SKF. These will last much longer than the original Chinese ones that were in there.
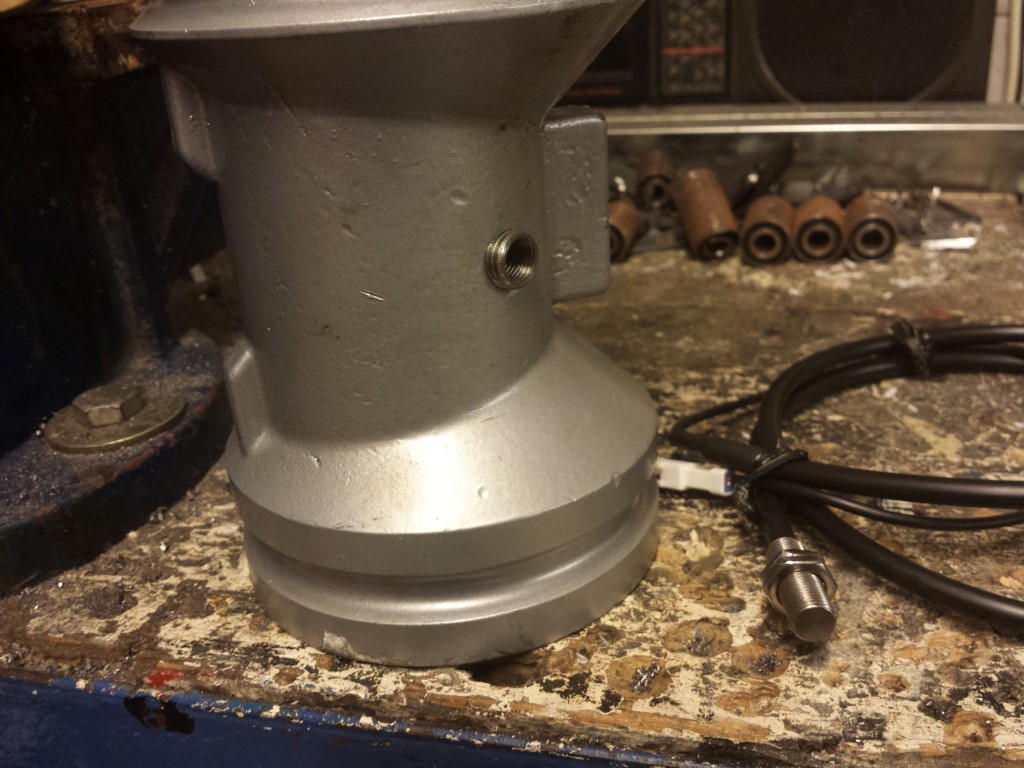
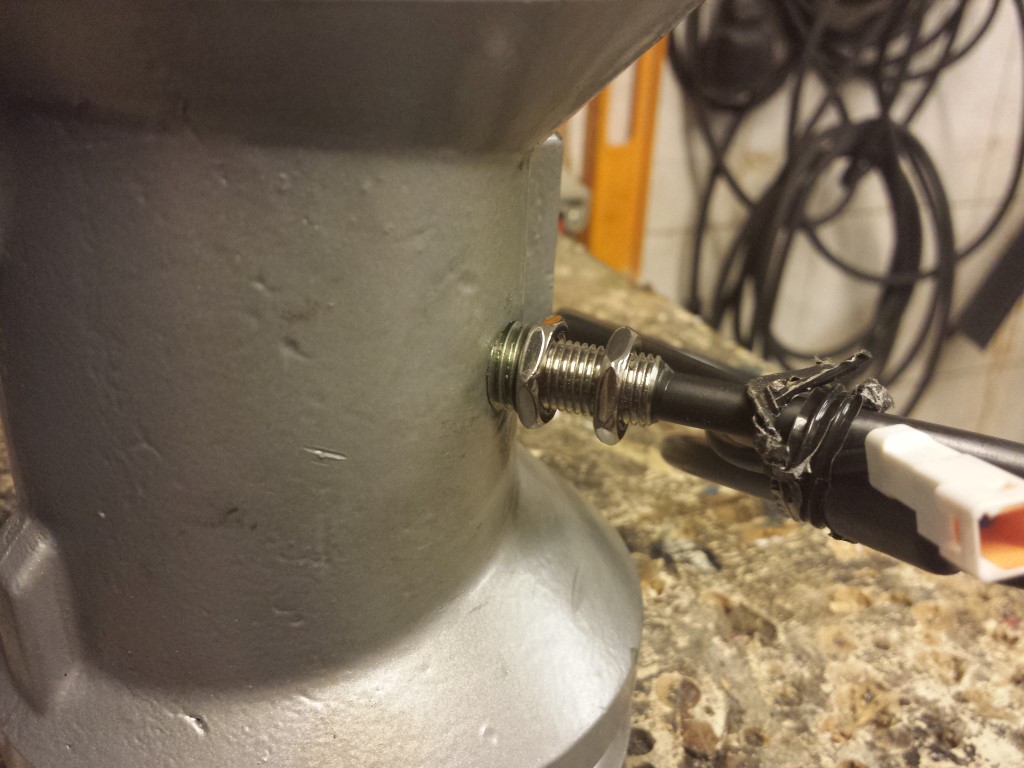
In the bearing house I also had a slight modification made. The speed sensor of Trail Tech is quite a bit smaller than the original one and also has a different thread (3/8 inch). To be able to mount the sensor in the same spot a bushing was placed in there, works perfectly.
That was it again, hopefully another update soon with a sandblasted frame.