Blog
Posted on 29 April 2014 at 11:31 pm (CET)
Category: Batteries
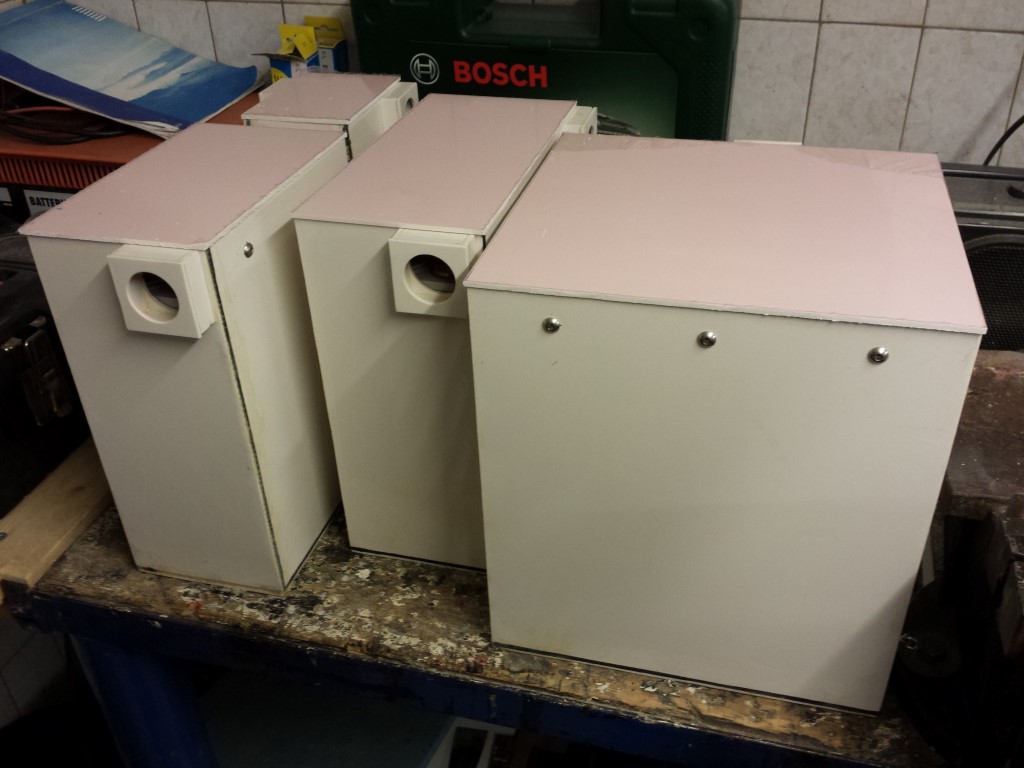
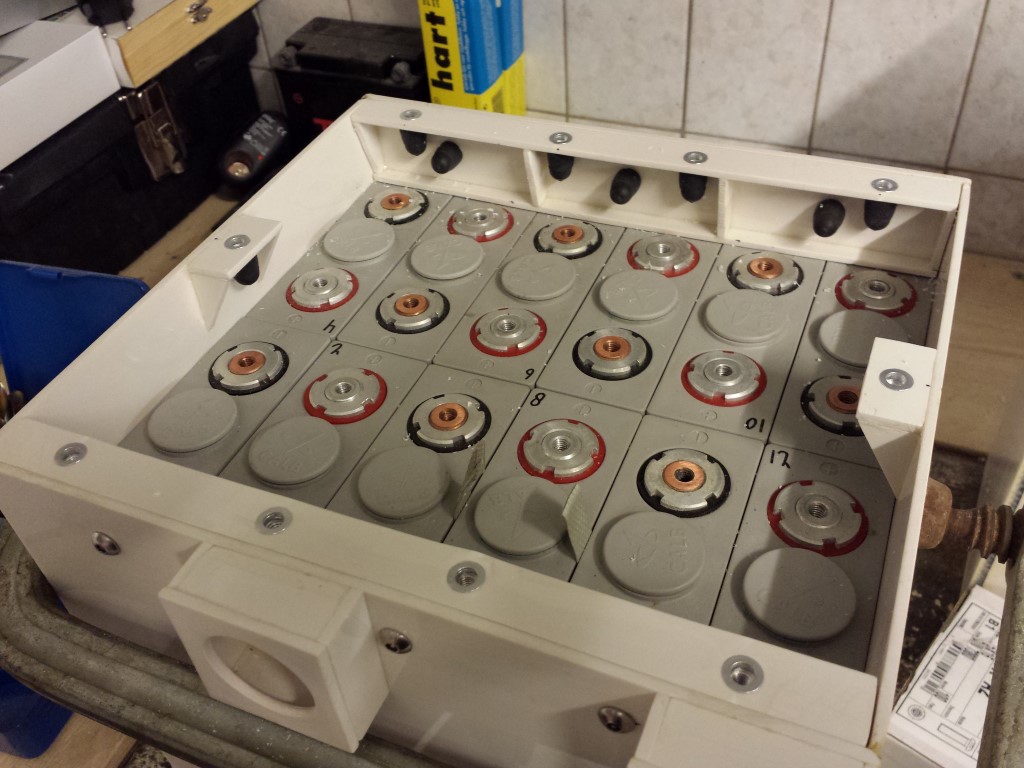
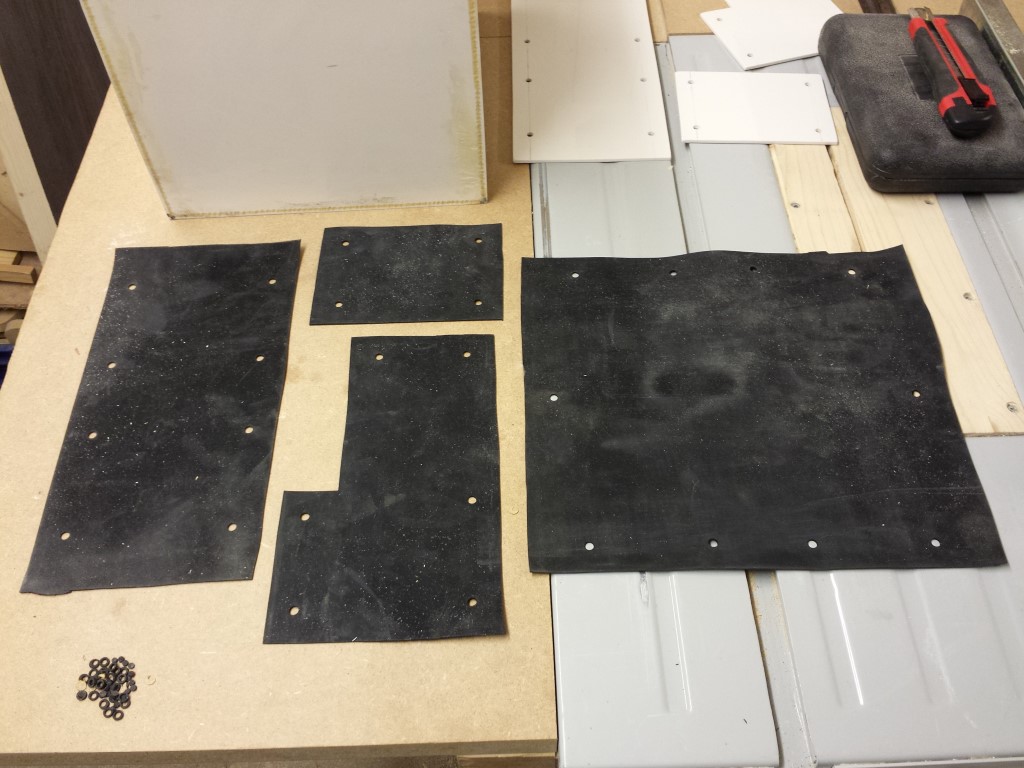
Some progress with the battery boxes again. Added EPDM rubber between the boxes and the covers, used a hole punch set to easily cut the holes into it.
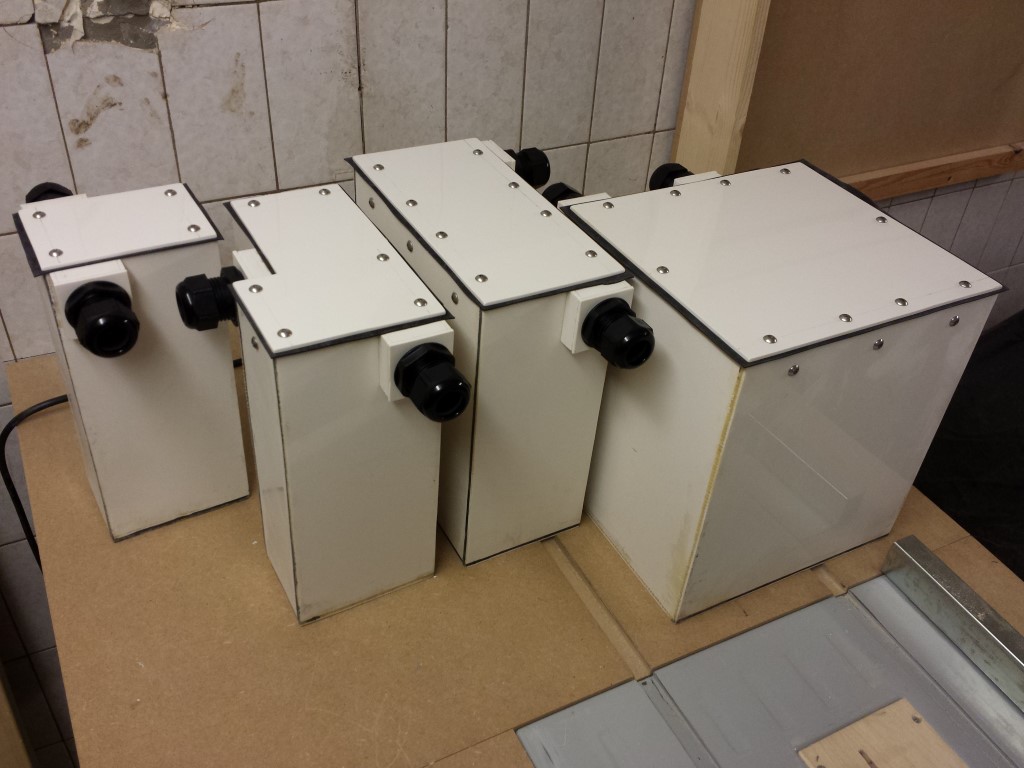
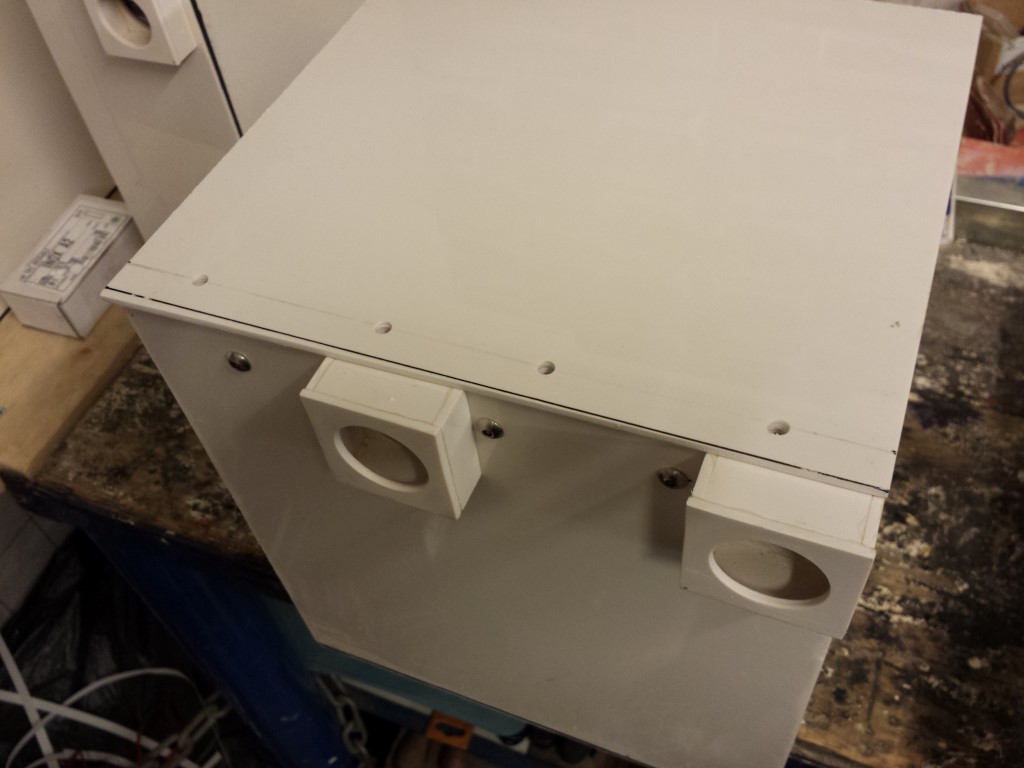
And everything attached again, also added the cable glands. Wanted to see what it'd look like. The battery boxes are completely water- and dustproof like this.
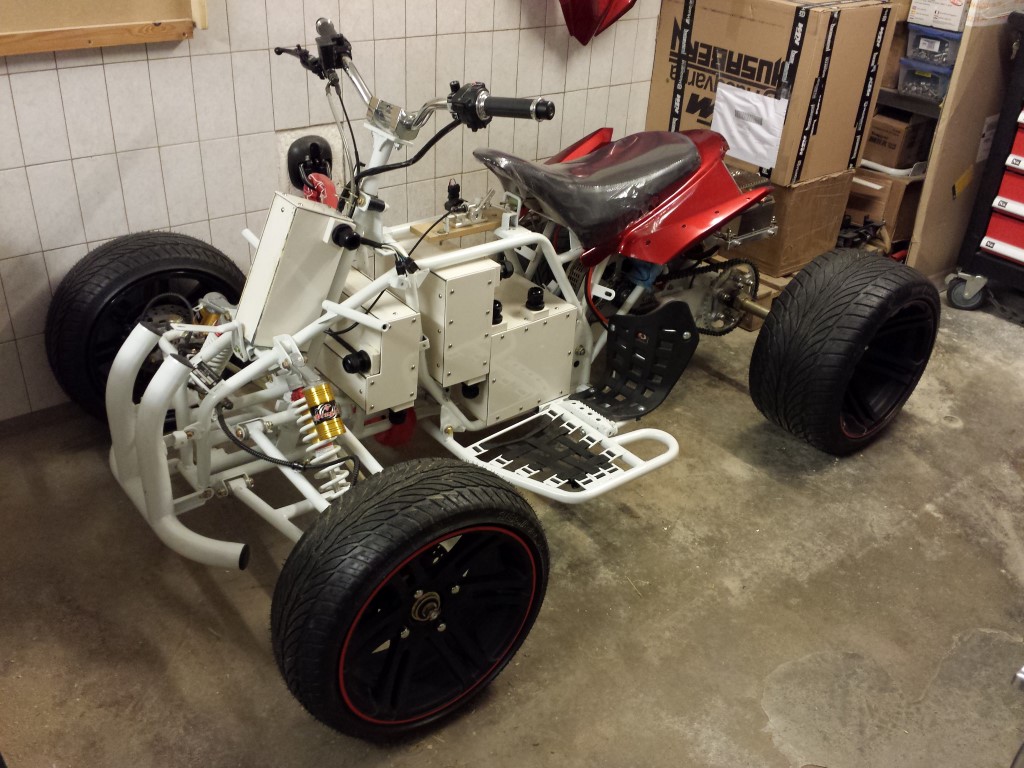
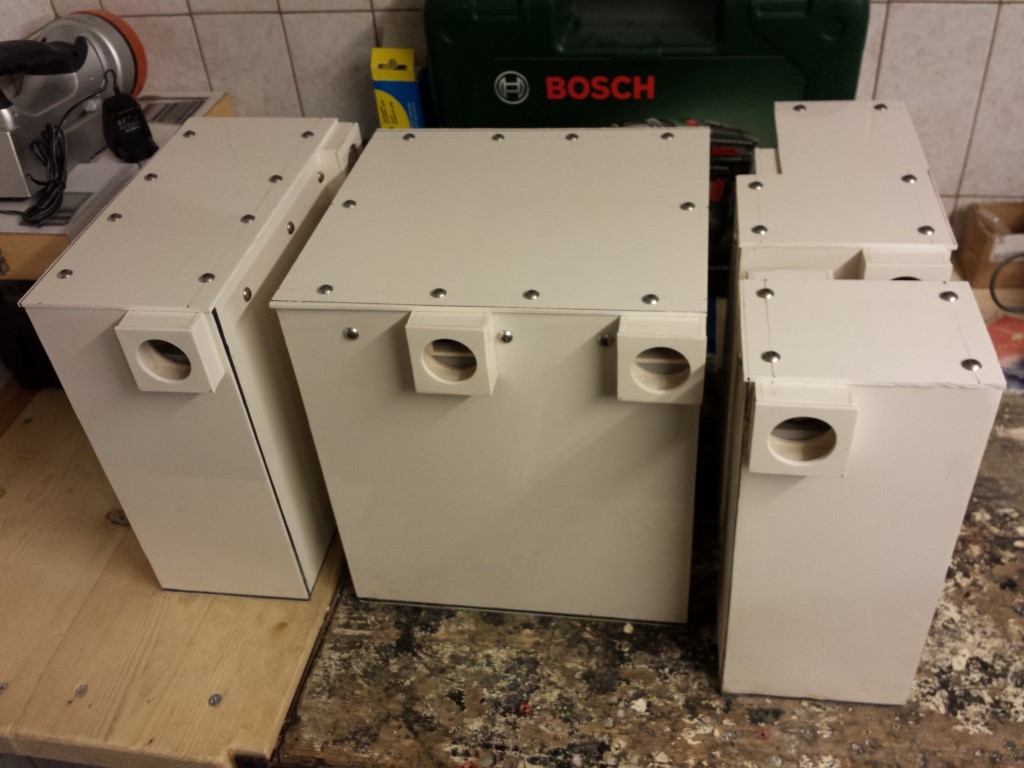
I also placed them all in the frame for now. I'll have to find a good way to attach the battery boxes firmly onto the frame now. I was thinking to place some aluminium corner profiles around the boxes and make some mounting points on there. But I'm not sure if that can be done. These profiles can only be 1,5 mm thick, otherwise they won't fit in the frame anymore.
And a complete picture of it. Others place very big engines in their frames, I just place some plastic boxes in it.
Think it'll be quite a challenge to properly attach everything.
Posted on 18 April 2014 at 10:46 pm (CET)
Category: Batteries
This past week I've been busy finally finishing the battery boxes. Went pretty good, the covers are now attached. Just need to tidy them up a bit, spray them and add some EPDM inbetween and then they're really done.
First I sawed some new plates for the covers. The ones I already made didn't really fit anymore since I took apart the battery boxes back then and widened them a bit. I made these a bit bigger now so I could make them perfectly even with the boxes after attaching.
Just like with the clamps I drilled the holes through the covers and clamps to get everything properly aligned.
Then I made the holes in the clamps a bit bigger, added rivet nuts in there and placed rubbers on them. I also still glued those 2 extra pieces in the big battery box so the cover would stay closed on those places as well.
After that I could attach the covers on the battery boxes.
Also filed the covers already so they're even with the battery boxes, looks pretty nice now.
Don't have to do much with these battery boxes anymore now. The next step is finding a way to attach them to the frame.
Posted on 17 April 2014 at 01:25 am (CET)
Category: Website updates
Made some improvements to the website. Was planning to do this earlier but since I wanted to have the website online as quickly as possible I put these things on hold. These are the things that were improved.
- New picture gallery. It looks the same but it works very differently. The old picture gallery was quite slow when scrolling through the pages and I couldn't really find a good alternative. So I made my own, needs way less code and works at least 5 times as fast. The quality of the thumbnails is a lot better as well.
- Thumbnails next to the titles of all posts are actually thumbnails now. Before these were just resized. Loading times are much improved in quick view because of this. I also made these thumbnails as links to the related posts.
- It's now possible to enlarge the images on all pages, not just in the picture gallery.
- Fixed a few small bugs.
Posted on 8 April 2014 at 06:47 pm (CET)
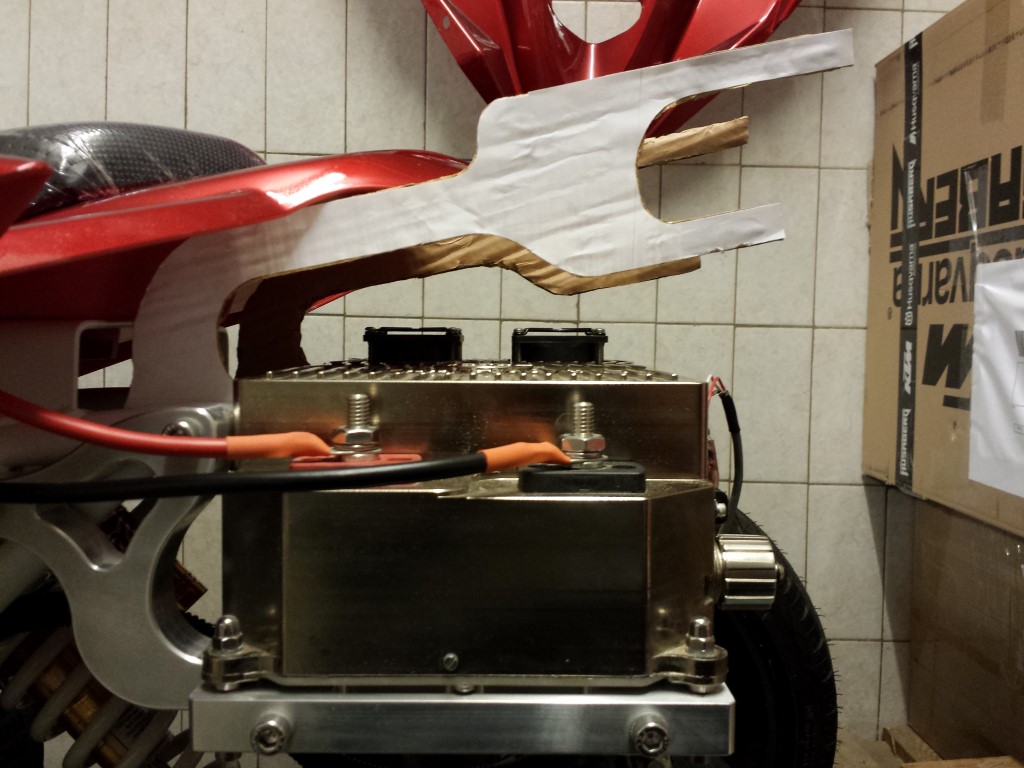
I completed the drawing of the mounts for the top case and rear lights. Also made a paper model of it again to see if it fits. It barely fits as it should.
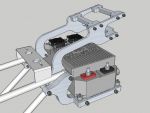
First here's the drawing of how it'll be like. Ofcourse the real ones will look a little better with skewed edges and again an opening in the bigger part. The top 2 mounts are ofcourse for the top case, the bottom one is for the rear lights.
They just come out from under the fenders. I wanted as much clearance as possible between the mounts and the controller so it'll stay visible well. The top case will also be as low as possible and will be a bit tilted (about the same as the fenders), will look better than completely straight I think. Same for the lights, by default these are a bit tilted as well so I wanted to keep this about the same. It'll only be a little lower.
But it'll be easier to see once they're made. First I have to discuss with the metalworking company if it can all be done and if it's not too expensive. Will probably take a while before it's done I think, depends how busy they are.
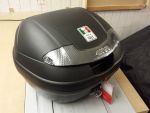
Today I got something new, a top case. And to make the quad bike even more international I added some Italian flavour. It's a Givi E340 Vision Tech.
They also had one with a red reflector but I think this matches better with the rear light. Might still add some leds to it some day as an extra brake light.
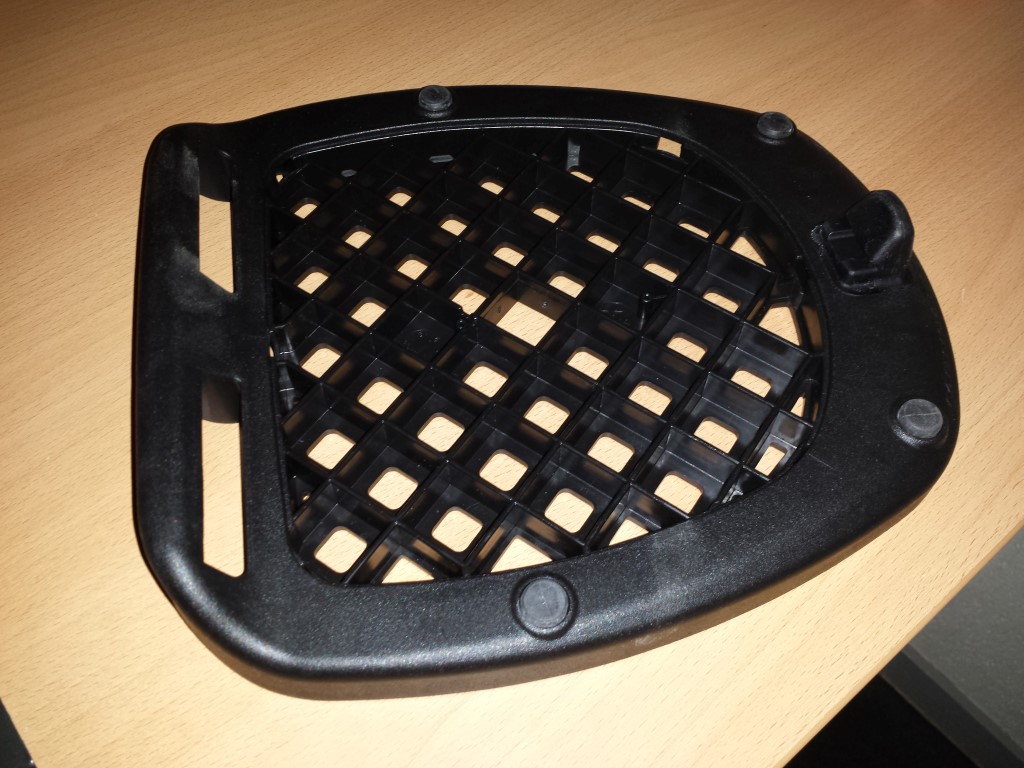
This plate came with it for attaching the case. I'll first have to make a drawing again and have some mounts made so I can attach this plate and the rear light + signal lights.
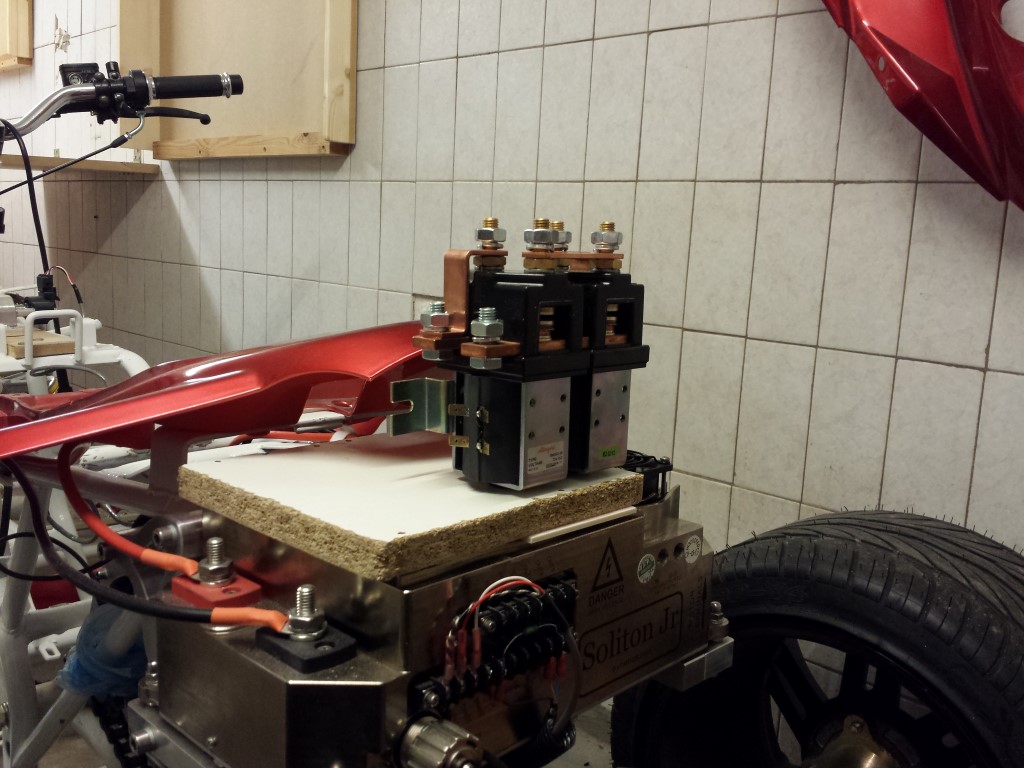
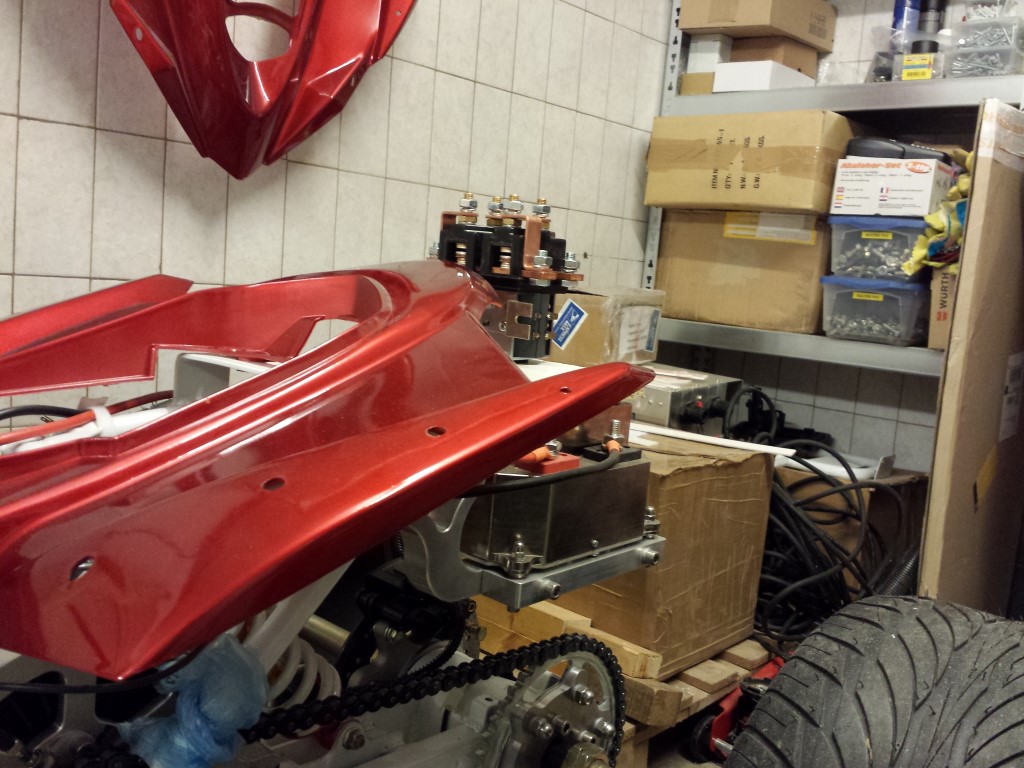
Now you might be wondering why I'm already busy with accessories while the quad bike isn't even drivable yet. But this top case won't just be for storage. I have these 2 contactors to be able to drive forward and in reverse but I had no idea how to place them properly.
I ofcourse could build some enclosure again but I don't think this would look good since it's a rather big part so it sticks out pretty much. The plan now is to just place this in the top case, this way I'll have an enclosure that's already water and dirt proof and also some extra storage. Might also place the 12V battery and other electronic parts in here, at least I won't have to find some space in the frame then.
I'm also looking if I can mount the license plate at the bottom behind the bearing house. But I'm waiting for the RDW to confirm if this is allowed. The rules state that it should be mounted at the appropriate place. But well, what is that exactly? Not really very clear is it. But I think it would be a nice position for it, the controller would be visible from behind as well then. Otherwise the license plate would be in front of it.

 Nederlands