
 Nederlands
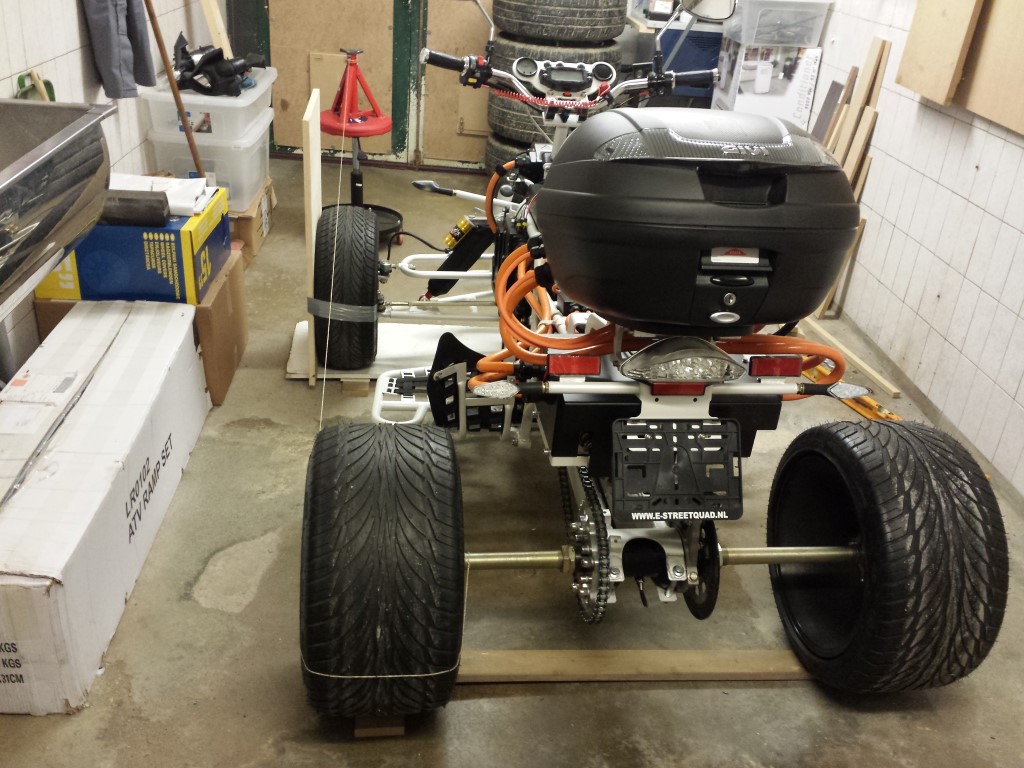
Blog
Posted on 24 January 2015 at 11:56 pm (CET)
Category: General
Posted on 24 January 2015 at 11:56 pm (CET)
Category: General
Thanks to the snow I wasn't able to have a test ride today. Will probably still be here tomorrow as well so it'll have to wait till next week. Hopefully the weather will be better then. The quad bike is definately ready for it.
The wheels are aligned.
Meanwhile I also connected all of the lights. Worked perfectly right away. First I had only connected the brake and turn signal lights for the test ride.
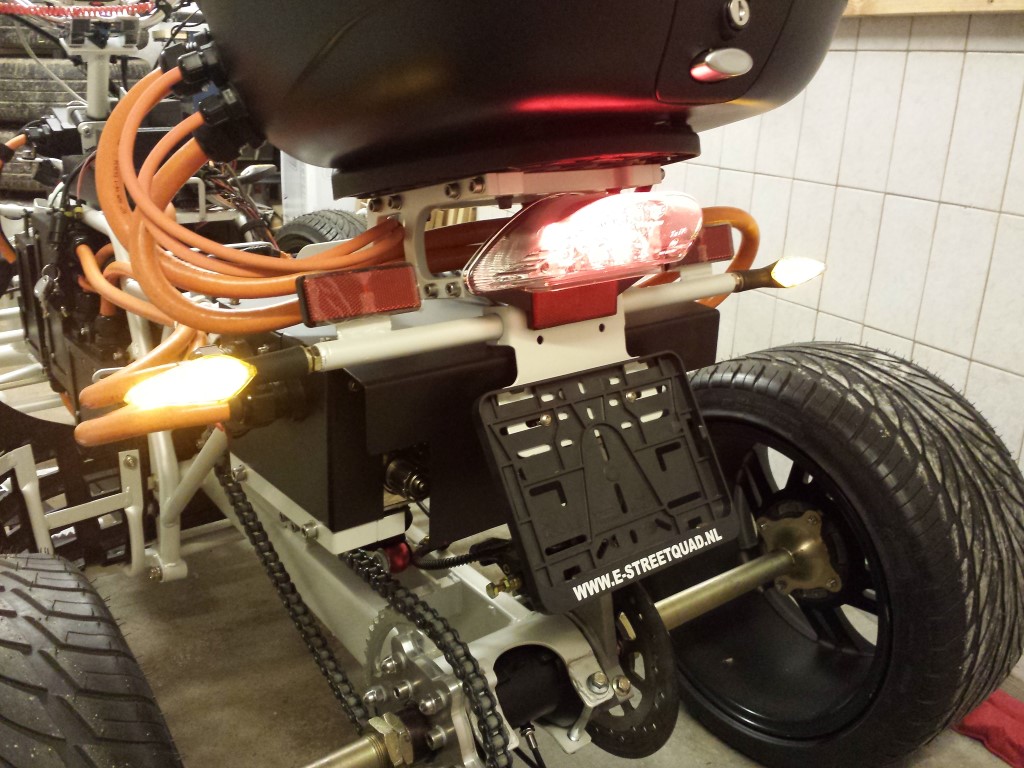
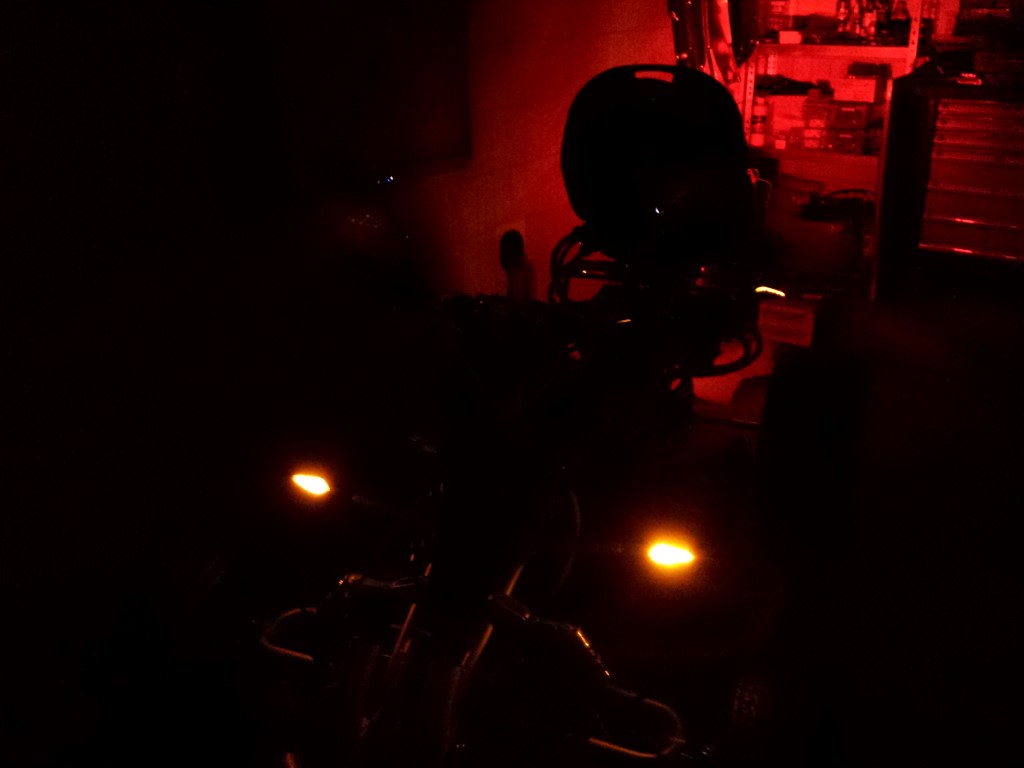
I just noticed that the turn signal lights stay on weakly while flashing. Don't think it'll give any problems for the road approval test but I don't think it should be like this. Normally they should go out completely. It's a new turn signal relay so that can't be the problem.
Since the test ride couldn't go on I also connected the rest of the lights and the horn.
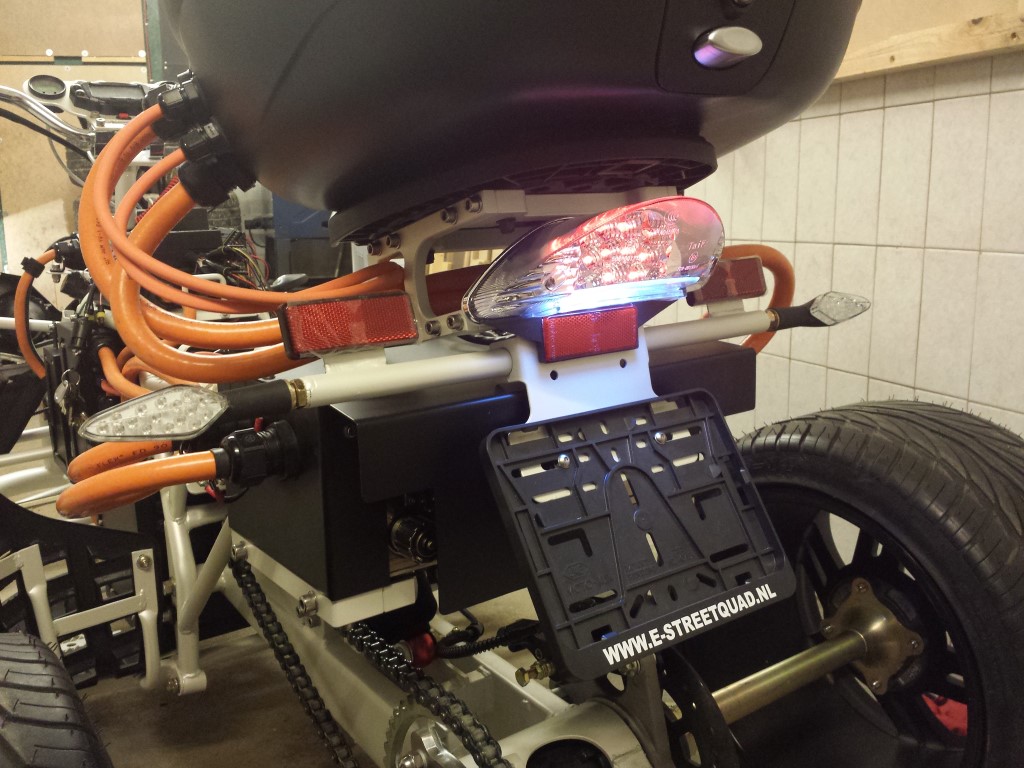
Rear light.
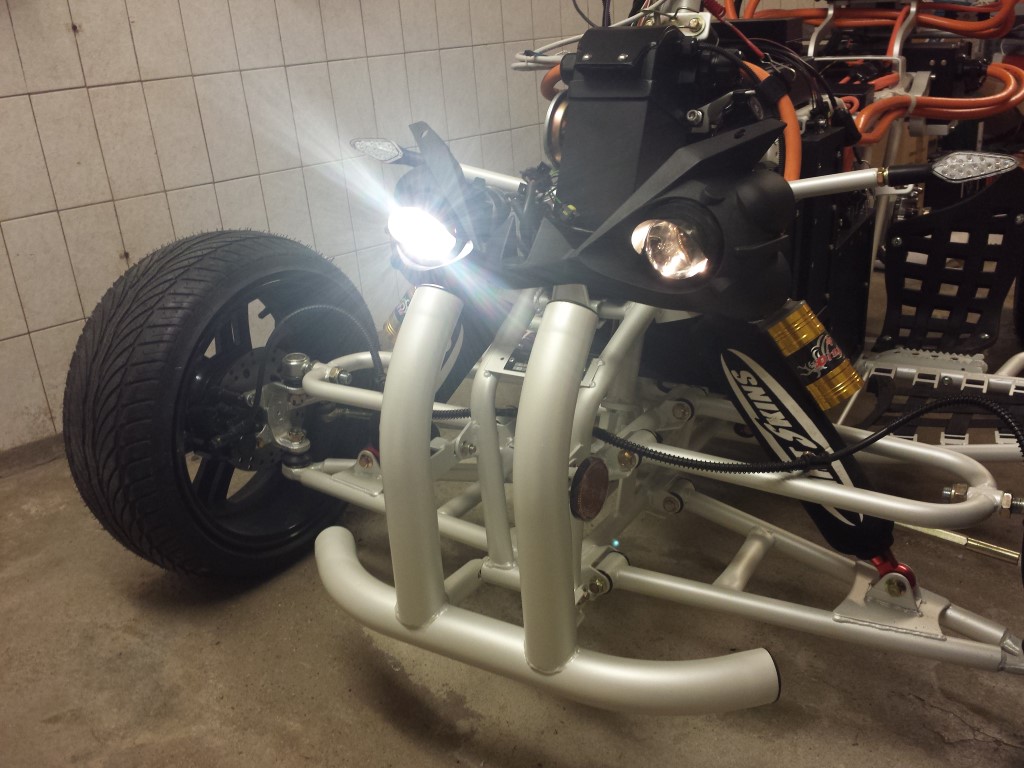
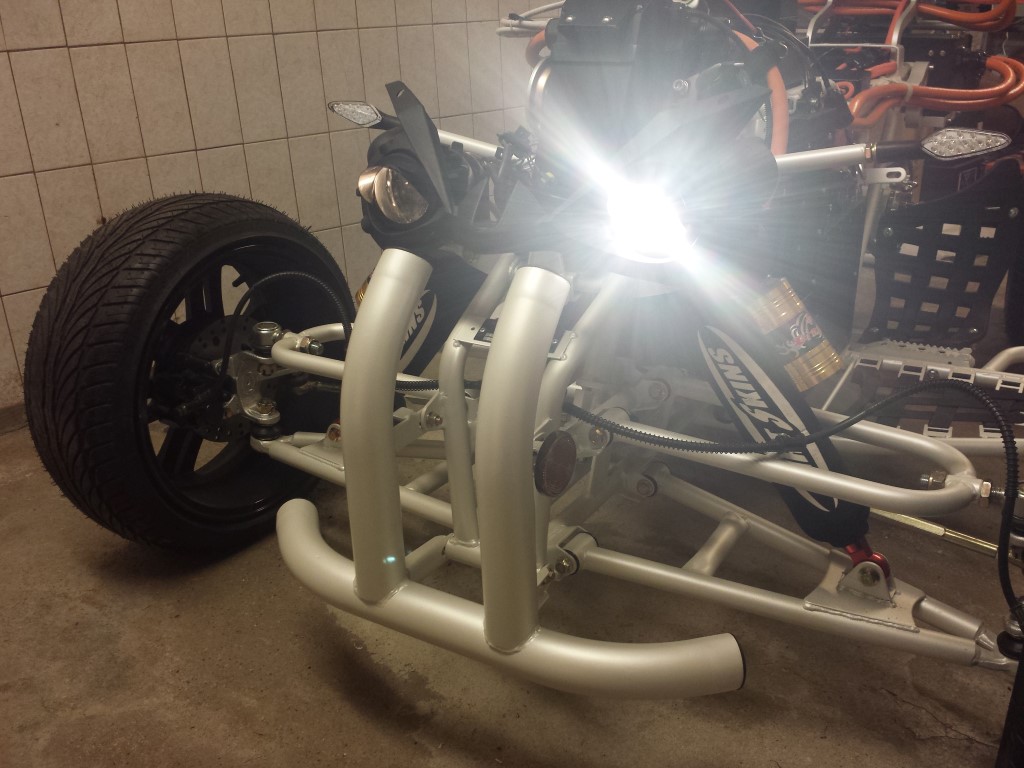
And the headlights. Right is low beam and left is high beam, both in combination with running lights. Just like original, will leave it like that for now for the road approval test. Daytime running light is also connected but didn't take a picture of it. It's nothing special, will also be changed after the road approval test.
This coming week I will tidy everything up and maybe even add the fenders already. For the rest it's just waiting for better weather.

Posted on 19 January 2015 at 09:03 pm (CET)
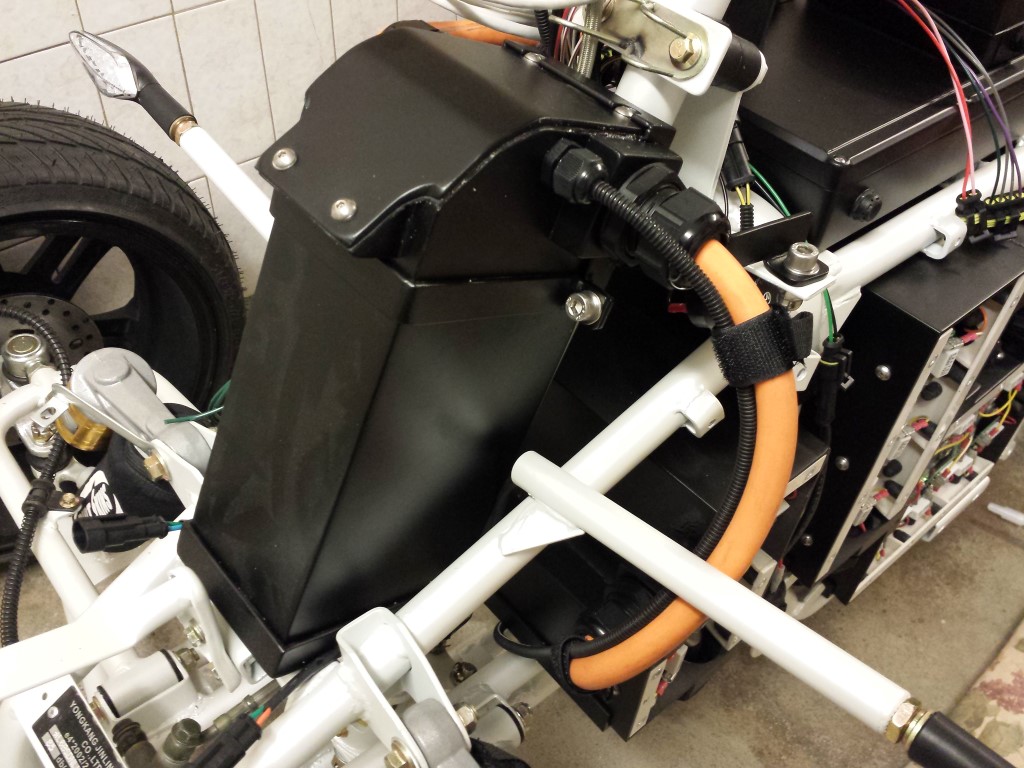
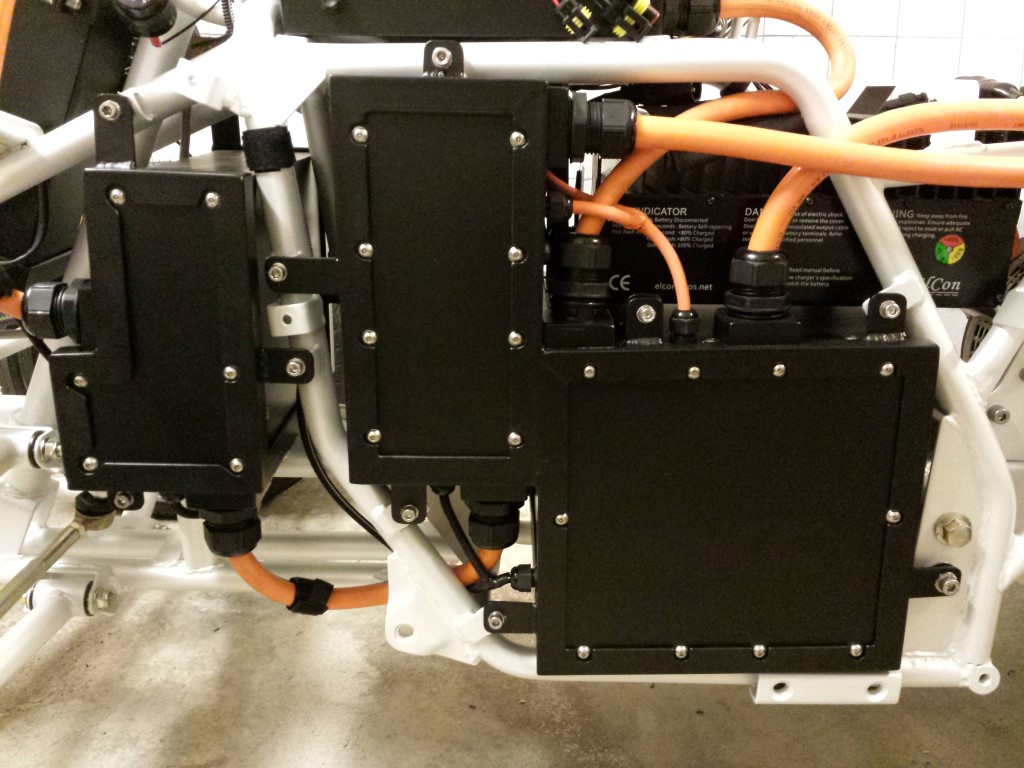
Past few days I've been closing all of the battery boxes and they're attached to the frame as well now. They can't go anywhere anymore, can't get any movement in them at all. To be sure I still added some sealant inbetween the rubber and the boxes so they're completely waterproof. Even though it's all a bit thicker because of the few coats of paint on them it thankfully all still fits pretty good.
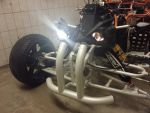
Now I could attach the footrests, nerfbar and heelguards again.
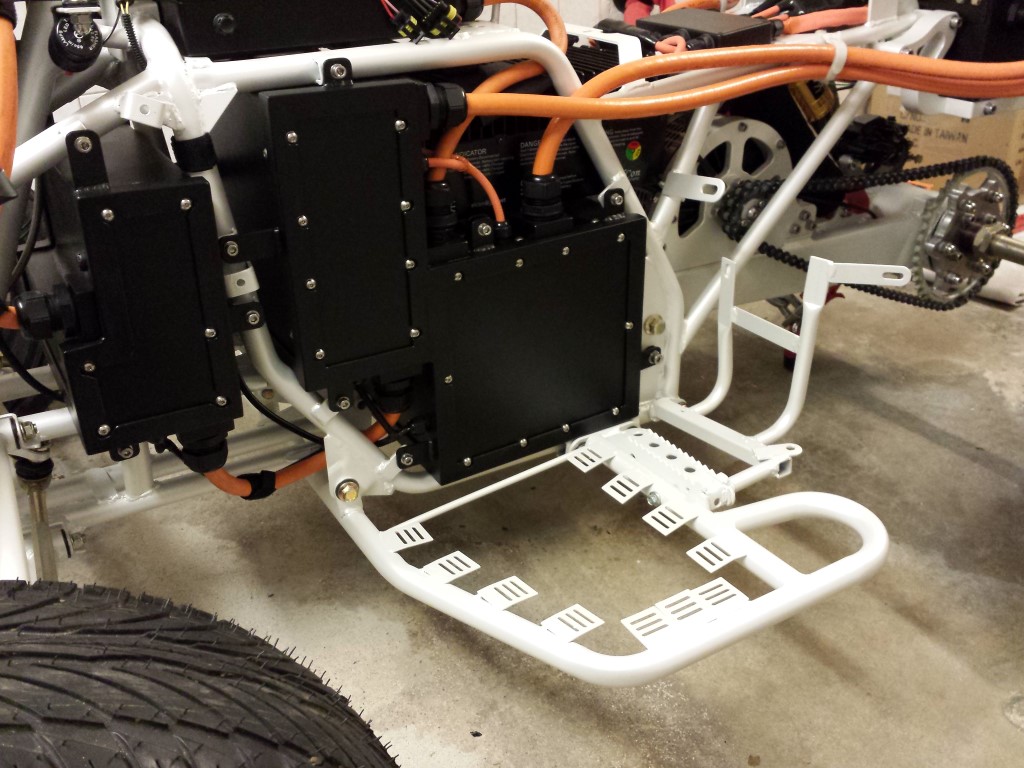
Then I tightened the nets in them again and placed the heelguards.
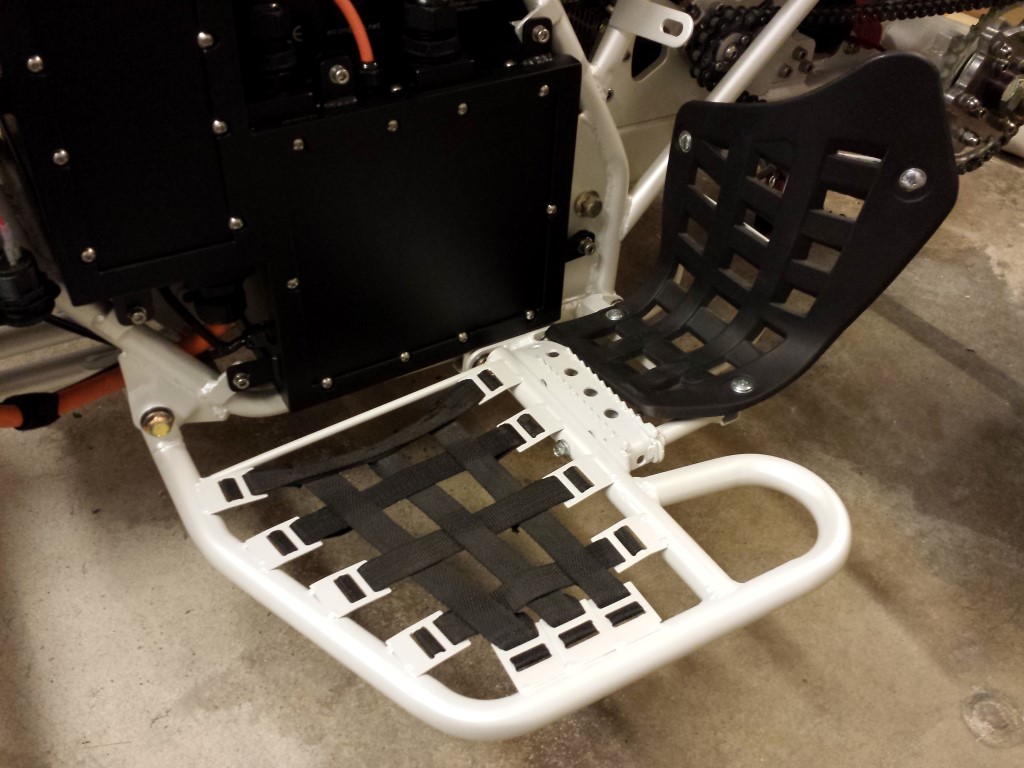
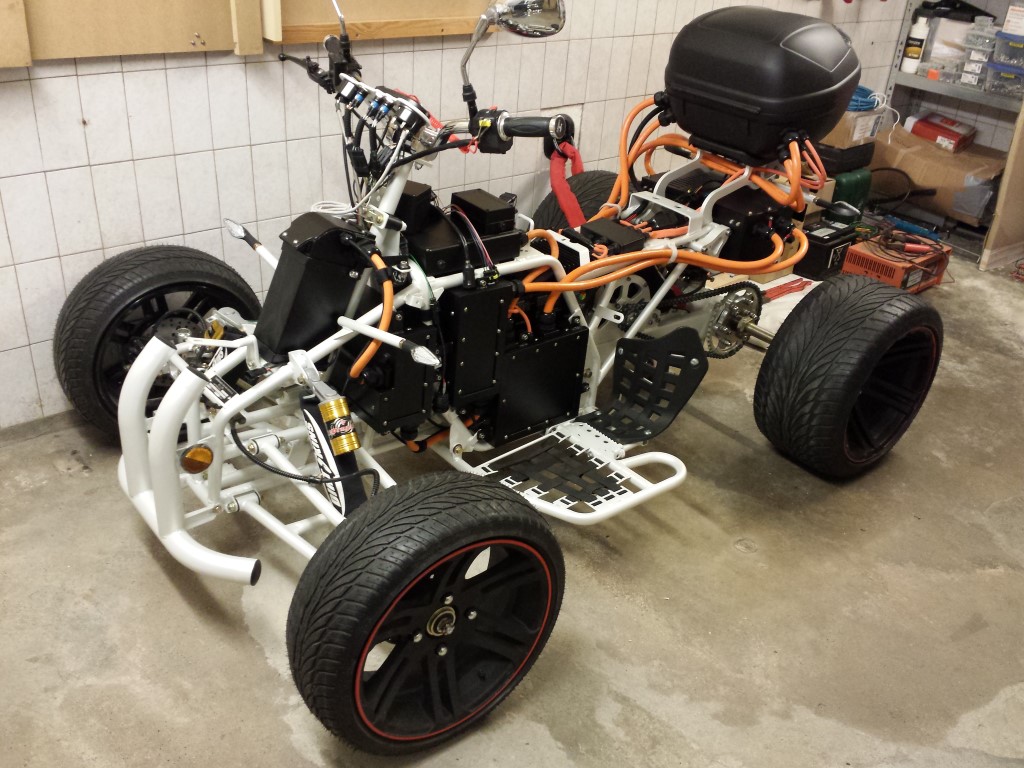
Starting to look like a real quad bike again. This is what it looks like right now.
Meanwhile I still added the extra relay. Enabling and disabling the charge process works perfectly now.

The only thing that's actually left now is aligning the wheels and adding the saddle. Then I can finally make a test ride with it. Think this will happen on Saturday if the weather cooperates a little.

Posted on 16 January 2015 at 11:37 pm (CET)
Posted on 16 January 2015 at 11:37 pm (CET)
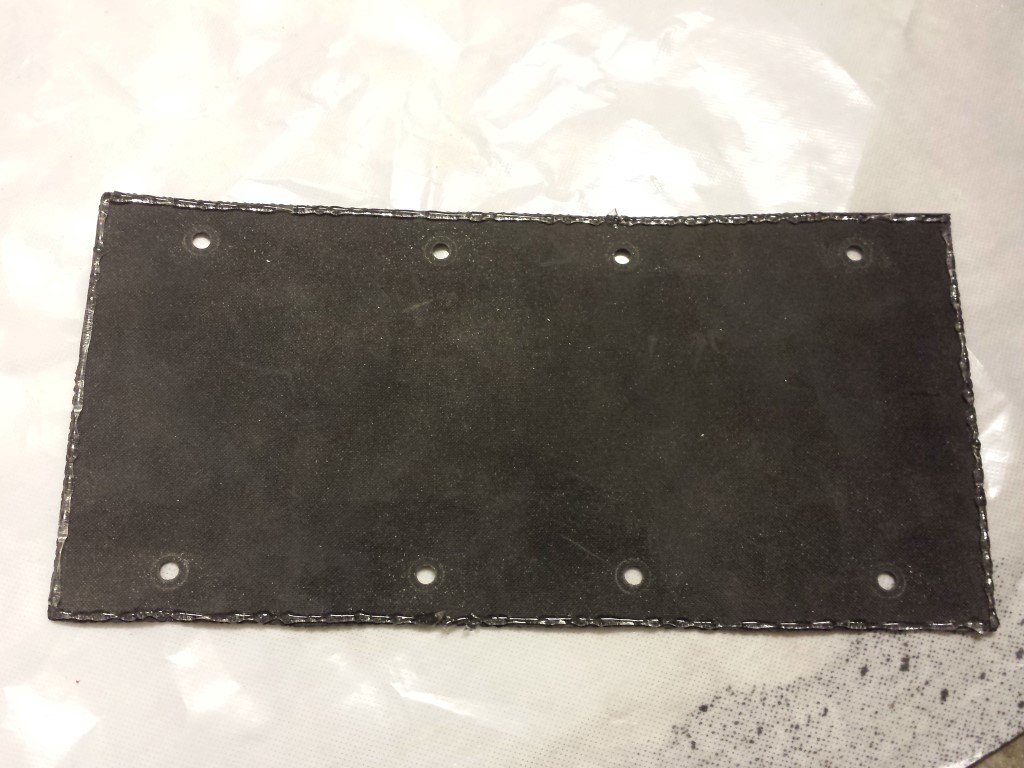
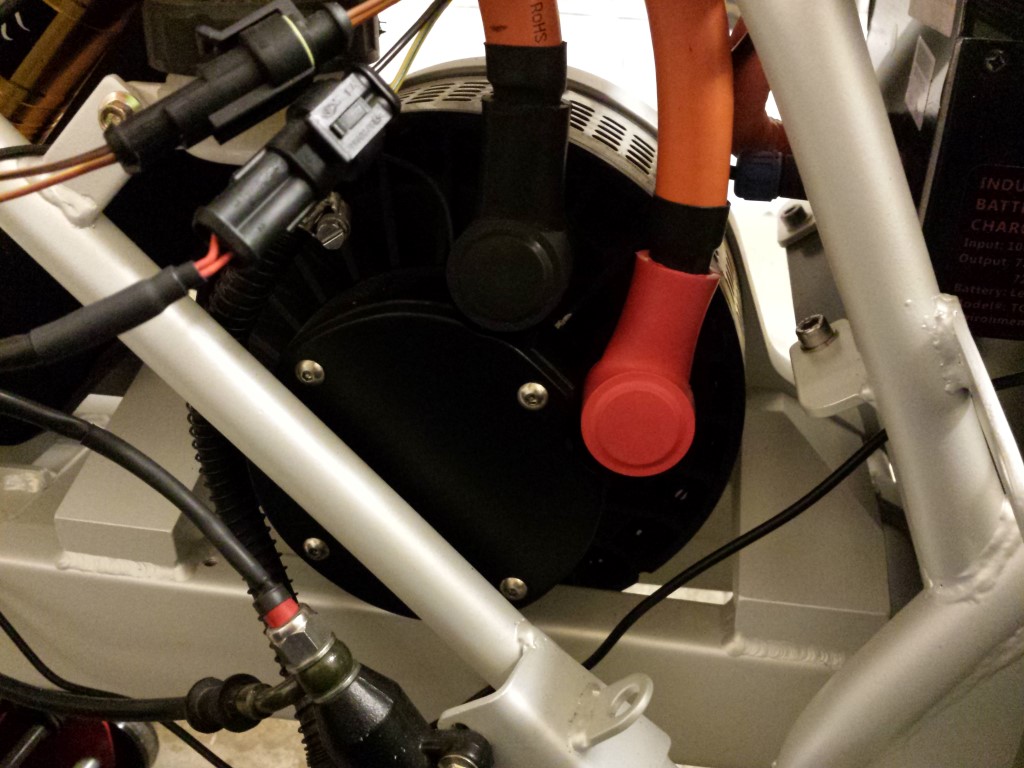
I have all of the connections on the controller and motor covered up now. should be safe enough like this.
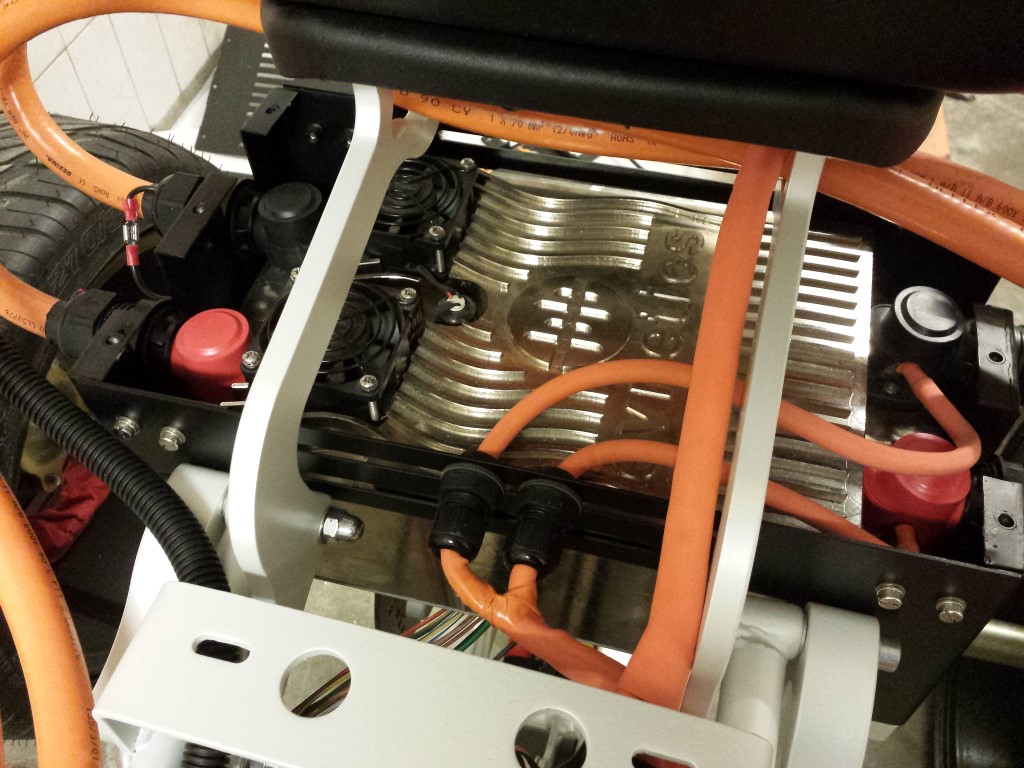
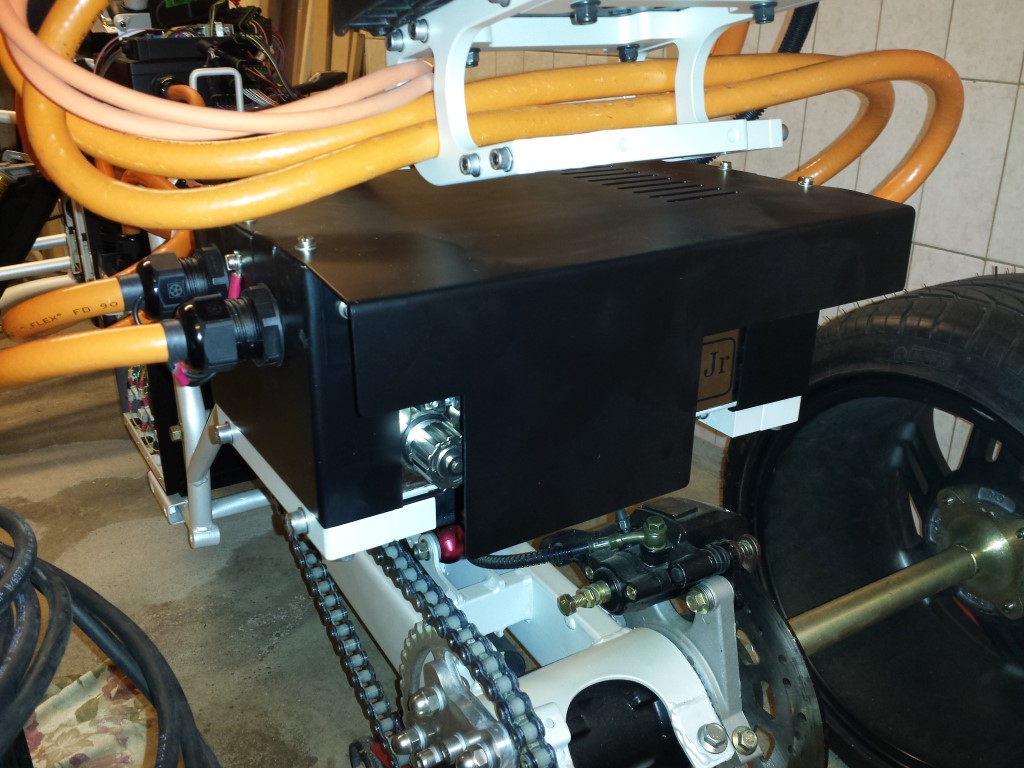
Also placed the last part of the enclosure on the controller. Doesn't look very pretty but for now it'll have to do. It's important for the road approval test at the RDW.
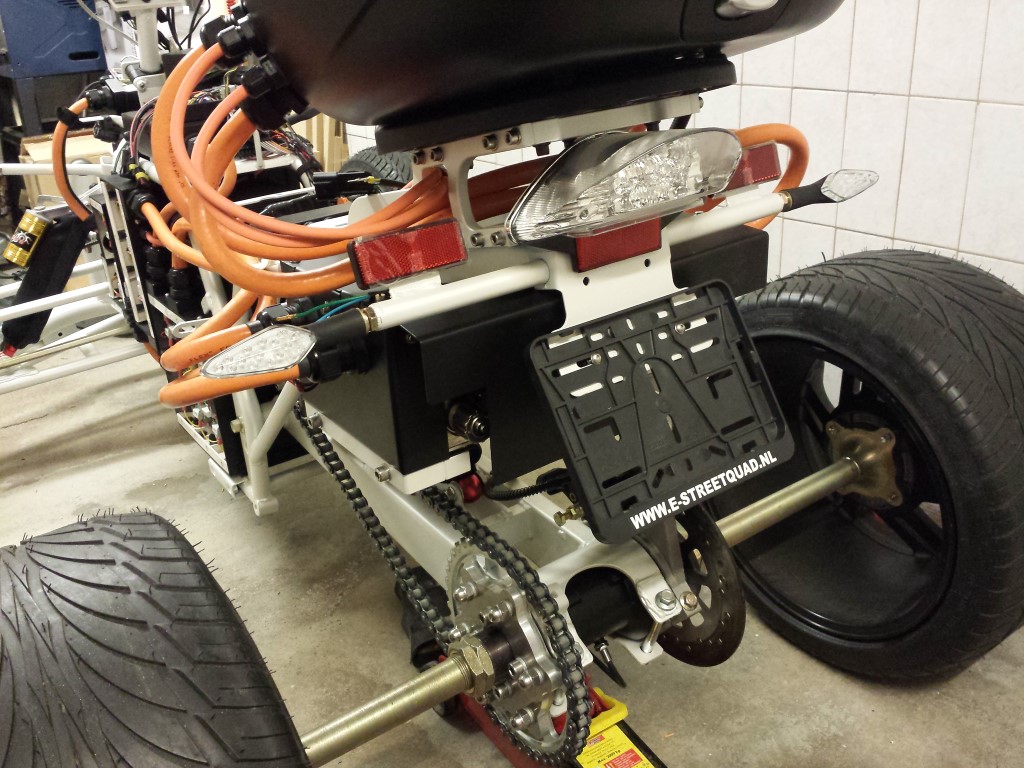
After that I already attached the rear lights and license plate holder. It all barely fits between the controller's enclosure and top case.
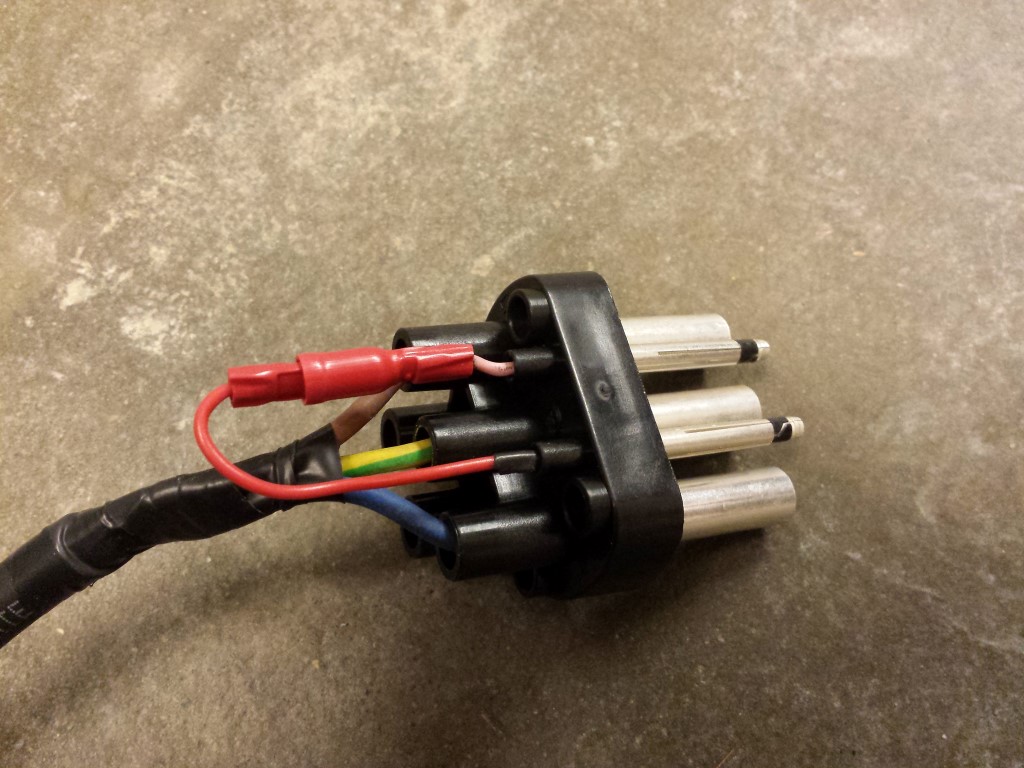
A long while ago I already made the charge cable but I had to get a different plug for this back then. I still hadn't put that one on yet so I've done that as well now. It's not suitable for charge stations, I won't make use of them anyway. Will just be charged from an outlet at home.

And then some more good news, charging the battery pack for the first time went perfectly as well. The battery cells were all still close to full so it didn't need much time. The BMS disables the charger when it has to so no problems there either. Only thing not working is a button I want to use to enable and disable the charge process. Just still have to add an extra relay to it so that's an easy fix.

Posted on 13 January 2015 at 01:10 am (CET)
Category: Batteries, Controller
Posted on 13 January 2015 at 01:10 am (CET)
Category: Batteries, Controller
The problem I had yesterday where no power was going to the motor moving forward is already solved. The controller just needed a bit more voltage, the 12V battery was not enough. Today I connected the whole battery pack to the controller and tried again. The motor always gets power now, moving forward and in reverse. For the rest I also had no problems anymore, everything's working perfectly now.
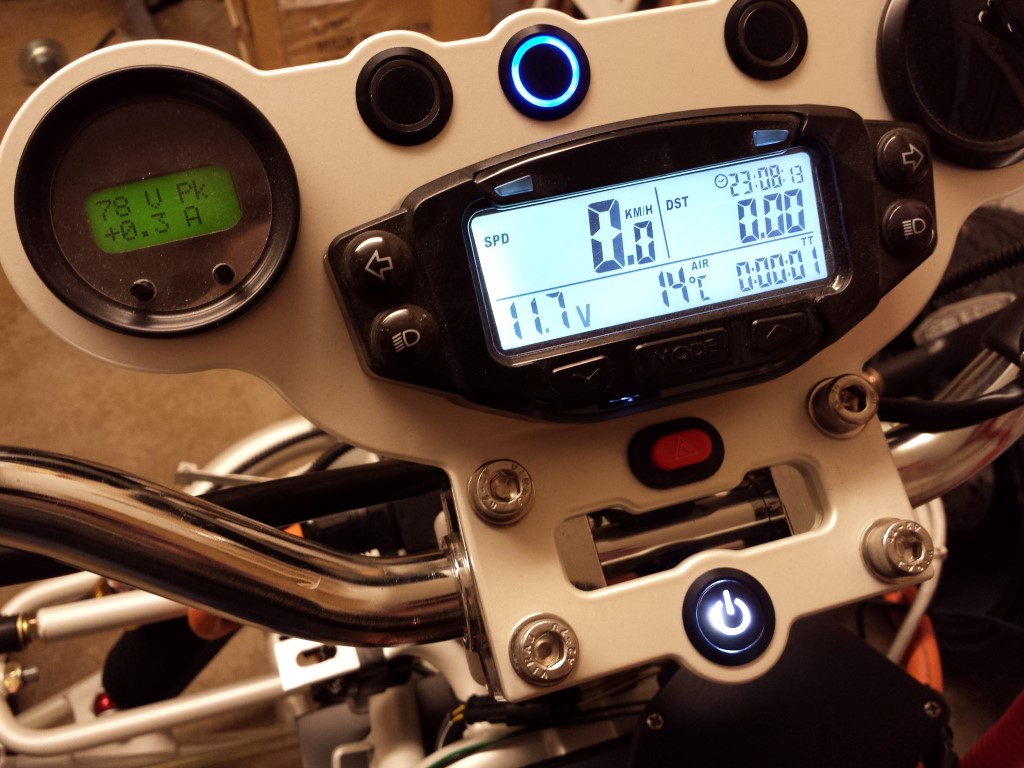
Since there was almost 80V present now I changed the settings of the controller again to see how much power would come from the motor. Tested again with the wheels off the ground and I was very surprised. I only still had 1/8th of the available power but I could already feel really good how strong the motor is. More power I won't test with the wheels off the ground, this will happen during the test ride soon. The coming days I'll be preparing everything for that. So it's going to be very exciting.
Posted on 12 January 2015 at 06:35 pm (CET)
Posted on 12 January 2015 at 06:35 pm (CET)
It's time for another new update.
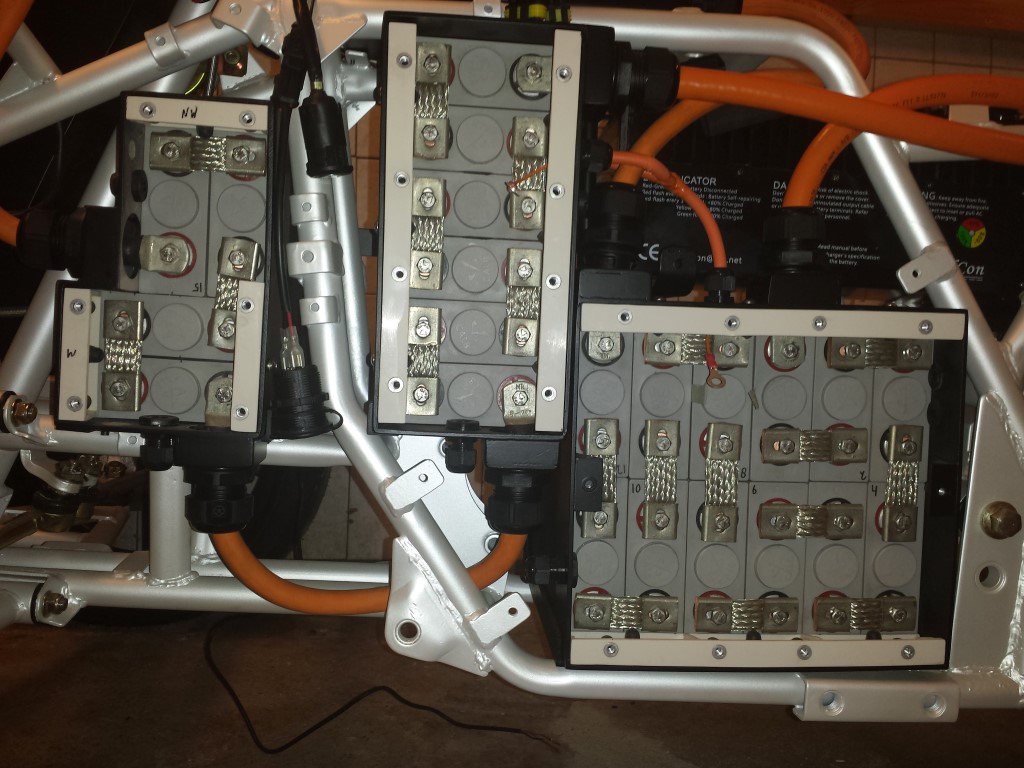
The past few days I've been busy connecting all of the battery cells to eachother. It all went well, for extra safety I already isolated all of the tools with some tape. For the rest you just have to stay very focused.
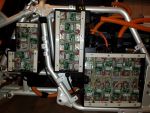
But that's not all yet, I also started on the BMS (Battery Management System).
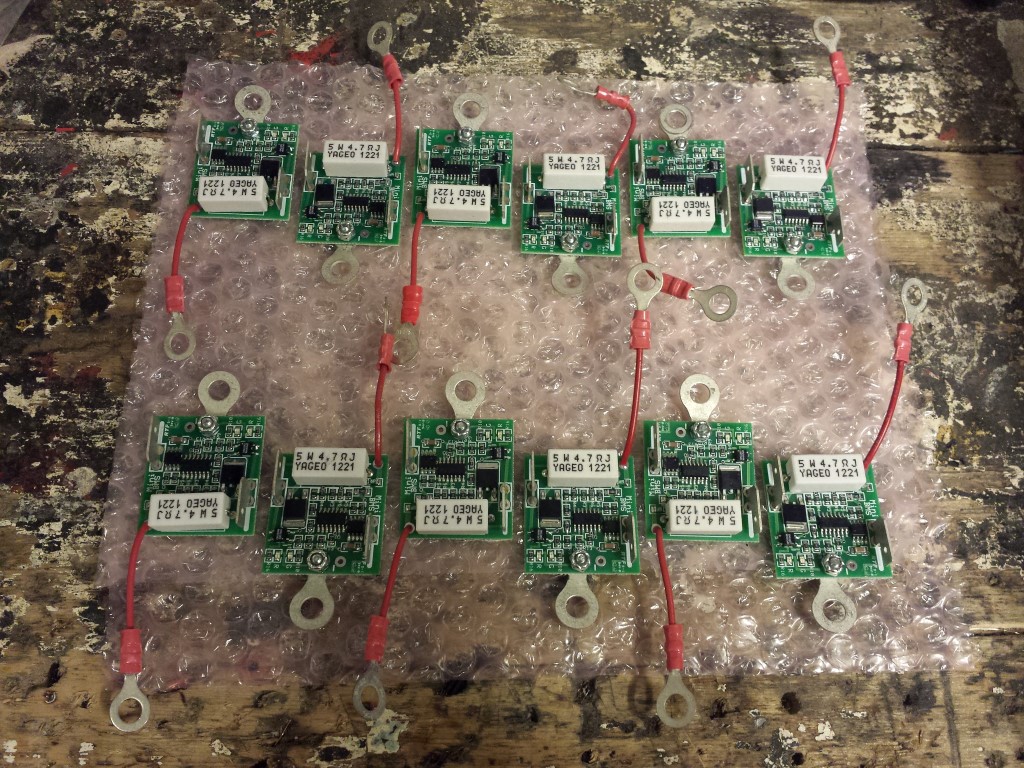
First I made all of the wires exactly to size.
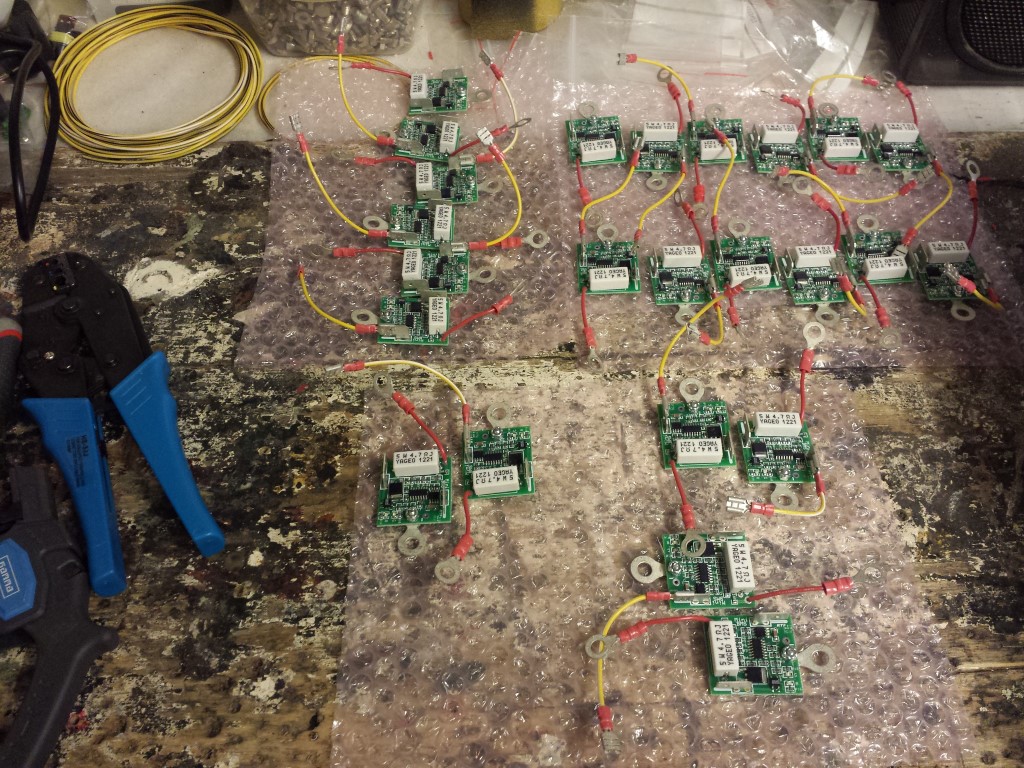
Then I connected them all to the battery cells and to eachother. Thought it'd be a lot of work but it wasn't all that bad. It was the first time something actually took less time than I expected, usually it always takes longer. They're also connected inbetween the battery boxes, this was actually the hardest since at one part I had to push 4 wires through that wire loom. The size I used actually is for only 3 wires. But it all went fine anyway.
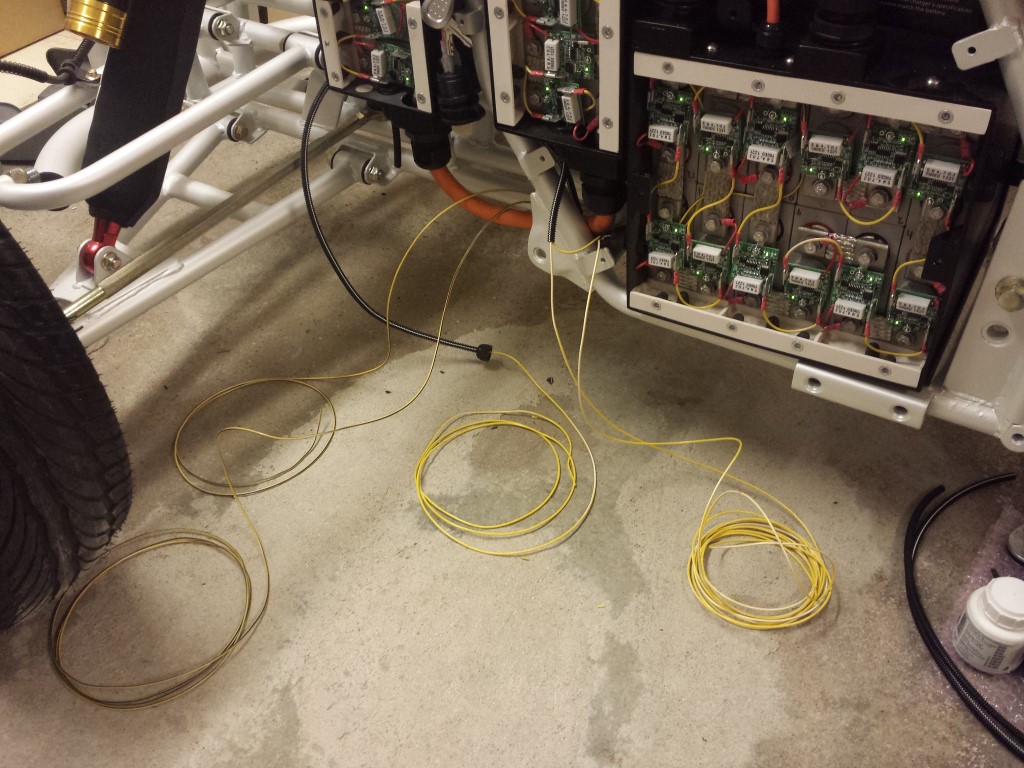
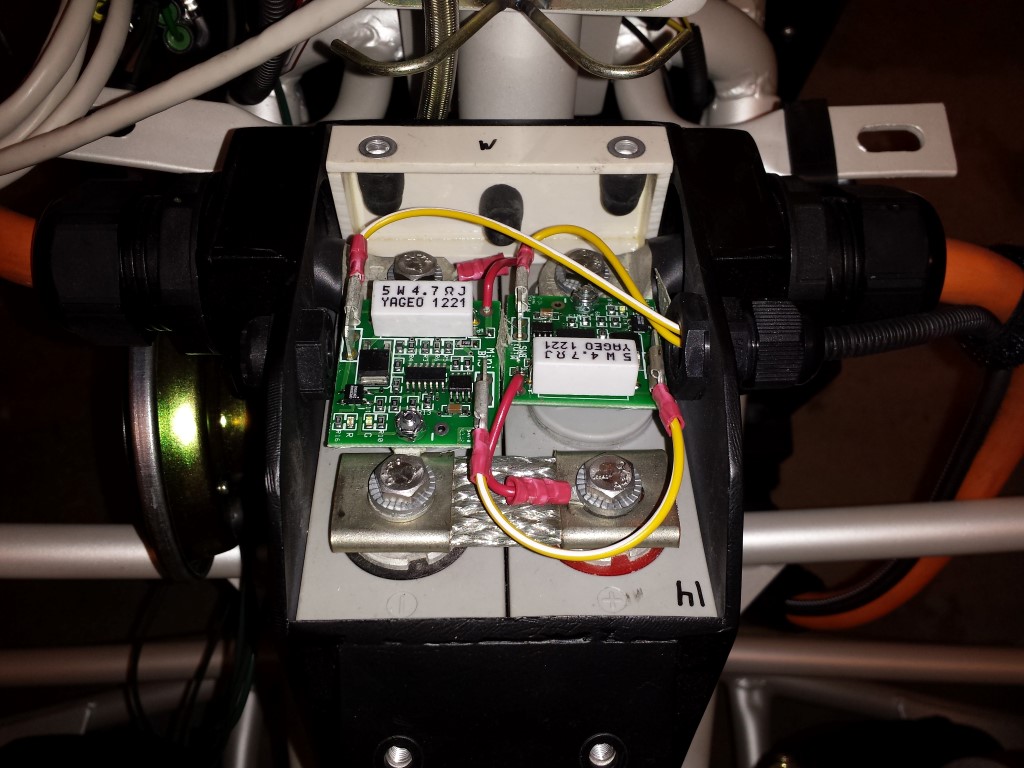
Looks pretty nice too. The green LED's show that they're connected properly and that the battery cell is at the right level.

In the dark it also looks nice with all of those LED's. Just too bad that you won't see any of it anymore once the battery boxes are closed.

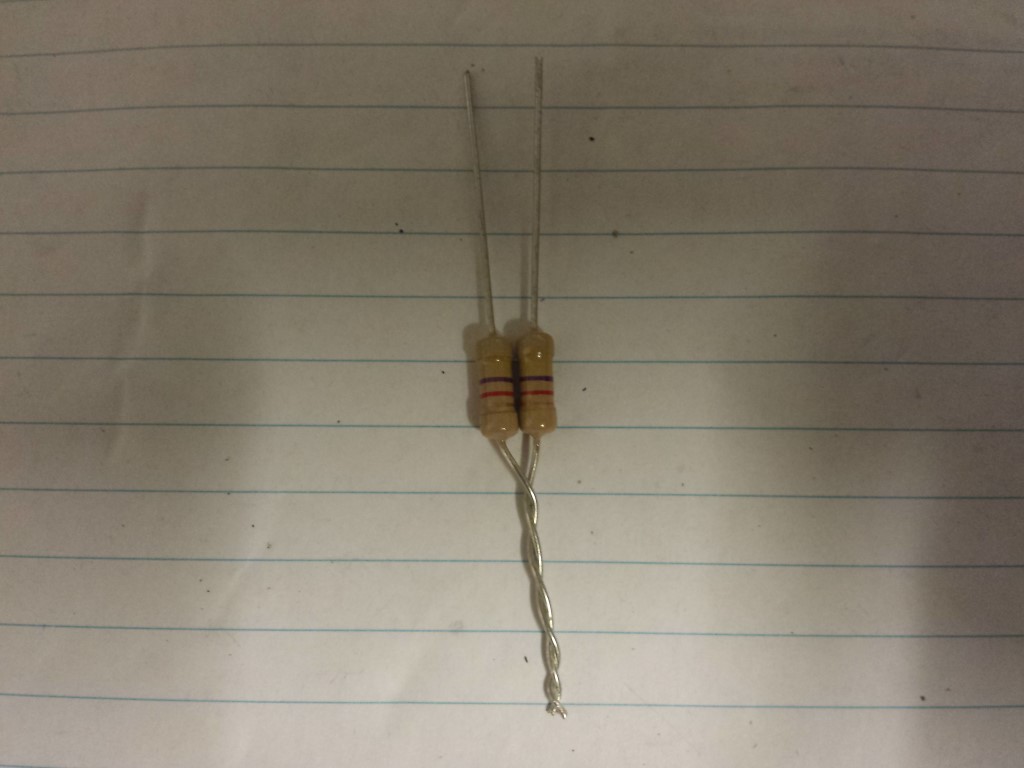
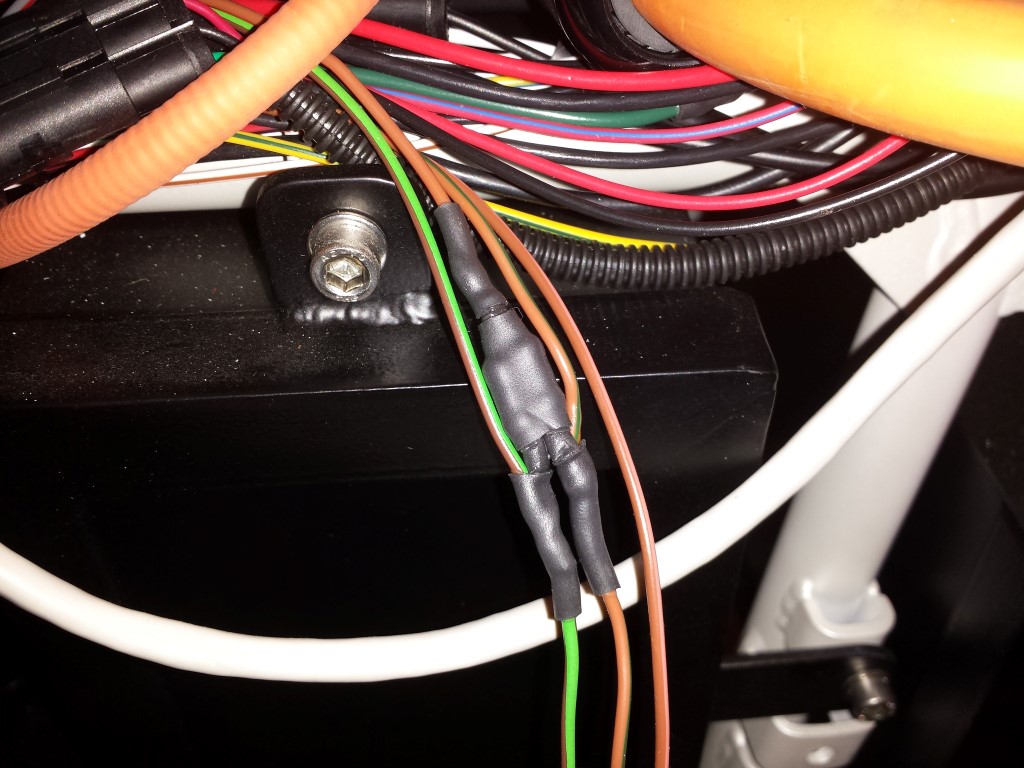
I also connected the throttle now. I used 2 resistors for this and one extra wire, these are again for the BMS. These will make sure that there's not much power available anymore once the battery cells drop below a certain level. This way you won't immediately destroy the battery cells while still being able to get off the road safely.
Also placed all of the fuses to be able to test the 12V system. Meanwhile I've already broken one and replaced it, apparently the contactors needed a little more power.
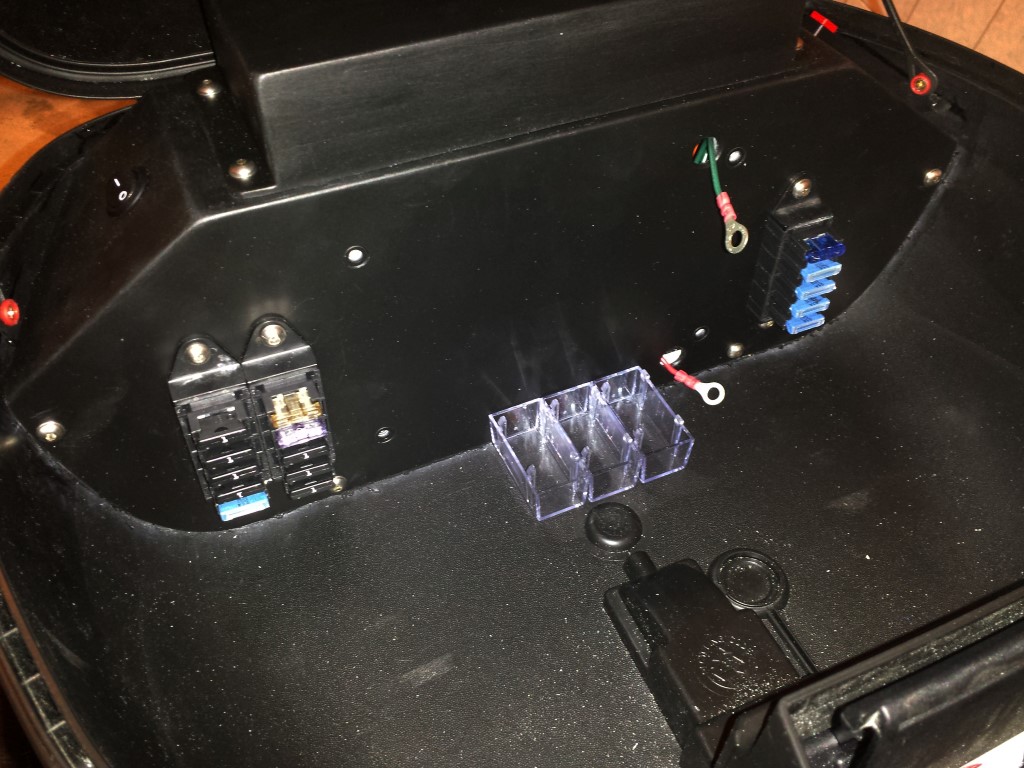
And I can already say that the 12V system is working perfectly. I just had to make a small modification with a relais, for the rest everything seems to be fine. I just have a weird problem where the controller sometimes doesn't give any power the motor after I let it run in reverse and then forward again. Could be that there's just not enough voltage since everything was connected to a 12V battery. Just have to connect the wires to the controller again and then I can try with almost 80V, see if it works better then.